Search the Community
Showing results for tags 'atlantic fleet'.
Found 64 results
-
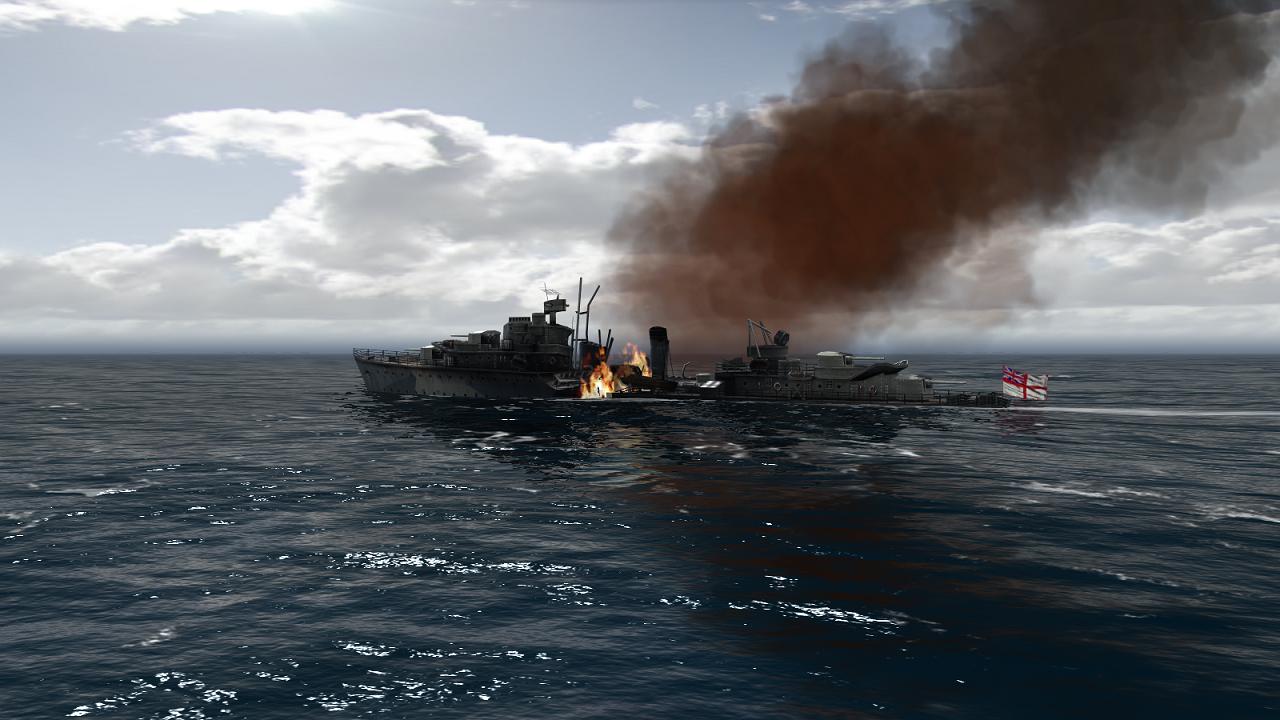
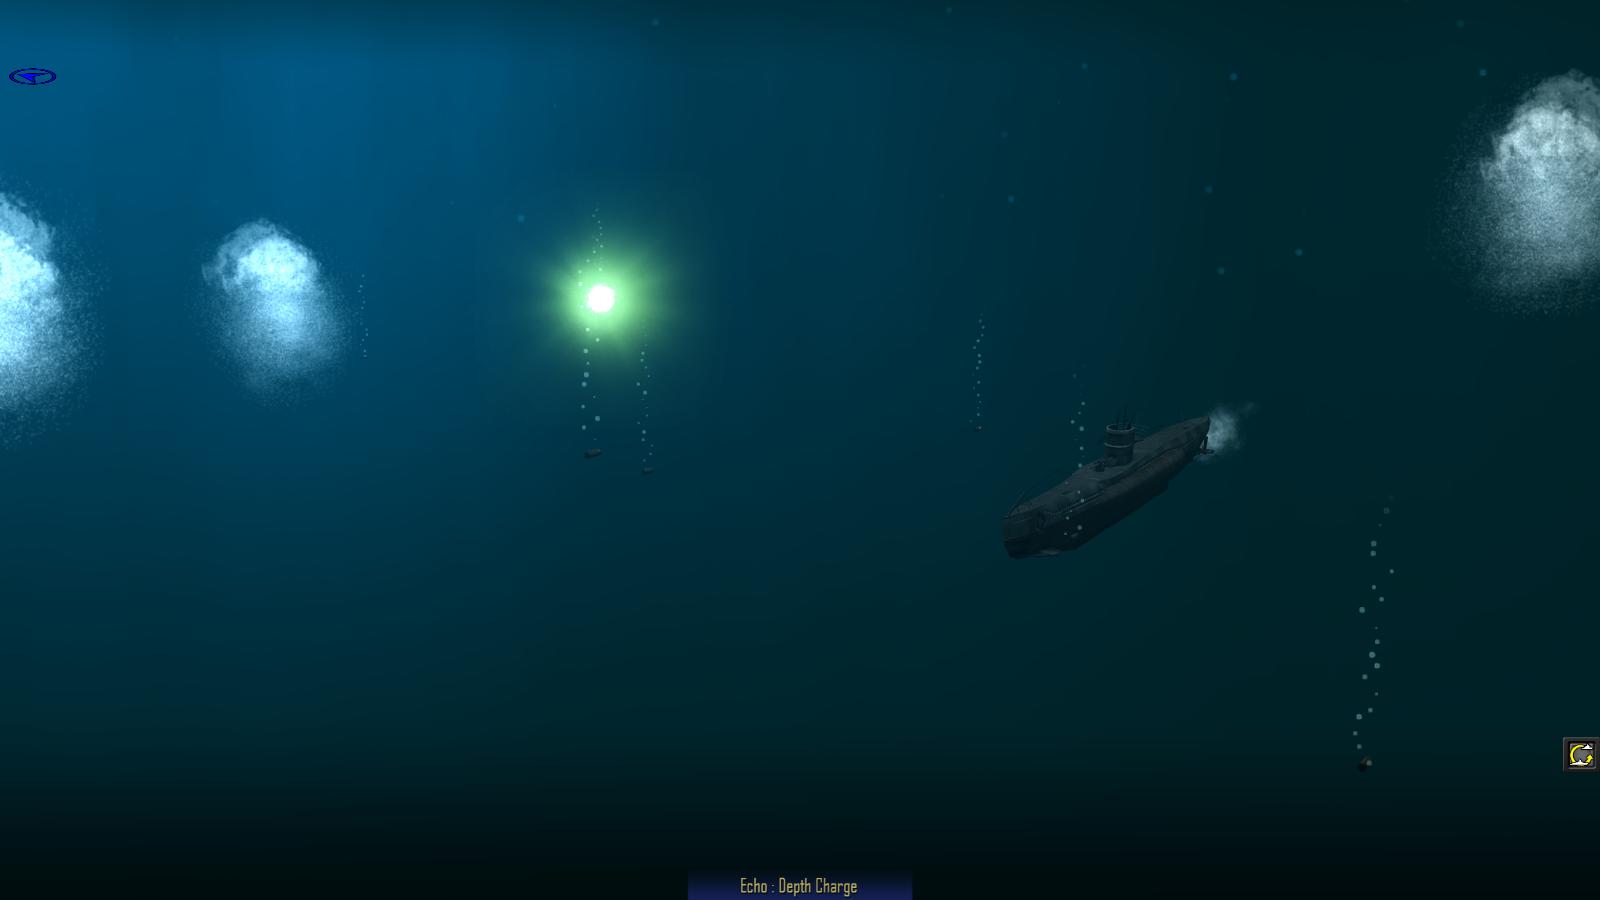
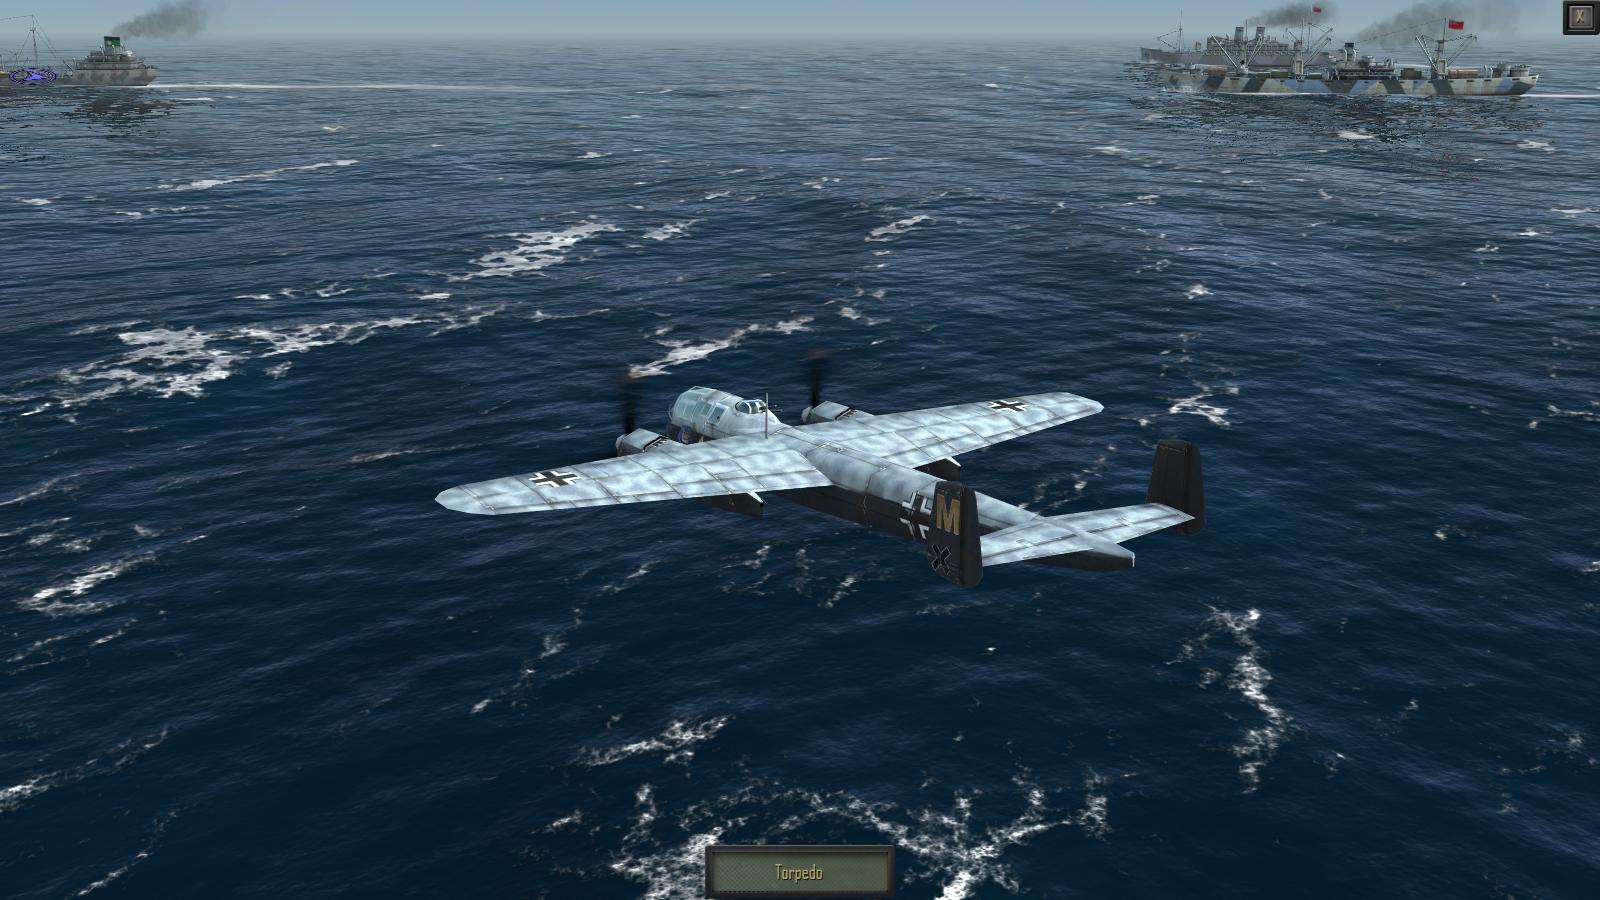
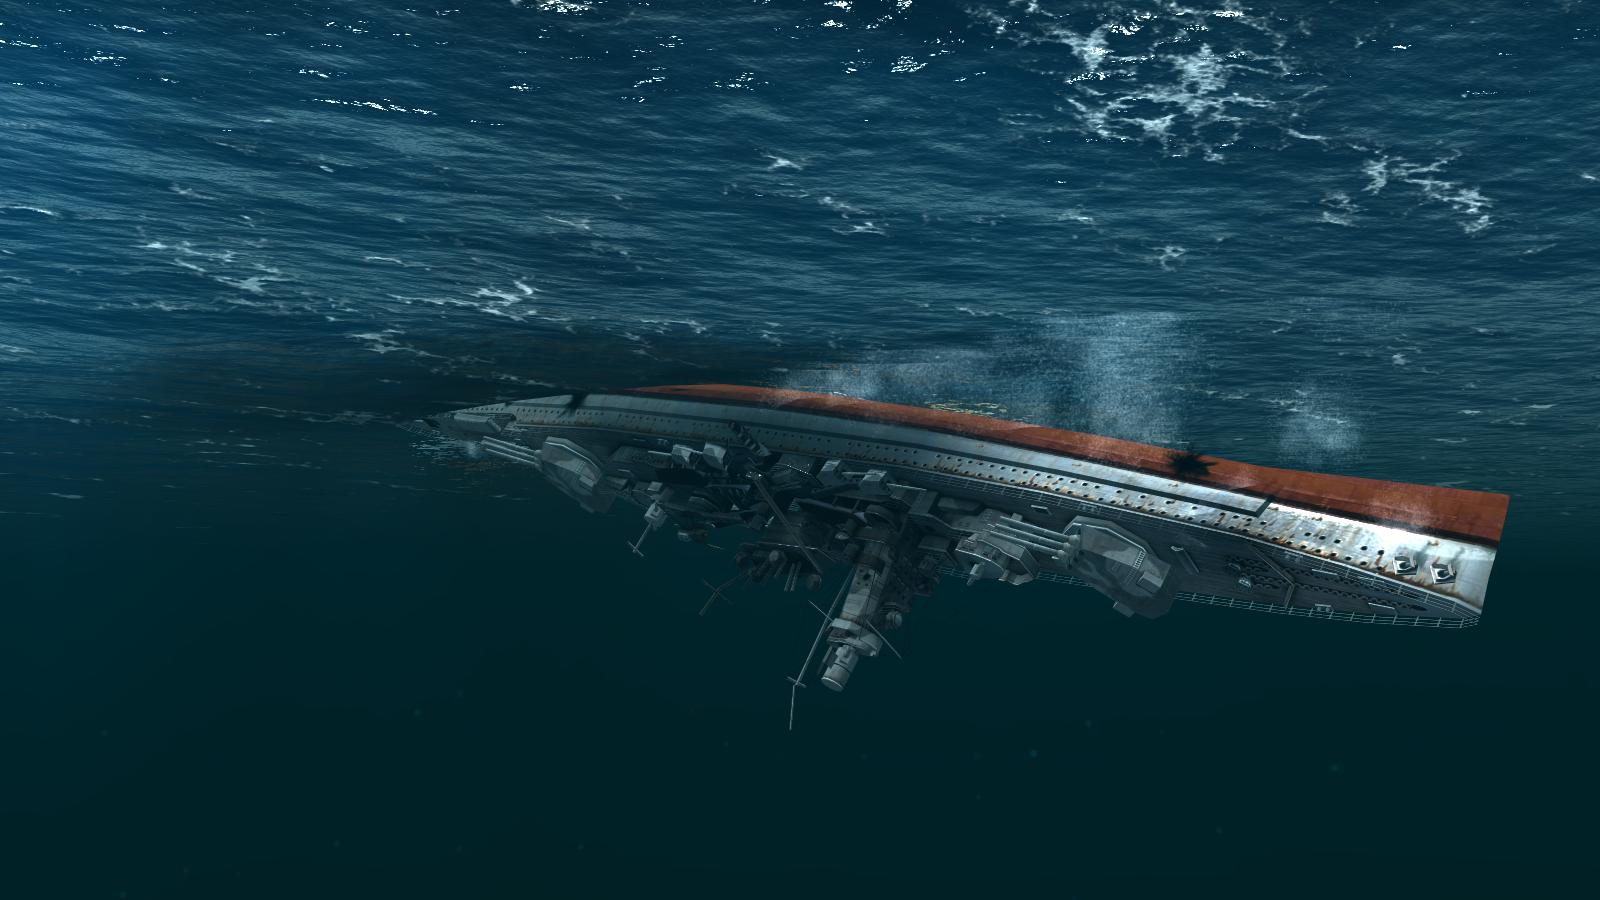
From the album Combat Sims
-
Another Atlantic Fleet battle in Arctic waters! I have always been something of a fan of the big German destroyers of World War 2, ever since assembling tiny 1/1200 plastic kits of some of them in the early 1960s. These were made by Eagle, part a themed series representing the ships involved in the First and Second Battles of Narvik in April and June 1940. Like this one, of a Leberecht Maas class...or is it Erich Giese? Maas wasn't actually at Narvik, having been sunk in a disatrous 'friendly fire' incident in the North Sea, bombed at night by an He111 of KG 26 which didn't know the navy had laid on a mine-laying operation in the same area. Another destroyer from the force, Max Schulze, was lost with all hands immediately afterwards, some say from another bomb, others by a mine in the same area. Atlantic Fleet’s comprehensive set of historical battles doesn’t include the quite well-known actions at Narvik, the reason I believe being that the game’s 3D environments don’t include land – and these battles were fought in the confines of the fjords at Narvik. Which is quite something, especially considering that the second battle involved the Royal Navy hunting down and destroying the German shipping left from the first battle with nine destroyers and a battleship, no less. The photo below shows the battleship, HMS Warspite, in action during the battle, well into Ofotfjord. Big and powerful as they were, the German destroyers had rather less reliable machinery and being somewhat top-heavy, were less sea-worthy than their British counterparts, though all this seems to have gradually improved as the design was developed. At any rate, these are disadvantages which I don’t think affect them in Atlantic Fleet and having conquered Convoy PQ13 in my previous outing, I looked around for another historical battle featuring these ships. There are several more on offer and from these, I picked another Arctic encounter, one which came just over a month after the earlier battle. This was the German effort to sink HMS Edinburgh, in May 1942. The historical battle In late April 1942, Edinburgh left Murmansk as part of the force covering return Convoy QP11. The cruiser was carrying a substantial consignment of gold bullion, payment towards the war material then being convoyed to the Soviet Union. Edinburgh was the sister-ship of the preserved HMS Belfast, a modified Town (or Southampton) Class cruiser, with twelve 6-inch guns. Belfast is seen below on the River Thames in London, before she was repainted in wartime camouflage. On this outing, Edinburgh was crippled by hits from two torpedoes fired by U-456, and forced to turn back to Murmansk, escorted by destroyers Foresight, Forester and some minelayers. One of the torpedoes had basically demolished Edinburgh's stern, as you can see from this contemporary photograph. Air attacks by torpedo bombers failed to sink Edinburgh. But on 2 May, she was found and attacked by three destroyers – Z 7 Herman Schoemann and the un-named Z 24 and Z 25, which had earlier sunk a merchantman in an inconclusive tussle with the convoy, before resuming their hunt for Edinburgh. In the action which followed, the crippled cruiser fought back and severely damaged Schoemann, which was abandoned and scuttled with 8 dead, the rest rescued by her consorts and a U-boat which arrived later. However, Edinburgh was torpedoed again by Z 24 or Z 25 and was abandoned and scuttled in turn, with 58 men lost in all. Edinburgh's gold bullion was recovered in the early 1980s in a salvage operation as dramatic as many a battle, but that's another story. How did I get on re-fighting the battle in Atlantic Fleet? It's time to find out! ...to be continued!
-
Re-fighting the battle for Convoy PQ13 in Atlantic Fleet Of all the many dramatic photographs taken of the war at sea, some of the most haunting are of the last moments of what maybe minutes before was a fine warship in fighting trim. Pictures like this well-known shot of a Japanese escort sunk by skip-bombing. The crew cling to the capsizing vessel as what appears to be another bomb, dropped by the aircraft from which the photo was taken, splashes across the water towards the stricken ship like a stone skipped on a pond. Back in the 1990s I coveted but never obtained a rather expensive book from the alas long-departed Military Book Club, War at Sea 1939-45 by Kreigsmarine veteran Jurgen Rohwer. This was a large-format book with a short narrative account written around an excellent series of photographs, many of which I haven't seen before. When, just recently, I picked up this book second-hand, I was just as struck as I had been many years ago by its cover photo, one of a series a wrecked and apparently abandoned German destroyer. At the time I realised the pictures were indeed of a German destroyer, taken from an enemy ship. But what ship was she, what happened to her crew, and how did she come to be one of the very few ships photographed so very closely by those who had sunk her? The historical battle Long before I got the book, I had discovered that the sinking German destroyer was the Z 26, lost during a confused battle in Arctic waters on 29th March 1942. By that time, Royal Navy was running a series of convoys - the PQ series, later changed to JW - to help keep the Soviet Union in the battle against Nazi Germany. The most famous Arctic convoy action is PQ17, which scattered after inaccurate reports that it was about to be intercepted by a force including the battleship Tirpitz and was then devastated by air and U-Boat attack. Other famous Arctic convoy-related actions were the Battle of the Barents Sea in December 1942, where the failure of the German force to get to grips with the convoy had Hitler pushing for the scrapping of the surface fleet; and the Battle of the North Cape a year later, when Scharnhorst was lost in action during an abortive sortie against Convoy JW55B. Throughout, the merchant, naval and aircrews of all sides had to endure exposure to some of the worst weather in any theatre of war, with frequent heavy, freezing seas in which survival time was low indeed. By the time in early 1942 that Convoy PQ13 sailed for Murmansk, the Kriegsmarine was still in the middle of redeploying its remaining seaworthy heavy units to northern waters, primarily to interdict the Arctic convoys, in co-operation with U-boats and bombers. Just three destroyers participated in the attack on PQ13 - Z 24, Z 25 and Z 26. They were all from a class which had begun to be laid down before the battle by whose name the class was commonly known - Narvik. Not an auspicious name - as one author put it, " 'Lost at Narvik' was the epitath of the Leberecht Mass and Deither von Roeder classes", ten of the big destroyers having been smashed in two fights in Narvik Fjord with the Royal Navy during 1940, like Bernd von Arnim, below. The Narvik class were big and with 5.9 inch guns, very heavily armed for destroyers, though not all shipped the twin forward turret intended for the class - they all do, in Atlantic Fleet. PQ13's nineteen merchant ships - most of them US and British Merchant Navy vessels - had already suffered some losses from aircraft. And severe weather had dispersed the ships, two groups re-forming and the rest proceeding independently. At this point, the German destroyers arrived, and after sinking a merchantman, ran into the convoy's close escort, headed by the cruiser HMS Trinidad, supported by RN destroyers and later by one of the Soviet destroyers which had sortied to meet the convoy. Z 26 was hit hard, mainly byTrinidad; Z 24 and Z 25 disengaged after rescuing around 90 of her crew, but about 240 never made it. The PQ13 action in Atlantic Fleet You don't need to use Atlantic Fleet's custom battle generator fo fight this one - it's included with the large set of historical battles that come with the game. Here's the intro screen. As usual, there's no 'fog of war' - less relevant anyway, in an historical mission - so you can see exactly who's on each side. You can choose to play for either navy - or to take the turns for both sides, by setting the 'Player 2' option to 'ON'. I have opted to play for the Kriegsmarine, and we have the initiative (= first turn). As well as the 6-inch gun Fiji (or Crown Colony) Class cruiser Trinidad, we are up against three Royal Navy destroyers - the inter-war types Eclipse and Fury, and the War Emergency Programme Oribi, the latter distinguisable by having just the one funnel, compared to two for the others. Six merchantmen are in the part of the convoy that we have come upon. The weather is poor, cloudy and with rain or snow. Here's the position at the moment the battle begins. Our three destrovers are, realistically, line abreast, in the sort of formation that would be used to sweep for the enemy. Trinidad herself is the only ship we have been able to identify visually at this stage; the others are just radar contacts. Clearly, it's time to get busy! ...to be continued!
-
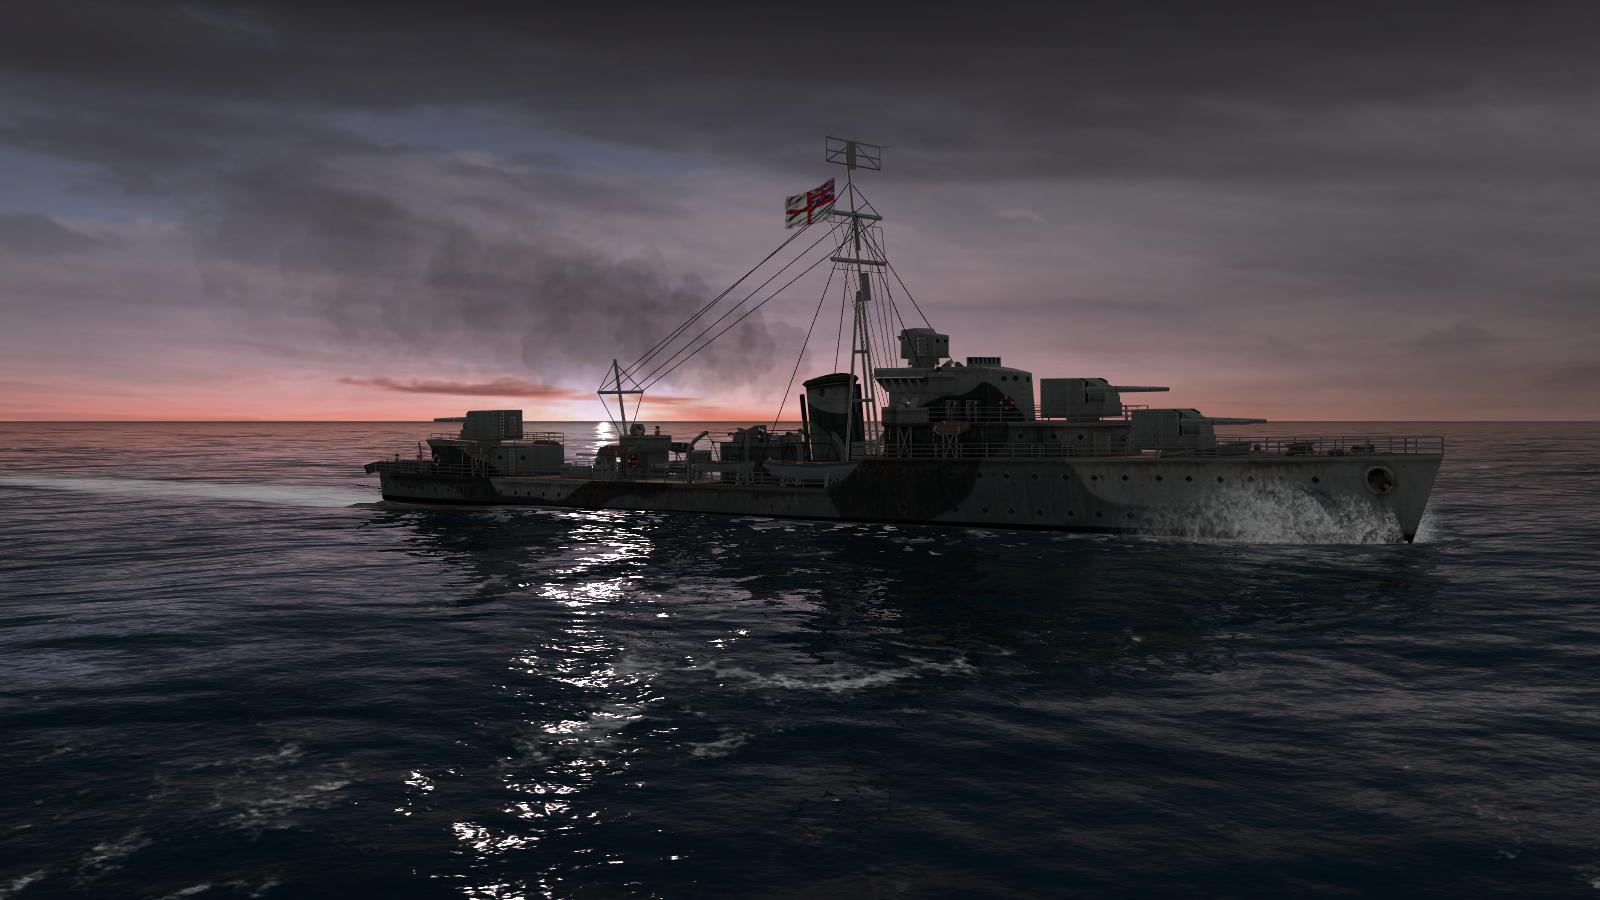
A Royal Navy campaign in Killerfish's peerless WW2 naval wargame! In my first campaign mission report with Atlantic Fleet, I played for the German Kriegsmarine, and in the dynamic version of the AF campaign. This time, I'm playing for the other side, the Royal Navy (whose signature march is 'Heart of Oak', hence this mission report's title). And I'm playing the 'static' campaign. This is a fixed set of fifty missions, whose difficulty increases as you go, inasmuch as the opponents gradually become more numerous, more dangerous, or both. Knowledgeable enthusiast Ramjb has already released a long series of gameplay videos featuring this same campaign, but this report is the (illustrated) book of that movie, as it were; starts at the beginning; and is more in the nature of a taster, than a replay. Of AF's two campaign types, the dynamic variant - dubbed appropriately 'Battle of the Atlantic' - is my favourite - for the German side. It is dynamic in several respects, starting with the objective. This is not to win battles as such, but to win a tonnage war, German subs and surface raiders against British convoys and warship patrols. Merchant shipping tonnage sent to the bottom, or getting through, is what counts towards victory, over an extended period. And that victory, if and when it comes, I find is immensely satisfying...and announced in style. Losses are also cumulative - lose a ship and it's gone, with replacements only available within the other, real-life members of the class, if any sister ships there were. And your choice of ships to send to sea as the war progresses is limited to those available when they actually entered service. Real-life events affect the battle, for example the conquests of Norway and France giving the Germans additional bases, at about the correct period of the war. Damaged ships can be docked for repairs, but may be damaged again in bombing raids. The tonnage war is not entirely reliant on the player's efforts - in the background, the underlying wargame may generate battles and losses in which the player does not participate. However, playing from the Royal Navy side, I find that of the battles I DO see, far too high a proportion are U-Boat 'area ambushes' against groups of warships in open waters. Rare exceptions notwithstanding, the latter is simply not where submarines managed to attack warships outside of convoy escorts. With a maximum surface speed about the same as most warship's cruising speed, it's not surprising successful encounters were rare, for subs against warships. And when they did happen, generally did so in choke points, not the open sea encounters we see in AF. Maybe every third or fourth battle in AF's dynamic campaign for the RN, the warships I have painfully built up are ambushed by typically three subs, at least two in good firing positions and some inside 'guaranteed hit' range, firing before I can even move or shoot. Yes, depending on your chosen view options, you can often spot those torps that could be evaded and yes, a friendly destroyer - if not hit immediately - can often hit back by pulling off a party trick of its own, a torpedo salvo that is unrealistically effective. An upcoming patch might somewhat lessen this problem, by allowing a longer start range to be set. This should at least give the player a chance to react...as in, like Brave Sir Robin, bravely running away, my preferred tactic in such cases. But in its present form, I dislike these unrealistic ambushes so much I'm just not finding the RN dynamic campaign much fun. And 'fun' is what AF delivers everywhere else, by the big gun broadside, so for my RN campaign fix of said fun, I'm glad I can get this from the static campaign alternative. Here's how my latest try went! ...to be continued!
-
From the album Combat Sims
-
From the album Combat Sims
-
From the album Combat Sims
-
From the album Combat Sims
-
From the album Combat Sims
-
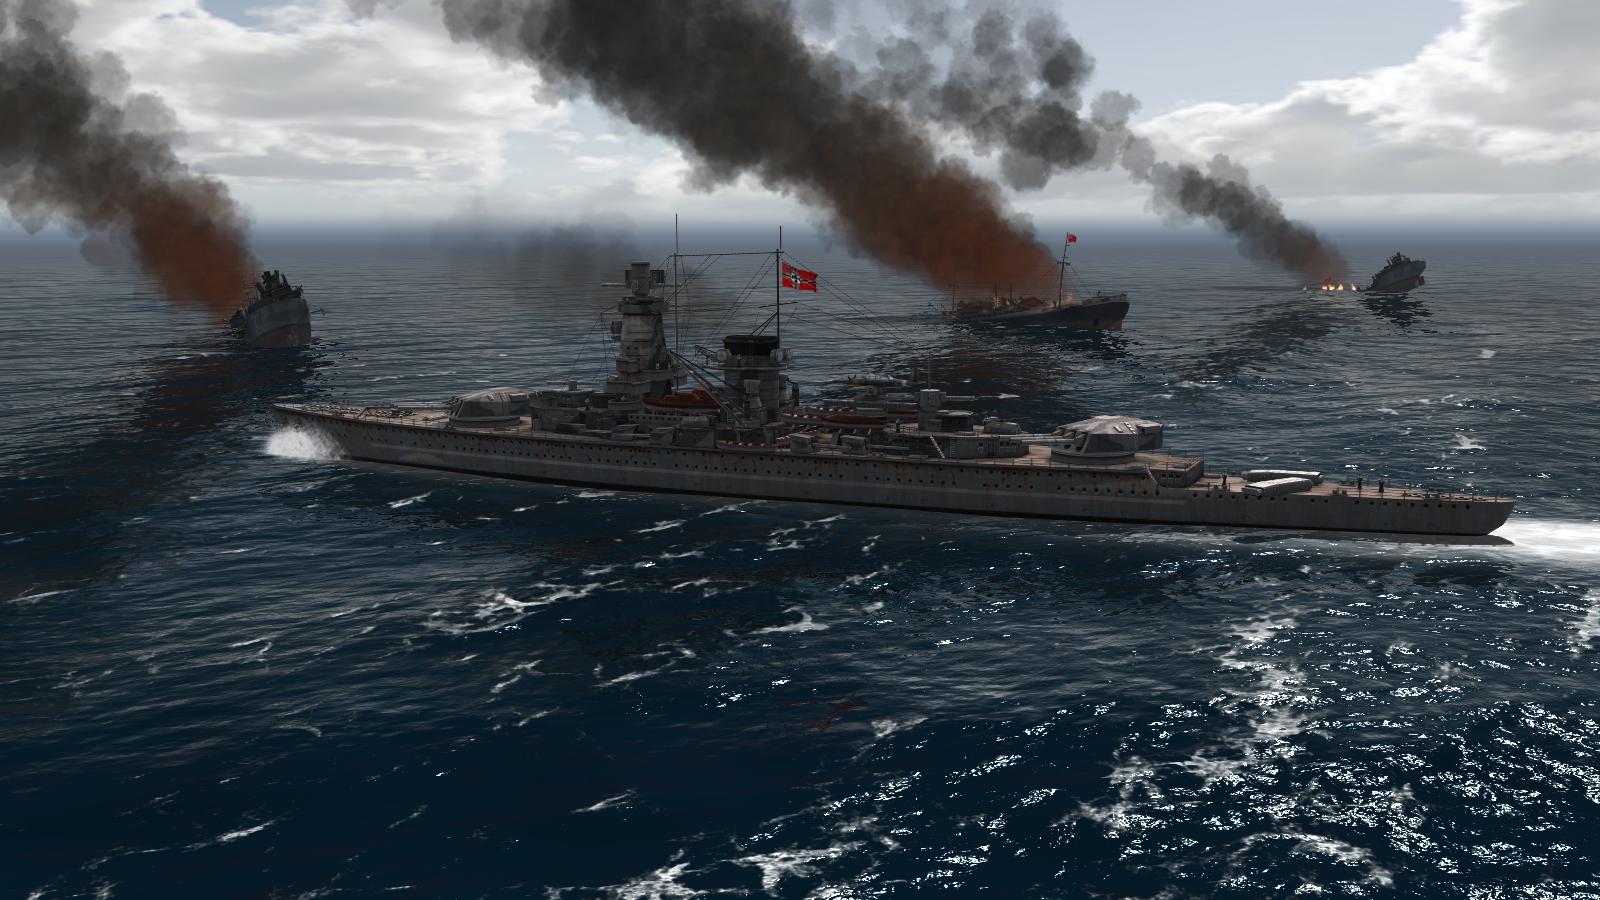
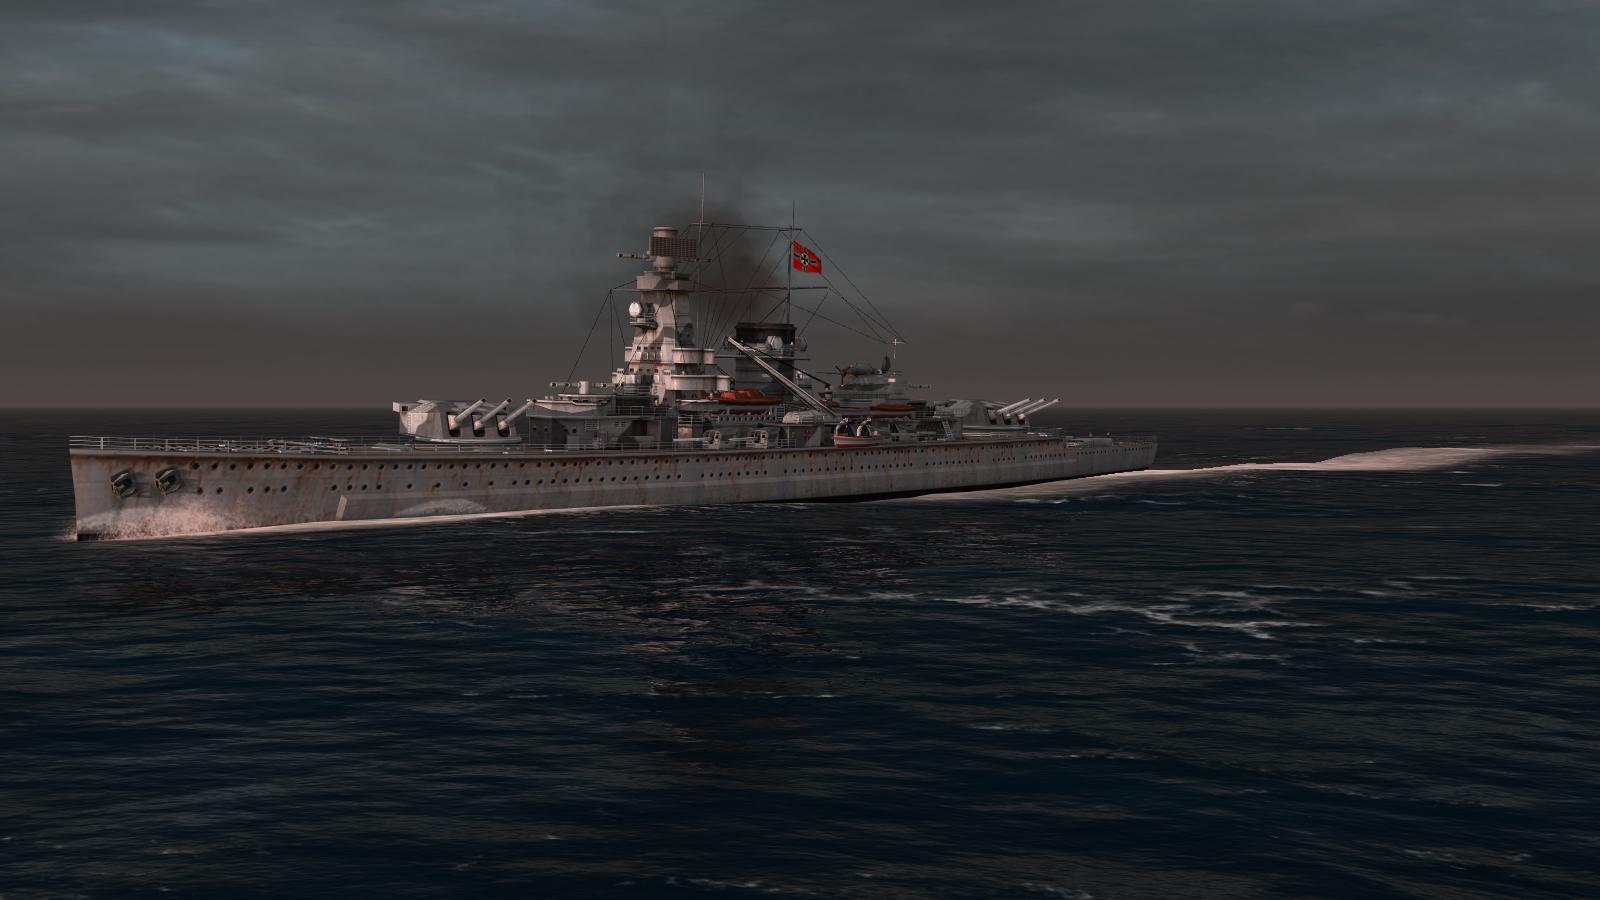
Sea-fights above and below the waves, in the Battle of the Atlantic! This mission report tells the story of my last two missions - or more accurately, battles - in Atlantic Fleet's dynamic campaign. One is a U-Boat action, the other involves only surface ships, but otherwise they have not been chosen specially; they're just what came my way most recently. The campaign plays like a random battle generator, except that the encounters are those which result from the movements and dispositions you have made, of the ships available to you at that point in the war. Like the Second World War itself, the Battle of the Atlantic started on the same day as the war in September 1939 and ran until its end, in May 1945. I never forget that what is essentially entertainment for me is based on the risks and sacrifices run and made by naval and merchant seamen, airmen and everyone else who went to sea, in those dark days. If nothing else, probably like many other players, playing such games increases my respect for those who served, and stimulates a desire to understand their experiences. I've just finished reading Roger Hill's excellent Destroyer Captain and am about to start The Sinking of the Kenbane Head by local author Sam McAughtry, written around the loss of that steamer in 1940, when 'pocket battleship' Admiral Scheer savaged convoy HX-84, sinking five merchantmen, which would have been even worse but for the heroic defence mounted by armed merchant cruiser Jervis Bay. Though the real campaign was effectively won by mid-1943, with serious defeats being inflicted on the U-Boats, the latter fought on and surrendered only when so ordered at the very end, many coming into Lough Foyle and tieing up at the pier at Lisahallly, near the port of Londonderry which played an important part in the battle. In my campaign, playing for the Kriegsmarine, I have got to February 1941 and have begun to take more interest in the planning and management of my ships. Your forces are pre-deployed and I had initially treated the campaign more like a random battle generator based on these initial deployments. But I have started to expand and actively manage my fleet, using 'renown' won in battle to add units from those available, sending fresh ships or subs out to the convoy routes and bringing back to base those needing repaired or 'bombed up'. My objective is to win the 'tonnage war' by sinking as much enemy merchant shipping as possible; getting it through would be my aim, were I playing for the Royal Navy. Sinking enemy warships helps to a degree, and while its tonnage doesn't count towards victory, it does earn 'renown', to obtain more ships, up to the limit allowed (30, I think). Here's the campaign map, set to display my dispositions (white ship or sub icons) and reports of enemy warhips (blue ship icon). A turn is 3.5 days and though bombing raids and convoy atatcks can happen anytime, and do, it's not every turn that will generate a battle for the player. In each turn, you can manage your ships in each zone, by leaving them there or moving to an adjacent one. If the zone has a friendly port, you can dock the ships there, for refitting and re-arming ( don't yet know to what extent fuel and ammo loads are dealt with, but torpedo loads are definitely modelled and damage is cumulative, carried forward from turn to turn, with limited repairs possible at sea). These zones are named for real sea areas. In the screenshot above, you can see that the active one contains my newly-commissioned Bismarck and Tirptz, accompanied by a destroyer, in the act of breaking out into the Atlantic (the U-Boats in the zone were already there but provide useful cover). The red and blue dashed bar along the top of the campaign map illustrates my progess in the tonnage war. To win, I need to turn it all red, and keep it there, for an unspecified period. I'm quite enjoying the 'strategic' element of Atlantic Fleet, which has more than enough interest to make it engrossing, without so much detail or micro-management that there's a real risk of tedium. France and Norway have fallen to Germany so I now have more, closer friendly ports to which I can return, when necessary. My forces already at sea include Scharnhorst and Gneisenau, operating successfully together against convoys as they did for a time in real life. But further south, I have recently lost a 'pocket battleship' which was hit by two unlucky 16-inch hits from HMS Rodney, before her superior speed could get her out of range. Incidentally, this and other encounters have demonstrated to me that the 'Longer start range' option in Atlantic Fleet badly needs an increase. This doesn't so much affect historical battles, but on campaign, it can mean no escape for faster ships, RN battleships being unable to evade U-Boats which start rather close by, and aircraft carriers likewise very vulnerable to gun attack, in good weather and visibility. Bismarck, Tirpitz and Beitzen have just previously had a night action while moving up the coast of Norway, with an RN cruiser and two destroyers, which they sunk with Beitzen getting a single 4-inch hit in return. I'm glad I decided to have a destroyer along, for Beitzen was able to keep the enemy illuminated by starshell, while the big battle wagons found the range and then pounded the enemy into oblivion. Having destroyed the RN patrol, they are now a move closer to the open waters of the Atlantic. The shot below was actually taken the move before the map pic above, after which I moved my force further west, to the next zone en route. The next battle - U-boat convoy attack Atlantic Fleet's dynamic campaign (it has a 50-mission static one, too) generates battles based on your dispositions and movements, and my next one came when the campaign engine determined that a convoy had run into a zone with three U-Boats present, in the middle of the North Atlantic between Canada and Ireland. You start after any pre-engagement moves have taken place, as seem here, with the U-Boats clustered around the target in some fashion. We can assume that one boat, or a Focke-Wulf Condor long-range recce aircraft, has spotted the convoy, and called in the nearby U-Boats. This isn't Silent Hunter, so you won't need patiently to hook around a convoy at extreme range, at full speed on the surface, then submerge ahead of its track and wait for them to come to you - that's already been set up for you. For this action, it's daylight, and here is the tactical situation at the very start of the fight: Ten ships a side per battle is the limit, which results in rather small convoys, here in two columns with three destroyers for escort. One of the latter really should be astern or on the other side. So far, we are undetected. The convoy is zig-zagging, but there are none of the asdic pings which would tell me the escorts have gone into active sub-hunting mode. I have rarely been detected before an attack, although periscopes can be spotted (and shelled!). This is the external view from the position of U-109, a big Type IX boat in a good position on the starboard bows of the convoy. Once you have left the map, the lack of compass bearings means you don't have much sense of location or direction, except in relation to the other vessels involved, which would be nice to have; but my hope and assumption is that this is a fully-loaded convoy, headed east to the UK with valuable supplies whose loss will help win the war for Germany! You can just about see my periscope wake, with the three escorts in view, to left, centre-left and right and the merchantment all behind. This may give me a good shot at a destroyer, but sinking freighters is what will win or lose the war, and unless sinking a lone escort enables a surface gun attack on the former, I will usually let escorts alone. From here, my usual tactic is to go to full speed ('flank speed' as the USN and Atlantic Feet call it) and as my submerged U-Boat is much slower, immediately make any turn I reckon I need, to take me into a good firing position. After which, I will pick my targets. Atlantic Fleet has a 'sweet spot' range of about 1,000-2,300 yards which a torpedo will cover in a single turn, pretty well guaranteeing a hit (you can enable 'dud weapons'); what I like less is that there is a very high 1,000 yard minimum engagement distance! And below is U-109 herself, running in at maximun revolutions, at periscope depth. As you can see, she is in mid-war configuration, still carying her deck gun but with an extended wintergarten mounting additional AA weapons (and what looks like a radar antenna or warning receiver on the conning tower, which methinks should be retracted, submerged). The sub astern I just sent along in the convoy's wake, slightly to port, ready to catch them if they turn or reverse course. She's U-252, a smaller Type VII boat, and in early-to-mid-war configuration. Slowly, we creep in, tightening the noose around our unsuspecting targets, but conscious that poor manouevres could easily put them beyond our slowly-developing clutches. One way or another, it won't be long, now! ...to be continued!
-
From the album Combat Sims
-
From the album Combat Sims
-
From the album Combat Sims
-
From the album Combat Sims
-
Re-fighting two real-life battles in Atlantic Fleet! One of my favourite features in Killerfish Games's PC port of its excellent WW2 naval wargame is the inclusion of thirty historical sea battles. This short mission report features two of these - one a victory for the Kreigsmarine (said to be its last), the other a defeat. The victory is the Battle of Les Sept Iles ('the seven isles'). This was a night action, fought between light forces off the northern coast of Brittany, France, on 23 October 1943. The defeat is the better-known Battle of the North Cape on 26 December 1943, which resulted in the loss of the battlecruiser Scharnhorst. Les Sept Iles My interest in this battle was picqued after reading an account of it in the excellent wartime memoir Destroyer Captain by Roger Hill. The book is an account of Hill's wartime service in that role. He commanded first HMS Ledbury, participating in the debacle of Arctic convoy PQ17, then, in the Mediterranean, playing a significant part in getting the damaged tanker Ohio into Malta, during the equally famous Pedestal convoy action. Hill certainly had an eventful war, finishing off Normandy on HMS Jervis. In between those commands, he was captain of HMS Grenville, and, in the Bay of Biscay, was on the receiving end of one of the first attacks by Hs 293 glider bombs; the book includes a dramatic picture of one of these heading for Grenville, and another of the bow of sloop Egret, sinking after a devastating hit. By autumn 1942, Grenville was based in Plymouth and was a regular participant in Operation Tunnel. This was laid on as requred in an effort to intercept German blockade runners trying to sneak along close to the French coast during the hours of darkness. Hill hated the operation because it was usually undertaken with a mis-matched force which hadn't trained together and along the same lines every time, subject to regular radar tracking by the Germans. The naval staff refused any idea for a better-trained, more imaginative, less dangerously predictable approach...with sadly predictable consequences. One such operation was laid on, on 22 October 1943, when intelligence reported a German blockade runner (the Munsterland) had slipped out of Brest to make a run up-channel. This time, the hastily-formed British sweep had a cruiser in the lead, HMS Charbydis, but she was an AA cruiser, with more but less powerful guns than on the two participating fleet destroyers, Grenville and Rocket. The rest of the force comprised four 'Hunt' class escort destroyers, slower than the others and thus unable to keep up in a fast action. After the war, a friend of Hill's met a German destroyer captain in South Africa, who told him the blockade runner was used as bait for a trap. The radar contacts Charybdis picked up early on the 23rd weren't the blocakde runner and escort, but a division of big German 'Elbing' class torpedo boats (small destroyers, with lighter gun armament but six torpedo tubes apiece). These launched their fish while still head-on, without turning broadside. Charybdis, in the lead, was stopped by one torpedo hit, then sunk by another, with heavy loss of life. Coming up behind her, Limbourne, one of the Hunts, had her bows blown off. Grenville likely only escaped because Hill, just astern of the cruiser and anticipating mines or torpedoes, had pre-planned a full-power turn to starboard in the event of a contact, which only just took him out of trouble. The Germans turned away and were gone before the British could make any effective counter-move, leaving them to pick up the few survivors and sink the wreck of Limbourne. The Atlantic Fleet version of Sept Iles Here's the map for the battle. I decided to play for the Germans, though I was fairly sure that the element of surprise might not do me much good. In Atlantic Fleet, battles start well within gun range, which is a big disadvanatge if (for example) you are playing a German surface raider and find that you have come up against a convoy with a battleship escort, as I have found to my cost! And here is the opening tactical situation. I was surprised to find that there are only two enemy ships, which turned out to be the AA cruiser Charybdis and the fleet destroyer Rocket. At this stage, they are just radar contacts. Also, the blockade runner was in the middle of my formation. Just to cap it all, my torpedo boats were in two lines, with the leading line rather in the way of the second one. At this point, I found that I was unable to immitate the real German tactics. They could and this night, did, fire their torpedoes imediately they were within range, without turning broadside on, with the fish then turning onto the gyro course set. In Atlantic Fleet, you have less of an arc of fire for torpedoes, with none straight ahead or straight astern. So I was probably going to lose rather quickly most or all or of my advantage of surprise. To hell with it! I turned one boat and the blockade runner to starboard, towards the French coast, the others beginning full-speed turns to port, prior to cutting loose with torpedoes. Knowing I could be detected at any moment - if I hand't been, already - I started firing starshell, to illuminate the enemy. The opposition were evidently caught unaware, steaming straight ahead, guns trained fore and aft. But the battle was now on! ...to be continued!
-
From the album Combat Sims
-
From the album Combat Sims
-
From the album Combat Sims
-
From the album Combat Sims
-
From the album Combat Sims
-
From the album Combat Sims
-
From the album Combat Sims
-
From the album Combat Sims
-
From the album Combat Sims
-
From the album Combat Sims


