


33LIMA
-
Content count
3,749 -
Joined
-
Last visited
-
Days Won
7
Everything posted by 33LIMA
-
Scenes from my Jasta 2 campaign... Stachel attacks a Sopwith two-seater at low level.. ...and knocks it down - in emphatic fashion... But the skies above are filled with English fighting aeroplanes... ...and they are not all prehistoric packing-cases, so it's time to go home... Unescorted R.E.8s make easy victims on a later mission... Later still, and an escort job is interupted when Stachel spots friendly flak breaking out nearby... ...and his three Albatros D.IIIs turn to give battle, with what turns out to be two RFC SPADs... They knock down one SPAD, but the fight is joined first by some Nieuports, then by two Sopwith single-seaters. One of the latter breaks up in mid-air during a tight turning fight, possibly from a weakened structure due to flak or MG damage... The second Sopwith has been attacking Stachel's surviving comrade but breaks off under heavy flak fire, and makes a run for it, with Stachel in hot pursuit... The Sopwith goes down to a forced landing after Stachel's fire knocks out his engine... ...but Stachel's machine has been trailing steam and his own motor grinds to a halt soon after, with the Albatros over-turning in the forced landing which follows... No doubt about it - with recent versions of Pat Wilson's Campaign Generator, the seemingly empty skies that used to put me off Rise of Flight are now but a distant memory, and the excellent PWCG combat report facility means that Stachel's logbook aka journal is rapidly filling up with reports of many fierce and usually successful combats. And yes, he's now got the Pour le Mérite!
-
Das Reich finally secures the Pavlovka bridgeheads! Well, I finally reached the end of my first campaign in Graviteam Tactics: Operation Star, having in the process just about secured and held my campaign objectives, though not earning a victory (in a typically arcane GT:OS reckoning!). The Pavlovka campaign had reached its final (eighth) operational-level turn, so although I might have several battles to fight at tactical level, I knew my time was running out. So to the east of Pavlovka, I pushed a combined force of StuG III assault guns and panzer pioneers northwards towards the River Mzha, intending to reinforce my battered units on the far bank and establish a bridgehead so strong that the Reds would be unable to kick me out of it, try as they might. That was the plan, anyway. It was quite a tense business, as my SPWs, advancing on the left, changed from line to column formation to ford the river in the snowy darkness. There was a certain amount of bunching up as they reached the near bank... ...but the half-tracks quickly shook themselves out and made the crossing without opposition, passing the frozen bodies of casualties from the earlier fighting. To their right, my two StuGs had moved up to a fire position on the southern bank, accompanied by an infantry platoon... ,,,but meeting no opposition, they then made their own crossing and swung north-east, to establish a blocking position against the Red tank brigade still expected to hit us from that direction. At this point, the GT:OS curtain came down. I don't recall there being any contact as I write this, so I'm not clear what caused the handful of wounded reported on each side (or why they aren't counted in the casualty total). I'd achieved what I'd set out to, and gained some ground at the enemy's expense, so I'm not especially bothered that GT:OS only awarded me a draw. Equally I'm not bothered about the lack of combat. For me, 75% of the fun is laying and carrying out your plans, with the excitement and uncertainty as to whether, how and when the other side may, or may not, make the effort to mess things up for you. I didn't know it at the time, but the next battle was going to be my last one of the campaign. And it was going to be an altogether more violent and bloody affair. ...to be continued!
-
Final fling! The second enemy attack comes in on my left. Any hopes that it's just infantry are soon dashed. It's more armour; probably more light tanks, but that's more than a match for my weak infantry platoon over there, bereft as it is of significant A/T weaponry. I order my Marder to switch flanks, and soon, he's trundling through the left-flank platoon's hasty defensive positions. However, he's too late to stop the platoon from being outflanked on their extreme left. Destroying the platoon HQ, the enemy armour pushed south, reaching the track which runs west to east along the rear of our positions. I hastily divert the Marder to the left, and he runs out onto the track. At this point, I mess things up. Some of the Red armour seems intent on reaching the river to the south, but other tanks are reported heading east down this track. I know the Marder is going to meet them head on. The Marder wisely halts, but, eager to save the infantry the Red tanks are shooting up, I push him further forward. This generates the desired combat, but it goes against me, and the Marder goes up in flames! I have just lost my only decent A/T weapon! I should have got him into an ambush position in the woods and let the enemy come to him, but it's too late now for second thoughts. Part of my problem is that these enemy tanks are T-70s, not T-60s, armed with a much better 45mm gun, instead of a 20mm cannon. The T-70s spread out and enter the woods, over-running my left-flank platoon... ...and catching their SPW, which I pulled back deeper into the woods, too late to save him. By this point, I have rather run out of options; attractive ones, at any rate. My infantry here are pretty well pinned down by the T-70s. Fortunately, they seem to be without supporting infantry of their own. My troops take advantage of this - there's a flash and a gout of smoke from the rear of the nearest T-70; it looks like he's been hit by an A/T grenade! The tank goes up in flames. The hatches flip open, but nobody gets out. At about that point, I finally run out of time, as well as realistic options. The battle is rated as a 'minor defeat', which is probably about right - we won emphatically on the right flank, but the Reds had the last laugh. Returning from the tactical to the operational level, I find the campaign is now complete. The debriefing tells me that - as I can see for myself from the map - Das Reich has succeeded in clearing Pavlovka and securing crossings over the Mzha. Overall, though, counting up victory points, the campaign is rated as a defeat. Perhaps I should have mopped up those enemy hold-outs to our right and rear. But while I'm lucky we caced nothing wose than light tanks, they were enough to match the light armour which was all I was able to deploy for nearly all of the campaign. And I still haven't got the hang of calling in artillery, assuming I had any avaibable. Still, it's been a great introduction to Graviteam's magnum opus, and I'm looking forward to pitching in to my next campaign!
-
Contact on the right flank! Maybe I'm missing something, but I'm finding it mildly frustrating that there can appear to be some inter-mission discontinuity, between GT:OS campaign missions. The map view below, at the start of my final operational-level turn, shows my StuGs (blue unit marker, 'tracked vehicle' oval with the dot in the centre) not across the river to the north west (where I left them at the end of the last move) but back on the southern bank. True, within limits you get to reposition units before each tactical phase, but in what turns out to be my last roll of the proverbial dice, my StuGs will be playing no part. Instead, as the red arrows on the map show, the surviving troops from my original eastern bridgehead are what I've got, and they're being counterattacked. Perhaps things would have turned out differently had I made different choices earlier, but having been denied my heavy armour until well into the operation, it's a bit frustrating that this last battle will be fought without my StuGs, never mind my Tigers. What I do have is the remains of two infantry platoons. The one on the right is dug in and has a lightly-armoured but powerful Marder III self-propelled A/T gun. I place this so as to cover the track leading down from the north-east, and then set up the infantry nearby, to cover it. On the left, I set up the other platoon in the same woods. This is what's left of my leading panzer pioneers, with a single SPW their only available armour. They're basically covering the left flank and rear of the other lot, with a field of fire as far as another track which runs north-south and is a second likely axis of advance for the enemy. We did have another SP gun in this sector, a Marder II, but it was knocked out in the earlier battle with Soviet light tanks. Both the Marder and one of its victms still stand where they lay after that fight, just to the right of my positions. I'm pretty thinly stretched and hoping not to be heavily attacked, but of course that's exactly what happens. Enemy armour is spotted (and heard) coming down another north-south track. This is not the one covered by my sole decent A/T weapon. This is early 1943 and we have no infantry A/T weapons like Panzerfausts or Panzerschrecks. As usual, I'm playing with all 3-d world markers turned off and from a near ground level viewpoint, for maximum immersion - I prefer GT:OS to simulate war, not simulate a wargame. But I roll the camera out and just ahead of my forward troops, to see what they can see. And what they can see is a platoon of T-60 light tanks, headed down the centre track towards us, roughly in my centre. They've got a few infantrymen with them too, and while my grenadiers are soon lacing into these, the light tanks return fire with 20mm cannon and co-axial MGs. I don't especailly want my thin-skinned Marder to leave the protection of its tank scrape, but I know that it has no clear field of fire through the woods towards the centre of my positions. I hestitate briefly, before accepting the inevitable and ordering him to displace to the north-west, leaving the wreck of the other Marder behind. He doesn't have to go far. He spots the T-60s and lets fly. I see at least one of his rounds splinter a tree to his front, but others find their mark, and the effect of a 7.5cm AP round on light tanks is all too predictably disastrous, for the latter. Some of the accompanying troops are caught up in the fireballs which engulf their armour. They run mindlessly to and fro, their clothing ablaze. The 20mm cannon of the T-60s are a serious danger for my Marder, so I'm relieved when the rearmost Soviet llight tank also goes up in flames. So far, so good! But no sooner is the first battle on the right flank won, than it's kicking off, over on my left. ...to be continued!
-

WOFF: Screenshots and Videos
33LIMA replied to RAF_Louvert's topic in WOFF UE/PE - General Discussion
If you can't beat 'em, join 'em...consolation for the premature end of my 56 Squadron campaign is at hand, flying for their most famous opponents, Jasta 11. -
WOFF: Screenshots and Videos
33LIMA replied to RAF_Louvert's topic in WOFF UE/PE - General Discussion
'So far, still so good!' turned out to be a rather classic case of speaking too soon... First problem, despite being quite certain I got the balloon marked as our target, it's not credited, so we are sent out again to knock it down. Perhaps the Huns replaced it quickly. This time I have two companions and we get over the lines without incident. Soon, I'm looking down at the ballloon... ...but a glance behind shows my flight-mates peeling off, up and away to my left rear. Evidently, something is stalking us, and it's not hard to guess what. I came here to get the balloon, and now's my chance. I roll right and swing down and around towards it - you can see the balloon just above the right-hand trailing edge of my centre-section in the pic below. Archie begins to shell me as I come down. Another glance behind shows I'm still clear, with my flight mates still climbing up towards whatever the sun's glare is still hiding from me. I end up attacking along the fore-and-aft axis of the balloon, and at first I think he's not going to burn with a single pass. But I'm wrong - down he goes... I climb up and away to my side of the lines, drawing clear of the ground fire. At that point, I should have perhaps gone home, and had I done so, I'd have got away with it. However, there was the little matter of my two flight-mates, whose alertness had enabled me to accomplish our task. I still had plenty of ammunition left, so I began a right-hand climbing turn, back to the scne of the action. I don't usually turn on labels, but this time I did, because I was experimenting with the keyboard commands to check if I had 'dot mode' turned on. What the brief glance I got at the text labels revealled was a sky full of Albatros scouts, mostly disengaged, but on top of the heap, one was fighting against a solitary SE. I got no screenshots of the long dogfight that developed once I arrived back up there. But I chased that Albatros down to low level, and finally clobbered him as he tried to land. However, by that time I was down level with several of his friends, and had to make a run for it with their bullets cracking and snapping into my kite. Not to be left out, Archie was having a crack at me, too. Literally dodging between the trees persuaded the V-strutters to abandon the chase. But just when I was beginning to think I might make it back over the lines, my motor gave up the ghost. I clipped a fence trying to get down into a decent field, but managed not to turn her over. As it was, I only just avoided smashing into a clump of trees at the far side of my forced landing ground. I knew my campaign had come to an early end, but instead of being made a prisoner, I was rather miffed to be told that I had been killed 'by direct enemy action', which seems to happen to me rather a lot after what seemed to have been a half-decent forced landing. Perhaps I should have got out while I still could and not turned back, but at least, the honour of the squadron has been upheld! OK, this has been more of a mini-mission report than a screenshot post, but if nothing else, it illusrates that there's a lot more to flying WOFF than taking pretty pictures! -
WOFF: Screenshots and Videos
33LIMA replied to RAF_Louvert's topic in WOFF UE/PE - General Discussion
Scenes from the latest mission in my 56 Squadron campaign, May 1917... Two of us are detailed to shoot down a German observation balloon. But on reaching the front, I see white smoke puffs from friendly Archie, engaging unseen enemy aircraft down low and left. After watching cautiously for a while, I can see only one Hun, who appears to be putting on some kind of flying display for our troops...perhaps he's strafing them. I go down and put a stop to this. The red-tailed V-strutter can out-turn me but by using what today might be called low yo-yos, I get him, and then scoot on over towards my original objective, the balloon. I decide to attack the 'sausage' from the east, taking advantage also of some cloud in that direction to give me cover from the German gunners who have seen me coming and are blazing away. My flight-mate is lagging behind but I press on. coming out of the cloud, it takes me a while to spot the balloon again but I'm soon diving down onto him, throttled back and guns blazing. He begins to fall, trailing a plume of dark smoke; the next second, as I open up and jink away, he's goung up in a ball of burning hydrogen. I've come off him heading west and home as planned. Instead of my flight-mate catching me up at this point, I find I'm being tailled by another Albatros, this time one with a black fuselage. He seems to be hot stuff and lands a few hits on my S.E.5, but again using the vertical at the cost of my height, I manage to get some hits in return, cause him to break off and run for it. My Lewis Gun is out of rounds, but the Hun is unable to out-run the rounds from my Vickers. Down he goes... ...and back I go to Vert Galand, with two Huns and a balloon to claim, equally pleased to find my flight-mate has also made it back to safety. My log book shows eight confirmed victories from seven operational flights, and three claims pending confirmation... ...the latter likely including the Hun with the black fuselage, whose demise I have recorded in what I trust will be sufficient detail, to ensure that confirmation follows... So far, still so good! -
WOFF: Screenshots and Videos
33LIMA replied to RAF_Louvert's topic in WOFF UE/PE - General Discussion
On patrol with the Red Baron... Over the front with Jasta 40... -
The heavy stuff arrives at last! Pavlovka campaign, mission report #4 To relieve the pressure on my infantry and pioneers around Pavlovka, I have moved a platoon of StuG III self-propelled 7.5cm guns to the south of the village, and a heavy tank platoon to its west. The StuGs aren't yet close enough to relieve my battered eastern bridgehead. But the Tigers are well placed to enter the battle to the west. At the operational phase, I order two pioneer platoons to destroy the encircled enemy platoon to the south-east of Pavlovka, as a first step towards a concerted push with armour and infantry northwards, where what's left of my eastern bridgehead is still clinging grimly on. The Reds have light tanks up there and I'm not going to tackle them until the StuGs arrive. In the meantime, my people up there will have to hang on a little longer. Over to the west, I order a strong, concentric assault on Pavlovka, with three grenadier platoons and the platoon of Tigers. On the left, a grenadier platoon will cover the open flank by attacking eastwards along the banks of the Mzha. In the centre, another platoon, with my tanks in intimate support, will attack east into Pavlovka itself. On my right, my third grenadier platoon will attack northwards, into the centre of the village. In the Initial Orders screen below, the blue arrows are inherited from my operational-level orders, and don't reflect the actual axes of attack I have just described. My grenadiers begin to advance across the dark, snow-covered terrain. Yes, it's another night operation! Just behind them, my heavy tank platoon rattles and roars forward. In early 1943, it was not uncommon for heavy tank companies to have a mix of Tigers and Panzer IIIs, though the latter were normally the 'close support' version (Ausf. N) with a short 7.5cm gun; here, we have instead long-barrelled 5cm weapons. The tanks begin to catch up with the grenadiers as the hovels of Pavlovka loom through the darkness ahead. The tension mounts as we reach Pavlovka. I have ordered the tanks to advance only as far as the outskirts, as I don't want them running into hidden enemy infantry or A/T weapons in the dark. The grenadiers will press on, at least until contact is made. It's not long in coming, and it's my troops in the centre - the grenadiers with the tank support - who hit it first. There are enemy troops over there, near a cluster of isolated buildings, north of Pavlovka, and a fire-fight soon develops. The enemy there are soon wiped out but now, the grenadier platoon coming up from the south bumps enemy infantry between them and the village. I'm still watching the battle from the positions of my troops in the centre of my attacking force, and the contact report on the radio is soon followed by tracer and illumination rounds over in that direction, marking the scene of the latest action. My tank crews, who have just unbuttoned, close up again, ready once more for combat. I waste no time in ordering my halted tank platoon to get moving again, and assault deeper into Pavlovka. This will help their accompanying troops to clear the village and threaten the rear of the new defenders. I try to call down some artillery into Pavlovka, ahead of my troops, but I don't have a dedicated forward observer, and none of my platoon command elements can raise either gunners or mortarmen on the radio net. My tanks press on into the village, but meet no further opposition there... ...so I order them to swing around slightly to the south, to get clear of the buildings, where they can have a less obstructed run at the Soviets who are resisting the advance of my right-flank grenadier platoon. The Panzer IIIs take the lead, with the Tigers backing them up. At this point, GT:OS announces that the Soviet 'key point' in Pavlovka has fallen! The enemy opposityion there certainly seems to have melted away. You can see from the message log that at one point, they asked for a cease fire; naturally, Das Reich is disinclined to parley with Bolshevists, so this went unanswered. While checking the map, I notice with some alarm that the battle timer has already gone into 'countdown' mode, indicating that the curtain will soon come down - in just over four minutes, at the point the picture below was captured. Why so soon, I have no idea. After taking Pavlovka, I had planned to exploit to the north and re-establish my western bridgehead over the Mzha. Not much time for that now! My lead panzers have by this time linked up with my right flank grenadier platoon just south of the village, lit up briedly by (presumably enemy) illuminating rounds. The idea was to swing both tank and infantry platoons north and attack along the same axis, clearing enemies reported between Pavloka and the Mzha. But if I have any hope now of gaining the far bank in this sector, I need to try something different, and quickly. The ilumination dies away again, not before I have noticed enemy trenches up ahead of my leading tanks. This comes as a bit of a surprise, so I let both tanks and troops continue, so as to make sure that these quite extensive field defences are definitely cleared of their former occupants. They haven't been! Some Soviets are still around out there. Tigers, Panzer IIIs and grenadiers crack off bursts of MG fire into the darkness. This finally seems to do the trick, but a difficulty of a different kind is about to take a hand. One of my Panzer IIIs runs into the defences, and just when I think he's got glear, his tail slips deeply into the last trench. He struggles to get out, but seems only to succeed in miring himself more deeply. One remedy in these situations is to intervene yourself, and give the unit an indididual 'Reverse!' order. This I quickly try, but to no effect. Instead, after a short struggle, two of the tank's crew get out and set about the right-hand track noisily with large hammers. Evidently, the panzer has shed a track. At this point, rather than risk further such misadventures, I order my tank platoon to break off and attack north-west. Up in that direction, my left-hand platoon has met no opposition and indeed, has established a small toe-hold over the Mzha. Nearby on the map, I can see there is a bridge or ford, which the panzers could help sieze. The bogged Panzer III's crew appear unworried at this turn of events. In fact, they turn on their lights as they continue to work. By this time, the rest of the tank platoon is on its way to the north-west, leaving the now self-illuminated panzer behind them. This leaves my right-hand grenadier platoon to assault north from Pavlovka to the river. Which they do, despite having taken some losses in their earlier battle south of the village. There are more entrenched Reds up here, but my grenadiers have a Marder SP gun for close fire support... ...and soon, the leading troops can see the dark band of the river, looming up ahead of them. Meanwhile, my two Tigers and the other Panzer III are now leading the dash towards the north-west of Pavlovka. But before they get there, my time runs out! I am awarded a draw... ...which is one of those nonsense results you sometimes get in GT:OS, as in SABOW. True, I have sustained some losses, despite having a comfortable superiority over the enemy. However, we have done considerably more damage to the Soviets, in a night attack against dug-in opposition. I had deliberately concentrated my forces, and I really don't expect to get 'marked down' for successfully massing strength against relative weakness. So I take this to be a victory, albeit not a glorious one and at a higher cost than I'd have liked. Back at the operational level, the map shows we have developed a strong position on our left and cleared the Soviet salient around Pavlovka, in the centre. Leaving a single Soviet platoon (depleted in an early battle) masked well behind our centre, we are now well poised to fight my planned second battle, on my right. Two panzer pioneer platoons will attack and destroy the enemy platoon in a defensive position south-east of Pavlovka. Then, they will link up with the StuG III platoon that is now standing by on their left flank, and attack northwards, to relieve my battered bridgehead east of Pavlovka. For a while. the battle felt like it had slipped from my hands. Now, with my heavier armour finally in action, I feel once again in control. Time to wipe out the Reds on the right, then Das Reich will be well and truly back on the offensive in this sector! I wish I had discovered the tactical marvel that is Graviteam Tactics: Operation Star years ago, but it took learning the wargame ropes in Steel Armour: Blaze of War, and an incredible sale on Bundlestars, to get me started. Better late than never! In over fifteen years of PC gaming, GT:OS I have found to be one of the very best, if not the best, I have ever played, certainly second to none. And I am looking forward both to completing my first campaign and to kicking off the many others available, from Ukraine to Iran and from Angola to Afghanistan. Most highly recommended! This is likely to be the last mission report I file before the Festive Season, so I'll take this opportunity to wish the staff, members and readers at CombatAce a very happy Christmas!
-
WOFF: Screenshots and Videos
33LIMA replied to RAF_Louvert's topic in WOFF UE/PE - General Discussion
Hunting the Hun at his home... Two-seater tussle... -
Keil und kessel! 'Wedge and cauldron' the Germans were apt to call the common pattern of mobile operations - a force driving a wedge into the enemy's lines, then attracting the enemy to it like wasps to a honey pot, and having to fight off all comers, often surrounded. GT:OS was about to bring this experience to life forme. To the north-east of Pavlovka, my pioneer platoon had been nearly destroyed by a strong enemy attack supported by APCs and light tanks. A few scattered pioneers in trenches is all that’s left, along with a surviving SPW that’s back off and linked up with the infantry unmotorised platoon holding the left flank of the small bridgehead. It’s still dark when the Reds renew their attack. There’s no artillery preparation. Instead, the attack consists of several T-60 light tanks supported by some troops in Universal Carriers. Here's one of the light tanks... ...and here's one of the Carriers... This force rattles down the road to the north-east, outflanking us on the right and fanning out behind us. I’m forced to back my surviving SPW into the woods; he narrowly avoids being knocked out by the rampaging T-60s. Things rapidly go from bad to worse as another platoon of T-60s, with some dismounted infantry, pushes down a north-south track, right through the centre of my positions, between the grenadiers on the left and the few survivors of the pioneers on the right. By this point, pretty well everyone is beginning to panic, having no effective defense against even light tanks. To order them out of their trenches in the dark seems suicidal so I leave them where they are. The only thing that saves them is that the Soviets have other plans. I become aware that the T-60s and Carriers on my right are driving off to the south, towards the river to our rear. So that’s the plan. Rather than destroying us, they are intent on cutting us off and securing a bridgehead of their own, well in our rear. Not that there’s much left to destroy – a single SPW, a handful of pioneers, and a badly-depleted platoon of mostly leaderless and demoralised grenadiers. The fighting dies off. Somewhere, somebody is putting up illumination rounds. I think it's friendly forces to the south, responding anxiously to the sound of tank motors. Well might they be anxious. The map below shows the operational situation after the two night battles. Compared with the map at the start of this phase, the left-hand bridgehead is gone and the Reds have gained ground around the west of Pavlovka. On my right, what's left of my eastern bridgehead is just about still there, hanging on by its fingernails, as it were. But it has been almost completely encircled and is effectively cut off - the attacking keil has become a desperate, defensive kessel.The Soviets have thoroughly re-established their positions to the east of Pavlovka, linking up with some of the troops I had surrounded. The tables have been well and truly turned. Now, it’s the leading elements of Das Reich which are in danger of being encircled and destroyed. In fact, that process seems to be well under way. The one bright spot in all of this is that my Tiger and Sturmgeschutz platoons will very soon enter the battle – the Tigers are coming up on the right, and the StuGs are already well-placed in the centre. If T-60s and Bren Carriers is the best the Soviets have, we will surely pay them back in spades for the losses we have suffered. 'If', as the Spartans responded to the threats of Phillip of Macedon. Either way, time is running out… This is as far as I have got with my first GT:OS campaign and I am mightily impressed. It’s apparently one of the easier campaigns, so I will need to master things like calling in indirect fire (when it doesn’t work, I’m never sure if it’s because none is available, or because I’ve messed up my drills). But I won't be tempted to climb into a virtual, invulnerable helicopter, or turn on the labels. Win or lose, the grunt-level gameplay is far too immersive for that. GT:OS beats any other PC wargame I have played into a fairly distant second place. There are a few things I’m not massively keen on. There’s little sense of identity – you’re not playing the role of a specific commander, in either operational or tactical levels. Instead, you’re whoever is in charge of whatever forces happen to be in the particular area, at either level. And the forces you do get seem to be a bit of a mish-mash, rather than a well-formed all-arms company or battalion group with a specific and balanced composition. The briefings/orders are very lightweight - more like general directives. And the forces deployed are somewhat small for the area involved, like you are fighting a scaled-down version of a bigger battle, with platoons on either side where their might really have been companies, and so on. However, I have to say that Graviteam Tactics: Operation Star conforms beautifully to my idea of how a PC wargame should work, and well deserves all the praise that's been heaped upon it. The models, textures, environments, effects and troop/vehicle animations are particularly good. I love the ability to play reasonably effectively from ground- evel rather than God’s eye view and with on-screen markers turned off. Yes, it’s something of a handicap, but to me, this makes all the difference between playing what feels like a conventional wargame with miniatures, and playing an all-arms combat simulator from the perspective which the troops and commanders involved would have of the battlefield and the action. I also like the fact it’s not set up to be a click fest – the scope and pace of the battles and the decent AI mean you can operate like a real commander, making your plan, giving your AI subordinates their orders and leaving them to carry them out; intervening when necessary, rather than having to micromanage. You might as well play chess, as a PC wargame which lets you (or needs you to) exercise command and control over individual soldiers. The emphasis on platoon command and control reminds me of the best modern wargame rules I ever played, WRG's ground-breaking June 1988 set for platoon-to-battalion level, 1925-1950. With GT:OS, Graviteam has done a similarly outstanding job. Anyway, that’s enough plaudits for now, it’s time to get back into the fight! Division dropped me right into it by giving me this river-crossing mission with a hodge-podge of forces. I might have got away with it, if the Reds were as beaten as those fellows in the Head Shed seemed to think they were. Instead, the Soviets have made us pay a hard price. But now that my heavy armour has arrived at last, I’ll get a chance to show both Division and the Soviets that my spell on the staff in Berlin hasn’t dulled my ability to handle all-arms combat teams on the Eastern Front! Panzer, marsch!
- 5 replies
-
- 1
-

-
- gtos
- graviteam tactics
- (and 1 more)
-
Duels in the dark! The map above shows the operational-level situation at about the time of the most recent battles. Our (blue) territory still extends onto the northern bank of the Mzha either side of Pavlovka, but angry red arrows show that our bridgeheads are now being pressed hard. The good news is that heavier armour is now at last becoming available in our area of operations – a platoon of Tiger tanks (at this point in the war, possibly made up to strength with some Panzer IIIs) and some StuG III assault guns – indicated by the two oval 'fully tracked vehicle' unit symbols on the right no longer being ‘greyed out’ (the one with the little 'H' for 'Heavy' under the oval is the Tigers). I waste no time in ordering these westwards, towards the action, but it’ll take time for them to arrive. In the meantime, there are more battles to be fought by my troops already in contact, on either side of Pavlovka. It’s now evening and pitch dark. The first fight involves the troops to the west. These men – an infantry platoon with an attached 7.5cm SPW kanonenwagen – had earlier secured a small area on the northern bank of the Mzha, and held it against an enemy counterattack. But now, they are on the defensive, back on the southern bank of the river. How this happened, I’m not sure. Did GT:OS ‘auto-resolve’ this? Or in deploying them just now, did I place them there myself, without realising I could/should have kept them north of the river? Either way, even if it's down to the Deutscher equivalent of SNAFU, the good news is that they end up in a compact defensive position, well dug in and with good fields of fire over mostly open ground, covering both near and far banks of the river. Here's the kanonenwagen... ...and here, stood to and shivering impatiently in their trenches, are my grenadiers (the Germans re-titled their infantrymen in this fashion mid-war)... If you can see anything at all in these pictures, you may be able to make out the dark ribbon of the river running across our front, maybe 75 meters away. For a while, nothing happens and I use time acceleration. I’ve not ordered fire to be held and the party eventually kicks off just after 20:00 hours, when enemy troops are spotted to our right front, on the far bank of the river. You hear a subtle electronic 'beep' sound which signifies a report has been received, whether verbally or by radio. Check the map, and the 'signals log', top right, shows you the message, while animations on the map provide detail - in this case, the flashing red circle centres on the location of the spotted enemy. These are duly fired on. Then some more Reds appear, this time about half left. Tracers lash out towards them and our grenadiers busily work the bolts of their rifles as they join in. The SPW cracks off a few 7.5cm HE rounds, first to right, then backing out of its revettment to the left, the impacts flashing and booming noisily in the scrub over the river. From our positions, I can see nothing of the enemy myself, and am reliant upon the reports coming in from our foremost positions. The odd muzzle flash out in front shows where Soviet soldiers are firing back, rifles mostly, with the odd PPSh SMG or Degtyarev LMG. A green flare goes up somewhere deeper on the enemy side. After a while, the firing dies back. I turn time acceleration back on. It drops out occasionally when there’s further shooting, but the action is pretty desultory and it seems clear that we have beaten off a weak attack by unsupported enemy infantry. We’ve held our positions and inflicted some casualties, but from whatever cause, are still back on the wrong side of the river. The western bridgehead has been given up. Still, we've won the fight. In the picture below, the command interface overlay has been turned back on and the clock read-out, top centre, has been turned to 'time remaining' mode, indicating that the curtain is coming down in 23 seconds. So far, so not-too-bad. But the next battle is kicking off over on my right flank and this one will be an altogether nastier business. ...to be continued!
-
Achtung! Feindlicher panzer! The Soviet APCs coming down the little road turn out to be Universal (aka Bren Gun) Carriers, a British type supplied to the USSR via the Arctic Convoys. The gunner in the lead vehicle is killed when our troops open up, having let him come down nearly to the end of the road. He's not alone, though, as a second Carrier is coming down the track behind him My Marder has a crack at the leading Carrier... ...which goes up in flames, causing the second one to shower clouds of snow from its tracks as it frantically backs up. The knocked-out Carrier burns brightly, a fine boost to the morale of my pioneers and a warning to any Reds who should come this way. The warning is emphasised my small arms fire in the general direction of the apparently retreating enemy. All this activity is based on my original orders and dispositions - I have not intervened in any way. At this point, the airwaves come alive with fresh contact reports from the infantry platoon on my left. The Soviets - footsloggers this time - are coming down through the woods towards us, from the direction of a track junction to the north. Small arms fire from my grenadiers cuts down the enemy. I walk the camera a short way up to the north for a better view, and watch the Soviets try to make headway against our fire. Their casualties mount and the attack seems to peter out. At this point, the tide of battle suddenly turns. There are explosions and heavy gunfire back over to the right, where I have left my pioneers to handle what seemed to be an abortive Soviet probe. Radio reports confirm that the attack there has been renewed, and this time, with tanks! They're T-60 light tanks and they come down the road from the north-east. My Marder sends the leading tank to hell in flames... ...but the others pull off the road to the east, then swing around to atttack. Somehow, one of them makes it past us into the open ground on our right, and swings west to attack us from the flank. He quickly knocks out the SPW covering my right rear. I have that sinking feeling, as I see the battle spiralling rapidly out of my control! I'm reluctant to order anyone out of their defensive positions into this storm of steel, so decide to let them fight it out from where they sit. My platoon commander's SPW is nearby, but facing the wrong way. And he's too deep into the woods to have a clear field of fire out towards the T-60. To cap it all, the crew has taken casualties, already. To his right, the T-60 makes a dash into the woods, past the burning SPW... ...and comes in behind my Marder... Another T-60 charges the Marder from the front. The loader has already been killed or seriously wounded and the gunner doesn't fire - either he's petrified, or the chamber is empty. TheT-60's crew suddenly bail out and cower fearfully in the muddy snow! I think the tank has been hit by the 3.7cm gun on the platoon commander's SPW. But by this time, two more T-60s have made it past us into the open ground between the woods and the river, beyond the burning Carrier. The T-60 which doubled back has come to grief, though, turning turtle in an abandoned tank scrape. Within a matter of minutes, my panzer pioneer platoon has been decimated. The Marder and the commander's SPW are both out of action. As the two advancing T-60s turn west to run along the road behind our position, I manage to save my surviving SPW by swinging it around and backing it into the woods still being held by the infantry platoon on the left flank of my bridgehead. That platoon is still largely unaffected, having won its firefight with the Reds coming down from the north. I can't pull it back, as the Soviets now dominate the open ground to our rear. So I order it to attack north, deeper into the woods, if only to take it further away from the T-60s now motoring about to the south-east. But GT:OS now decides enough is enough and brings down the curtain. We've held our ground and inflicted much heavier casualties than we suffered, but at the cost of my main striking force - my precious panzer pioneer platoon and its SP A/T gun - virtually wiped out. So I'm not surprised this counts as another defeat. It certainly felt like one! Where are those b***dy Tigers??? ...to be continued!
- 5 replies
-
- 1
-
-
- gtos
- graviteam tactics
- (and 1 more)
-
Die Bolshevisten kommen! The battle around my eastern bridgehead kicked off next and was to make the one in the west look like a tea party. Here, I had pushed two platoons over the Mizha east of Pavlovka, deploying them in another wood, in a rough semicircle with its base running east-west parallel to the river. Both platoons had taken losses in previous battles. On the left, the infantry platoon had lost two section comamnders and its attached cannon-armed halftracked Schutzenpanzerwagen (SPW) , leaving the surviving crew fighting on foot. On the right was my panzer pioneer platoon, which had also lost an SPW, but still had its attached Marder III 7.5cm SP A/T gun (pictured at top). The platoon commmander also still had his own SPW, mounting a useful 3.7cm weapon in place of a cab-mounted MG. By this time - it's late afternoon, and daylight is beginning to fade - both vehicles and troops are dug in. The edge of the woods is about 20 meters behind the SPWs in the picture below, and the river is about 100 meters further away again, on the other side of a stretch of open ground. At this point, a pair of small tracks runs south through the woods past our positions, with a small road to our right front, running up to the north-east. My pioneers are deployed in depth, mainly to cover these tracks and the road in particular. The latter runs from left to right across the picture below, about 50 meters beyond these SPWs. Anything coming down that road in particular, is going to get a good pasting. At least, that's the idea. The Marder is in front of these two SPWs, covered by another one on each flank. All three light AFVs are also slightly dug-in, and the Marder has a good field of fire down to the road, between the trees. I really love the visuals in GT:OS. The AFVs look as good as 1/35 models, never mind the 1/300 or 1/285 miniatures typically used in company-level wargames. Plus they're fully animated. And the environments are equally good. All this helps create the feeling that I'm in a wintry wood in the depths of the Soviet Union, waiting with my troops for the enemy to arrive, and not merely looking down onto a wargame table. It's not long before the Soviet baillifs arrive with the evident intention of chucking us out of here. And this time, they aren't just some poor footsloggers. An APC of some sort is reported headed towards us along the road running up to the north-east. Stand to! After several battles, the pioneers are depleted, so we'll be relying mainly on our own light armour in this battle. Doubtless knowing this, my SPW gunners crouch down behind their gunshields and prepare to give battle. ...to be continued!
-
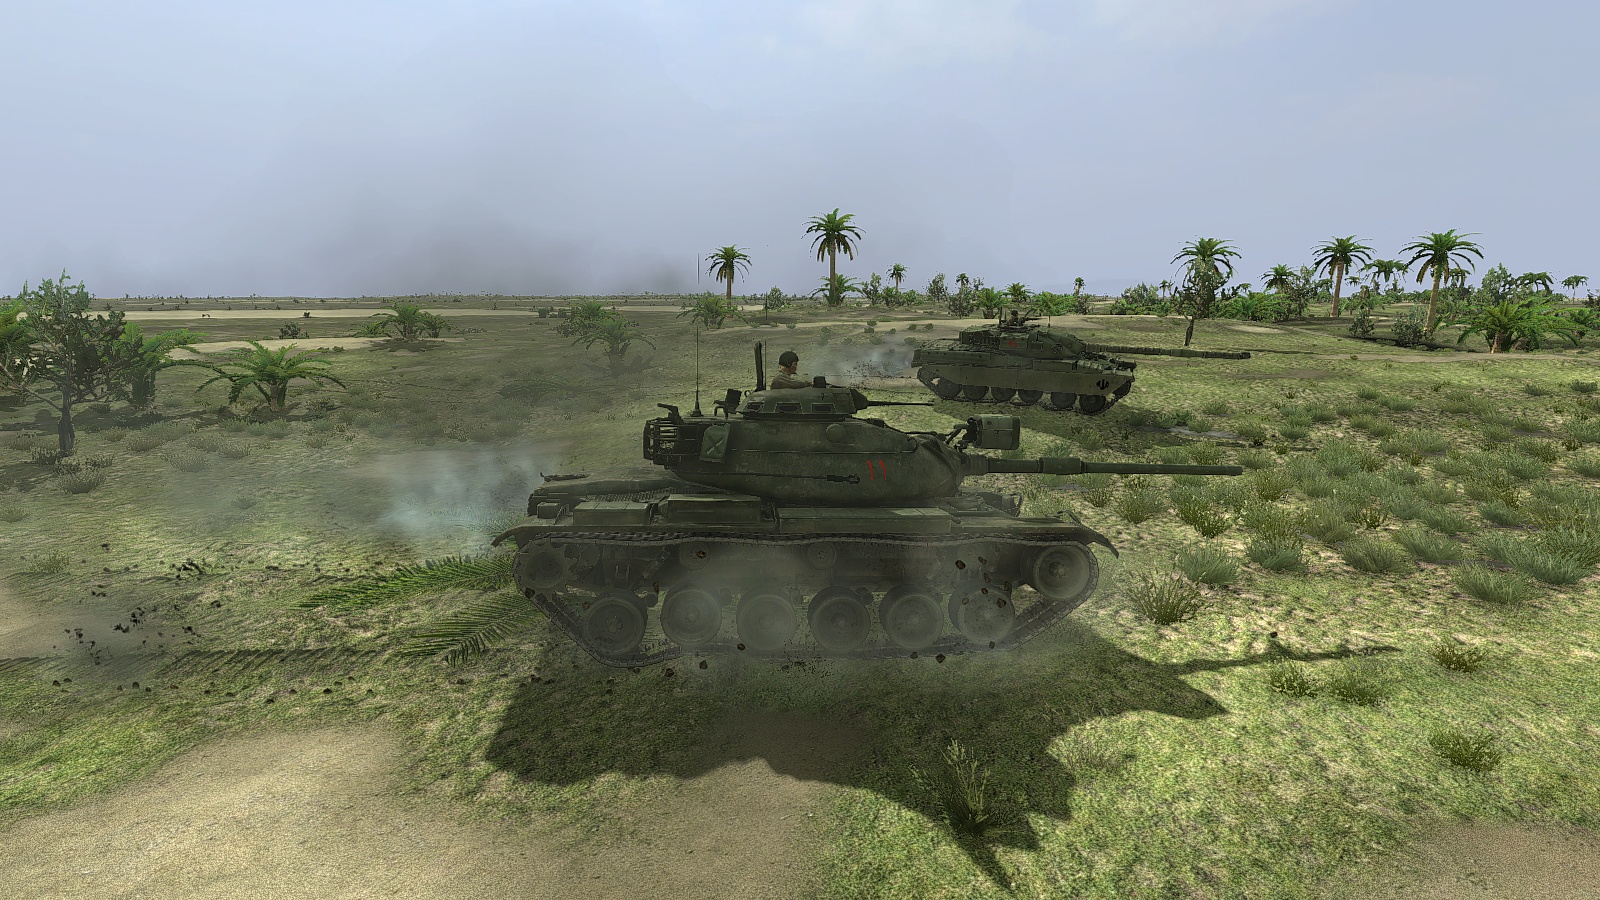
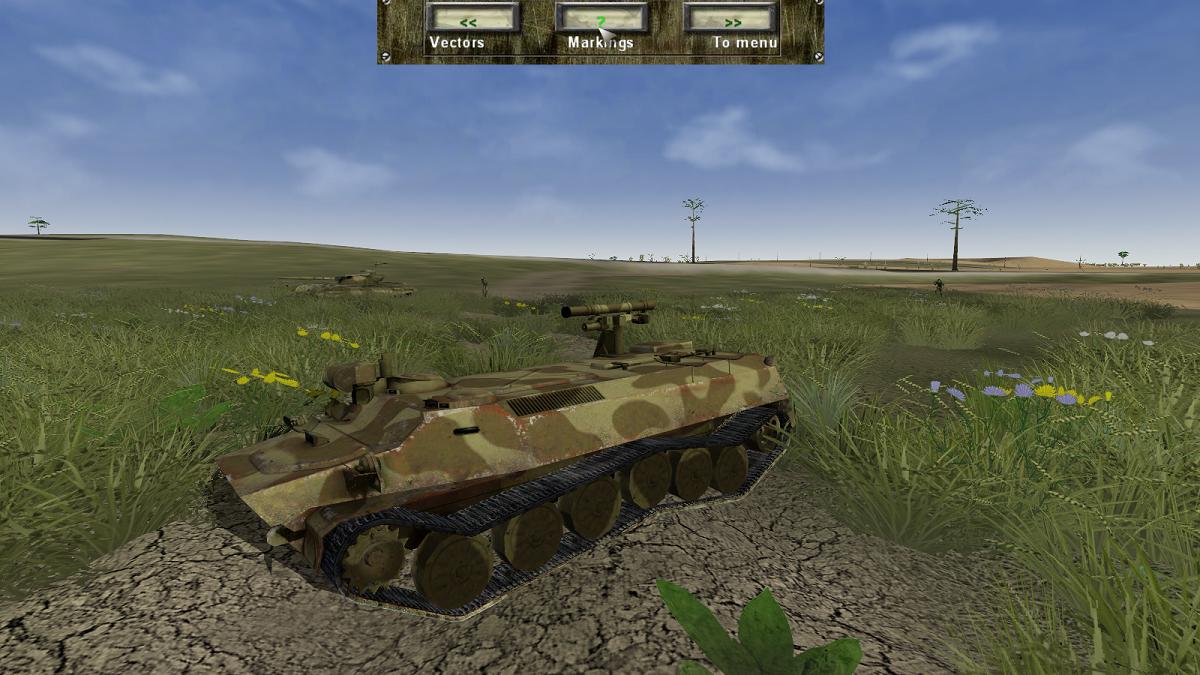
From the album Steel armor - Blaze of War
-
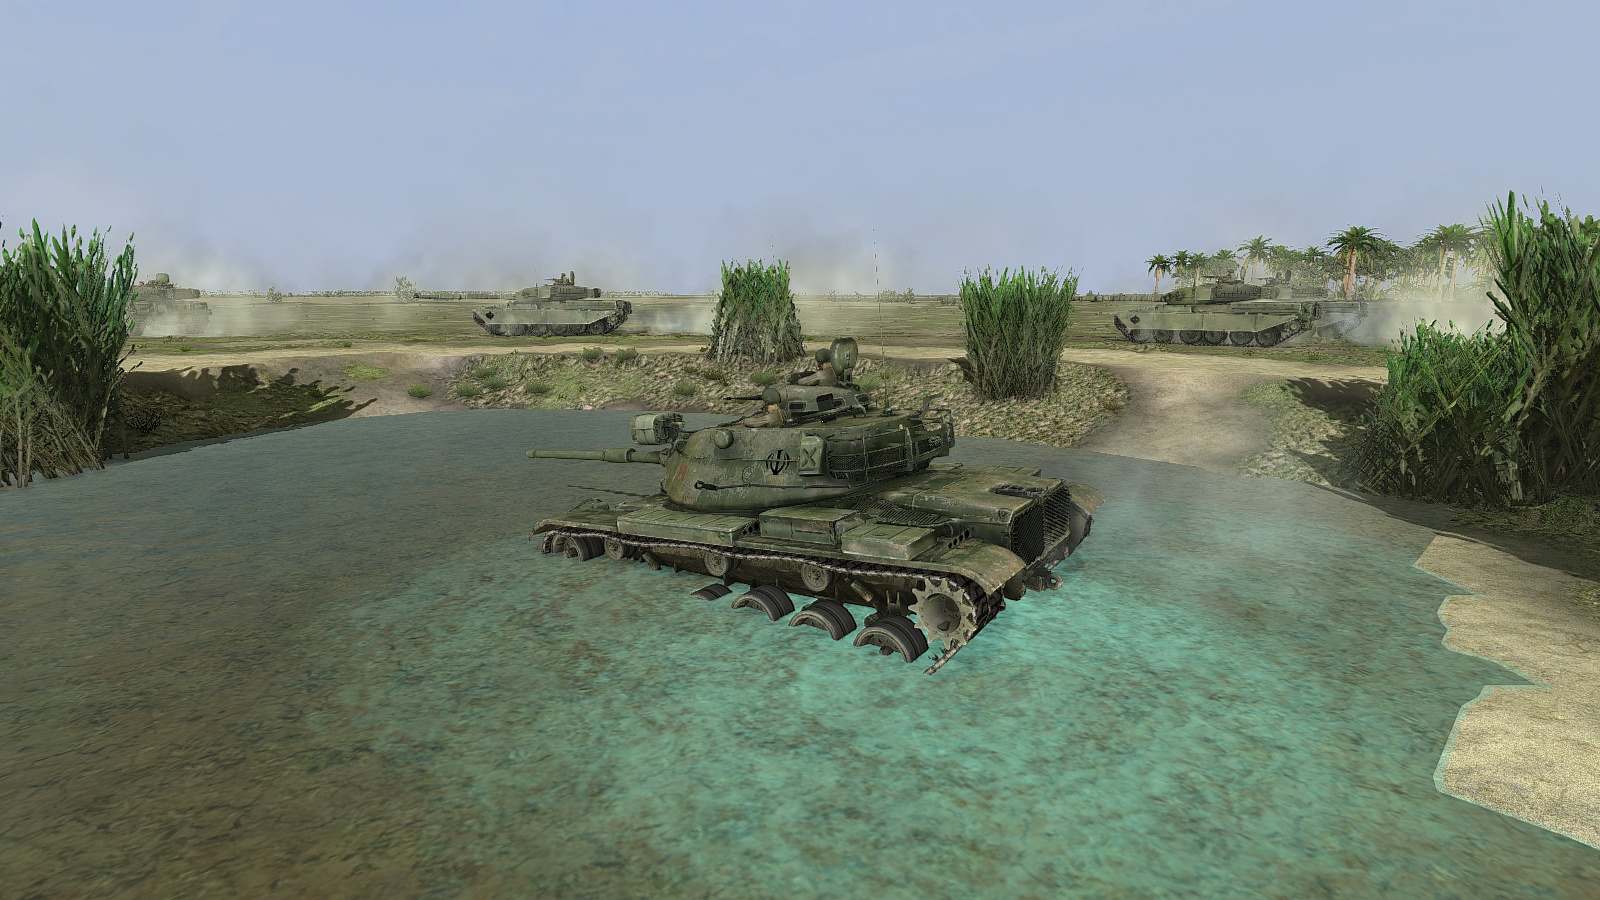
From the album Steel armor - Blaze of War
-
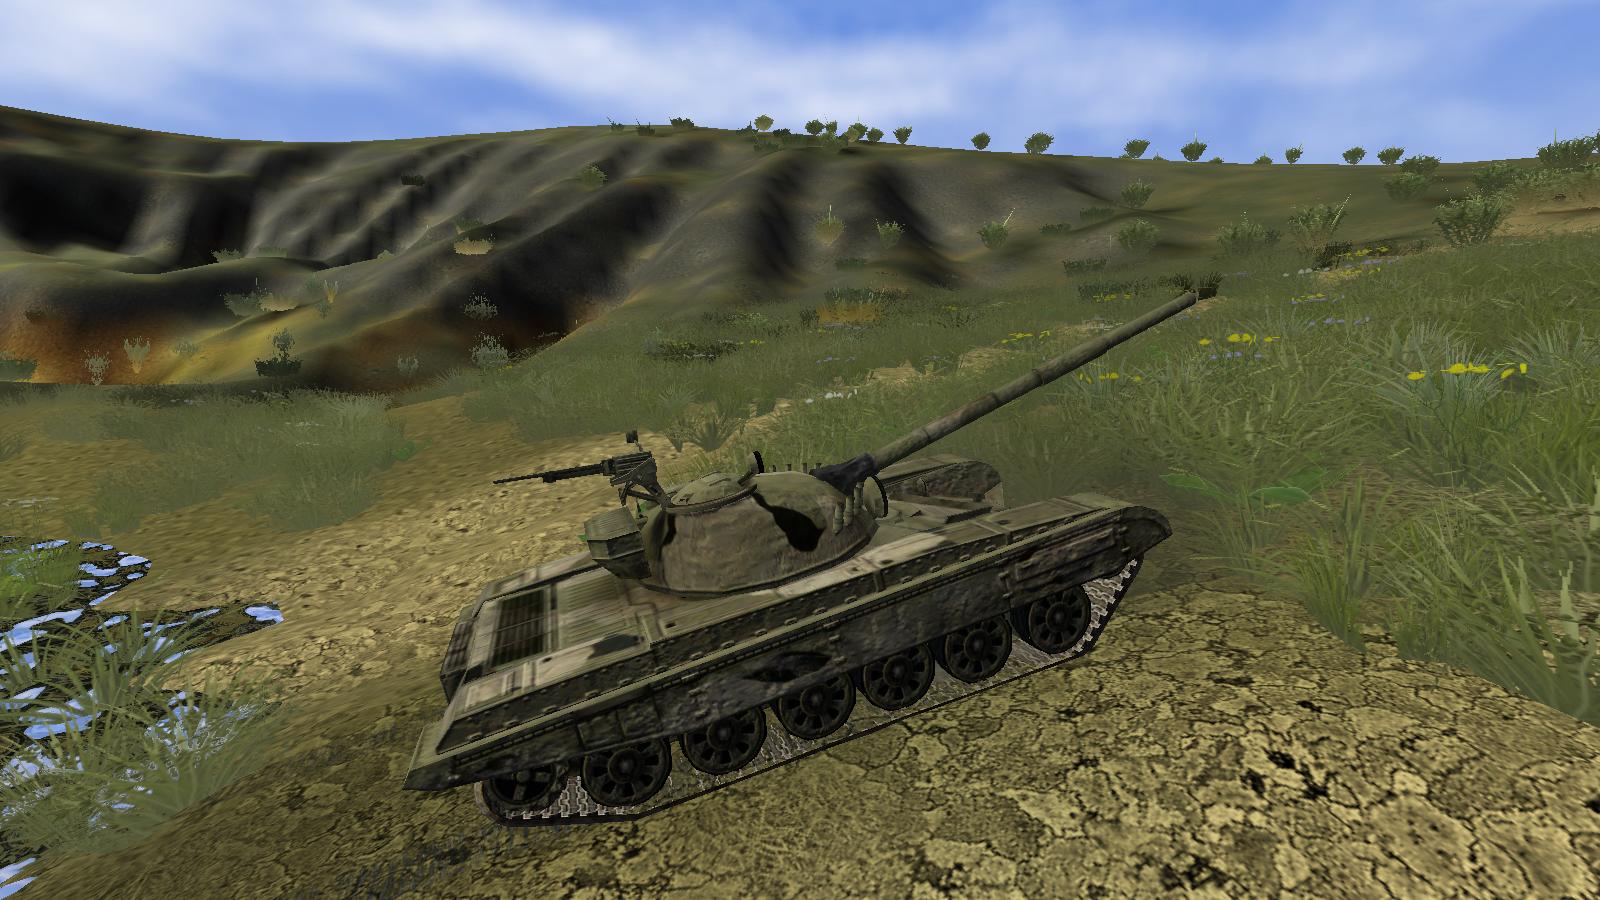
Steel Armor Blaze of War - Chieftains in M60 gunner's sight
33LIMA posted a gallery image in Member's Albums
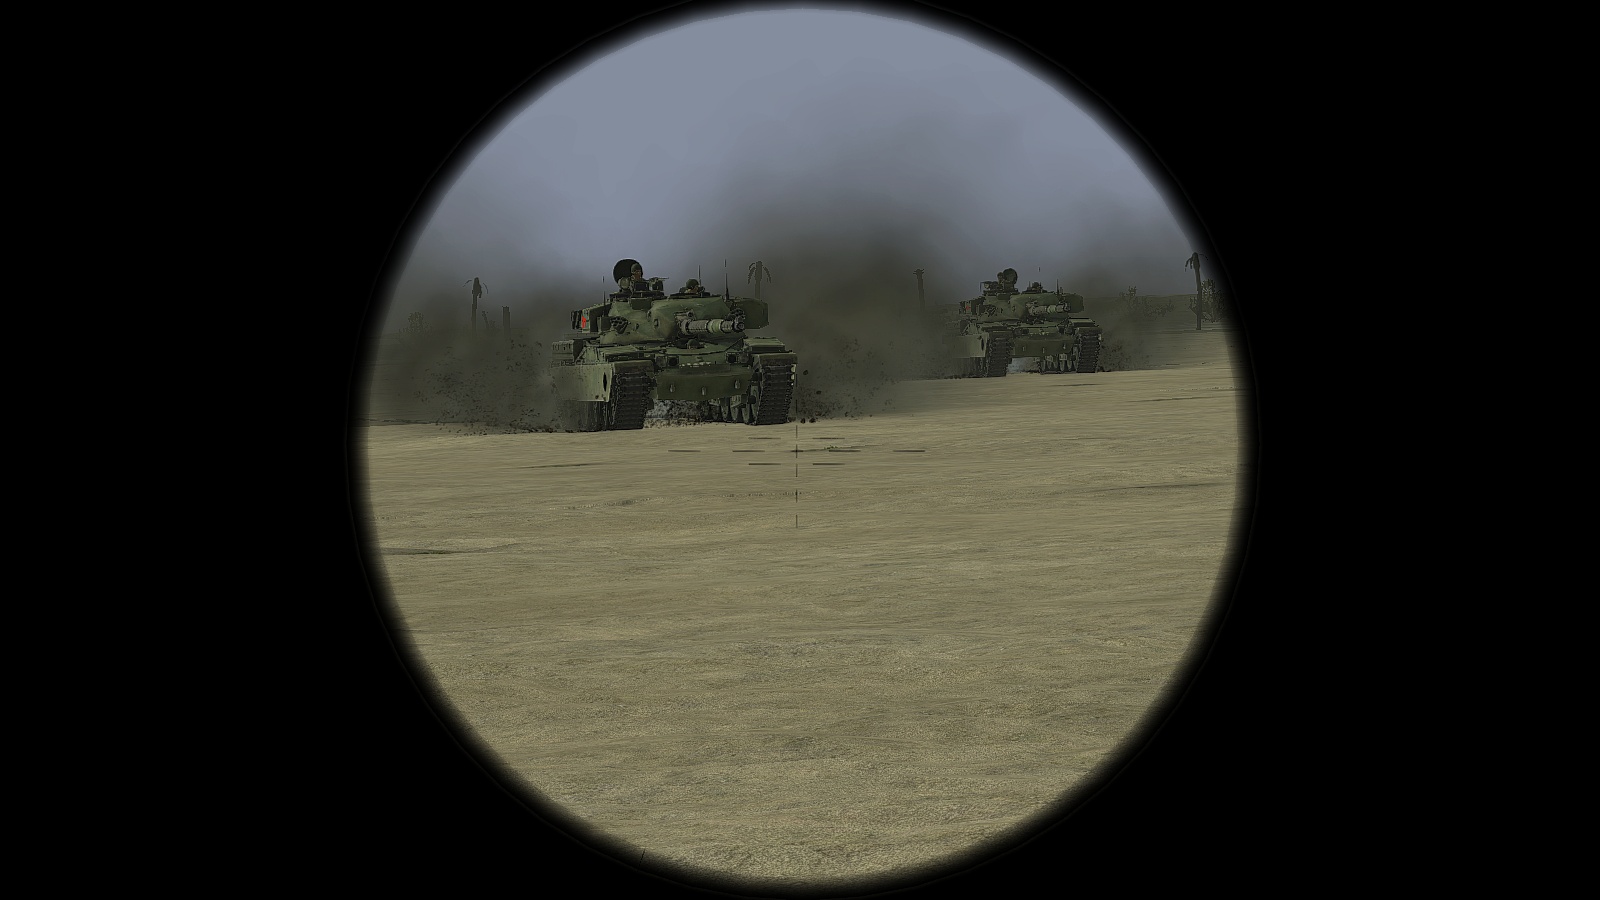
From the album Steel armor - Blaze of War
-
IL-2 Screenshots save to Where?
33LIMA replied to Sheriff's topic in IL-2 Series / Pacific Fighters / Cliffs of Dover: General Discussion
In my DBW install ('46 4.10m) they go by default into C:/Ubisoft/Il-2 Sturmovik 1946/MyScreenShots; in my CUP install, it's C:/Il-2 Sturmovik 1946/MyScreenShots and C:/Il-2 Sturmovik 1946/ScreenShots (not sure why two different folders are used). I recall advice against installing Il-2 into Program Files so maybe that is indeed part of the problem. -
No. 60 Squadron Nieuport 17: R.E.8 in trouble... Latest purchase: Sopwith 1 1/2 Strutter...
-
WOFF: Screenshots and Videos
33LIMA replied to RAF_Louvert's topic in WOFF UE/PE - General Discussion
Scenes from a 56 Squadron campaign, mid-1917... ...a sausage for breakfast... ...and the ravages of war... -

From the album Steel armor - Blaze of War
-
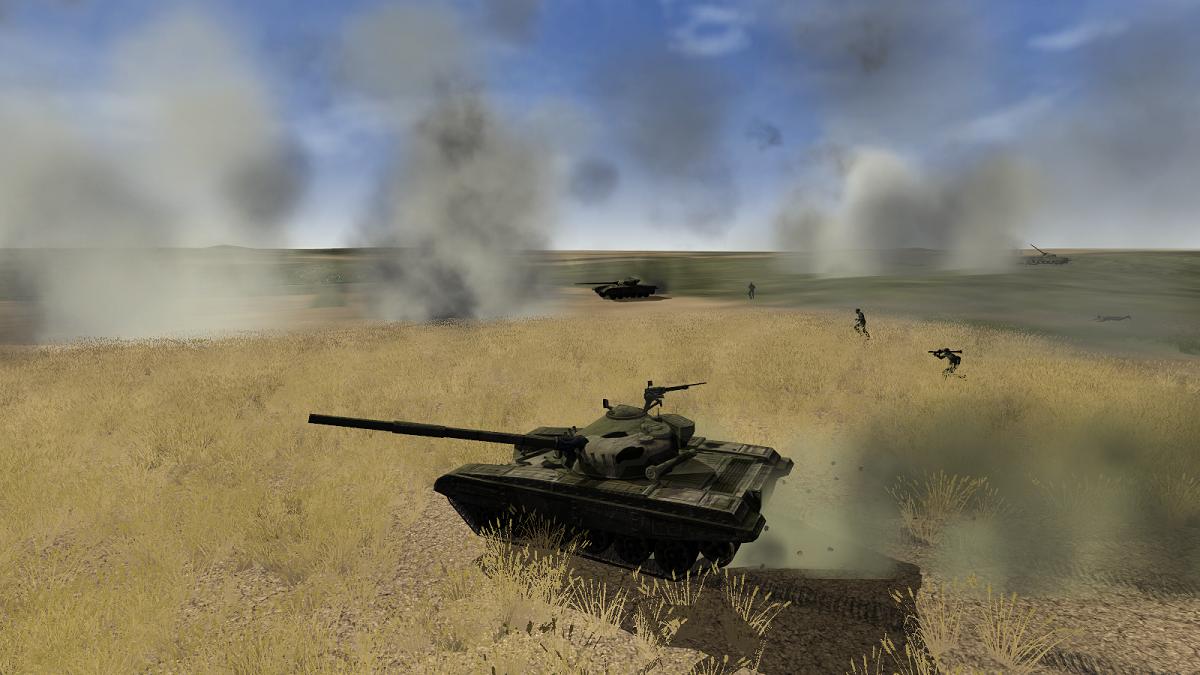
From the album Steel armor - Blaze of War
-
Iron Warriors Balkans on Fire - knocked-out Leopard 1A3
33LIMA posted a gallery image in Member's Albums
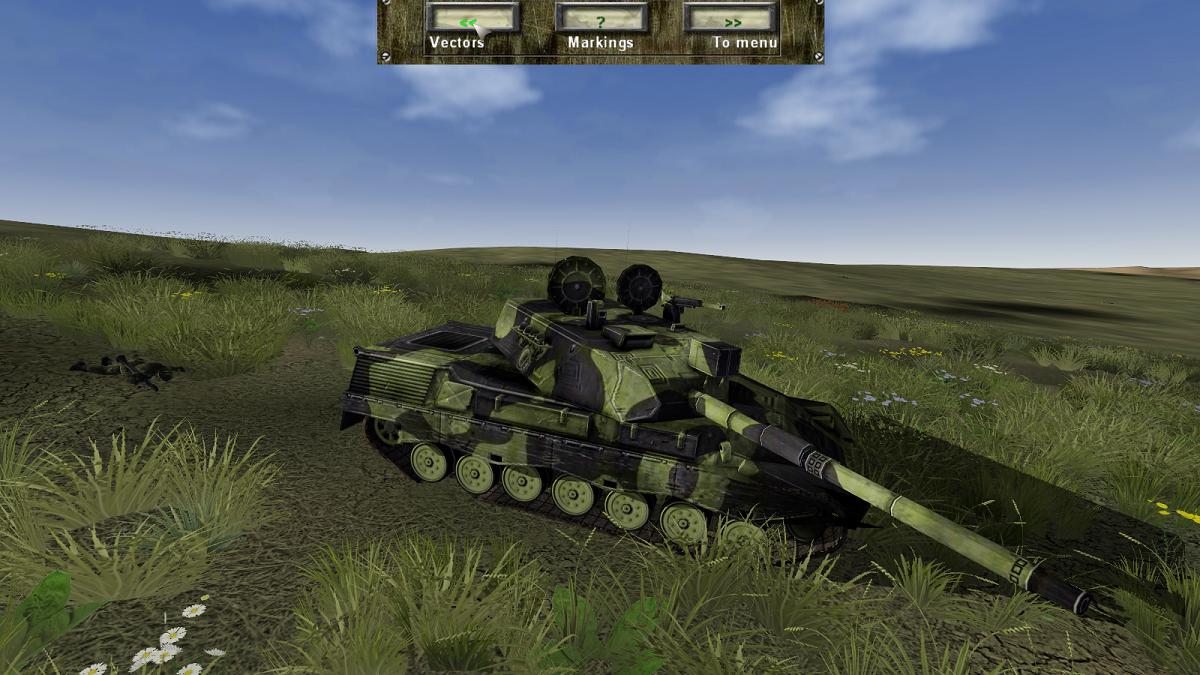
From the album Steel armor - Blaze of War
-
From the album Steel armor - Blaze of War
-
From the album Steel armor - Blaze of War