
kblomkvist
-
Content count
160 -
Joined
-
Last visited
-
Days Won
2
Posts posted by kblomkvist
-
-
7 hours ago, daddyairplanes said:indeed. if you have a lot to put on there, make a bigger tga with the bulk of what you are displaying in the same image. you can position it fairly close to center, and make fine tune adjustments within the space of the tga itself. if there is overlapping meshes (one decal goes on fuselage and forwardFuselage) the same position will work for both meshes
mytai did this on his Phantoms, and i do it on most of my jumbo projects.
That's what I do already, the tail is just one large tga with all the emblems and numbers.
-
Okay, that's something I didn't know. I guess I'll just paint some of these decals (like the VMFA) on the skin.
-
Hi! I finally started to rework the F-35B skin and I started to experience a strange problem with the decals.
Look at the first picture. As you surely know, there should be the "VMFA-121" label on the side of the fuselage, the "MARINES" label on the side of the fuselage just below the horizontal stabs, and a serial number next to the "MARINES" label. For reasons unknown, they're not showing up.
Here's the folder structure and contents:
.thumb.png.28d3ae2609df963a32f9da63f8a8f3b6.png)
.thumb.png.591f758cb71dd285729ada068f08c45d.png)
.thumb.png.fb9e61e334144fc118b7fe4e0d331e0c.png)
And here's the decals.ini:
Quote[Decal001]
MeshName=Fuselage
DecalLevel=0
DecalFacing=LEFT
FilenameFormat=F-35B\VMFA121\Eject
Position=4.2,0.5
Scale=0.22
DecalMaxLOD=2[Decal002]
MeshName=Fuselage
DecalLevel=0
DecalFacing=RIGHT
FilenameFormat=F-35B\VMFA121\Eject
Position=4.2,0.5
Scale=0.22
DecalMaxLOD=2[Decal003]
MeshName=Fuselage
DecalLevel=0
DecalFacing=LEFT
FilenameFormat=F-35B\VMFA121\F35B_rescue coution_L
Position=3.85,0.26
Rotation=10.0
Scale=0.65
DecalMaxLOD=2[Decal004]
MeshName=Fuselage
DecalLevel=0
DecalFacing=RIGHT
FilenameFormat=F-35B\VMFA121\F35B_rescue coution_R
Position=4.6,0.13
Scale=0.4
DecalMaxLOD=2[Decal005]
MeshName=Fuselage
DecalLevel=0
DecalFacing=LEFT
FilenameFormat=F-35B\VMFA121\fan_intake
Position=2.6,0.75
Scale=1.0
DecalMaxLOD=2[Decal006]
MeshName=Fuselage
DecalLevel=0
DecalFacing=RIGHT
FilenameFormat=F-35B\VMFA121\fan_intake
Position=2.6,0.75
Scale=1.0
DecalMaxLOD=2[Decal007]
MeshName=Fuselage
DecalLevel=0
DecalFacing=RIGHT
FilenameFormat=F-35B\refuel
Position=5.37,0.35
Scale=2.1
DecalMaxLOD=2
Rotation=-2[Decal008]
MeshName=Fuselage
DecalLevel=2
DecalFacing=LEFT
FilenameFormat=F-35B\VMFA121\F-35B_No
Position=5.95,0.28
Scale=0.8
DecalMaxLOD=2
Rotation=5[Decal009]
MeshName=Fuselage
DecalLevel=2
DecalFacing=RIGHT
FilenameFormat=F-35B\VMFA121\F-35B_No
Position=5.95,0.28
Scale=0.8
DecalMaxLOD=2
Rotation=-5[Decal010]
MeshName=Fuselage
DecalLevel=2
DecalFacing=LEFT
FilenameFormat=F-35B\VMFA121\buno
Position=-5.7,0.02
Scale=0.6
DecalMaxLOD=2[Decal011]
MeshName=Fuselage
DecalLevel=2
DecalFacing=RIGHT
FilenameFormat=F-35B\VMFA121\buno
Position=-5.7,0.02
Scale=0.6
DecalMaxLOD=2[Decal012]
MeshName=CanopyFrame
DecalLevel=0
DecalFacing=RIGHT
FilenameFormat=F-35B\VMFA121\Canopy
Position=5.3,0.55
Scale=0.6
DecalMaxLOD=2[Decal013]
MeshName=CanopyFrame
DecalLevel=0
DecalFacing=LEFT
FilenameFormat=F-35B\VMFA121\Canopy
Position=5.3,0.55
Scale=0.6
DecalMaxLOD=2[Decal014]
MeshName=Fuselage
DecalLevel=0
DecalFacing=RIGHT
FilenameFormat=F-35B\VMFA121\marines
Position=-4.85,-0.05
Scale=1
DecalMaxLOD=4
Rotation=-11[Decal015]
MeshName=Fuselage
DecalLevel=0
DecalFacing=LEFT
FilenameFormat=F-35B\VMFA121\marines
Position=-4.85,-0.05
Scale=1
DecalMaxLOD=4
Rotation=11[Decal016]
MeshName=LeftVerticalStab
DecalLevel=2
DecalFacing=LEFT
FilenameFormat=F-35B\VMFA121\Ltail
Position=-5.47,1.54
Scale=3.17
DecalMaxLOD=2[Decal017]
MeshName=LRudder
DecalLevel=2
DecalFacing=LEFT
FilenameFormat=F-35B\VMFA121\Ltail
Position=-5.47,1.54
Scale=3.17
DecalMaxLOD=2[Decal018]
MeshName=RightVerticalStab
DecalLevel=2
DecalFacing=RIGHT
FilenameFormat=F-35B\VMFA121\Rtail
Position=-5.47,1.54
Scale=3.17
DecalMaxLOD=2[Decal019]
MeshName=RRudder
DecalLevel=2
DecalFacing=RIGHT
FilenameFormat=F-35B\VMFA121\Rtail
Position=-5.47,1.54
Scale=3.17
DecalMaxLOD=2[Decal020]
MeshName=Fuselage
DecalLevel=1
DecalFacing=LEFT
FilenameFormat=F-35B\VMFA121\VMFA
Position=0.61,-0.19
Scale=0.8
DecalMaxLOD=2[Decal021]
MeshName=Fuselage
DecalLevel=1
DecalFacing=RIGHT
FilenameFormat=F-35B\VMFA121\VMFA
Position=0.61,-0.19
Scale=0.8
DecalMaxLOD=2DOes anyone have an idea what's wrong here? I wondered whether there's a problem with the "Fuselage" mesh but the other decals on this mesh are showing up correctly (like the ejection warnings etc.). I even reinstalled the aircraft itself and still no joy. Maybe the .tga files are somehow corrupt but I have no idea why. The strangest thing is that the MARINES and serial number decals were working at some point.
BTW, the skin itself is still WIP, some RAM coatings need serious adjustments.
-
 1
1
-
-
-
Both skins are really cool! Could you release them?
-
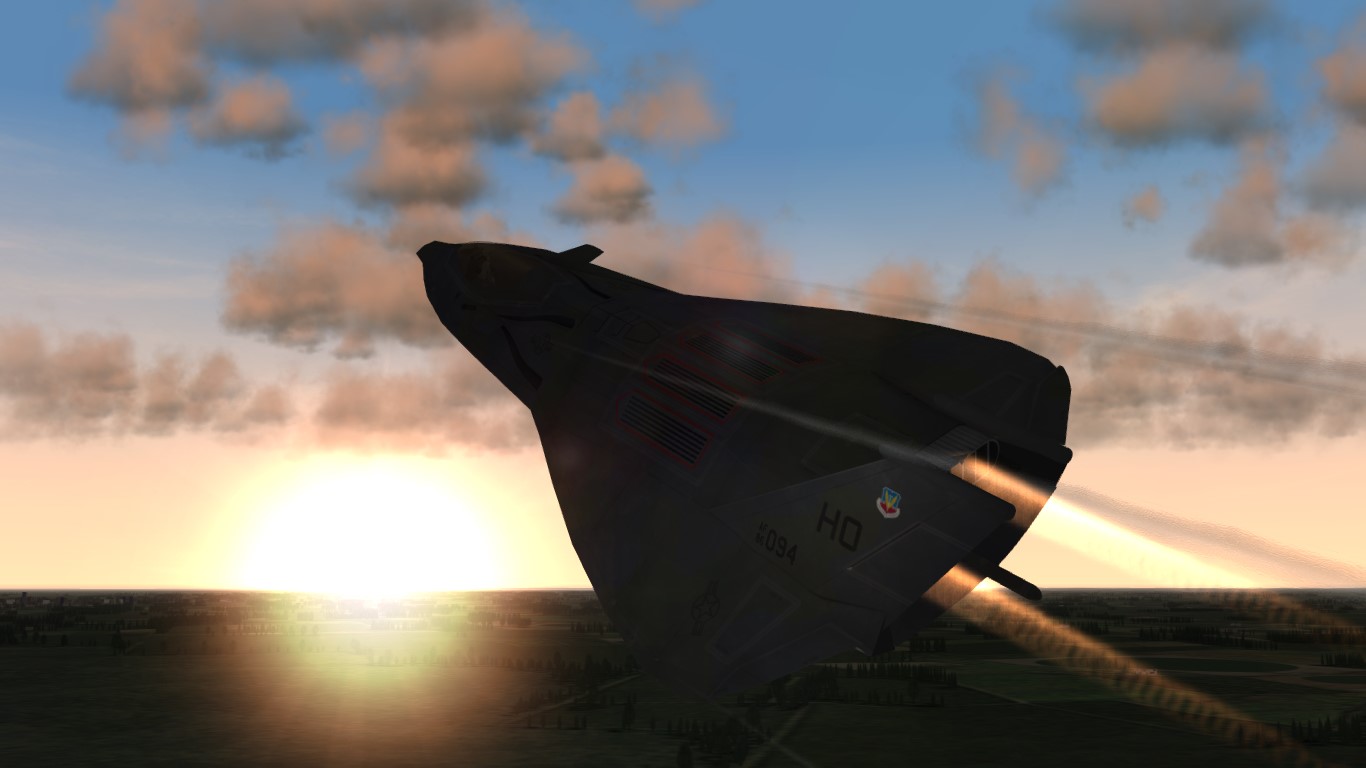
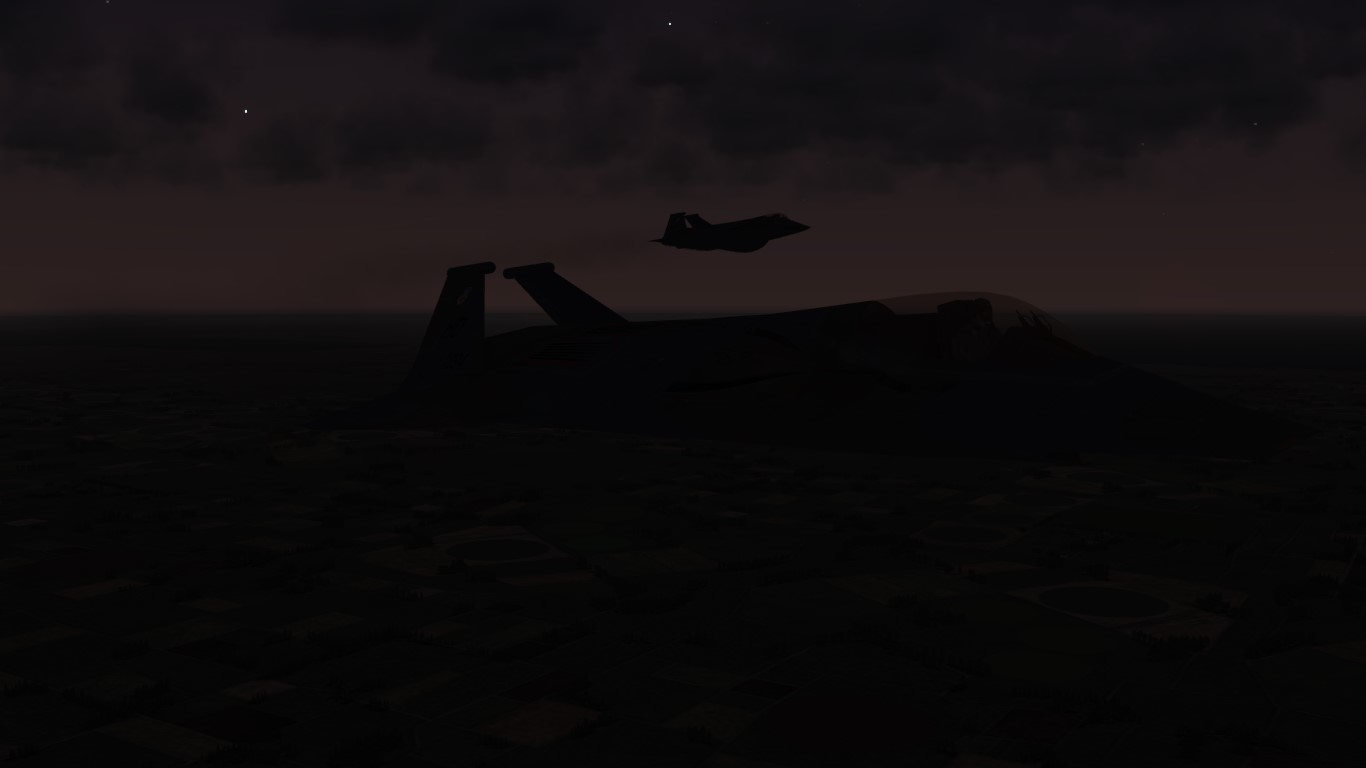
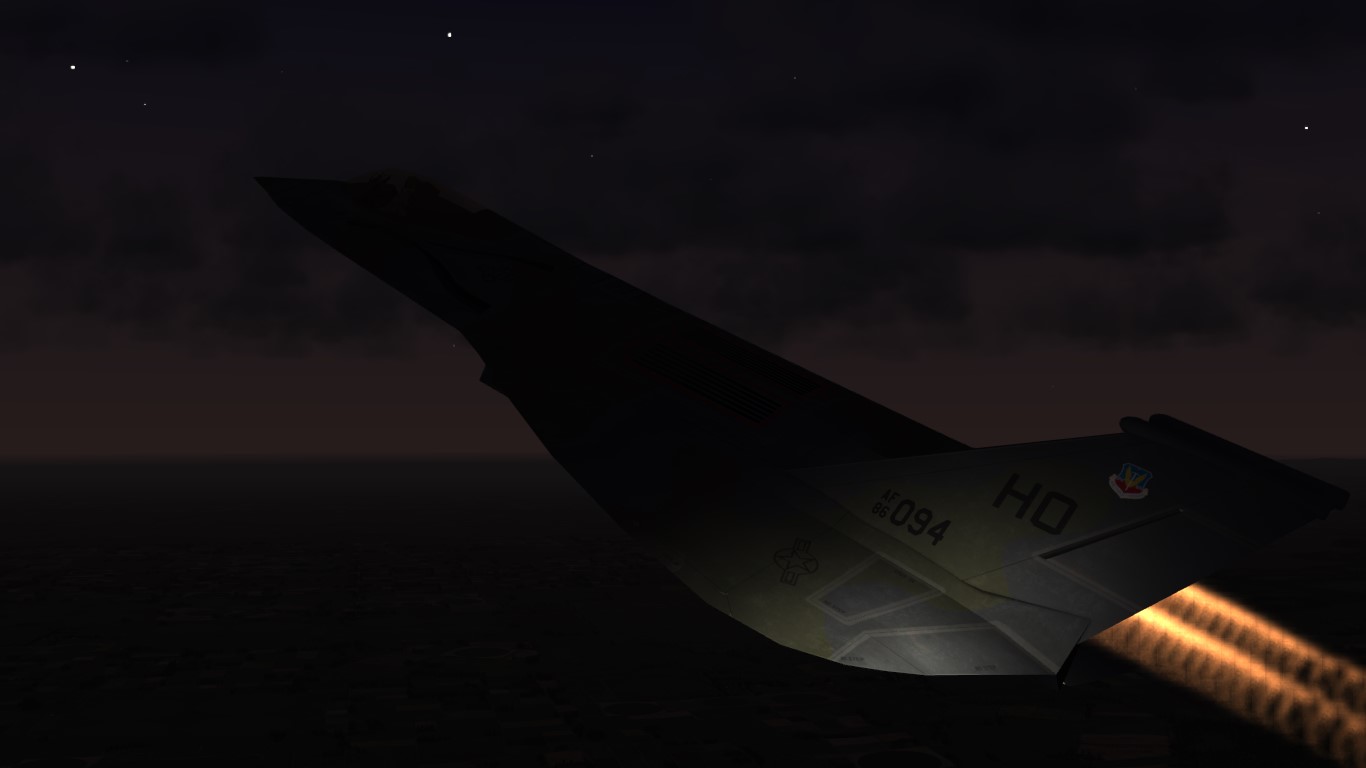
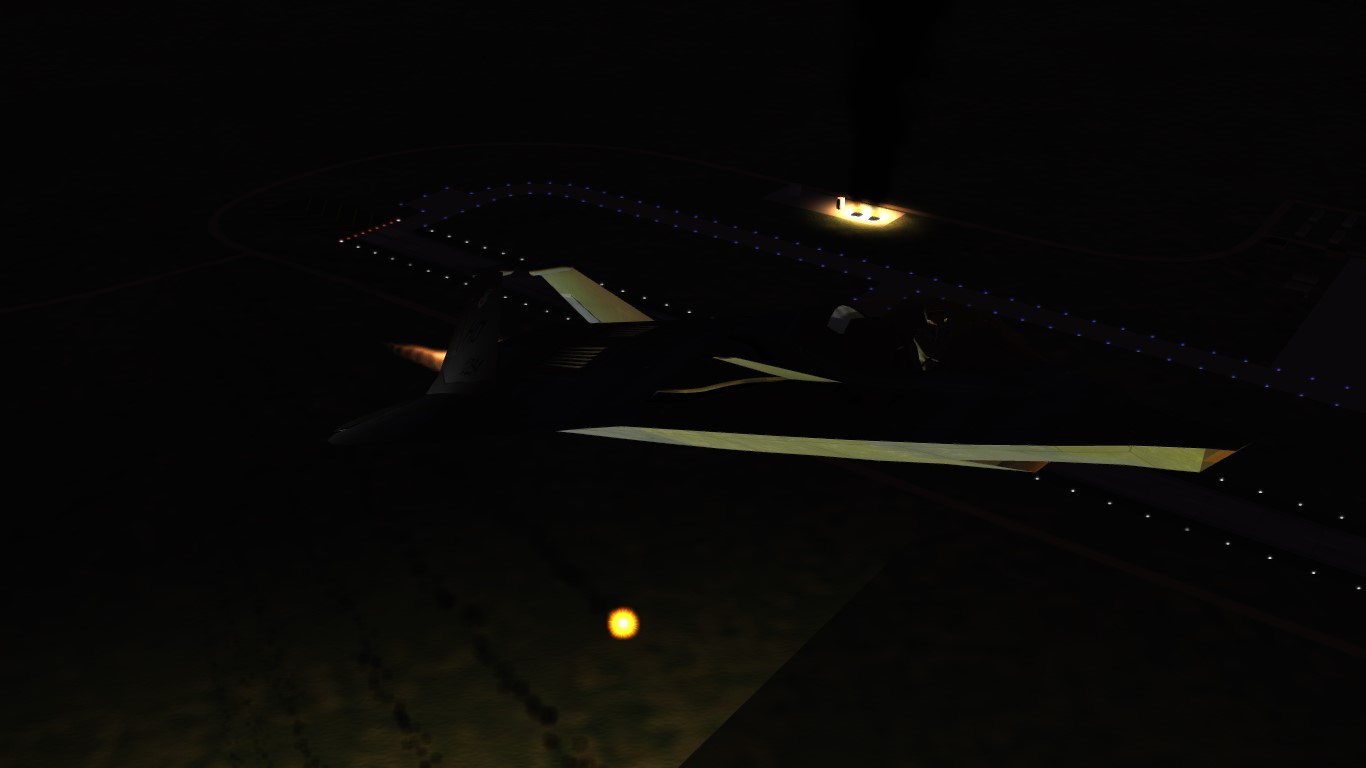
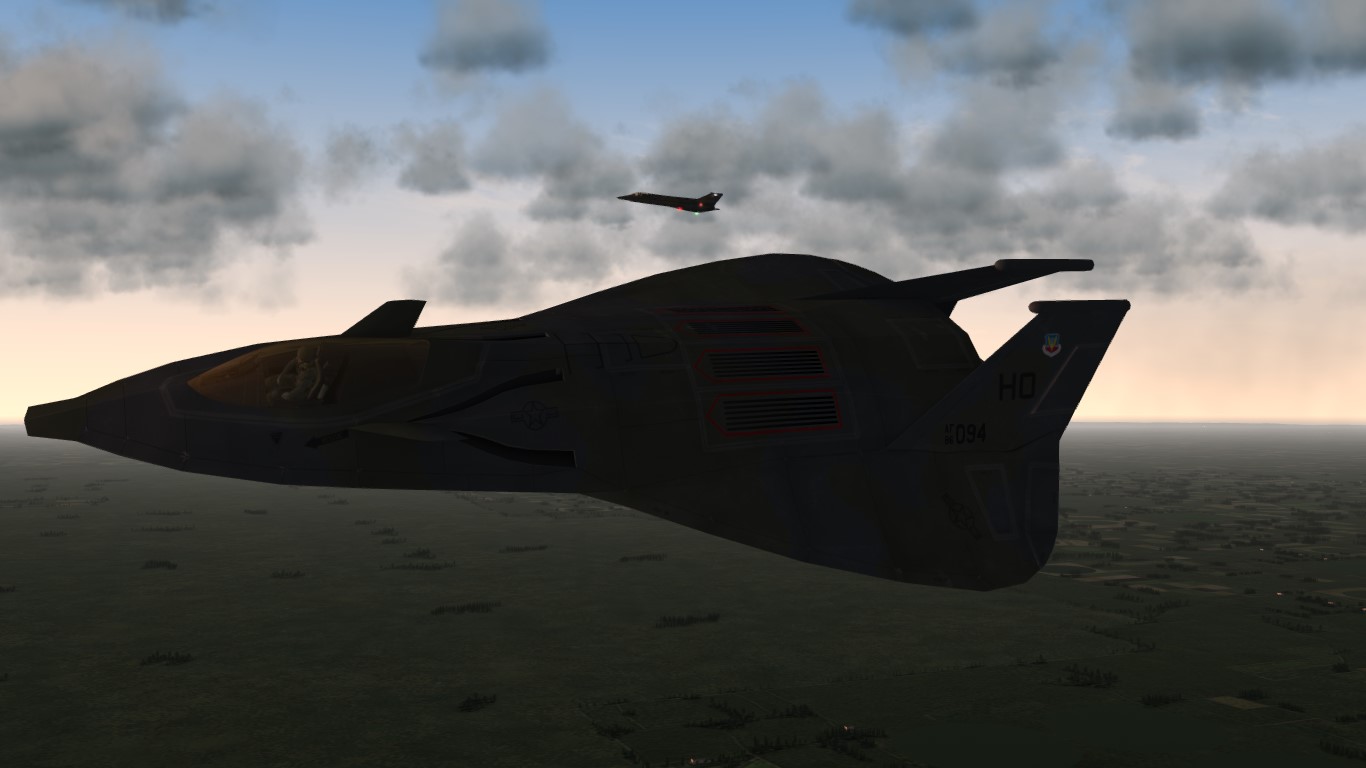
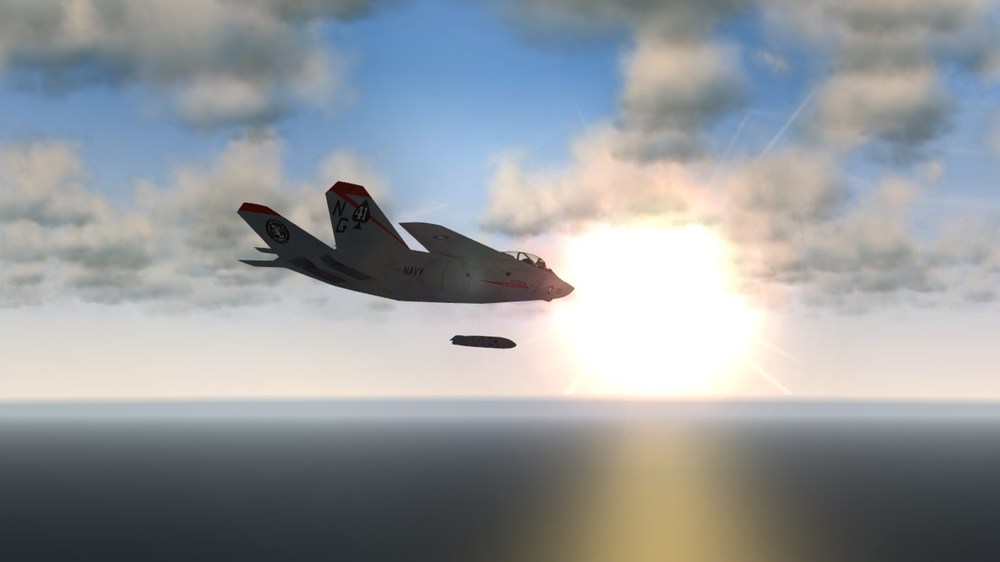
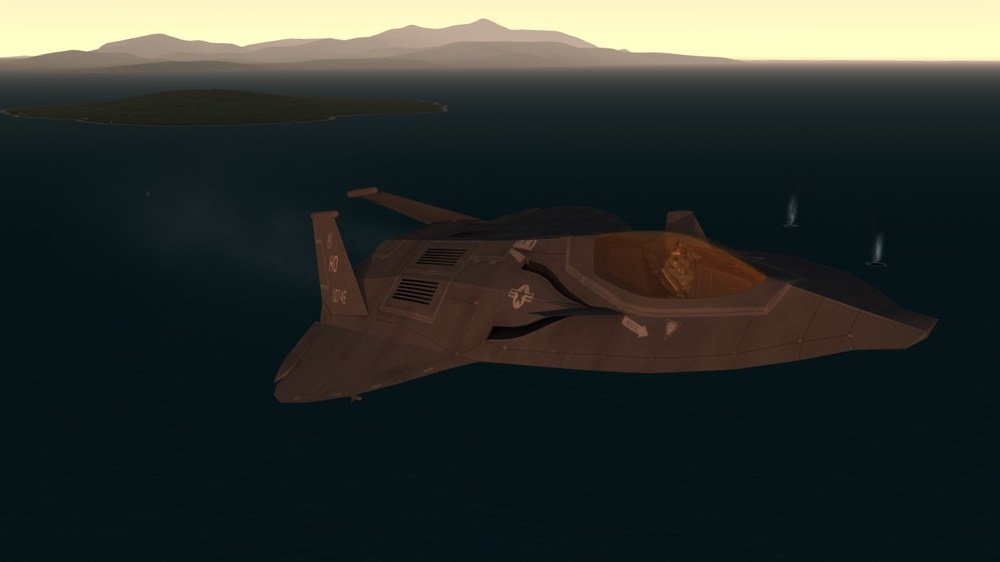
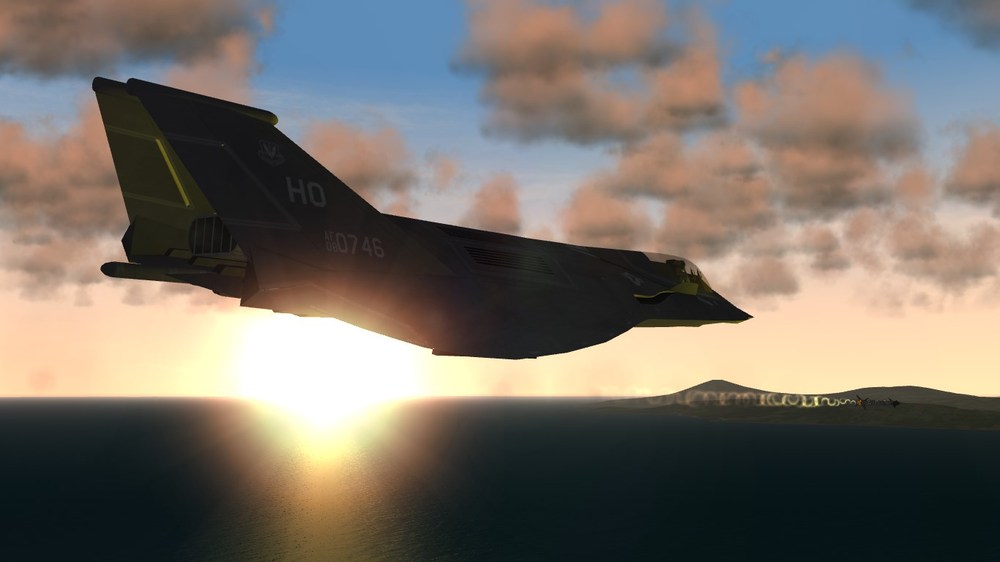
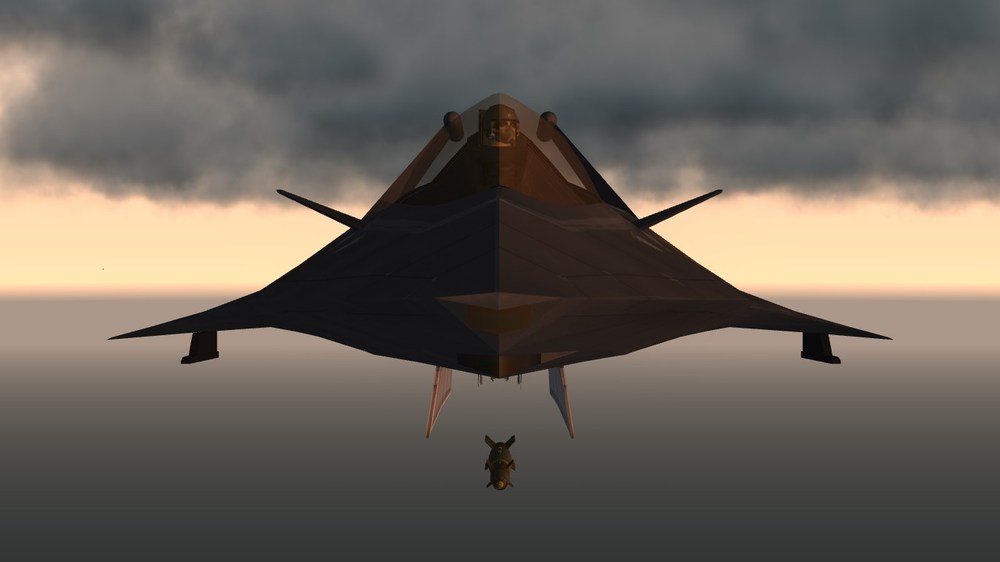
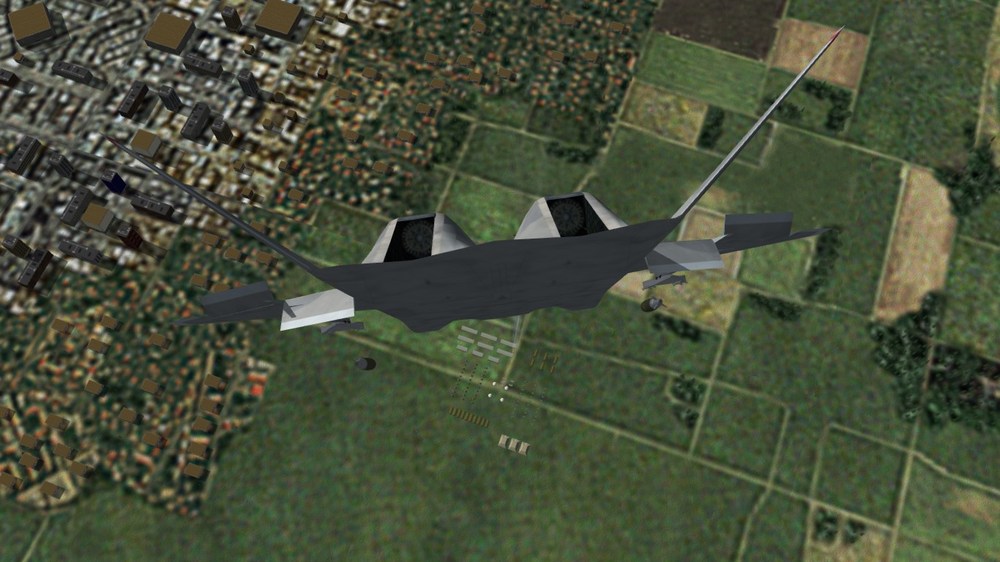
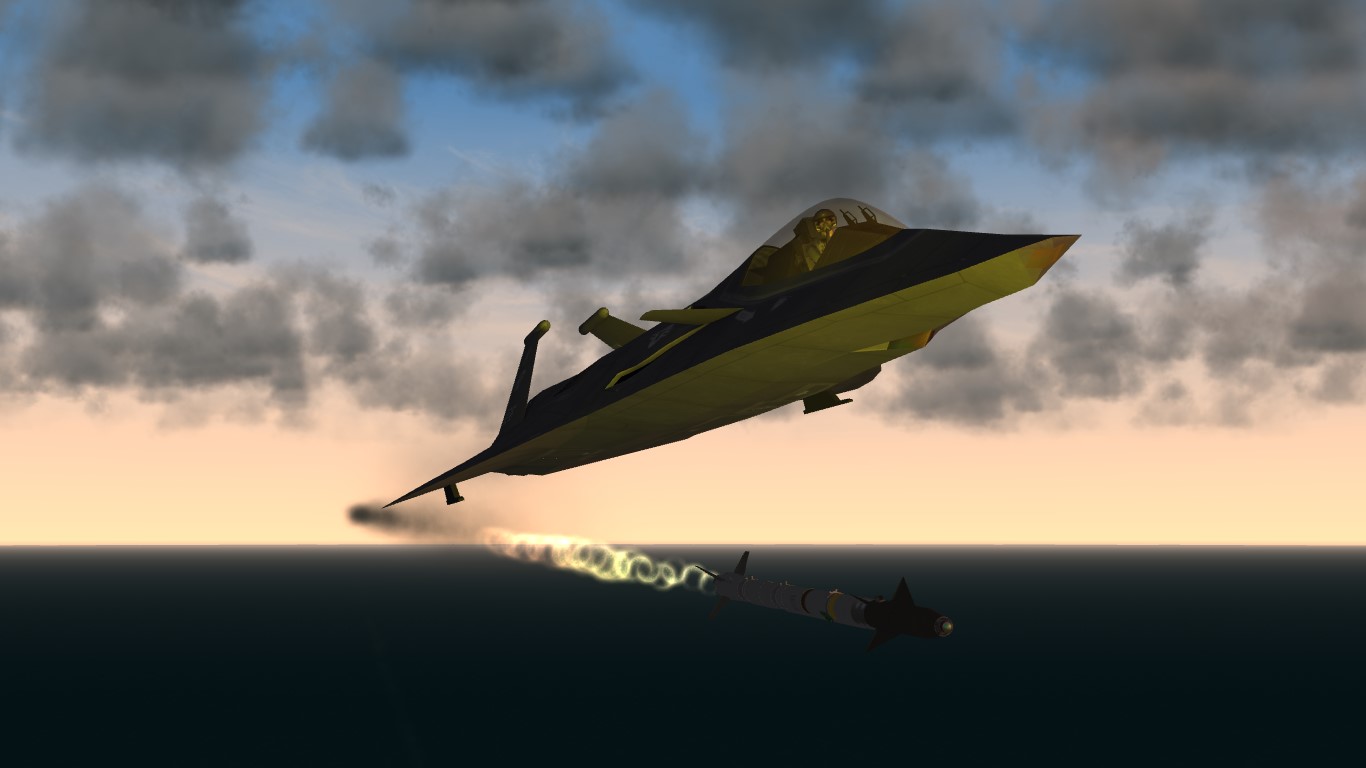
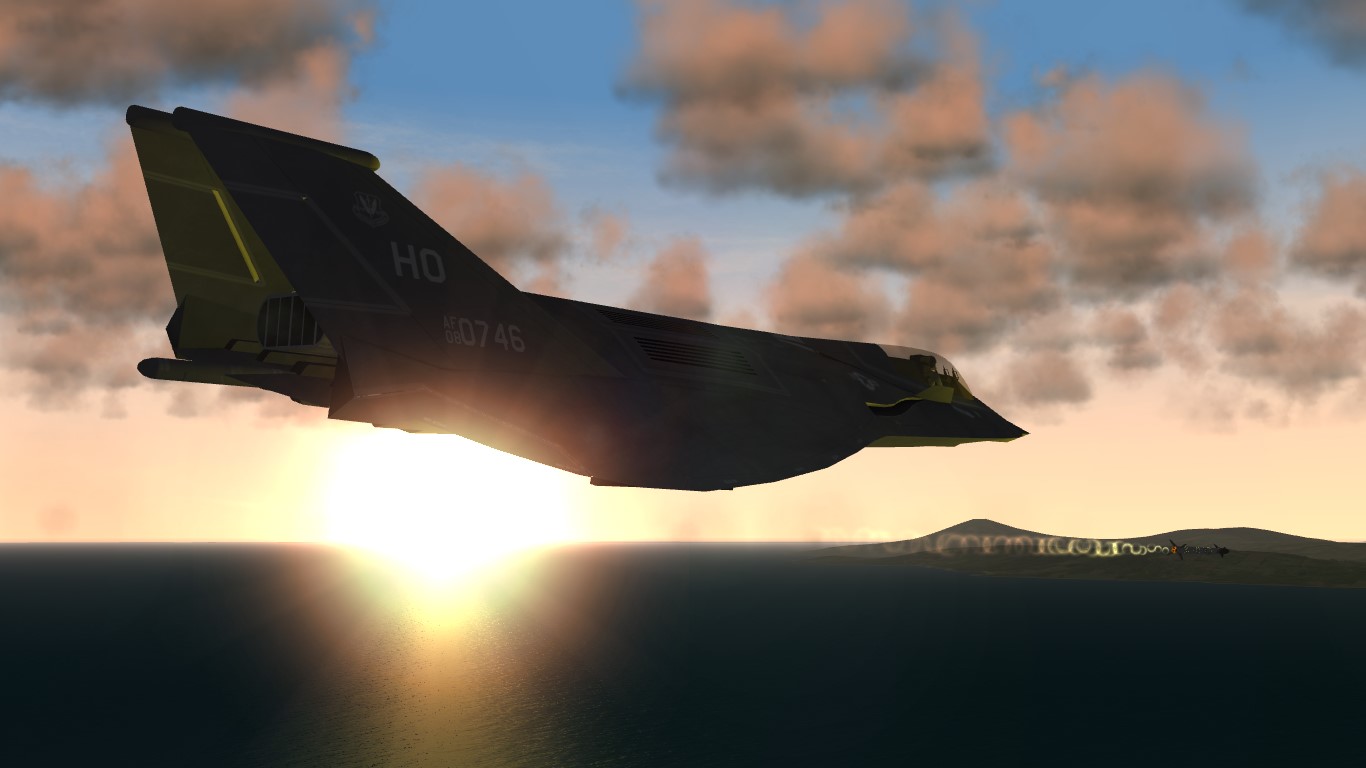
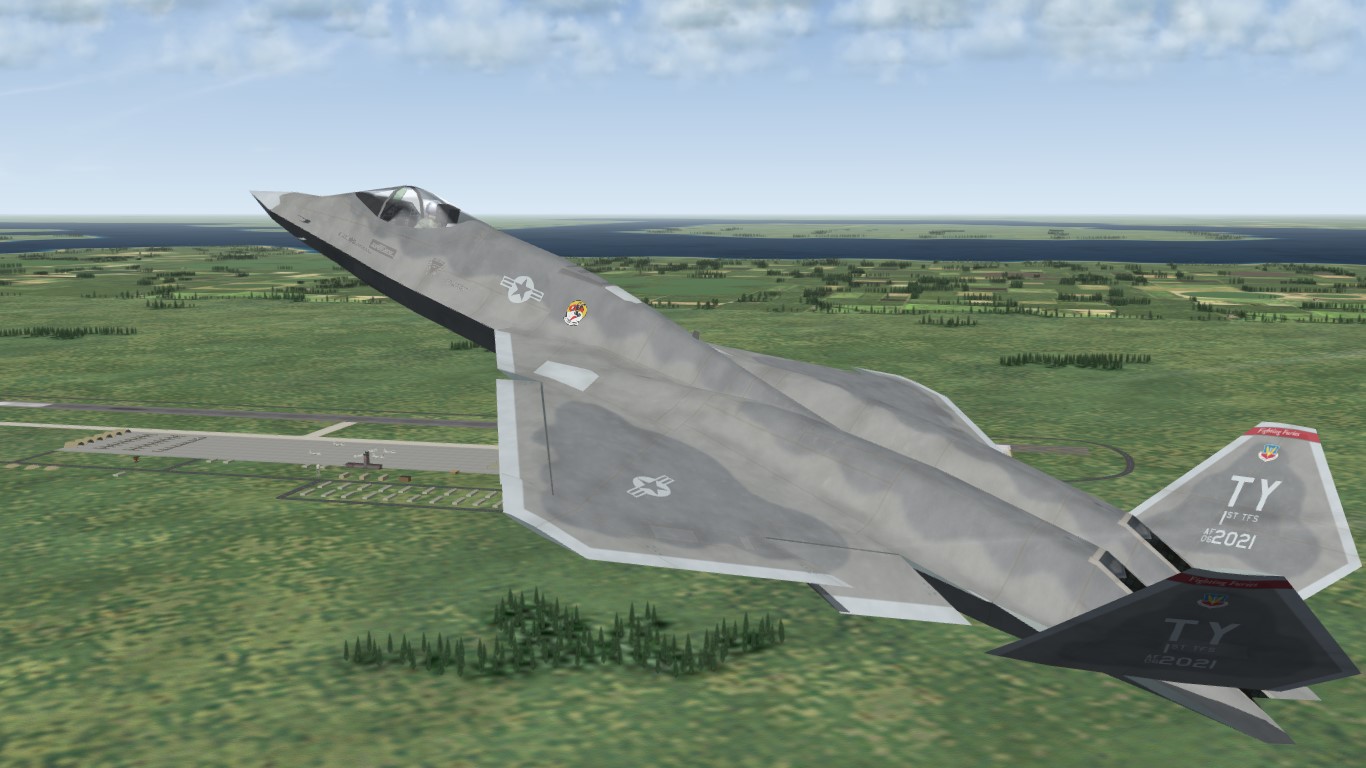
SF2 F-19 USAF black & green camo
Here's my black and green camo skin for Julhelm's F-19 'Ghostrider' a.k.a. 'Flying Frisbee'. It is based ont the description of F-19 form Tom Clancy's novel titled "Red Storm Rising" in which it was depicted as black and green. You need to download and install the aircraft first to run the skins, it's available here:
Credits:
- Julhelm - aircraft
Read the Knowledge Base to learn how to install this mod. No item included in this mod can be distributed as payware. You can use the contents of this mod in accordance with Combatace Freeware License.
Chris
-
Submitter
-
Submitted08/26/2019
-
Category
-
1
-
Every night the black and green Frisbees lifted off for some special target or other, and the Russians still had not figured a counter.
'Red Storm Rising' by Tom Clancy
-
 4
4
-
1
-
-
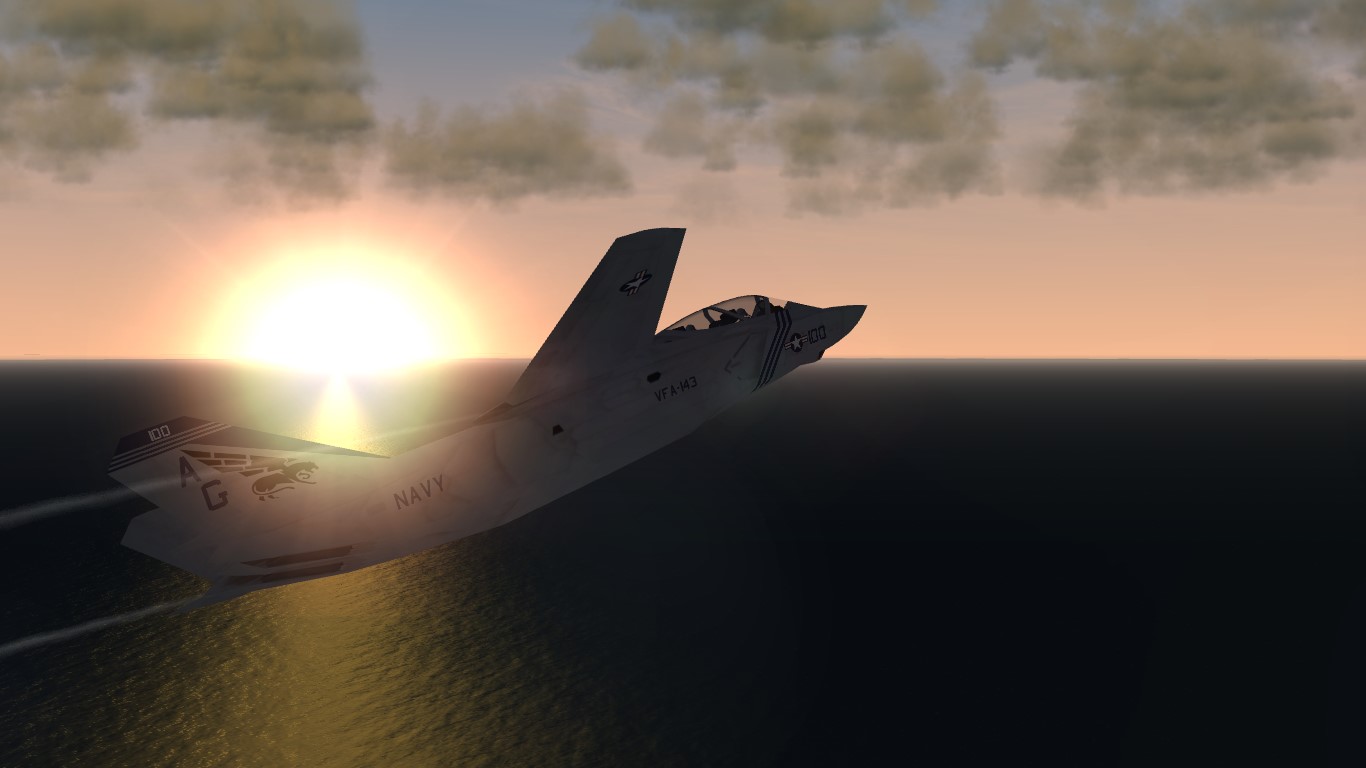
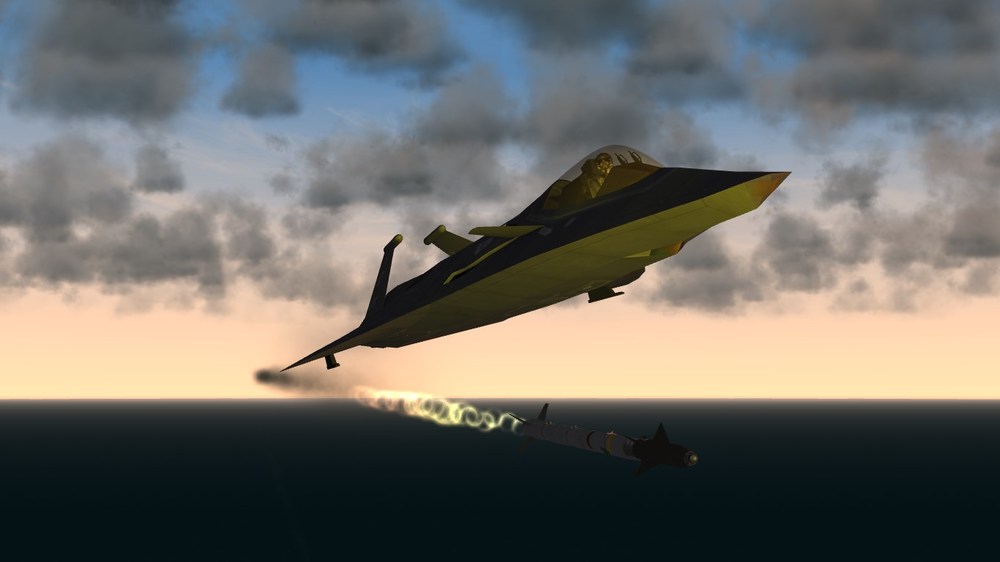
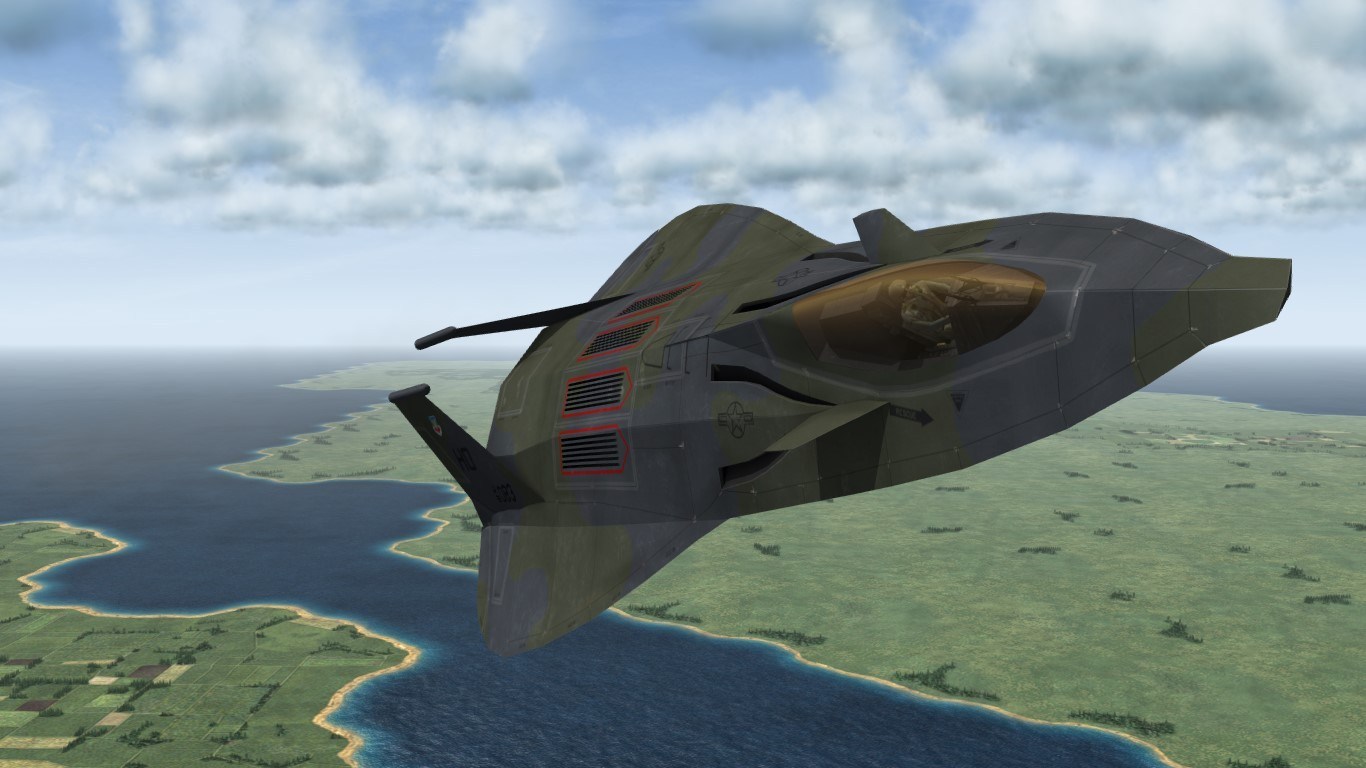
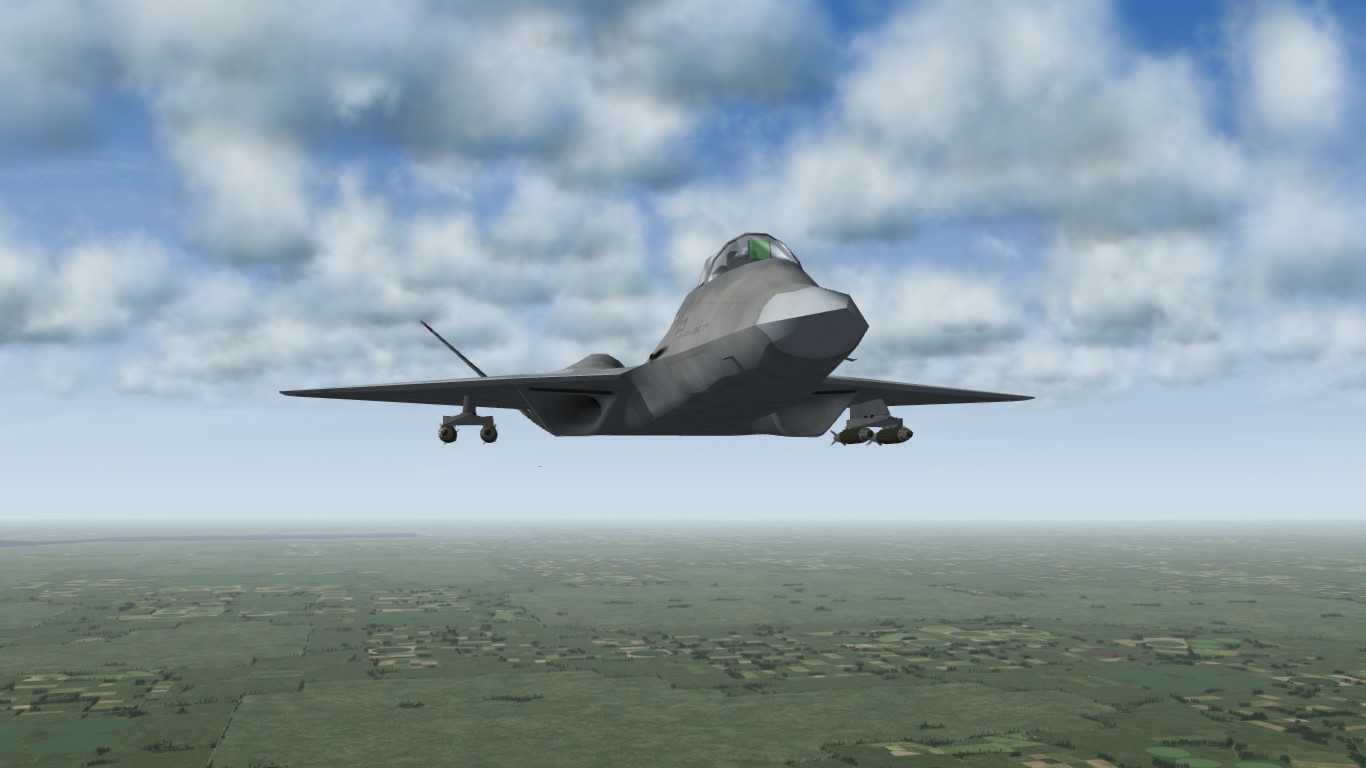
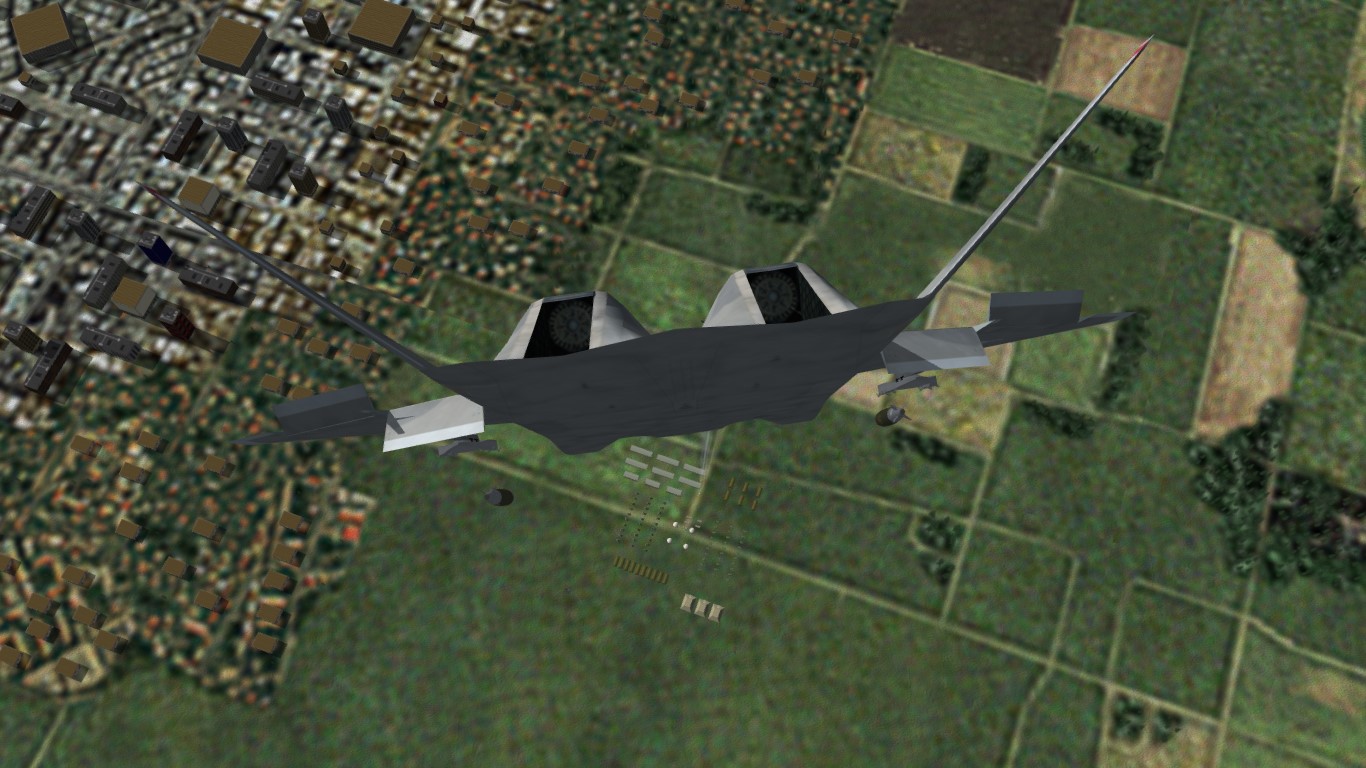
SF2 A/F-24 Shadowcat USN Skinpack 2
Here's my second set of new skins for Julhelm's A/F-24 Shadowcat. The pack includes five USN skins: VFA-2 Bounty Hunters, VFA-21 Freelancers, VFA-32 Swordsmen, VFA-33 Starfighters and VFA-41 Black Aces, all with CAG and lo-viz markings. You need to download and install the aircraft first to run these skins, it's available here:
Credits:
- Julhelm - aircraft and template
You can get my previous pack here:
Read the Knowledge Base to learn how to install this mod. No item included in this mod can be distributed as payware. You can use the contents of this mod in accordance with Combatace Freeware License.
Chris
-
Submitter
-
Submitted08/06/2019
-
Category
-
First to strike, first to fight!
-
2
-
-
Julhelm's Frisbee from the RSR mod with my new paintjob.
-
9
-
-
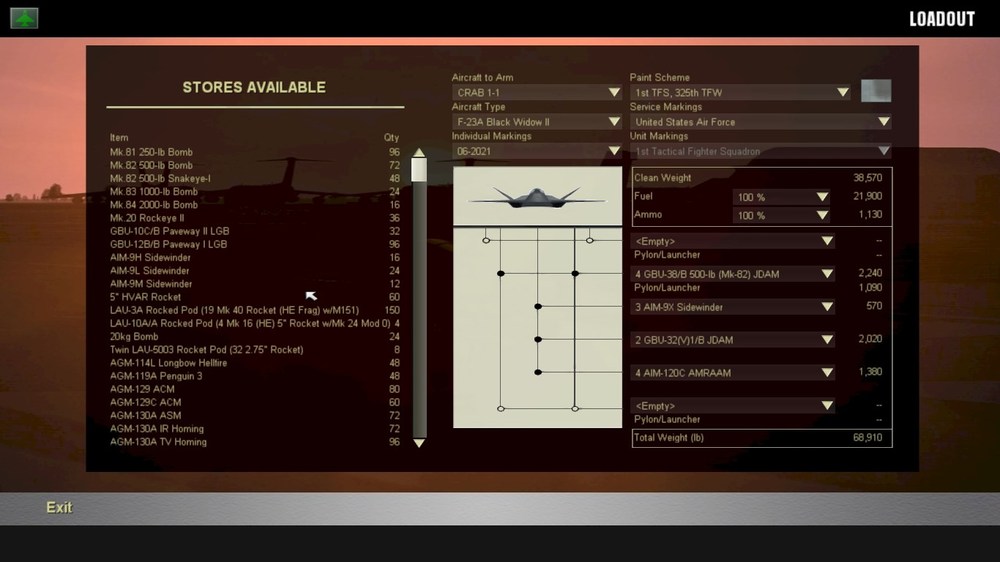
6 hours ago, dtmdragon said:First make sure the figures in BRU-55 data.ini you have can carry the weight and dimensions of the 2x JDAM in question. A 2br or ter will not carry a GPS guided weapon (EOGB) if loaded at the loadout screen. However if loaded via the loadout.ini file and not changed at the loadout screen it will. Eg:
Loadout[03].WeaponType=GBU-38
Loadout[03].Quantity=2
Loadout[03].RackType=BRU-55I can confirm that it works which is quite new for me. You never stop learning

You can't load GBU-38s on BRU-55 via the loadout window but you can create a preset in the loadout.ini file and it would work fine.

-
1
-
-
Aren't these GBU-54s? They're set in the .inis as LGBs (and in real life they're dual mode GPS/laser guided bombs). Try to do the same with GBU-38s and make sure they're set as GPS guided bombs in the .inis.
-
1
-
-
-
I don't think it's possible at all to carry GPS-guided bombs on 2BRs, TERs or MERs.
-
I wouldn't bother with this aircraft anyway, it looks kinda cool but its FM is sick AF. I downloaded it yesterday just to check it out and I was able to make a very tight loop (almost a Kulbit, the radius was less than 100-200 m) with the initial speed of Ma 1+. You get a blackout with a slight pull on the stick. On the other hand, such maneuvers are very AceCombat-ish

-
 1
1
-
-
3 hours ago, crisisloaner said:Hi all,is there aproblem loading decals on this bird ? I have only been able to replace the insignia and can't get anything else to show up ?
The author mentioned in the file description that you should not use decals.ini when creating a new skin. Why? I have no idea at all.
-
58 minutes ago, JosefK said:Link to this jet plz?
Here you go:
-
1
-
-
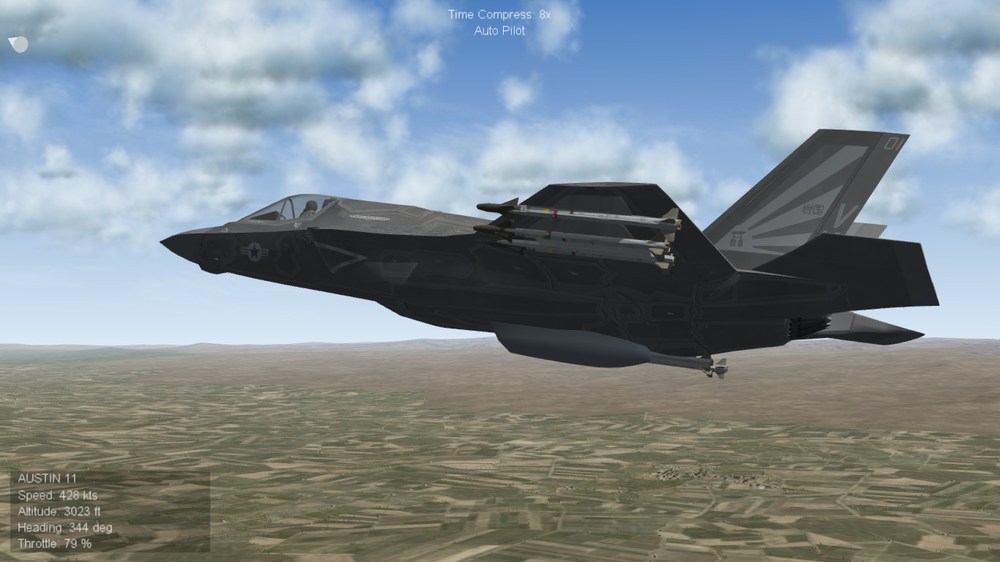
I did this little thingy here mostly for fun. Some of you may have heard about a Polish project of a light combat aircraft/advanced trainer called Grot 2. I decided to bring it to SF2 using the Su-54 model made by @cocas. The aircraft has some weird glitches around air intakes and one of the horizontal stabs works in the opposite direction but... it's still cool anyway. I still need to finish the skin as for now it's mostly only camo, panel lines and very basic weathering.


-
6
-
1
-
-
Guys, that's a nice wishlist. I'd add some reallistic A2G radar guidance for weapons such as the Brimstone and more versatile approach to weapons racks with no limitations such as not being able to carry GPS-guided bombs on 2BRs or TERs or generally not being able to carry some kinds of weapons on some kinds of racks depending on the guidance.
However, is there a point at all? It seems to me that we've had similar discussions on CA before and the general conclusion was that the original creators of SF series PC games don't care about these games anymore and don't want any further development. And yes, I would be super happy to have a game reflecting the modern air combat in a more reallistic way (sorry, not a fan of Cold War era historical aviation here) which would be as easy as the present SF2 when it comes to adding user-made content.
-
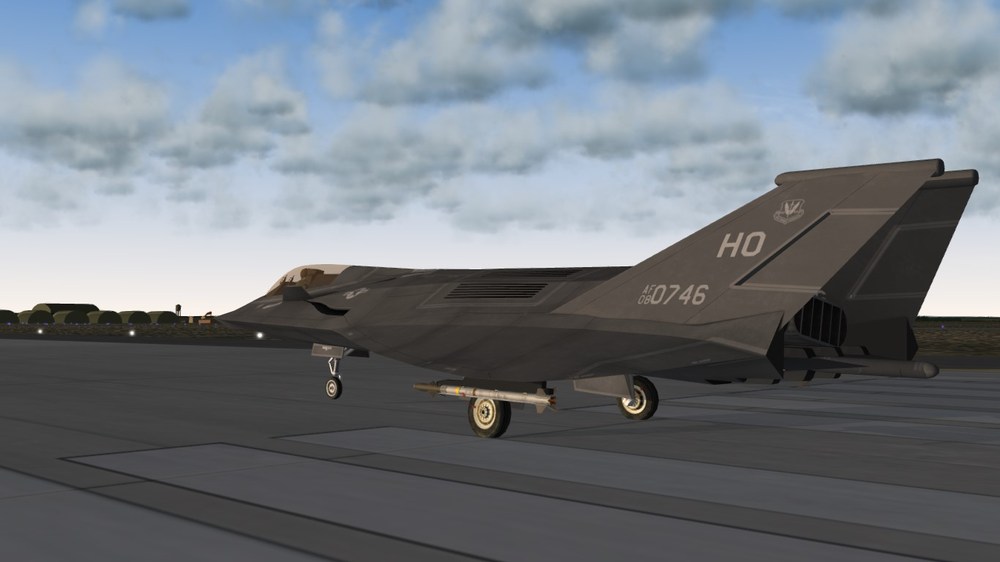
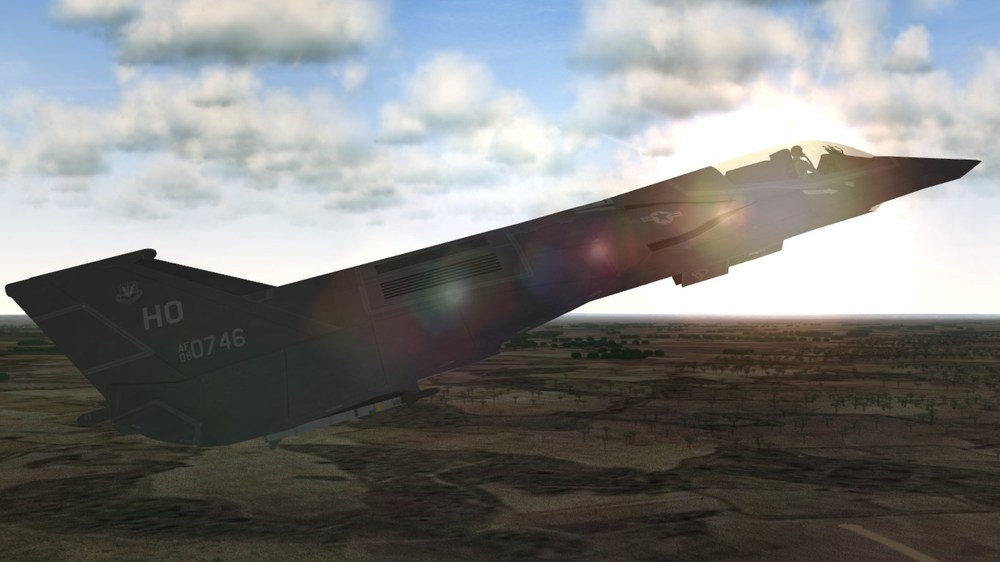
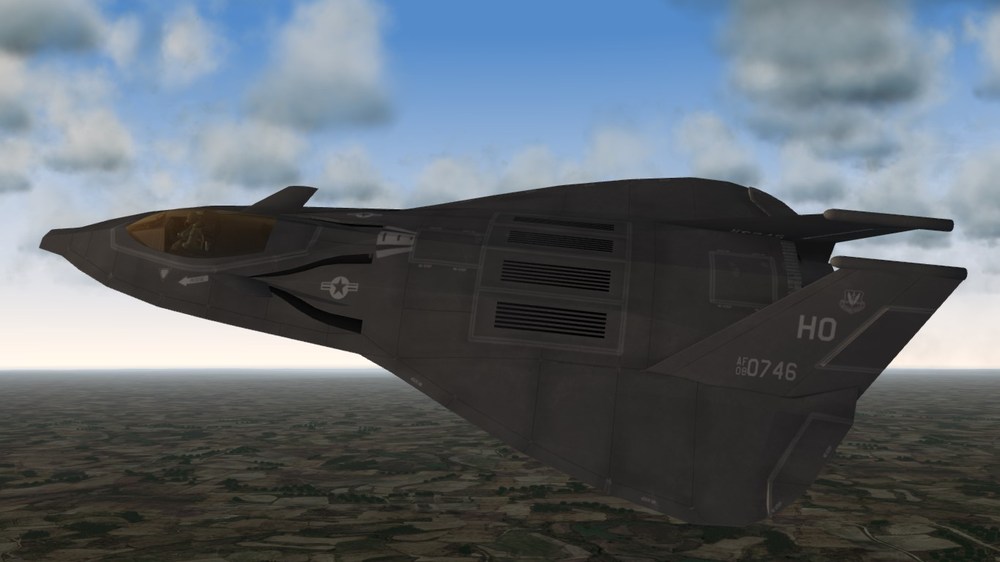
SF2 2015 Polish MiG-29GT 4105 skin
In 2003-2004 Poland received 22 MiG-29 aircraft from Germany, including 4 MiG-29GTs (German version of a MiG-29UB 9-51 two-seater). In 2015 the aircraft no. 4105 received a special paintscheme in honor of brigadier general Stanisław Skalski - the top Polish fighter ace of the WW2 and the first Allied fighter ace of the war.
This mod contains the abovementioned special 4105 skin. To install, unpack the zip archive and paste the contents of "to mod folder" folder into your game's mod folder. Read the Knowledge Base for further instructions on installing mods etc.
Credits:
- Bazillius for his outstanding MiG-29 skin template and the original MiG-29 9-51
- Soulfreak for the MiG-29GT
- Mariusz Wojciechowski (mariwoj) for the priceless reference material, visit his site for more goodies: http://mig.mariwoj.pl/
As with all my works, you can use any content of this mod as freeware only.
Have fun
Chris
-
Submitter
-
Submitted06/27/2019
-
Category
-
All the bugs and details fixed, ready for release.


-
11
-
-
3 hours ago, Soulfreak said:DCS got a very detailed SU-25 Temp for their SU-25.
Maybe you could adapt it to the SF2 model?
1. The layout is completely different.
2. I don't know whether the author allows such use of their work.
Looks like I need to make one myself from scratch. Holy rivets!
-
Late for Mig Monday


-
11
-
-
1 hour ago, bazillius said:i have white Ukrainian skin from Black Sea Crisis campaign. Not a template... but better than nothin
I've got this one too but thanks anyway. I'm trying to make a template out of it but it's quite low-res and the effect is less than satisfactory.

.png.22d97bb0eecfd53aded3ab02ac108ed2.png)
.png.9a9ee6e6eba3a9805a8ff73e6b2b74be.png)
.png.faeae82e00db4af7a2227852a910f927.png)


Another problem with decals not showing up
in Thirdwire: Strike Fighters 2 Series - Mods & Skinning Discussion
Posted · Edited by kblomkvist
That's an obvious thing to do but quite hard with this aircraft if one wants it to look good. Unfortunately, the warnings and generally everything around the canopy are a real PITA with the F-35 model available here. It has a... erm... not that great texture mapping and the space to put them around the canopy is really narrow. This causes some serious bleeding and blurring or other deformation of the markings so that's why I wanted to use decals. Same with the "marines" label at the back, if you paint it on the skin, it's somehow distorted. Imagine that I wanted to add the "door" under which a refueling probe is hidden on the right side of the aircraft, below the canopy and I had to make it as a decal too. It was impossible to add it on the skin because I had too little space to draw it. You just have a tiny patch of space on your template which is then stretched over a bigger surface of the model and the effect is obvious: bleeding and deformation. Maybe I'll try with the one-helluva-big-tga idea for the whole nose and canopy area. And of course, thank you all for your support, it's priceless to have the advice from the more experienced ones.