-
Subscription required to download files
-
- 128 replies
- 7,753 views
-
-
Available Subscriptions
-
Our Picks
-


AH-1G Cobra. ver.2025.
SF2 Aircraft Package -
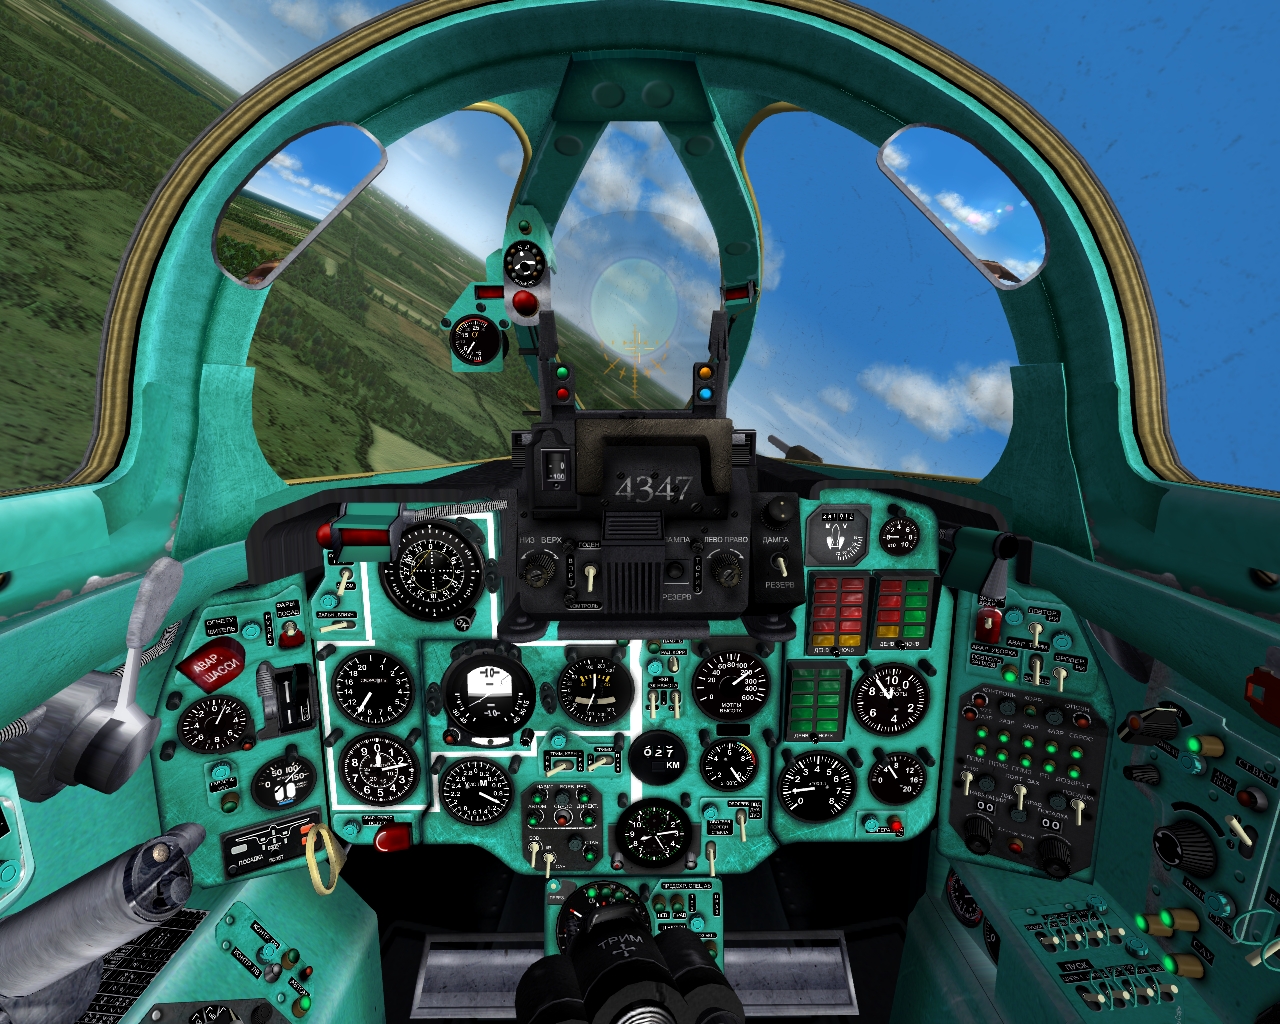

MiG-23 BN cockpit
SF2 Cockpit Package -


NATO Fighters 5 - Part 1 of 8
SF2 Campaign Package -


C-130 Hercules Megapack
SF2 Aircraft Package -
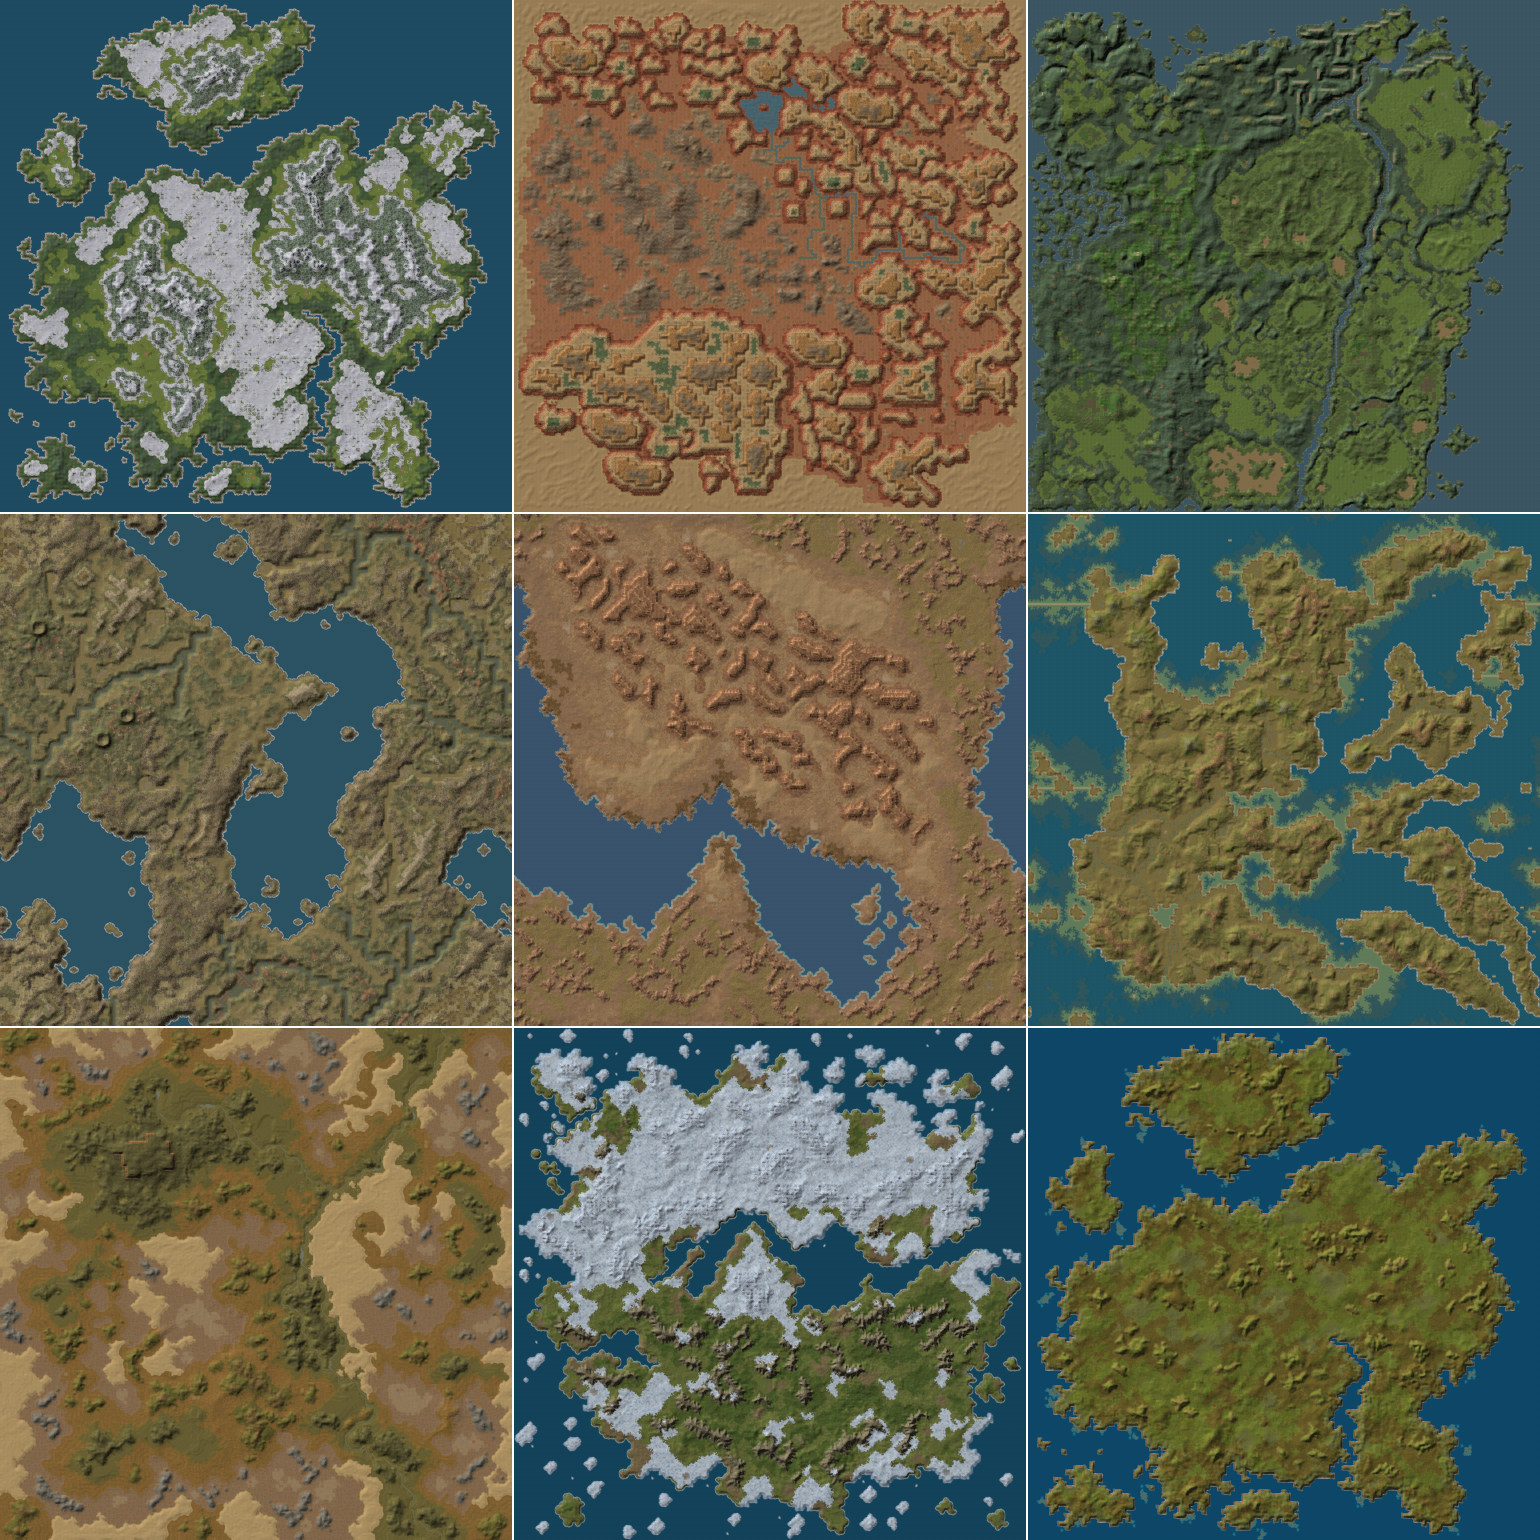

NovaLogic Terrains
SF2 Terrain Package -


Nations & Medals Expansion
SF2 Decals and Nations Expansion -

new tiles for Korea MIGAlley from Gepard
SF2 Tileset Package -

Royal Meteors. 1944-1970.
SF2 Aircraft Package -


Southwest United States for SF2
SF2 Terrain Package -
.jpg.80009de8f0517f8545578316533e500b.jpg)
realSKY Environment
SF2 Environment Package
-

- First Eagles - WWI and Early Years - Skins
- First Eagles - WWI and Early Years - Add-On Aircraft
- First Eagles - WWI and Early Years - Add On Cockpits
- First Eagles - WWI and Early Years - Object Mods
- First Eagles - WWI and Early Years - Terrain and Environmental Mods
- First Eagles - WWI and Early Years - Missions and Campaigns
-
 195 0
195 0 -
 82 0
82 0 -
 120 0
120 0 -
 97 0
97 0 -
 533 0
533 0 -
 1,307 3
 -
 725 0
725 0 -
 123 0
123 0 -
 137 1
137 1 -
 123 0
123 0 -
 155 0
155 0 -
 1,088 2
 -
 193 0
193 0 -
 416 1
416 1 -
 721 0
721 0 -
 135 3
135 3 -
 85 0
85 0 -
 461 1
461 1 -
 186 0
186 0 -
 155 0
155 0 -
 818 1
818 1 -
 213 0
213 0 -
 829 0
829 0 -
 168 0
168 0
-
Download Statistics
