-
Posts
3,749 -
Joined
-
Last visited
-
Days Won
7
Content Type
Profiles
Forums
Gallery
Downloads
Store
Everything posted by 33LIMA
-
From the album: Combat Sims
-
From the album: Combat Sims
-
From the album: Combat Sims
-
From the album: Combat Sims
-
From the album: Combat Sims
-
From the album: Combat Sims
-
From the album: Combat Sims
-
From the album: Combat Sims
-
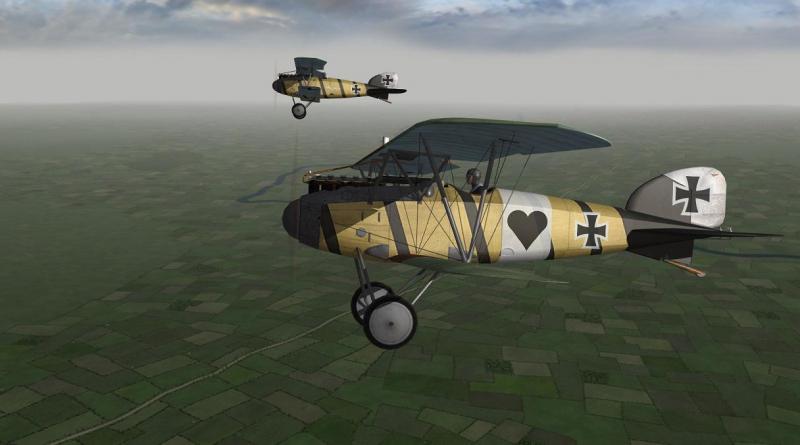
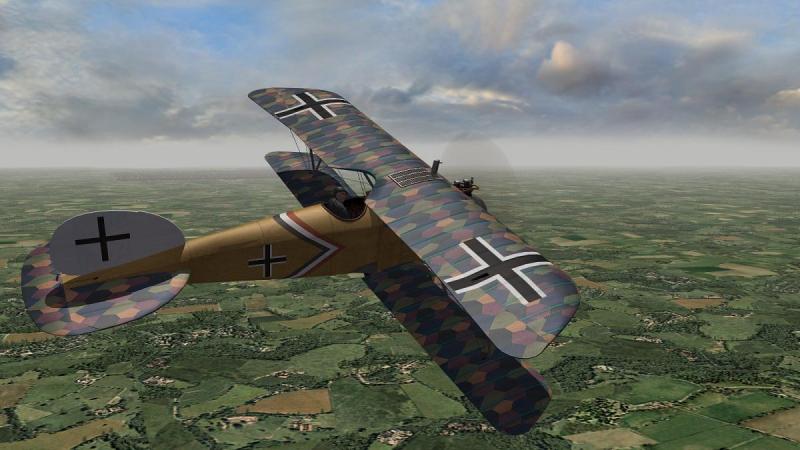
I believe the Albatros DIII (OAW) is a stock aircraft (which if that's so, means it should be listed in the drop-down list of flyables in the 'single mission' option). It's distinguished from the sim's DIII, as you would expect, mainly by the rounded rudder and offset radiator. The real Austrian Albatrosses are the Oef versions, which you can find here, if you haven't already.
-
Thanks Snachito! I'm sort of dreading the next Iron Warriors mission 'cos I just know they're going to stick me back in that T-34 I delivered...and that next time, there'll likely be no going the long way around and avoiding getting shot at! Good mind to report sick, by the time the T-55s arrive, I'll be feeling much better
- 13 replies
-
- iron warriors
- balkans on fire
-
(and 1 more)
Tagged with:
-
Glad you got sorted!
- 13 replies
-
- 1
-

-
- iron warriors
- balkans on fire
-
(and 1 more)
Tagged with:
-
And I nearly forgot - I think there's a DivX codec you need to install, during the installation process - the game won't run without it.
- 13 replies
-
- iron warriors
- balkans on fire
-
(and 1 more)
Tagged with:
-
PS another long shot but worth trying - if you have a recent version of Windows maybe the sim needs components of an earlier version of DirectX? I have this installed already as I play some older sims but it may be worth installing DirectX9: http://www.microsoft.com/en-gb/download/details.aspx?id=34429 Apparently, multiple versions of DirectX can co-exist happilly, you don't lose anything by installing an older version.
- 13 replies
-
- iron warriors
- balkans on fire
-
(and 1 more)
Tagged with:
-
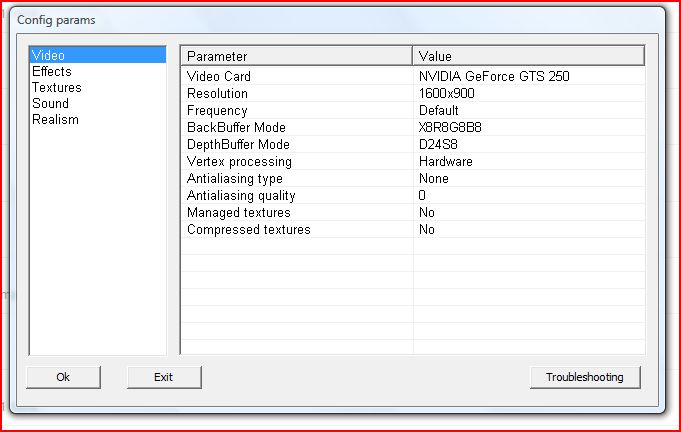
I'm no expert but this does sound like some kind of video problem. May not help but here are my settings in the Video section of the IW config program (the one you run separately from the game, and which can configure may options more than are available, in game. If these work for me, maybe they will work for you...failing that, maybe try uninstalling, deleting any leftover folders manually, then re-installing.
- 13 replies
-
- iron warriors
- balkans on fire
-
(and 1 more)
Tagged with:
-
Never had that problem. I have Vista 64 and avoided installing the sim in Program files or Program files (x86) as is often recommended for pre-Vista sims. Maybe that helped. I recall that the same team's later sim, Steel Fury, could sometimes fail on loading, with a blacked-out screen for example, if there was something the sim didn't like, selected under 'Video options'; so maybe some trial and error there, would help. Good luck!
- 13 replies
-
- iron warriors
- balkans on fire
-
(and 1 more)
Tagged with:
-
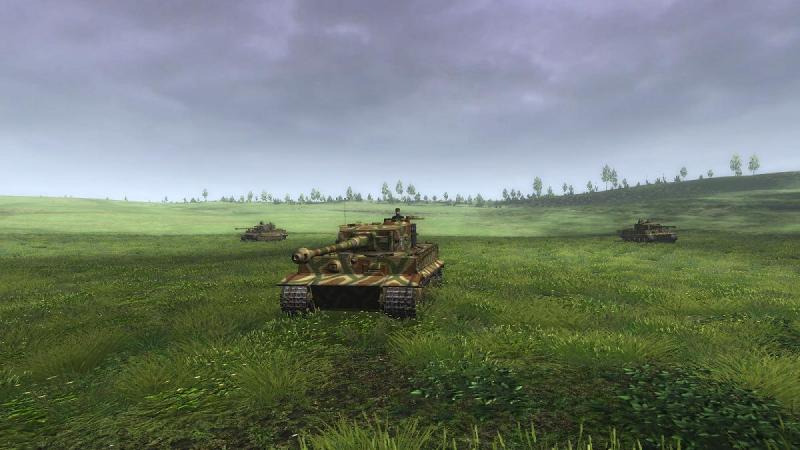
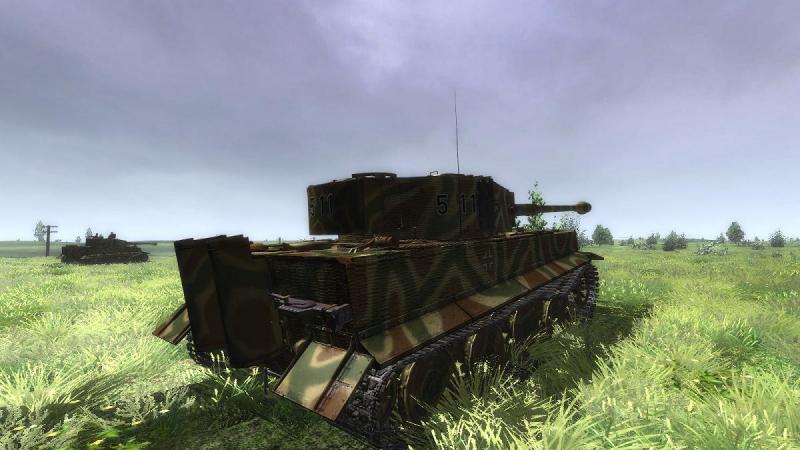
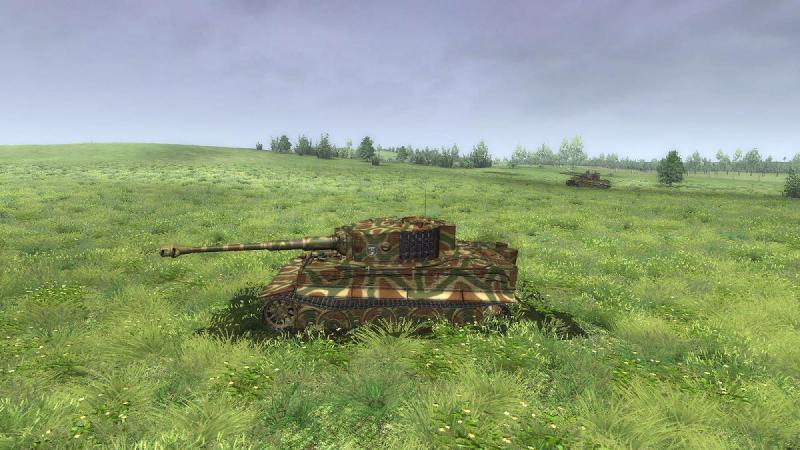
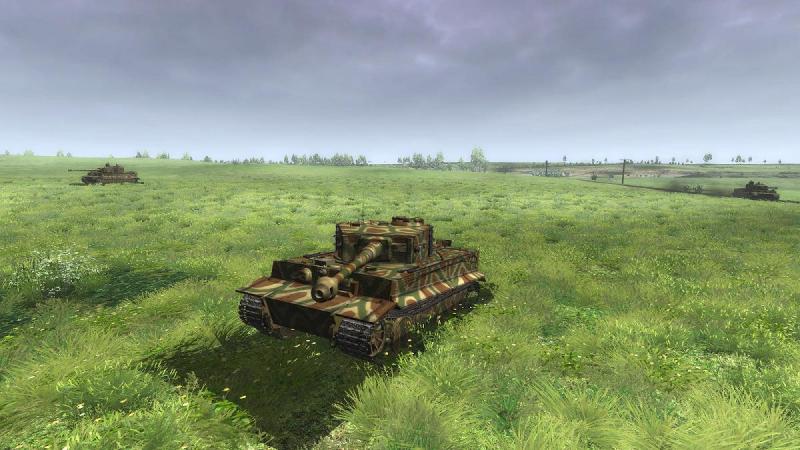
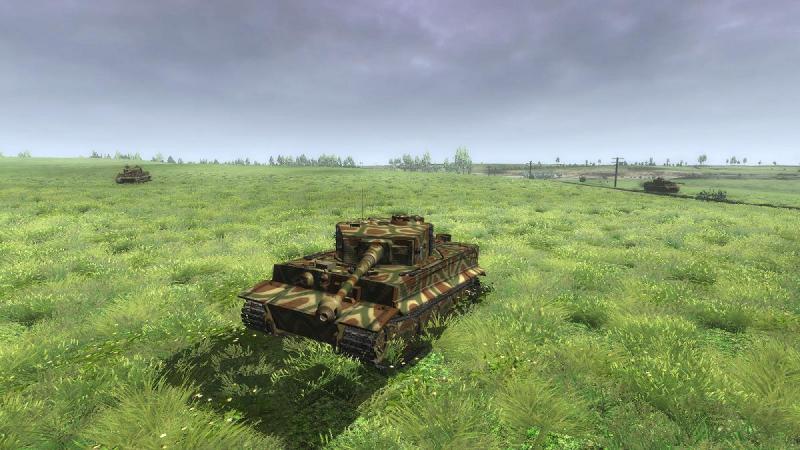
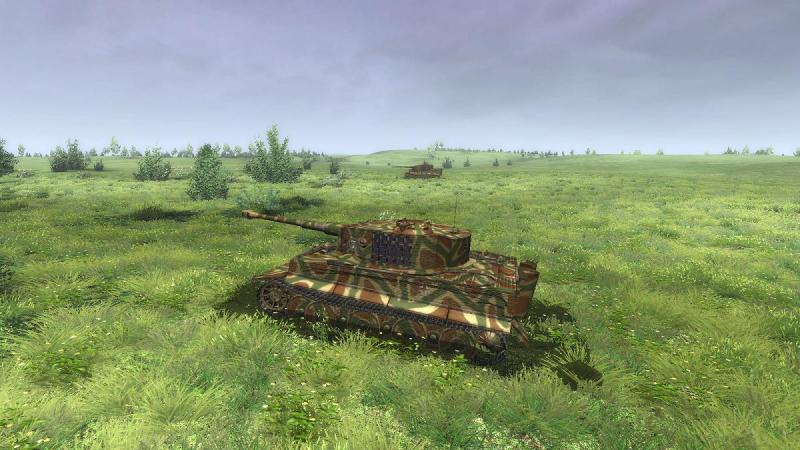
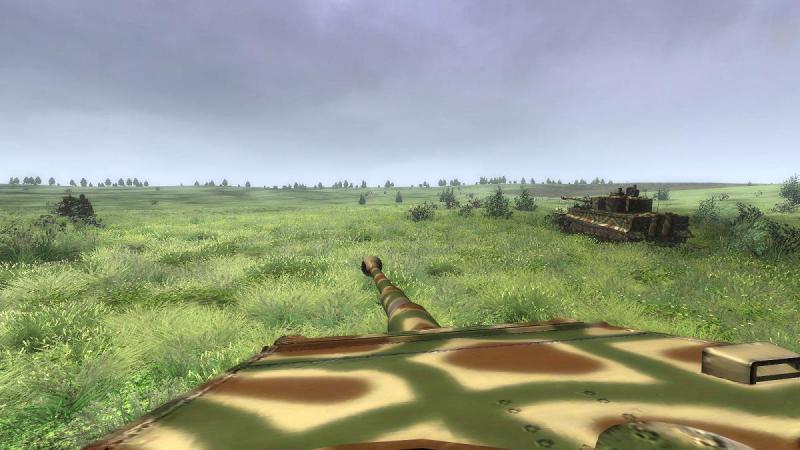
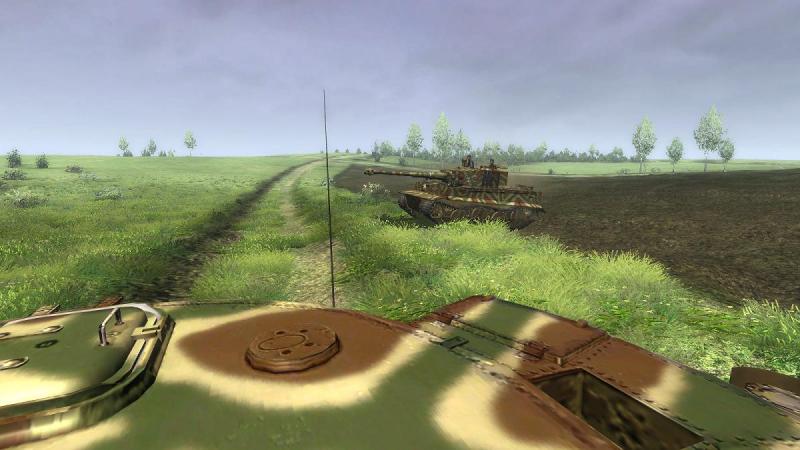
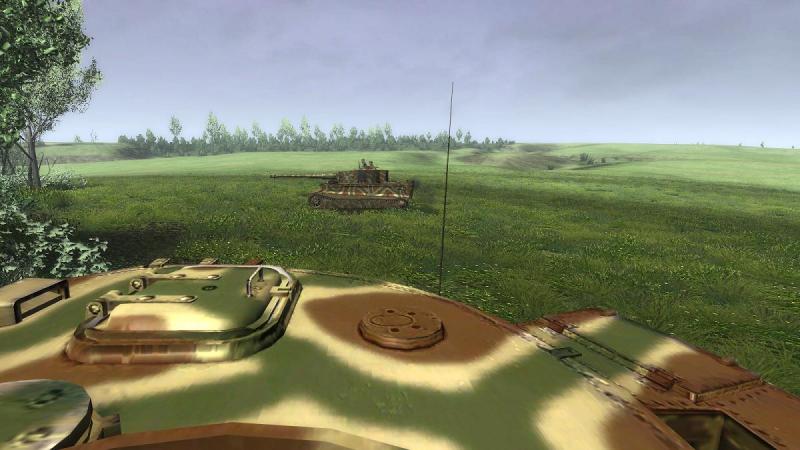
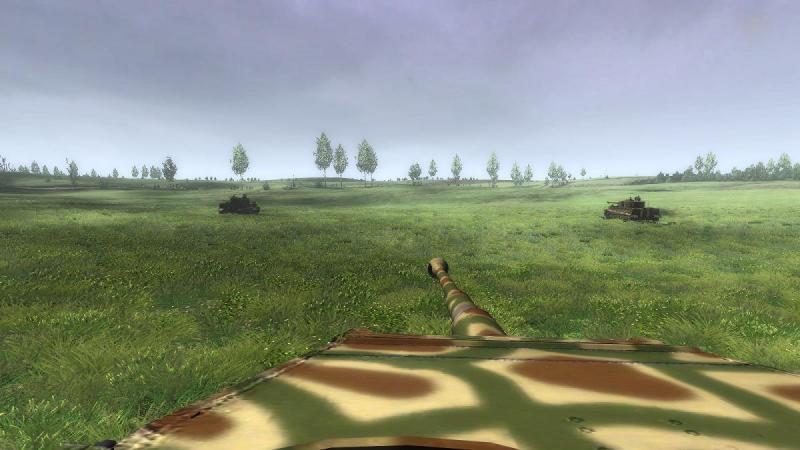
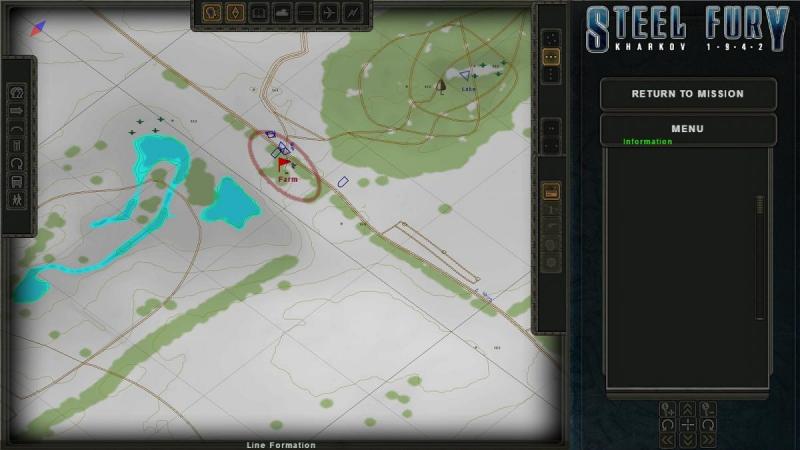
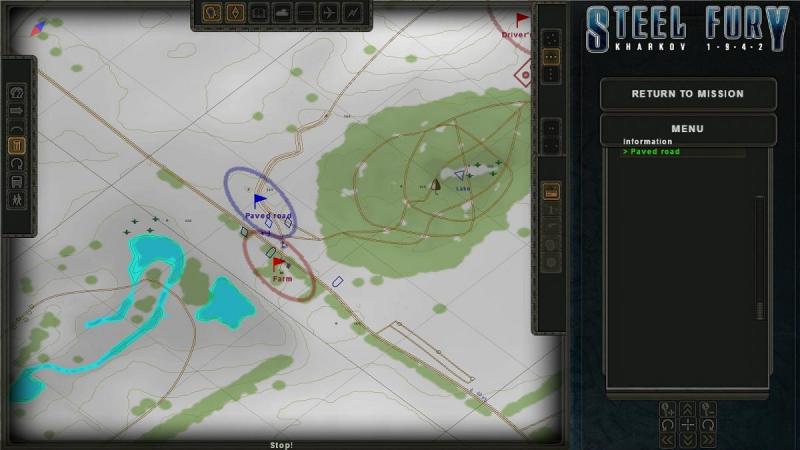
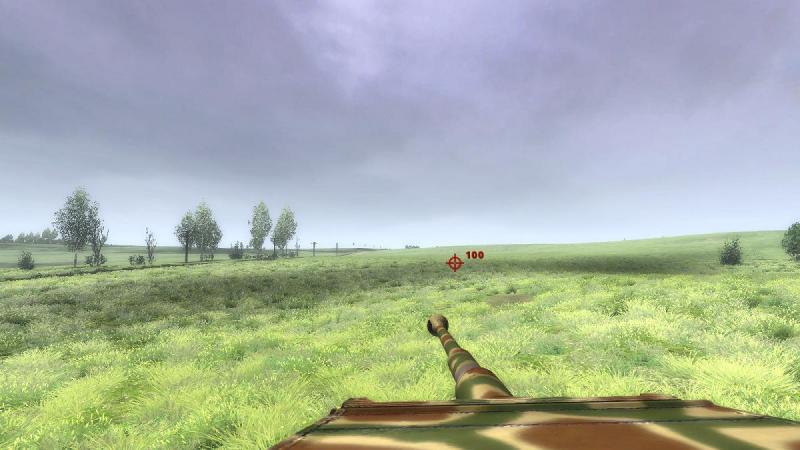
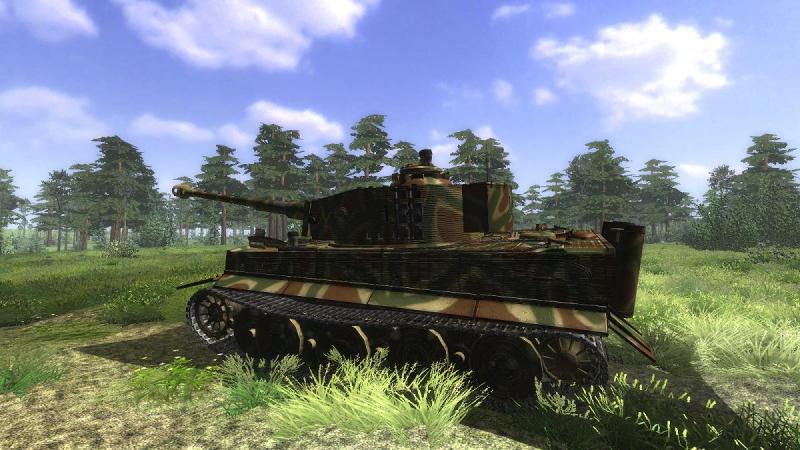
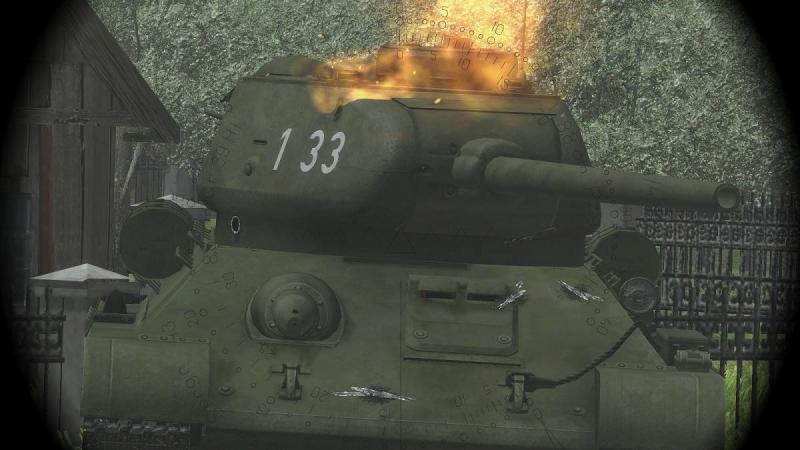
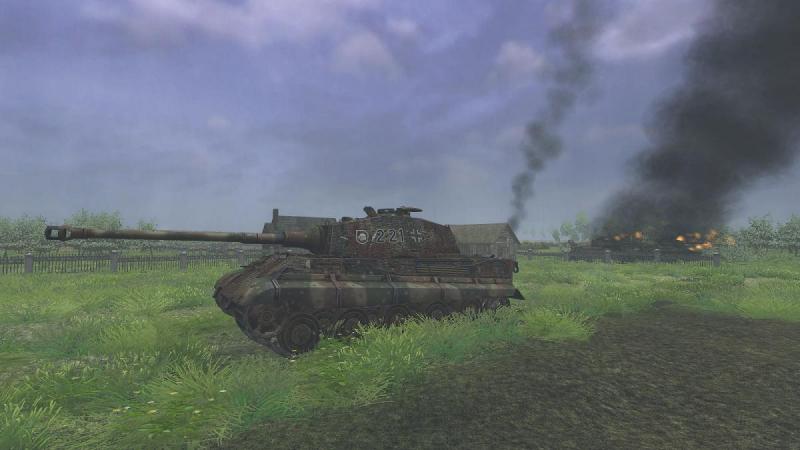
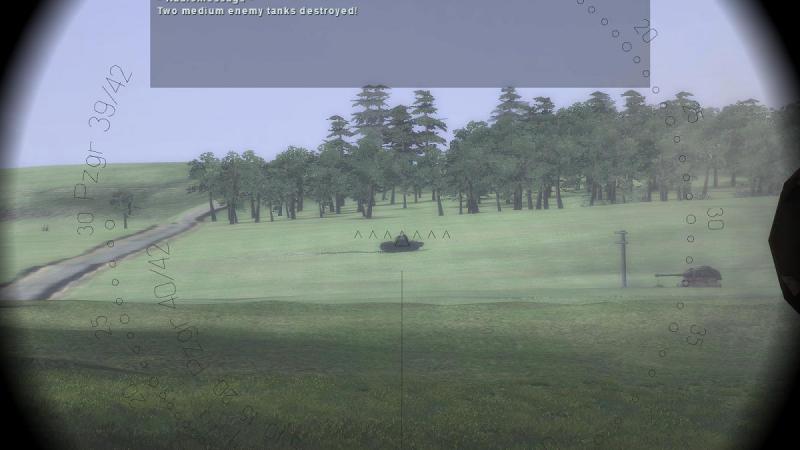
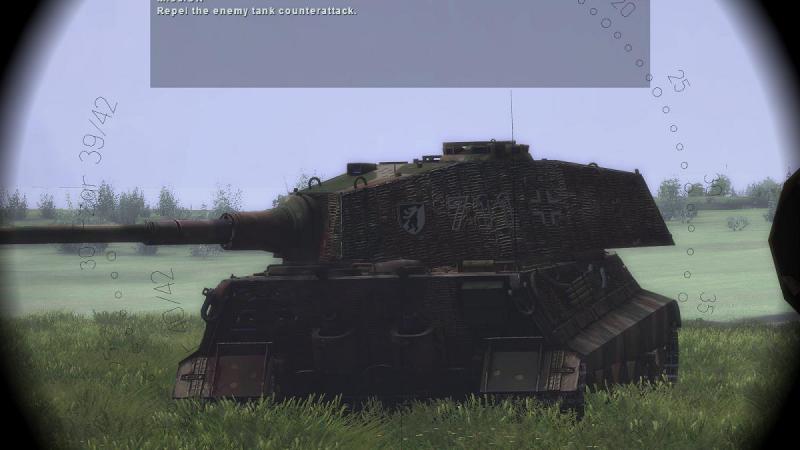
Applying some real-world tank tactics in 'Steel Fury - Kharkov 1942' Fire and manoeuvre; fire and movement; bounding overwatch - call it what you will. But this basic drill is the cornerstone of modern small unit tactics. To quote from one British Army training publication used in my day: 'The role of the infantry in battle is to close with and destroy the enemy. To do this they must move. It may be possible to move safely by using covered approaches but usually an enemy will select positions which, as far as possible present no covered approaches. He will also do his utmost to stop advances by obstacles and fire power. It follows therefore, that attacking infantry must use their fire to make the enemy keep his head down and so make their advance possible. This process of moving using fire is known as 'Fire and Manoeuvre.' RMAS tactical precis 14, 'Battlecraft', September 1976 This drill was equally important in World War 2 and it's as relevant to AFVs as it is to dismounted infantry. It applies at all levels. Within an infantry section (US squad) one part of the section ('fire team', 'rifle group' or 'gun group') goes firm and covers the advance of the other. Within a platoon, one section might provide cover, while the other two sections move. And so on, up the chain of command, or with tanks instead of infantry sub-units. The moving element then goes to ground, and the other element moves. Bounds will be kept short enough so that, in any given terrain, mutual support is maintained. Movement can be by 'caterpillaring' or 'leapfrogging'. When caterpillaring, the element left behind closes up with the lead element, like one of those caterpillars which loops then flattens out its body when moving. When leapfrogging, the element left behind, when it's his turn to move, will...well, leapfrog, and go beyond the other element, before halting. 'Bounding overwatch' is the US Army's term for all this. When caterpillaring, they say you're using 'successive bounds'; when leapfrogging, it's 'alternate bounds'. FM 17-15 describes both (see pages Chapter 3, Section 4). The bottom line is this: you need to close with the enemy, to destroy him. To get close without being destroyed yourself, you need somebody to be pinning him down, while you move. Sometimes the covering fire can be provided by your side's artillery. But at some point, certainly by the time you're 'danger close', you're going to need to organise it so that you can provide your own direct fire support. It's all about splitting your sub-unit into two parts, then one part moving, while the other part fires. Or is ready to fire. Because fire and movement's not just for the final stage of an attack. When you're making an advance to contact, fire and manoeuvre - without the actual firing! - is how you make sure that you won't be wiped out in the first volley and have a better chance of spotting and hitting the enemy than you would, if everyone was moving. With part of your force sitting in cover, watching out for those who are moving, when it hits the fan your casualties will be lower and your return fire, faster and more effective. From real world to tanksim Most tanksims cast the player in the role of the leader of a troop (US or German platoon) of tanks or other AFVs. Some players may be perfectly happy to play the mission's hero and pay little attention to their platoon-mates, or perhaps to rely on them as little more than 'extra lives' if their own tank gets knocked out (if the sim, unlike Steel Fury, allows you to replicate this practice, common in real life...if you survived!). If inclined to take your leadership responsibilities a little more seriously, you might make the effort to get your platoon into the best formation for the tactical situation - maybe column for a road march or close country, wedge for a move across open country, or line abreast for an assault. And then orient and lead them where you want them to go, relying on them maintaining formation on your own tank and helping you shoot up whatever it is, that needs shot up. But if you want to take your platoon tactics a step further, there will be times when fire and manoeuvre will be appropriate. For example, when advancing to contact, perhaps over fairly open country, you don't want to risk driving with your whole platoon into what may turn out to be an enemy's killing ground, laced with the fire of several anti-tank weapons, all zeroed in and ready to give you a nice hot reception. Different tanksims provide different ways of allowing you to do a spot of fire and manoeuvre It's been a while since I played Steel Beasts (original) which I recall did this pretty well but I still play Panzer Elite, which also does a good job here. You can split your 3 to 5 tank Panzer Elite platoon into two elements, and order each element, or any individual tank, to move to a point in the 3d game world by mouse-clicking on that spot. You could even designate targets or order fire at will or cease fire. But the purpose here is to describe how to carry out the drill in Steel Fury, whose platoon command and control facilities are rather more basic - for example, you have only two formations to choose from (if you exclude the 'blob' of the 'no formation' option) - column and line abreast. Steel Fury also has less hotkeys for the facilities it does provide, requiring some platoon commands to be issued from the map screen. It took a bit of experimentation to work out how to get my platoon to fire and manoeuvre, and having got passable results I thought I'd post them here. I'm going to describe two alternative methods you can use for Steel Fury. In both cases I have started with 'Always obey orders' selected, via the main game options menu. This may or may not be essential but I believe it reduces the possibility that your crew - and perhaps your other platoon-members - will ignore your commands (eg out of fear). When running drills which require obedience, this seems like a good thing! Method 1 - you move first OK, you've launched the mission. Many SF missions don't tell you before you start exactly what you'll be commanding, but let's say that - as is most often the case, and thus a fairly safe bet - you have seen, say, two other tank symbols near yours on the briefing map (your tank is the lightest blue, of the 'blue diamond' tank symbols on the map). And on kicking off the mission, you confirm that both of them answer to your commands. So you're in command of a platoon, three tanks in this case. Perfect! 1. With your own tank lined up on your chosen axis of advance - pointing the way you want to go - hit F8 to bring up the map screen. Then click the 'Line formation' icon, in the vertical stack to the right of the map: You might also want to: (a) minimise the briefing text panel, to get a better view of the map (click the 'book' icon, in the horizontal row at the top of the map); and/or (b) order closer formation, by clicking on the icon showing two closely-spaced dots, on the right; This gets everybody into line (abreast) formation, which is the best starting point for this drill. It may work from other formations but could get messy. After ordering line and returning to the mission, you might need to drive your tank forward a little, to start the other tanks moving into formation. 2. Wait until your tanks have lined up - usually, on either side of you. Then - and only then - back in the map screen, click on the 'Stop' icon (the bin or wastebasket symbol in the vertical stack over on the left of the map; if that stack isn't displaying, click on the 'Orders' icon - the 'shouting head' symbol - in the top row, to display them). Again, your tank is the lighter of the three blue diamonds on the map: 3. Move off in the desired direction, back in the 3d game world, with your own tank (W-A-S-D keys). Because you ordered 'Stop' at step 2, your platoon-mates will stay put when you move off, covering you from where they sit; 4. Complete your first bound and stop in a decent position, one which gives you a good field of view ahead and as much cover as you can get. You did choose this position visually, before you moved off, didn't you? Not too far - you need your platoon tanks, waiting behind you, to be able to spot and engage anything which tries to do you any harm. 5. Hit F8 to get back to the map screen and order 'Do as I do' by clicking the 'two heads' icon at the top of the left-hand stack. F8 will take you back from the map to the game world and if you look over your shoulder - quickly, because you should be watching your arcs, ahead - you will see your platoon-mates start moving again and drive forward until they are line abreast with you, once again. Rinse and repeat as often as necessary, from Step 2. To sum up: 1. order 'Line' formation (from map screen) 2. when in formation, order 'Halt' (from map screen) 3. move your tank ahead a 'tactical bound' and then stop 4. order 'Do as I do' (from map screen; the others will now rejoin formation) ...repeat as necessary, from Step 2: map order 'Halt' - move yourself - map order 'Do as I do'. That's it. Not difficult. Use when doing an advance to contact or in an assault, when you are closing with an enemy whose fire you need some of your tanks to return, accurately. Here it is, in action. Starting from line abreast, my Tiger moves forward, leaving the other two platoon tanks halted to my rear, covering my advance I have now halted and called the other two tanks forward; they advance to rejoin me The others have now halted on either side of my Tiger. I am ready to begin the next bound Method 2 - they move first I think I prefer this method. It can be done from the game world, without having to switch back and forward from the map screen. And because you can't take over a platoon-mate's tank if yours gets clobbered in Steel Fury, sending the others on ahead is less risky. A possible downside is that it works from the tank commander (unbuttoned) station so if like me, you play mostly from the gunsight and external views, there is an extra keystoke to get there. Here's how it works. 1. Same step 1 as the first method - get your platoon into line (abreast). 2. If not there already, get to the tank commander (unbuttoned) view (F3, with external view toggled off with F9). 3. Hit the F key, which activates target or destination selection, causing a little red crosshair symbol to appear in your view. Move this crosshair with the mouse over the spot you want your platoon-mates to move to, and RIGHT click with the mouse (left click selects a target, not a movement location). IMMEDIATELY after you right-click, hit the Q key - this stops your own tank from moving with the others. Hit it reasonably quickly and your tank won't have started to move. It's a good idea to hit the F key again at this point, to toggle off target mode, otherwise you won't be able to mouselook around. 4. Watch your arcs, while your platoon-mates drive forward and halt in the position you selected. 5. When they're set, move off yourself. You can either leapfrog and halt beyond them, which is riskier but makes for a faster advance. Or you can stop when level with them. Rinse and repeat, from step 2. That's it - easy, peasy. There is a variant of this. Go to the map screen (F8) and order a move (click the arrow icon in the left-hand stack, then click on a spot on the map, as the destination). Then quickly toggle the map off (F8 again) AND hit the Q key, to stop your own tank. Your platoon-mates will move to the designated spot while you provide 'overwatch'. I like this less that doing it from the TC unbuttoned view as I don't have to switch to the map, my own tank will often start moving before I get to the Q key and I have seen my platoon-mates collide when converging on the designated spot. To sum up: 1. order 'Line' formation (from map screen) 2. when in formation, from the TC view, mark the next fire position ahead, then quickly stop your own tank (F+RMB, followed quickly by Q) 3. when the others halt there, move off in your own tank (halt with them or leapfrog) ...then repeat, from step 2: mark next fire position+stop - when others halt, move off. And here's Method 2 in action. My platoon-mates move forward to the spot I selected, while I cover them from the halt Once my platoon-mates have halted, it's my turn to roll forward, while they cover my move Instead of stopping in line with them, I decide to leapfrog and drive on, while they remain halted, behind me Once across the ploughed field, I halt by a track and order the other two Tigers to leapfrog past me The Tigers roll on ahead, covered by my stationary tank. Naturally, you can mix these two methods. For example, after leapfrogging your platoon-mates using method 2, you can switch to method 1 - order 'Do as I do' from the map screen and call them forward to join your tank, instead of sending them out in front again. Limitations & bottom line Not unreasonably, when the steel starts flying, your AI platoon-mates may decide that they have better things to do. So your efforts to direct them may go awry. And hitting the wrong key - or forgetting to hit the correct one - could see your tanks moving when you don't want them to, or in the wrong direction. The second method - sending your other tanks forward, before you move - seems to me to be least vulnerable to an attack of 'sausage fingers', but it needs a careful choice of fire position with that right mouse-click, followed rapidly by a 'Q' command to stop your own driver from moving, when you want him to sit still, so you can cover your buddies' move. The mission you're playing may not cater very well to tactical subtlety - the rest of your force may rush the enemy, leaving you well behind and late for the party. Not ideal, as your Panzer Grenadiers - any who survive, that is - aren't going to be very happy that you weren't there, when needed. And that they're going to have to walk, as all their half-tracks will have been knocked out, deprived of your tank platoon's direct fire support. However, there's an old soldier's saying that no man rushes to a market where there's nothing to be bought but blows. And if nobody else in your force seems to have heard that one, I figure that's no reason against adopting better tactics and preserving your own men's lives. No doubt, though, that everybody hitting the objective at the same time is in everyone's best interests. Missions with enough time for more cautious tactics by everyone, player and AI alike, seem like a good idea, to me. Of course, if the mission designer has assigned you a single vehicle, or at the other extreme, has given you command of other troops or vehicles beyond a platoon of say, 2 to 5 vehicles, then a different approach will be needed. All the methods described above do, is enable you to use your own vehicle as one 'fire team' and any other vehicles you control as a second team. It's ideal with a platoon of three vehicles or even just two. If you have four or more then you really need the ability to split the platoon more evenly and command each half separately. Panzer Elite will let you do this but I'm fairly sure Steel Fury doesn't. Not a big issue, though, as most Steel Fury missions seem to give you three tanks (the usual strength of a Soviet and some British platoons, and fine for a slightly-understrength German or US one). So, there you have it. Fire and movement, or bounding overwatch, in Steel Fury. It won't suit every situation. It may go completely t*ts up when the shooting really starts. And it won't turn you into a virtual Michael Wittmann, overnight or ever. But it's another little trick you can add to your repertoire. Personally, I think the best sims are those which give you the additional tactical element of playing as a flight or platoon leader, with 'wingmen' who make a contribution which you can help direct and determine. You can't run the whole battle in Steel Fury (and don't need to, this isn't a 'real-time strategy' game) but you can make some tactical decisions for your platoon, as well as fight your own tank. The sim doesn't give you the level of control or the connection with your platoon's NCOs and soldiers that you get from 'old school' classics like M1 Tank Platoon 2 or Panzer Elite. But you can still play the role of a platoon leader in virtual battle, by making the best of those command and control tools that Steel Fury does provide. With modder Lockie's help I'm planning a training mission where you can practice this and perhaps also gunnery and some other basic drills in a 'field training area' where the targets don't shoot back - and in a Tiger tank as illustrated, for which you'll need the new STA mod. The screenies above were taken in a basic first version, cloned from an existing mission; if it works out, I'll report in!
-
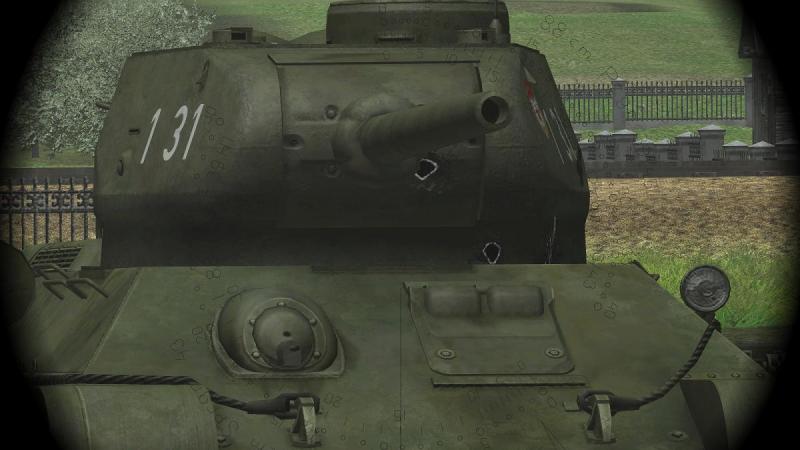
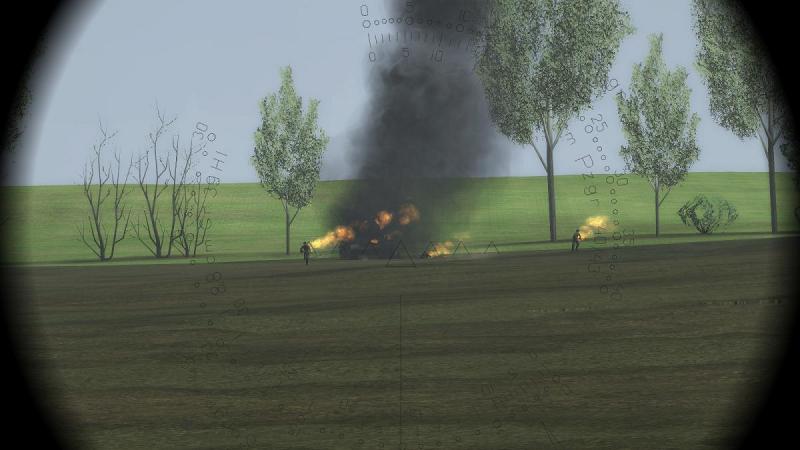
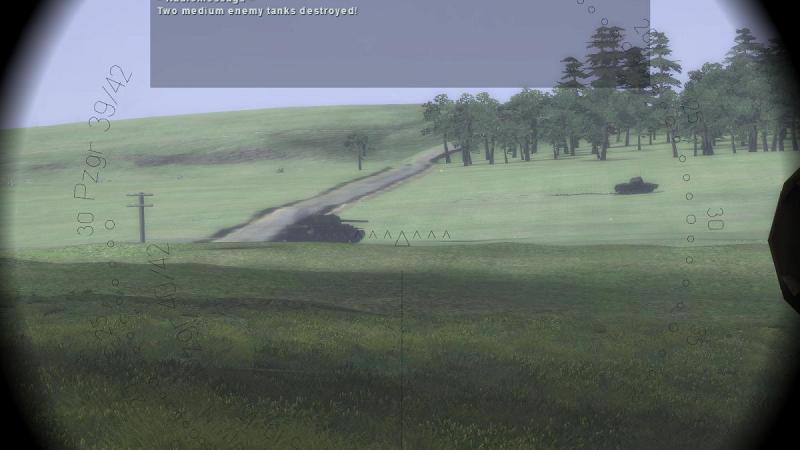
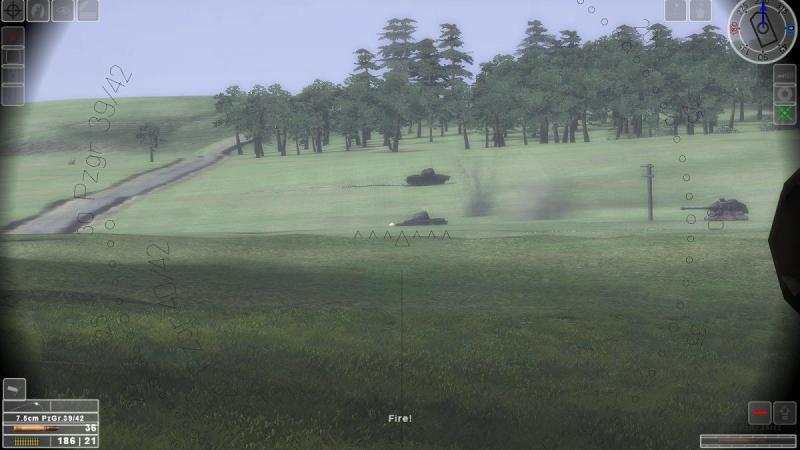
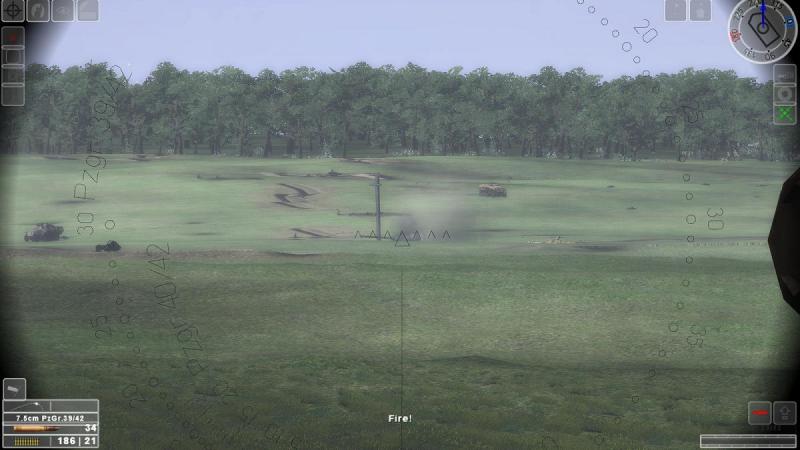
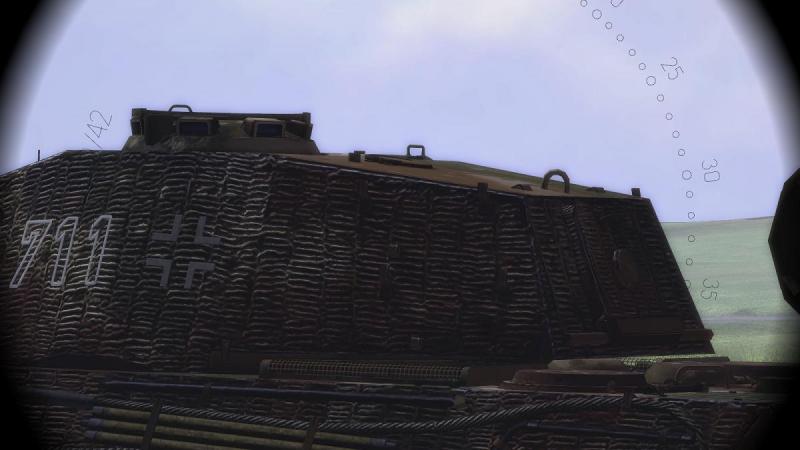
PS the next mission ended better - playing Lockie's 'Counterstrike' King Tiger mission again (as featured in a previous Mission Report), but this time without the winter weather mod. Nearly got caught out, moving across the open ground in front of the objective, by some Ivans coming in from the flanks. But it ended rather badly for some of them. Frinik's 'increased fire effect' setting did them absolutely no favours: It can get embarrassing, though, if you finally make it into the village at exactly the same time as a platoon of T-35-85s also decides to drop by, from the opposite direction. Not a good idea, to let them get this close: Managed to nail all three, though. Even if, out of AP rounds, I had to finish off the last T-34 with several HE shells at very close range: But all's well that ends well, even though we ended up getting wet when the rain came down.
-
Hi PCPilot Lockie talked me through a few moves on the ME via Skype a couple of weeks back. Since then I've used it just once, just to replace an early Tiger 1 with the later model, in the Otto Carius mission IIRC, and I was talked through that, tho it was quite easy to do. Some of the terminilogy, like 'contours' for lining up units, is a bit non-intuitive. Like anything else it'd take time to learn, and no doubt it has its limitations and quirks, but it doesn't look too hard to pick up.
-
Hi von Oben just had a look and the link Ataribaby sent me to that mod is no longer functional. He's a member here and at SimHQ so you may want to pm him - good luck! @Manitouguy - sorry I just saw your post only now. As you may have discovered since, there are two different sets of Peter01's FMs, one set for FE(1) and one set for FE2. Just install the complete set for your sim. It will likely create folders and install the modified files for some planes you may not have, but that won't do any harm. The only issue I have with this mod is that it also neuters AI gunners, by reducing the rates at which they can elevate/depress or traverse their guns; I had to hand-edit all the two-seater data files, to get them back to their more dangerous abilities, which I prefer (especially when I'm flying a two-seater, myself!).
-
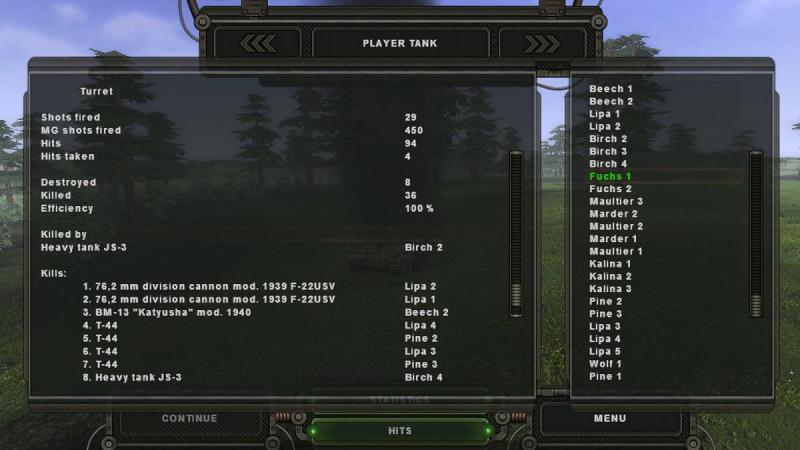
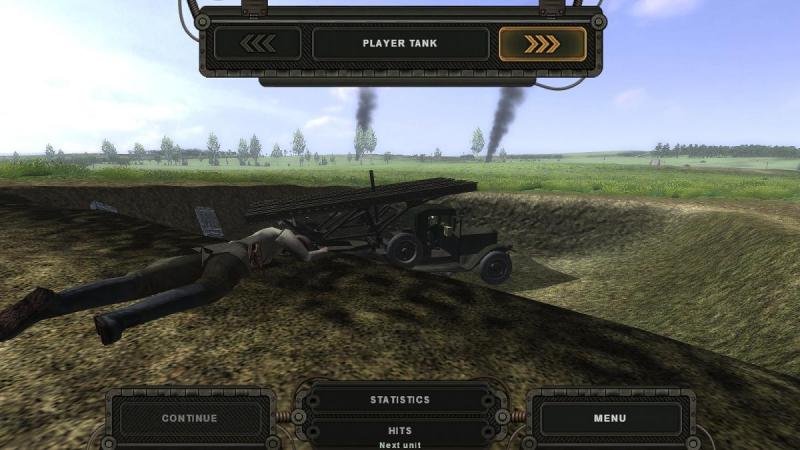
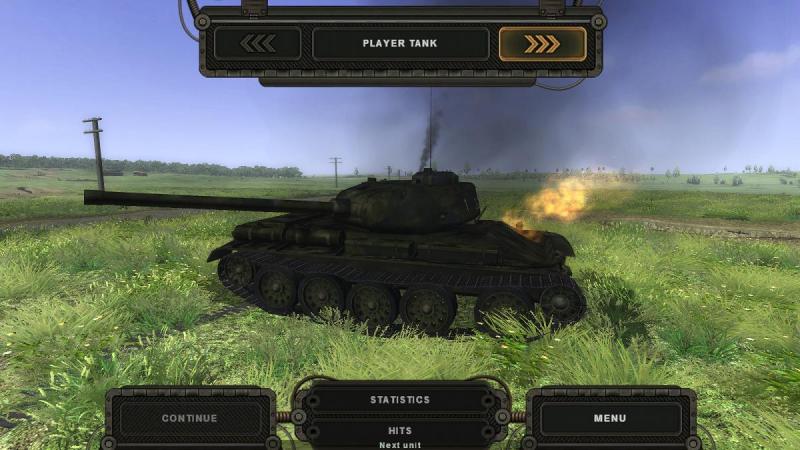
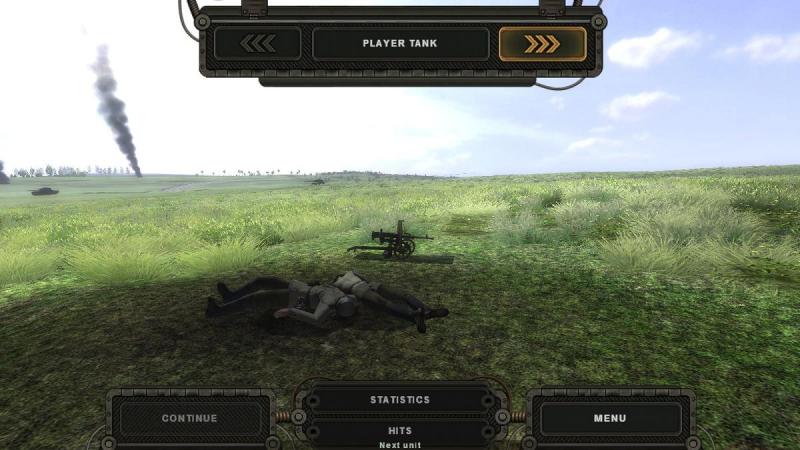
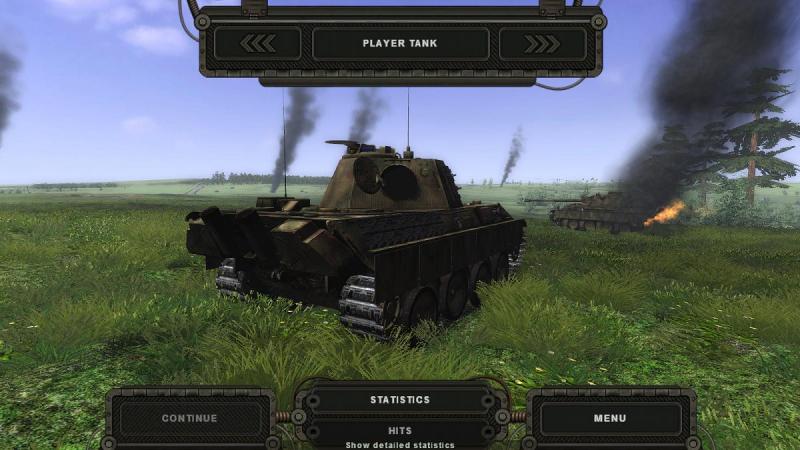
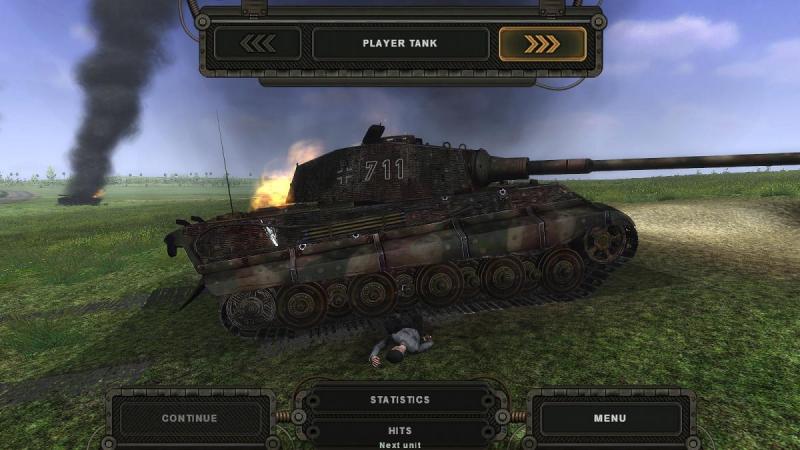
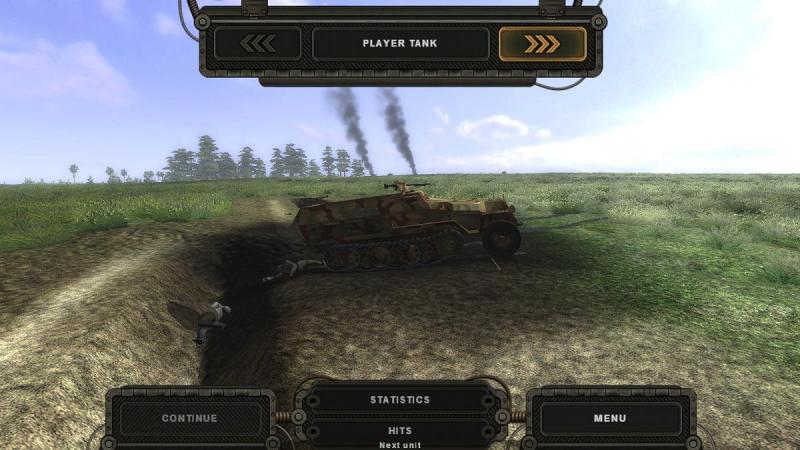
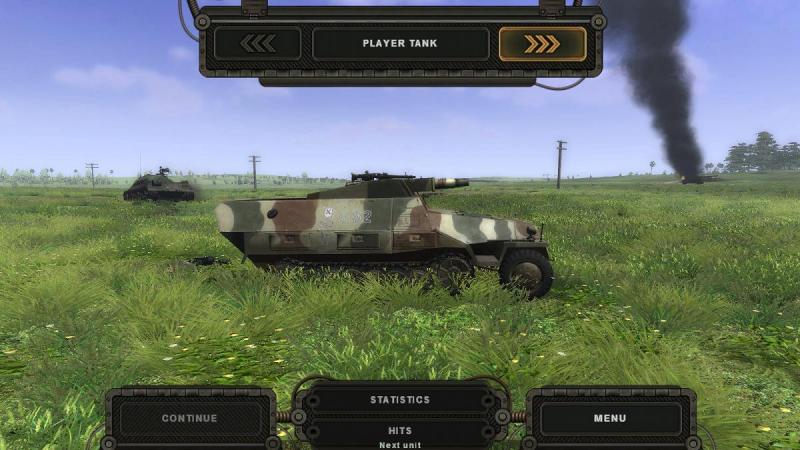
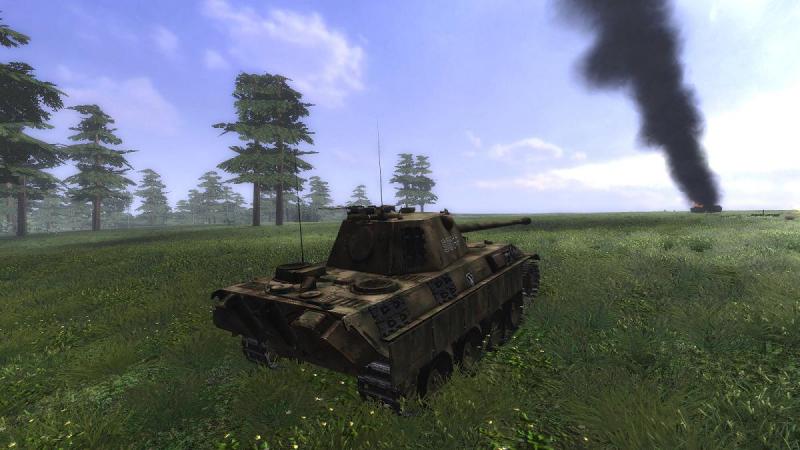
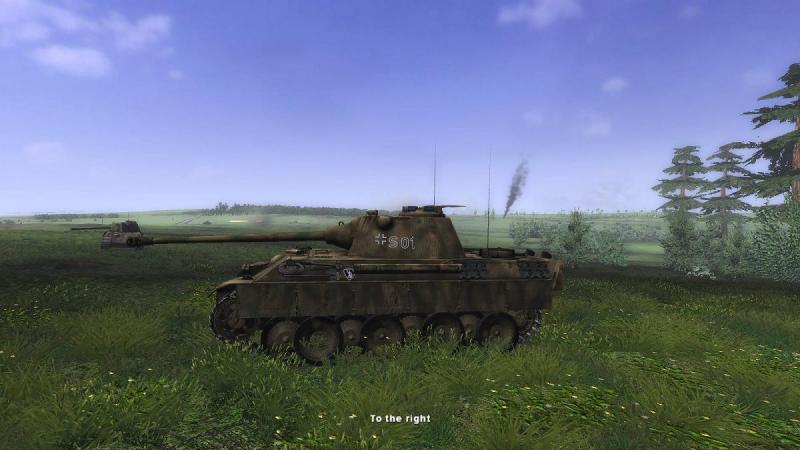
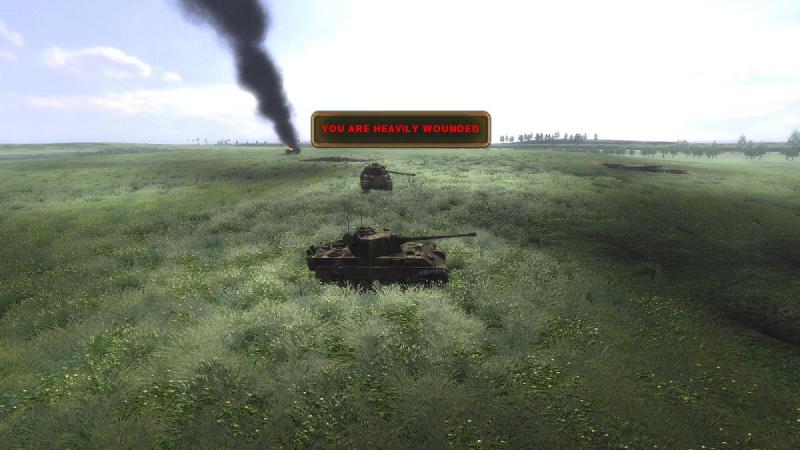
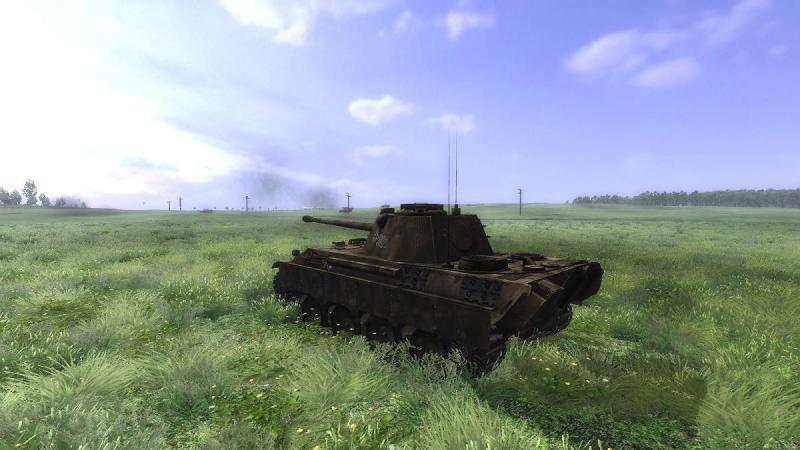
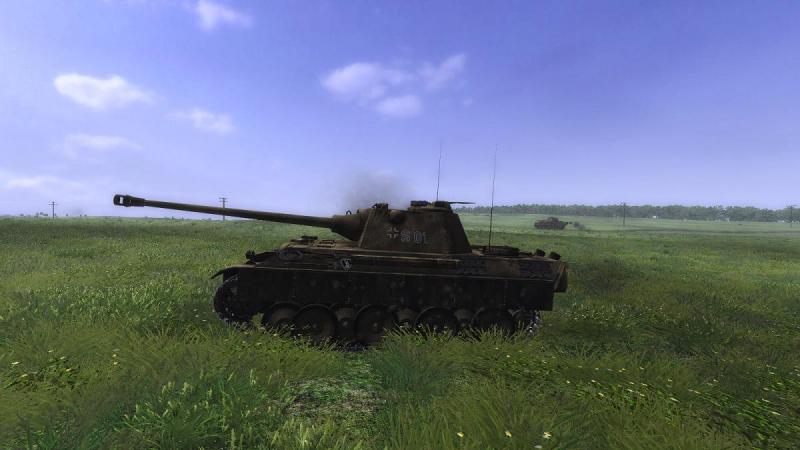
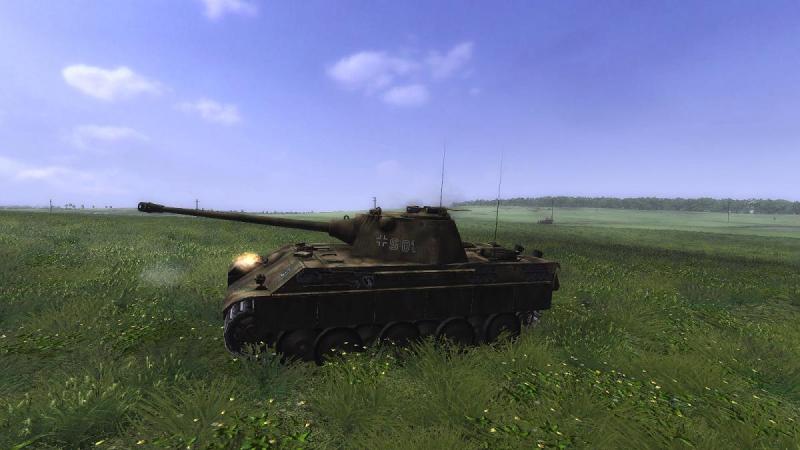
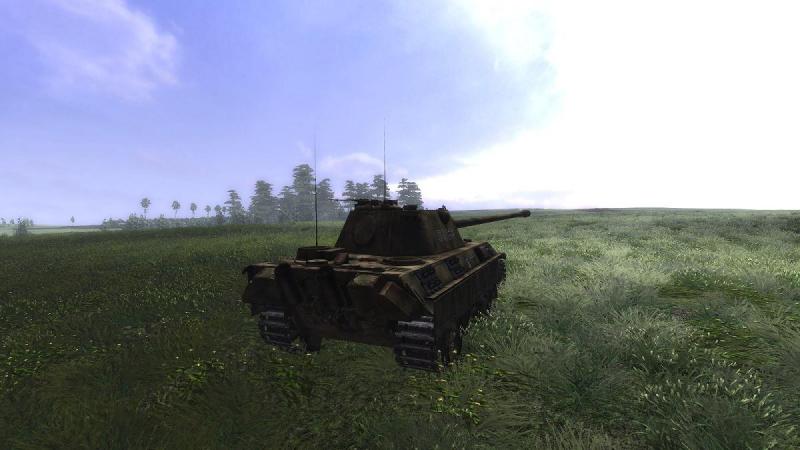
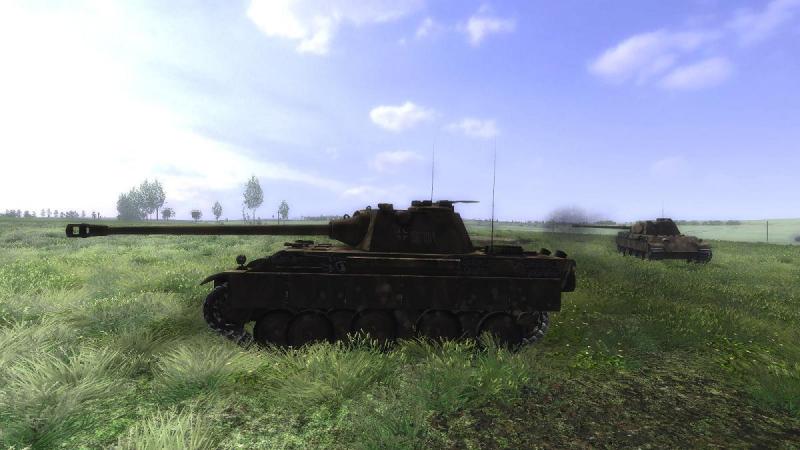
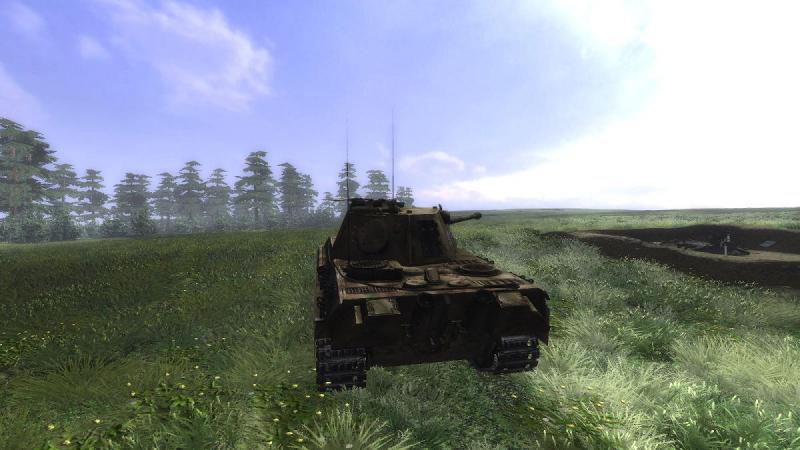
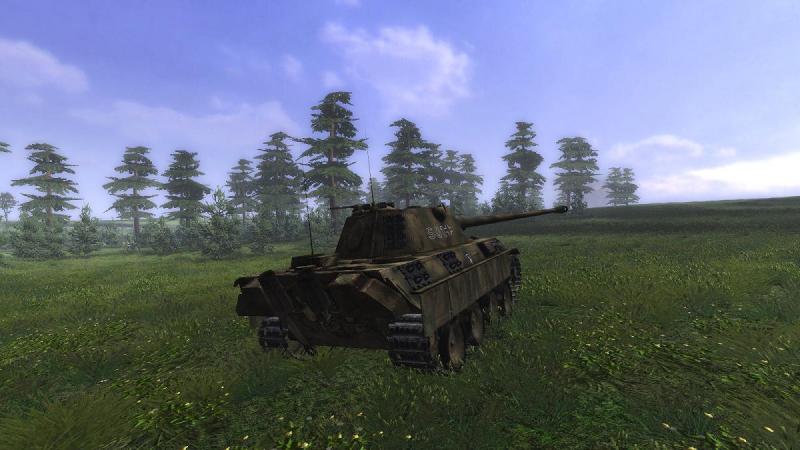
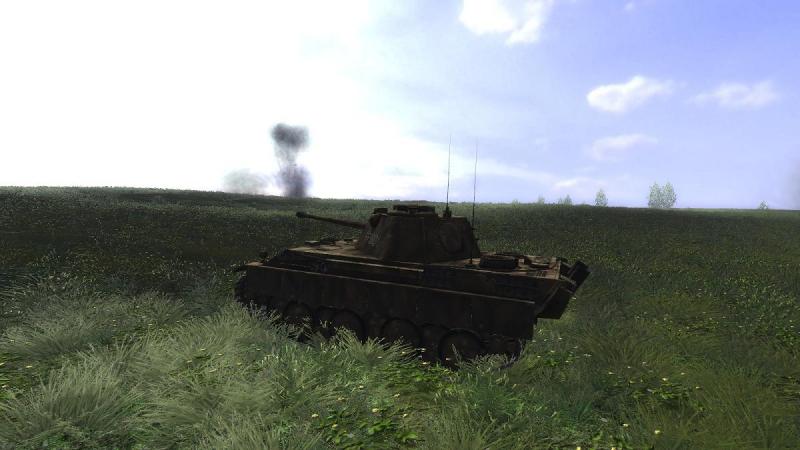
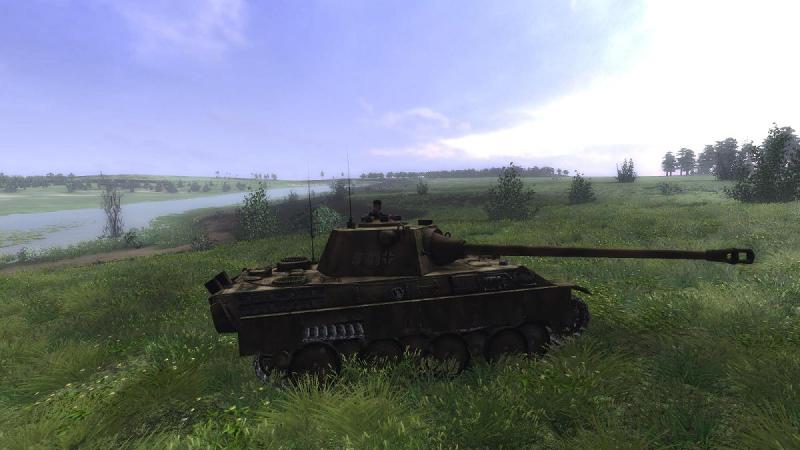
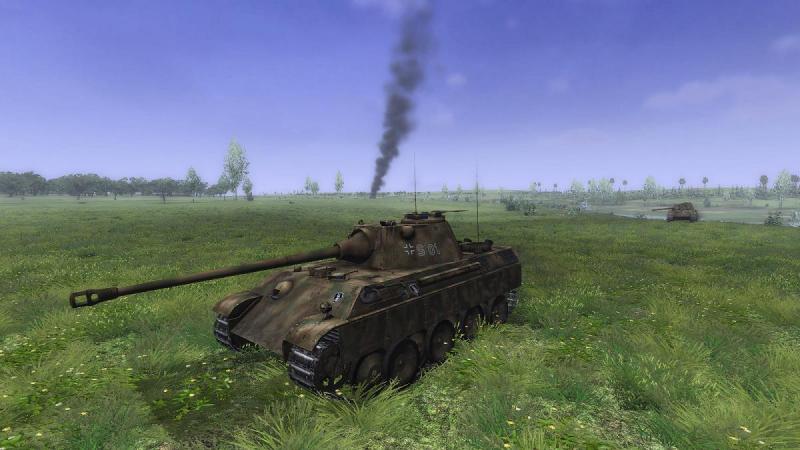
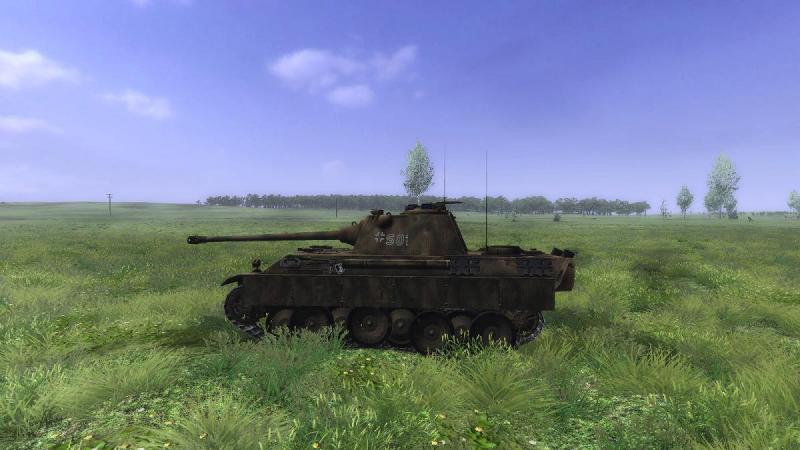
The butcher's bill...and some meditations on tanksim mission design... A quick look at my own tank's stats showed that we had done quite well, as a crew. I neglected to check the same information for my second Panther, who lay nearby, hatches open. It would have been informative to have seen whether or not he had made a decent contribution, or had largely been along for the ride. To my mind, a good sim, tank or otherwise, is one in which it's not all down to the player and the AI can play its part, too. A review of the battlefield revealed all, ranging from rampant IS-3s to killed T-44s and other armour, including our solitary King Tiger, who had fallen victim to the T-44's swarm tactics. As usual, our light armour had also taken a good hammering. There were some knocked-out guns and MGs and a couple of Katyushas whose rocket-launching days were clearly over. Overall, this was a challenging and really exciting mission, with some good opportunities to practice both gunnery and tactical movement. The new tanks and the map are great! The Panther F is especially impressive, with a very convincing paint job, although she probably should not have the Zimmerit anti-magnetic mine paste, which stopped being applied in the autumn of 1944, I believe. I have just three minor quibbles. Firstly, the odds against us were quite steep. I realise you can vary this with the sim's global 'balance' option but would have preferred lower difficulty at the default setting. Secondly, the briefing - 'orders' are the correct term, here, giving a better impression of what they should convey - was very limited. A 'pep talk' from the boss is very nice but is no substitute for him explaining his plan for the mission - in particular, telling the player what his part in it should be. And thirdly, the plan itself, when seen to unfold in-game, looked to be just a straightforward 'charge' directly at the enemy - as a French general observed after a not-dissimilar enterprise during the Crimean War, 'C'est magnifique, mais ce n'est pas la guerre!'. This seems common in SF missions - no wonder the light armour often suffers so badly. Better plans or tactics could - I would say, should - aim to mimimise such casualties. It wasn't just my fault that we lost this battle with such heavy losses! The limited size of Steel Fury maps will inhibit wide flanking moves but as with a real-life force commander who is faced with tight unit boundaries, there will usually be some things that a mission designer can incorporate into the plan (ie the mission design and its briefing) to deal as effectively as possible with the tactical situation presented in the mission. Things like maximising direct or indirect fire support, to precede and then cover movement; use of covered approaches, avoiding movement over open ground as far and for as long as possible; light armour staying behind the heavy stuff, if advancing on the same axis; and invoking triggers or morale effects which reduce the tendency of the the light armour or dismounted troops, in particular, to rush ahead near-suicidally into heavy fire, until sufficient of the enemy's heavy weapons are knocked out or suppressed. Any or all of that good stuff. In this mission, if planning such an operation myself, I would probably have deployed the tanks into action first, shooting up all visible enemies from the embankment, and 'won the fire-fight' before any light armour or dismounted infantry made a move or exposed themselves, running up that exposed hillside. The player, in command of just a platoon of tanks or the like, can't organise much if any of this; that's the boss's job. A military-style mission brief, based on the sort of plan a real-life commander would have made for the operation in question, would be a good start, in all cases. Not just a more realistic experience for the player, but giving him a better picture of what's supposed to happen - what the boss's plan is. Sims like Steel Beasts and Steel Armour - Blaze of War (or even M1 Tank Platoon 2, on a small scale) all allow or expect you to plan and/or control the overall battle. Sims like Panzer Elite or Steel Fury put you purely in the platoon commander role, with no ability to plan or control the actions of other sub-units. Which is absolutely fine. But this means it's down to the mission designer - within the limits of the sim - to fulfill the role of the company commander. The man whose job it is, to plan, and then to run, the battle. Anyway, that's my philosophy of tanksim mission design, in a nutshell - that realistic simulation of AFVs, gunnery and so on is of course necessary in a tanksim, but so is a reasonable effort to simulate realistically other important elements of platoon-to-company level ground operations. Here endeth the sermon! Anyway, this was a terrific mission, intense and exiting, with an engaging back-story and great new tanks and map - a 'must play' for any serious WW2 tank sim fan. Highly recommended. If/when you have a go, why not report your own experiences, tactics and results here, on this thread?
-
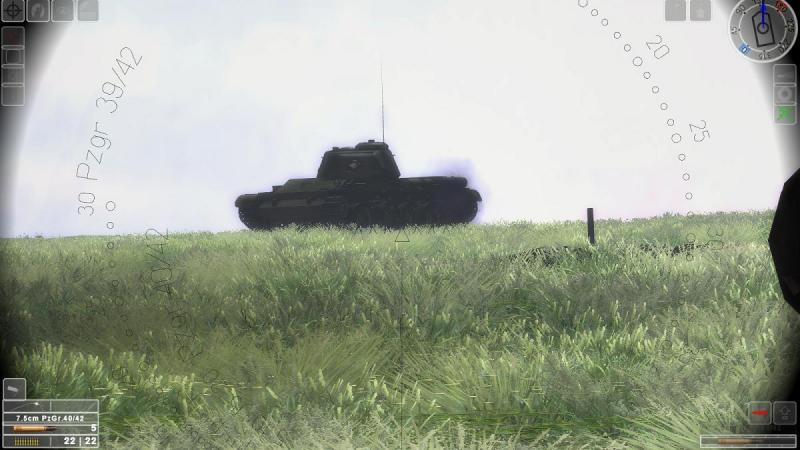
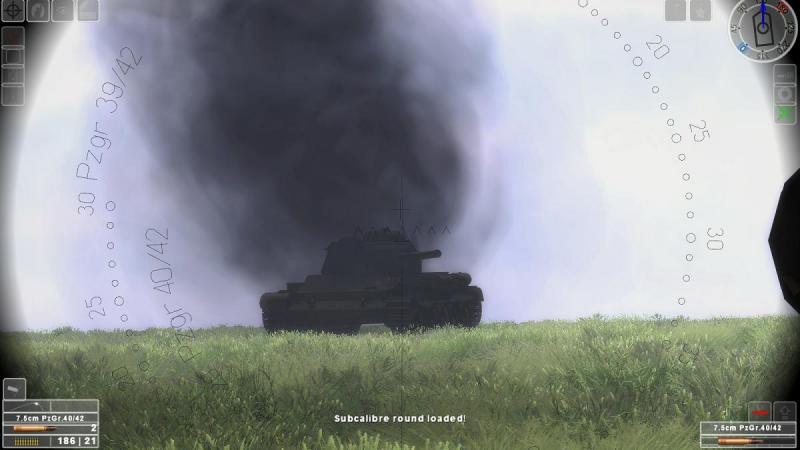
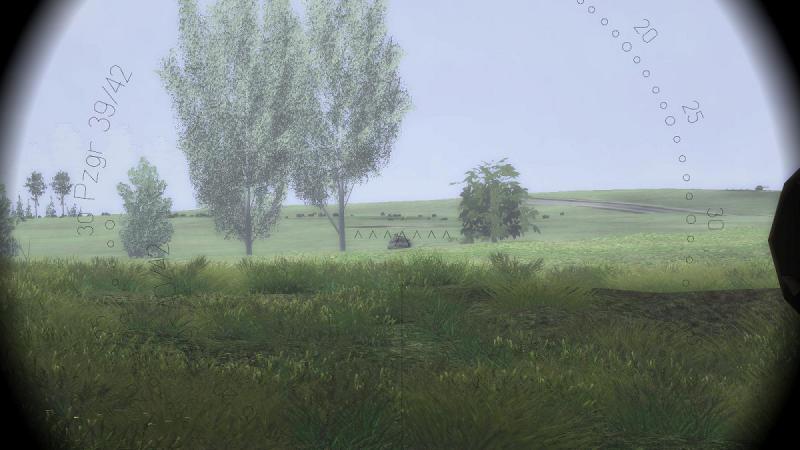
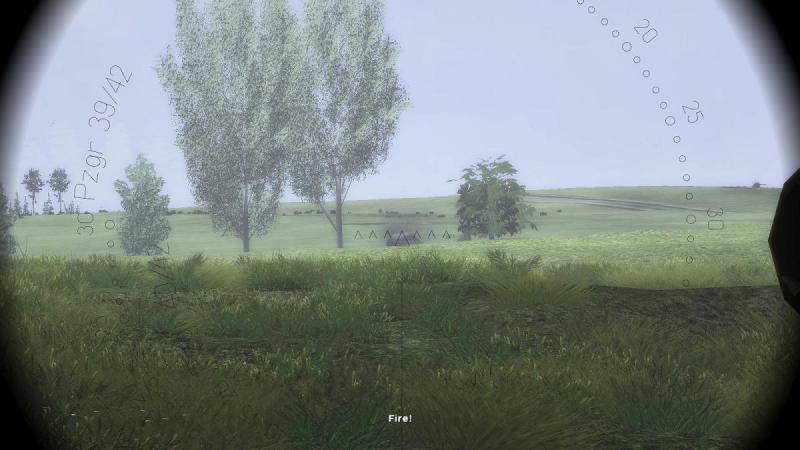
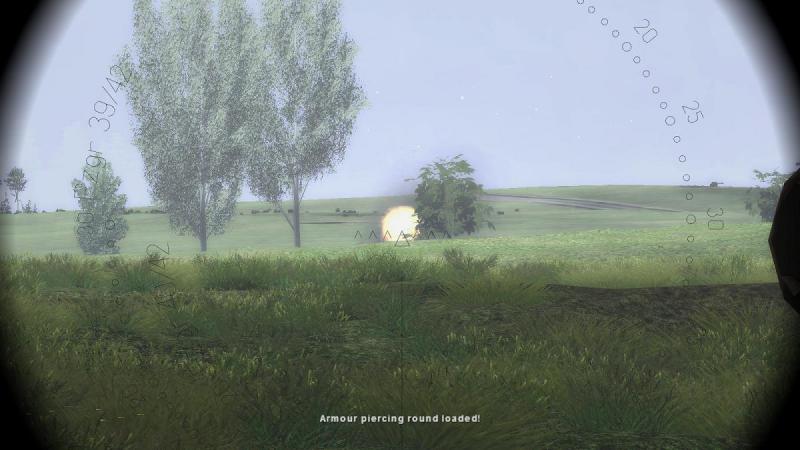
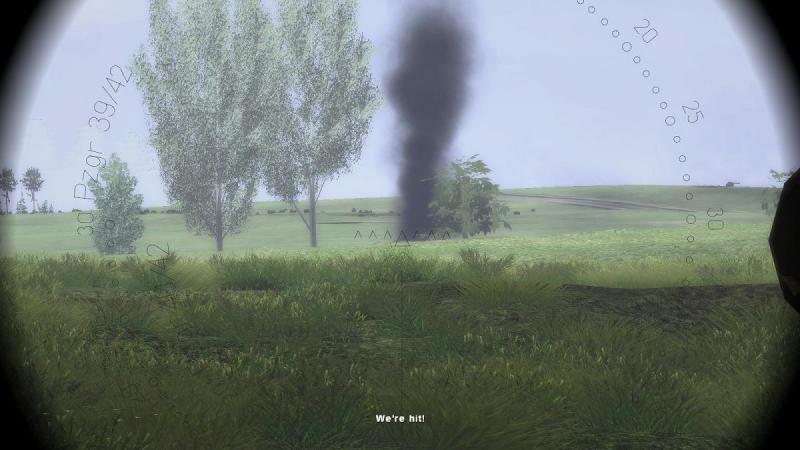
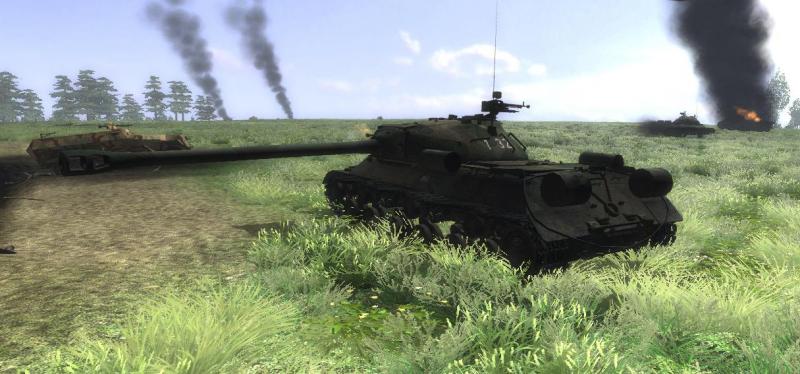
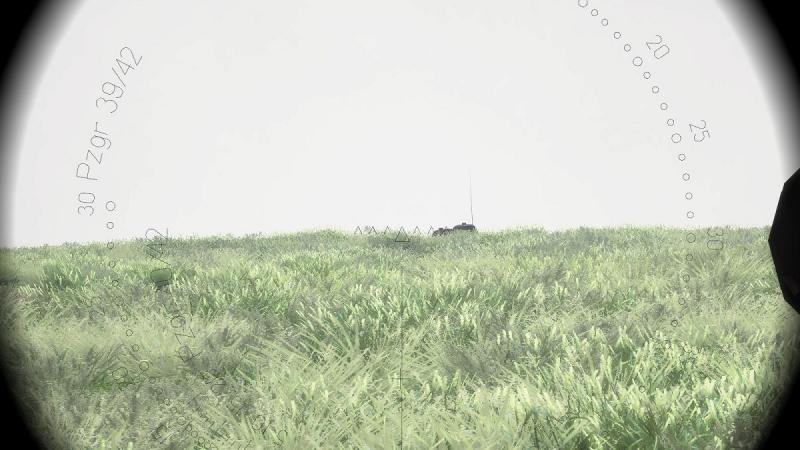
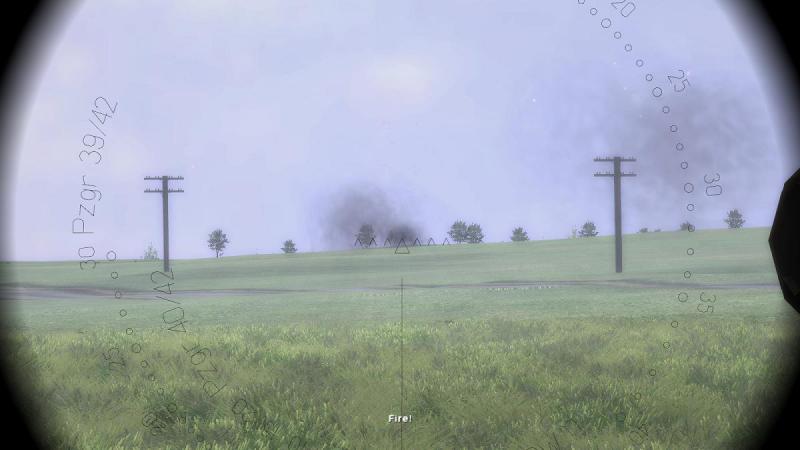
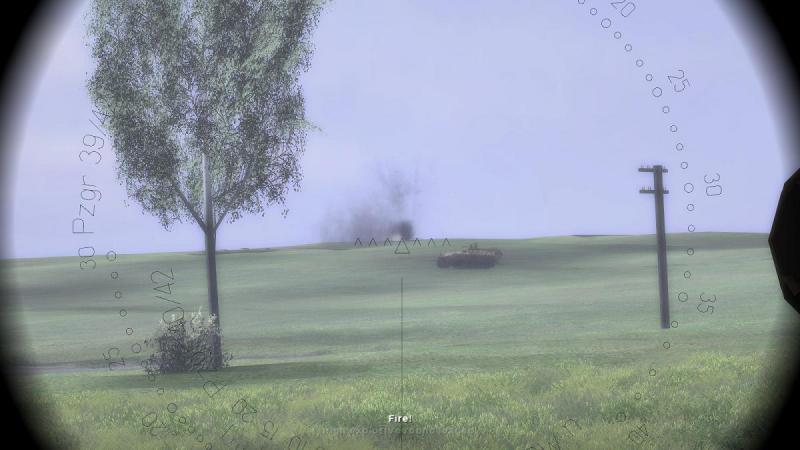
Here they come! A Soviet tank was about to burst over the skyline maybe a hundred metres away, moving fast and coming my way. I had an HE round 'up the spout' - that would have to do. I lined up my sights and as more of the enemy's turret came into view, I let him have it. Immediately I ordered an AP round loaded, firing as soon as the loader began to announce he had finished. At that range, even with a crossing target, it would have been hard to miss, but I was still mightily relieved to see the enemy tank stop and begin to burn. Phew! Looking at the Soviet machine, I could see that it was a T-44 which I think, like the Panther F, did not see combat in WW2. It's basically the hull of what would later become the T54/T55 series, but with a T-34-85 style turret. A sleek and dangerous opponent at close range or from the side, where a Panther's armour is relatively thin. This train of thought was interrupted by an outbreak of firing over on my right, where the ground dipped away. I was horrified to see more T-44s advancing rapidly, evidently 'swarming' the solitary King Tiger. I began to back up frantically, at the same time swinging my tank's more heavily-armoured front towards the new threat and hoping this move would trigger my second Panther also to face the enemy. One of the T-44s was already aiming in our direction, but firing on the move, his round fell short. My first round in return struck the ground just below his front return roller, but my second and third were hits. He ground to a stop, one of his tracks unrolling behind him. I switched targets and engaged the other T-44s. Their return fire resulted in my engine being reported damaged. And at some point, one of them knocked out my second Panther; the first I saw of this, later on, was an escaping panzer crewman crawling through the grass, which told me all I needed to know. In the frantic and exciting gunnery duel which had developed, I succeeded in clobbering two more T-44s. But it had been a close-run thing and by the end of it, the King Tiger was finished, too, guns silent, hatches open and obviously abandoned. There was another bang and another spout of earth on the crest just ahead of me. Yet another impact confirmed my belief that something I could not see, on the other side of that crest, knew that I was there and was trying to kill me. I backed up frantically, resisting the temptation to edge forward so that I could spot him, knowing that would likely result in the next round hitting me the moment I presented a better target. Displacing to one side, I approached the crest so as to re-appear in a different spot. I quickly saw the shooter, and a scary sight it was. A Iosef Stalin 3 heavy tank, head on and hot off the assembly line, with a slow-firing but powerful 122mm gun and heavy, well-shaped frontal armour to match. Sensing that I was probably making a terrible mistake, I took a gut decision to take him on. Unfortunately, on engaging the first T-44, I had selected a Panzergranate 40 round and not changed that selection during the subsequent firefight. This Armour Piercing Composite Rigid, tungsten-cored ammunition has higher penetration at short range. But now, all I had left was conventional AP (Panzergranate 39). Firing as fast as the loader could chamber them, I put two or three rounds into the IS-3 before he could get off another shot. I was relieved and delighted when the fearsome Soviet monster began to spill smoke and a crewman bailed out and ran off. I'd nailed the Soviet super-tank!!! But all was not well. it was at this point that I saw a panzer crewman crawling in the grass in front of me. Evidently, and un-noticed by me, something very bad had befallen the second Panther, from whence he had come. At that point, things started happening fast, once again. More bad things. Something unseen but clearly dangerous hit my tank, silencing my damaged engine. The counterattack wasn't over. In fact, the worst was yet to come. It appeared in the form of two more IS-3s, rolling along in the wake of the T-44s I'd just knocked out. I could practically feel my skin crawling, just like the two Soviet heavies, which seemed to crawl into view, beetle-like and menacing, just a few hundred meters away. Unable to move, all I could do was shoot, but I had hardly spotted the IS-3s when another 122mm round slammed into my battered Panther. For me, the war was over. No comparatively pleasant US PoW camp for me; at best some Soviet medical treatment then captivity, at worst….! ...to be continued!
-
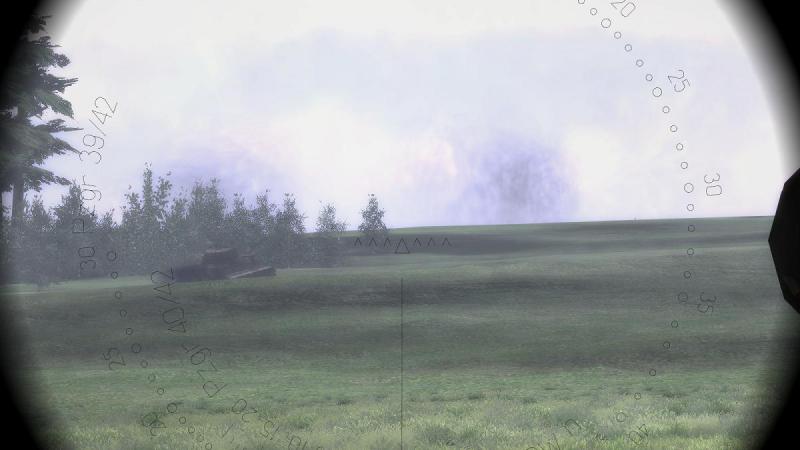
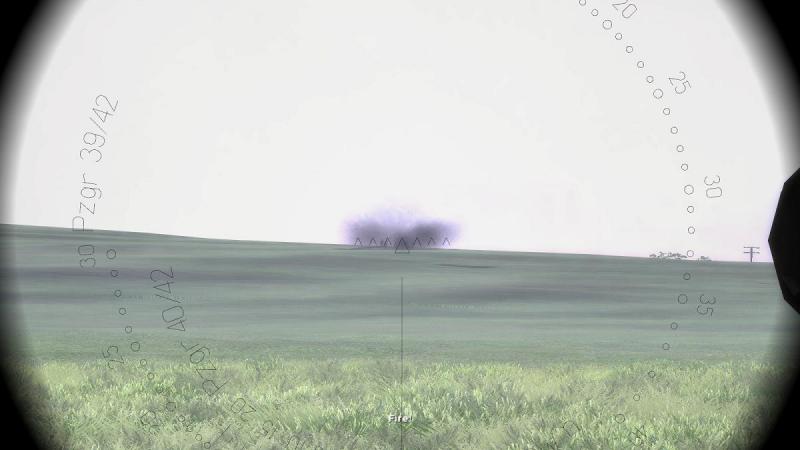
The fight continues... Accompanied by the second Panther, I halted behind a slight fold in the ground about half-way up the hill and scanned again for targets. I still could not see what the others had been shooting at over there; I think it turned out to be the Katyusha rocket launchers, which the King Tiger evidently destroyed. My radio operator cut loose with his MG for a while at another target on the left, which seemed to be occasional Soviet soldiers popping up their heads at intervals. I rolled forward a bit to give him a clearer shot, and perhaps get a crack myself. But when I halted again a little further up the hill towards the crest, all I could see was grass, wrecked guns, and more grass. Firing died away, and the King Tiger moved across our front (again!) and back over to our right. It seemed that we had achieved the first phase of the mission, the destruction of the enemy defensive positions. So far, so good! But there was more to be done. Already, we were being warned to be ready for a counterattack. Nervously, my other Panther loosed off a round at a target I could not see. More pesky Soviet survivors, ducking and diving? Or something else...? Cautiously, I rolled on again, up towards the skyline, scanning anxiously left and right along it, as we approached. I could see that going straight across, or even halting there hull down, would be dangerous, as I would skyline myself the instant I came to the crest, to any enemies on the other side. I wanted a lower route over the crest, one that would provide some cover...perhaps those trees over to my left? I was still considering this issue when events took matters out of my hands. A shell threw up a column of dirt, just up ahead of me. As I scanned through the gunsight, I suddenly saw an obviously man-made dark green object appear on the skyline, which was just a hundred meters or so away and looked closer in the magnified sight picture. I quickly saw that the object was the top of a tank turret and that it was close, moving fast from right to left, and at the same getting closer. I had about two seconds before it came up over the crest to my immediate front. ...to be continued!
-
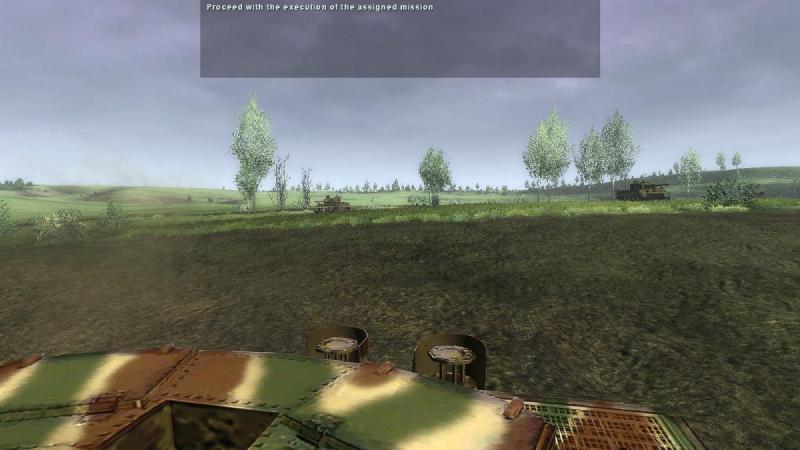
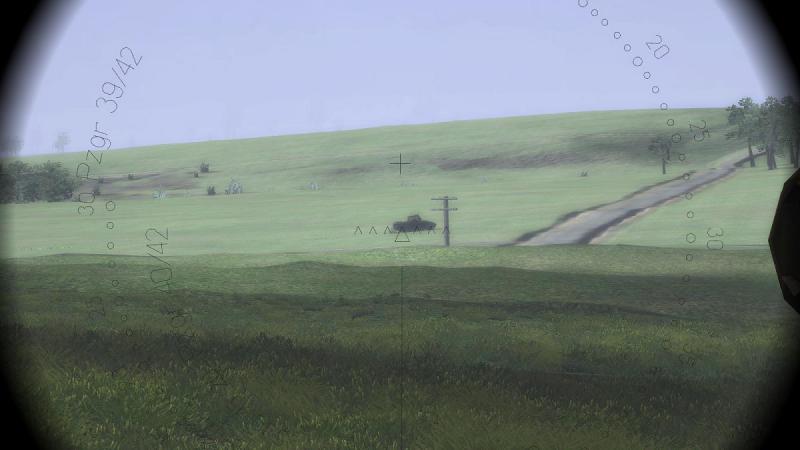
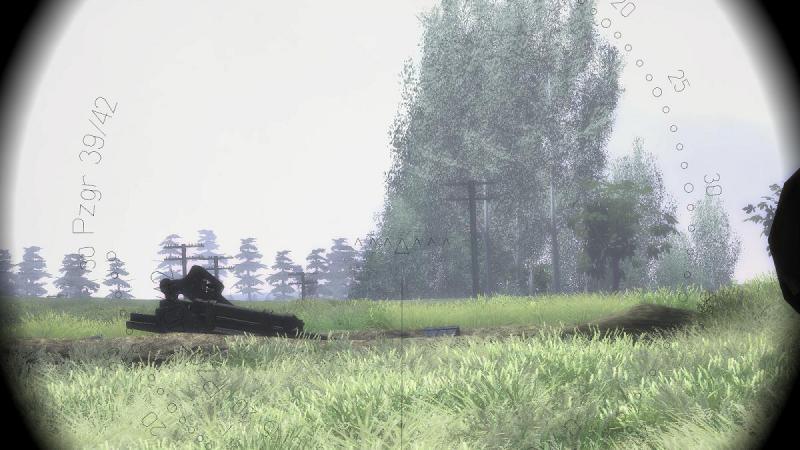
Into battle! Our two Panthers rumbled on, off to the left, where I planned to adopt hull-down fire positions just below the top of the embankment to our right. From there, we would shoot the main force onto the first objective - the enemy defensive positions on the high ground between us and Halbe, where supposedly lay safety from Soviet incarceration. We hadn't got very far before the rest of the force moved off, directly towards the enemy. The mission briefing hadn't explained what the plan was but in Steel Fury, attacking force tactics often look to be a simple advance straight towards the objective, more or less en masse. So I sort of expected they would all just 'up sticks' and basically charge. And they did. Off went the dismounted grenadiers, with the single King Tiger in the lead and the light armour - half-tracked SPWs and some Puma armoured cars - all moving off, up and over the bank and directly at the enemy, each at their own best speed. It was rather reminiscent of infantry 'going over the top' in WW1. I could have simply started the mission, observed what the others did, then moved my own two-tank sub-unit to conform with and directly support their movements. But the boss hadn't given me any specific instructions and I had decided instead to go left flanking, rather than simply move with the AI herd. Before much longer, the herd had disappeared over the embankment. All I could see of them now was the occasional shellburst and a few tracers from 'overs', which zipped past, over where they had formed up, now behind me. I had planned to go well wide but evidently, the party had started and my attendance was now required, as a matter of some urgency. So I turned right up the bank, ordering line abreast formation. Slowing down as my big Panther neared the crest, I depressed my gun slightly in readiness and then stopped, hull down. From there, I began scanning anxiously for targets. With the ground sloping up gently ahead of me, the Ivans weren't hard to see. On the upper reaches of the slope was a series of field pieces in rough defensive positions, with some machine guns further back. Some of the Ivans were nicely skylined, right up on the crest. If they had been deployed to face an attack from the opposite direction, many would have been on a reverse slope, able to catch us by surprise and at close range as we came over the crest. But instead, here they were. laid out on a forward slope, like targets in a shooting gallery. Except, these targets could shoot back. With my long-barrelled 75mm tank gun's flat trajectory, my initial 'battle sights' setting of 200 meters seemed like it would be fine. So at full magnification, I laid my gun onto the first target and let her rip, correcting for range with subsequent rounds. With no serious armoured opposition as yet, these enemy guns were my priority targets, posing the biggest threat, both to myself and to our advancing light armour which - as seems common in SF missions - was rushing ahead, bravely but regardless of danger. The enemy MGs would have to wait. Soviet artillery doctrine, like German, maintained that all weapons should have an anti-tank capability. And head-on, an dug-in 122mm howitzer isn't easy to distinguish from a 76mm field gun or a 57mm AT gun. So I just shot one target then went looking for the next one. At one point I was distracted by an odd, moaning, whooshing sound. Up on the skyline, I saw dark smoke trails appear. Evidently, some Soviet Katyusha-type rocket launchers were in action up there, although we must surely be safely well inside the minimum engagement range of these indirect-fire weapons. I returned to my appointed task of silencing the enemy direct fire weapons which were the greatest visible threat to our advance. One of the problems with tanksims is that it's relatively easy to get you own tank into a good fire position, but less easy to do the same for your platoon-mates. You can't say to them on the radio - 'Go hull down on my right - engage enemy guns to your front!'. Not a big problem if your platoon already has a direct line of sight to the enemy. But definitely an issue in a situation like this, where I want my other Panther to move up into a covered fire position next to me, from where he, too, could see and engage the enemy. SF has a map screen command to 'adopt defensive positions' but having tried it once or twice, it seems to order everyone, including your own tank's driver, to find and drive into cover. Not wanting to have my own Panther move and unable to work out quickly how best to get my other tank into a decent fire position, I forgot about him and got on with the job in hand, on my own. My gunnery in SF seems to have improved with practice and I had soon knocked out all the guns I could see, using one or two rounds apiece and generally getting first round hits - not a big thing I admit, at a range of just a few hundred meters. Next, I moved on to the skylined MGs, whose muzzle flashes showed they were making good shooting at our dismounted troops. One or two of my rounds disappeared over the horizon but most were on target. By this time, the charging SPWs had just about reached the nearest enemy positions, which included some infantry in trenches. At least some of our half-tracks had survived; no doubt, the guns I had silenced, helped here. The grenadiers, on the other hand, seemed to have suffered badly, as only the occasional German infantryman could be seen moving forward. Knowing that the Soviet infantry had big anti-tank rifles and other close-combat AT weapons which were rather dangerous for our light armour, I sprayed the visible trenches with MG fire, adding the occasional HE round for good measure. I could see the SPWs were shooting at targets off to the left. They were soon joined by the King Tiger, which rolled uphill to join in the fun, right across our front. Don't mind us, big boy, I thought to myself. With the main threat to my tanks now destroyed, I moved off again, intent on closing with and then finishing off any Ivans remaining in the trenches. The King Tiger was now on the extreme left so I left him to it there. I steered more or less straight up the slope, in between the King Tiger and the main force's axis of advance, over on my right. ...to be continued!
-
-
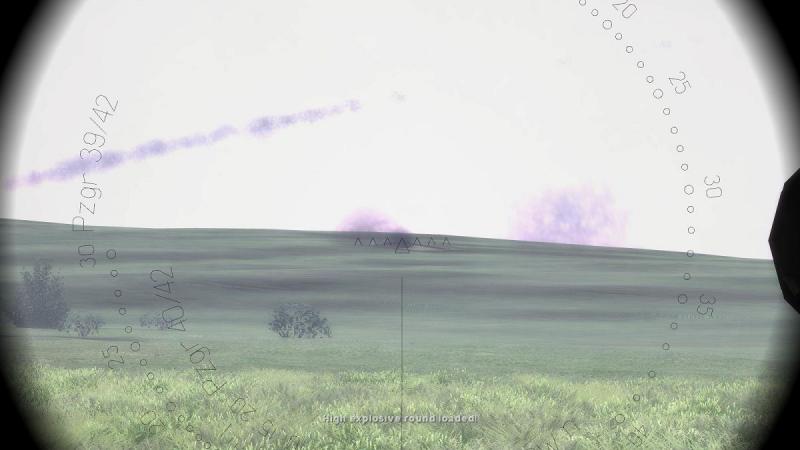
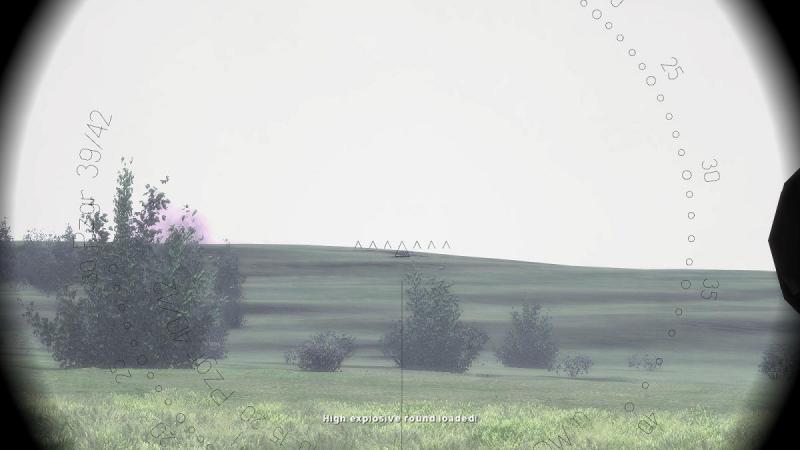
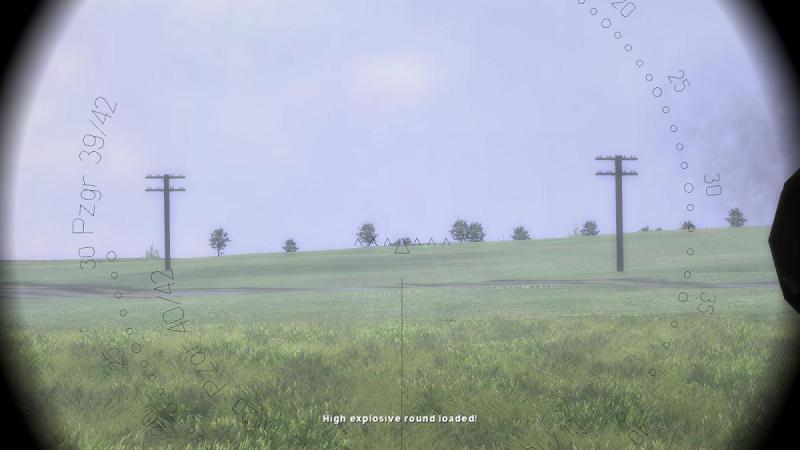
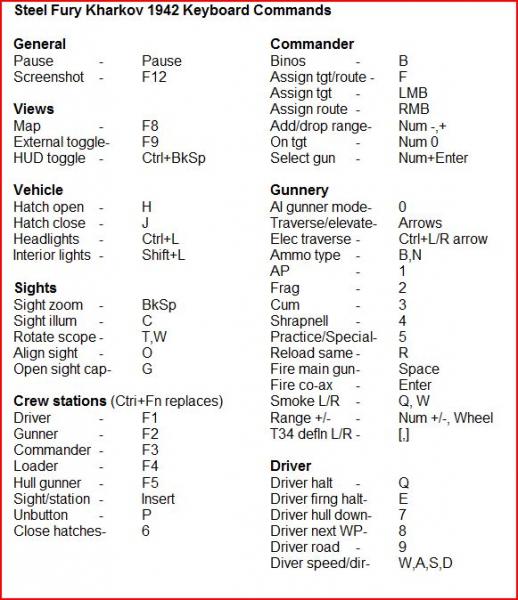
Hi PCpilot - the full game's manual has a full listing but it's (a) long and (b) hard to fathom in places. I made a Wordpad file with a shortened list I used for quick reference and will post this here when I get home from work. Hi Cap'n - at the start of a mission in Steel Beasts (I only have the original, but old or current version - SB Pro PE - it's still the most technically accurate tanksim) you hear a crew member - the loader presumably - report on your tank's intercom that there is an Armour Piercing Fin-Stabilised Discarding Sabot round - APFSDS or 'sabot' for short - loaded in the main gun. Hence that message. So you know you're starting off the mission with a round of that type 'up the spout'. In SF '42 you start with an unloaded main gun and have to remedy that at once, or risk subsequent embarrassment. I chose a High Explosive (HE) round as I anticipated from the mission briefing that we would most likely first encounter un-armoured targets.


