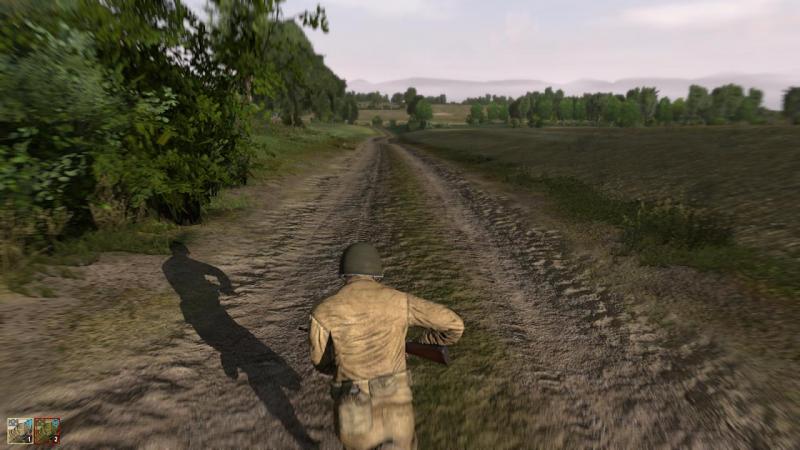
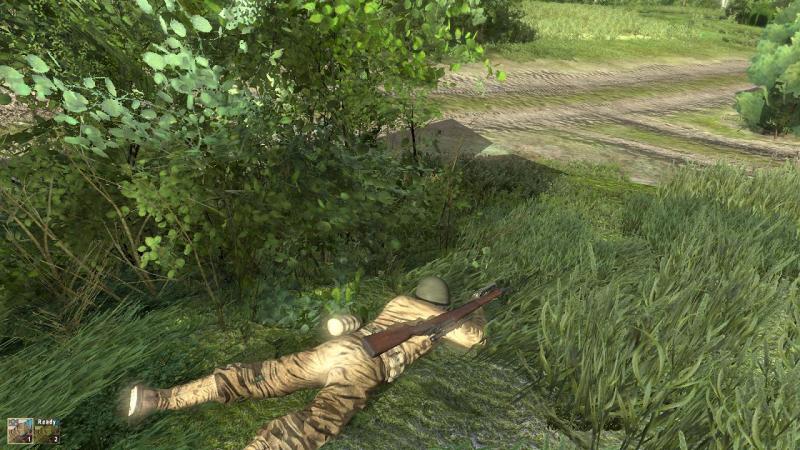
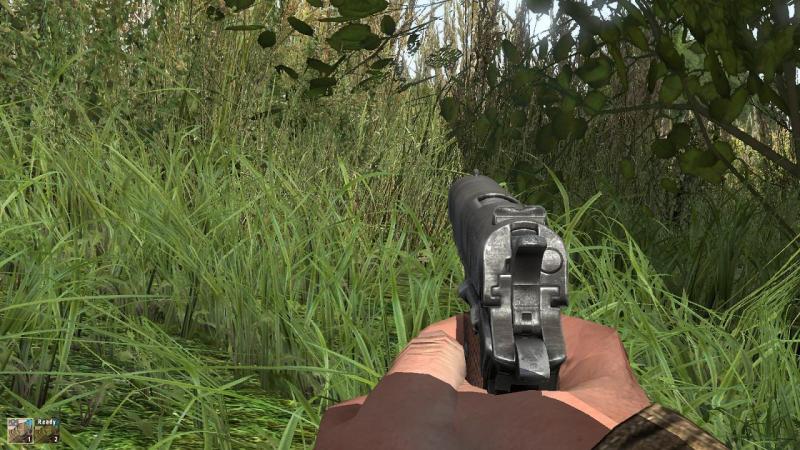
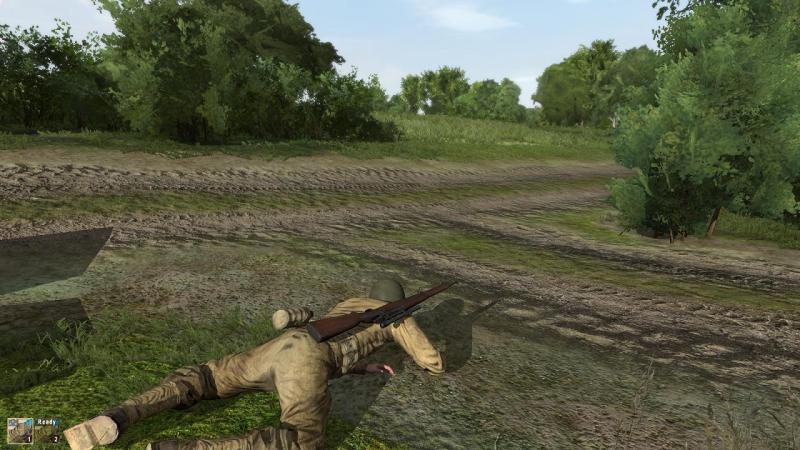
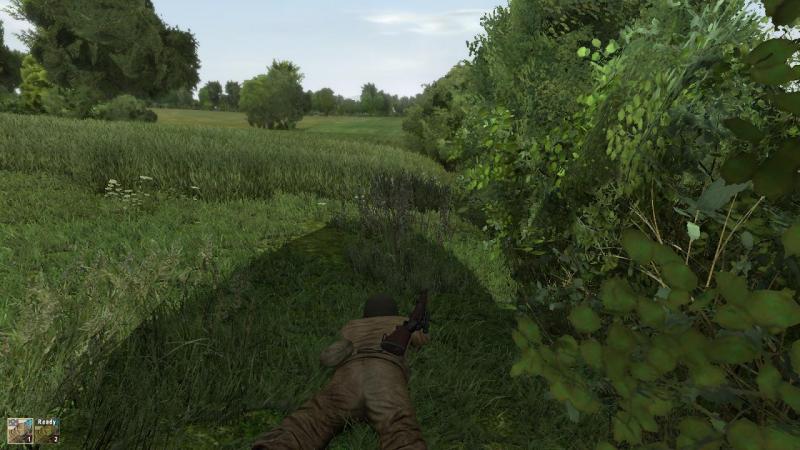
-
Posts
3,749 -
Joined
-
Last visited
-
Days Won
7
Content Type
Profiles
Forums
Gallery
Downloads
Store
Everything posted by 33LIMA
-
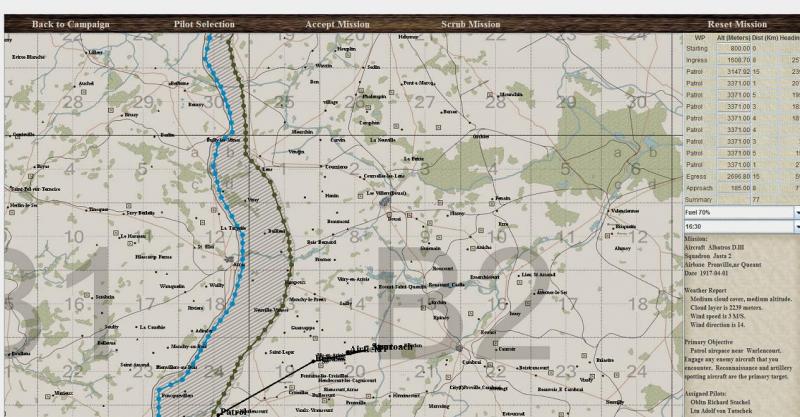
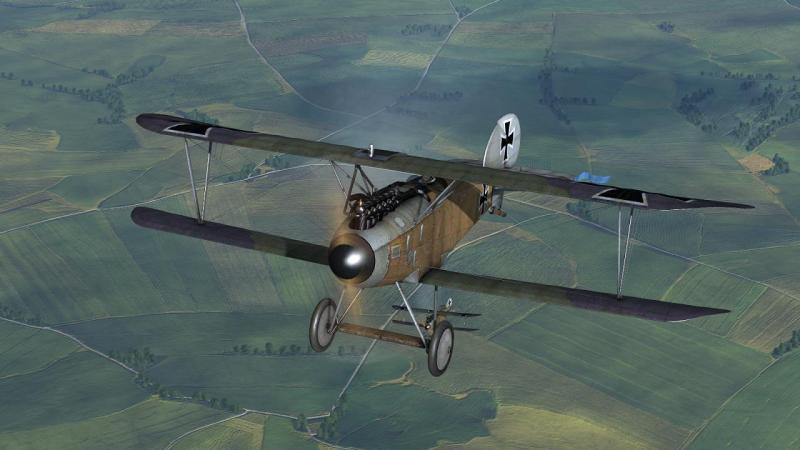
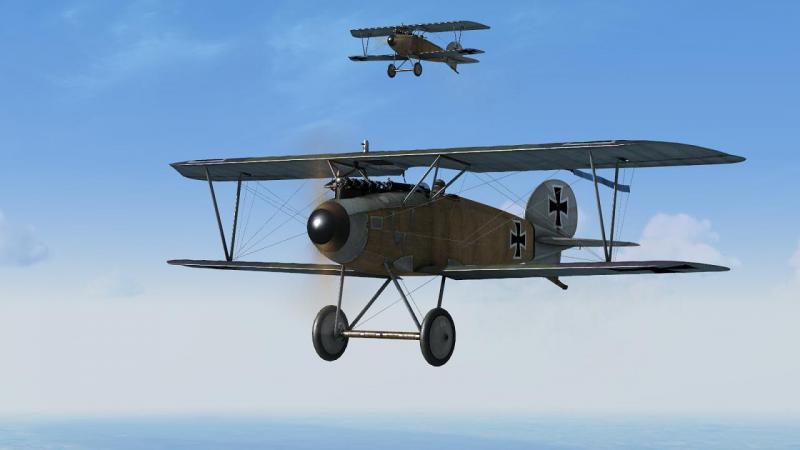
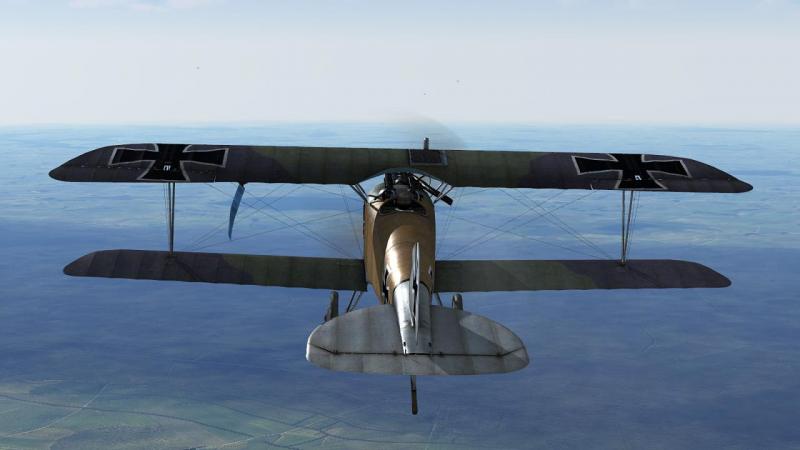
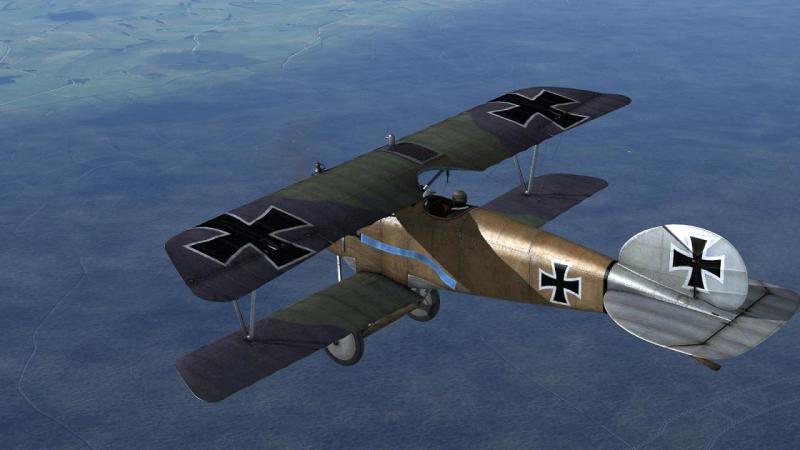
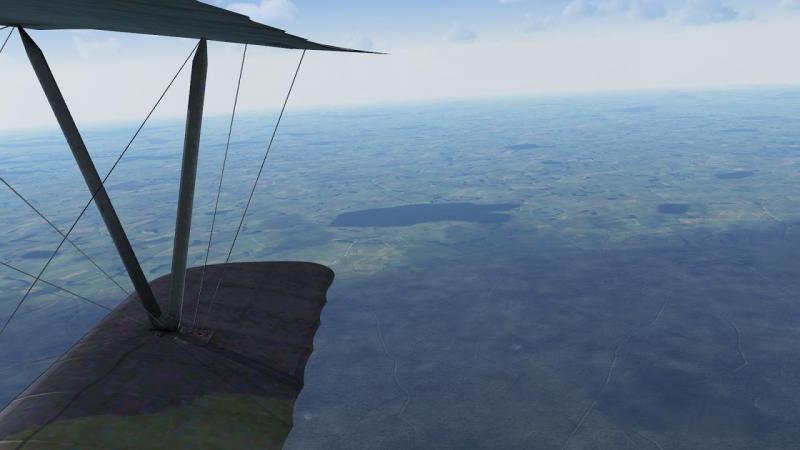
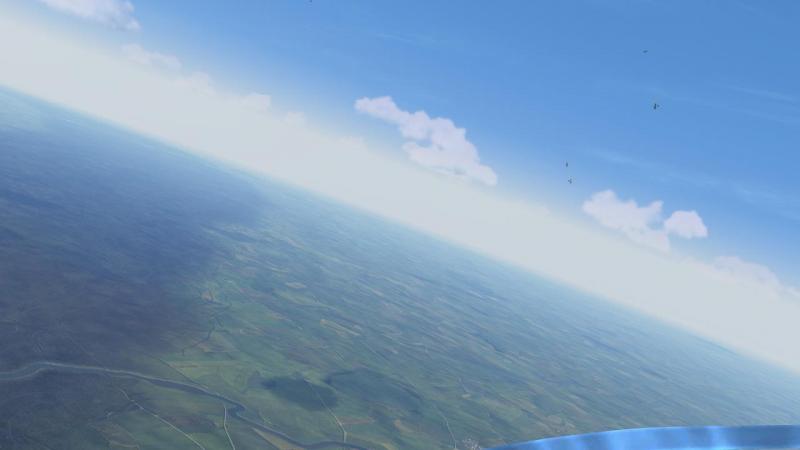
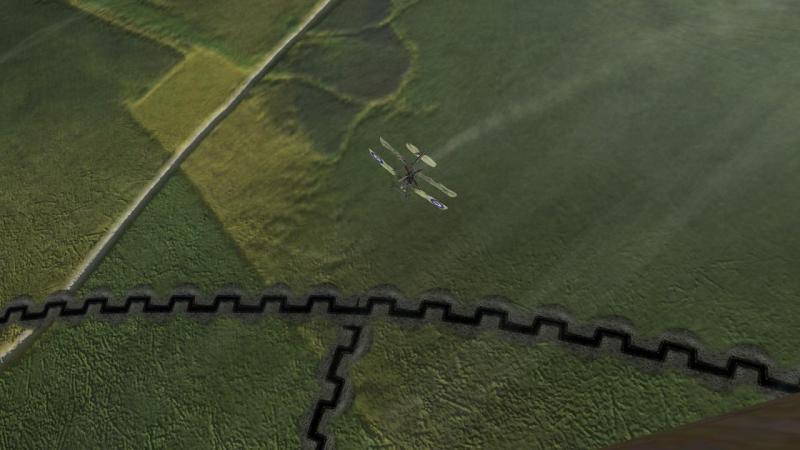
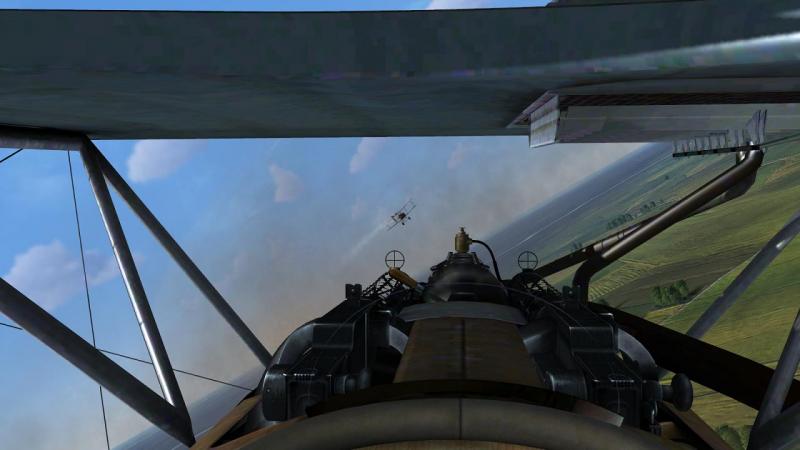
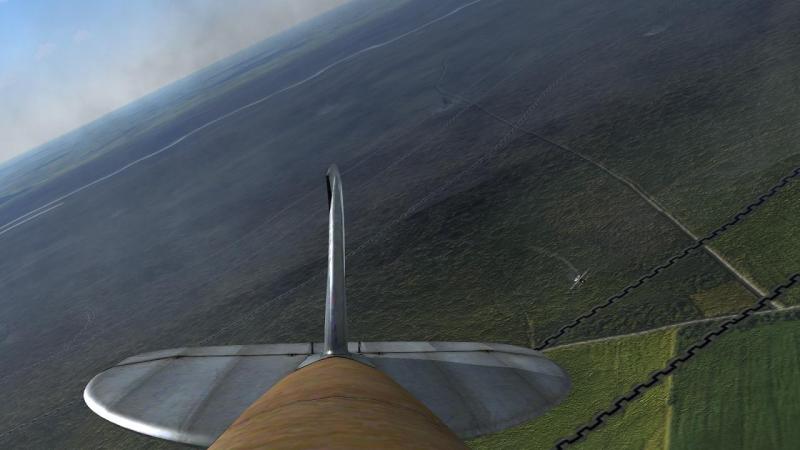
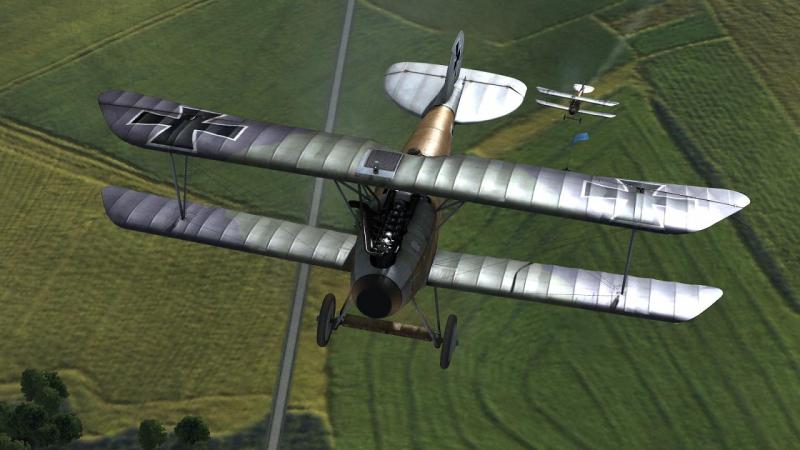
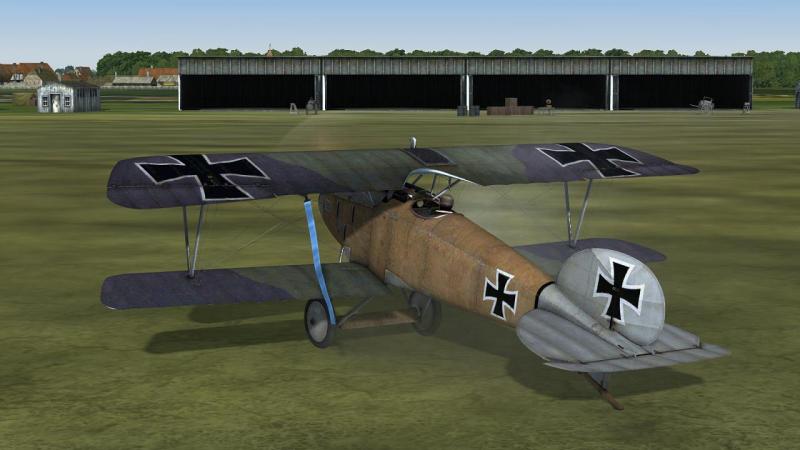
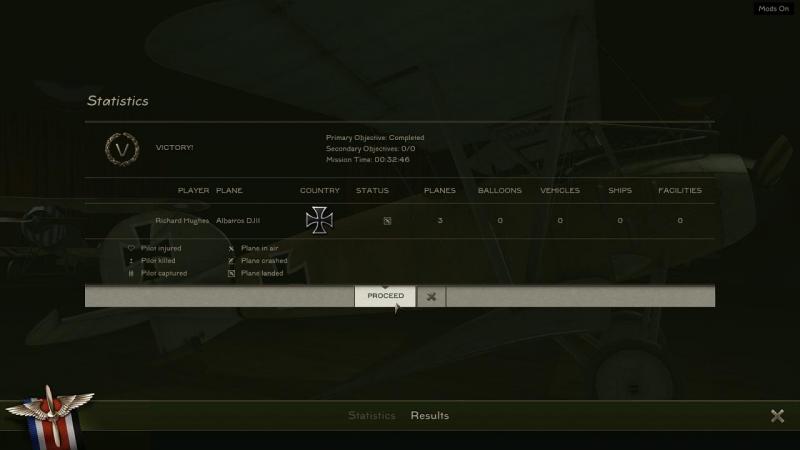
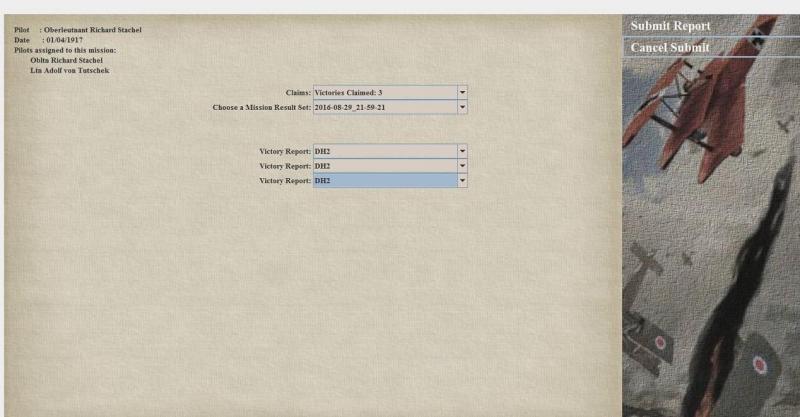
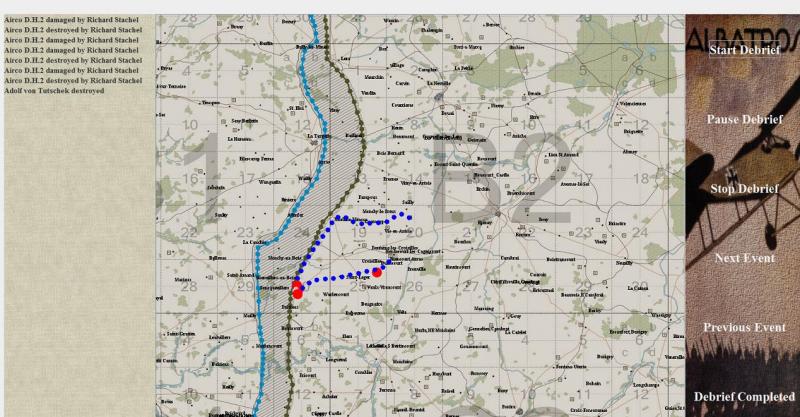
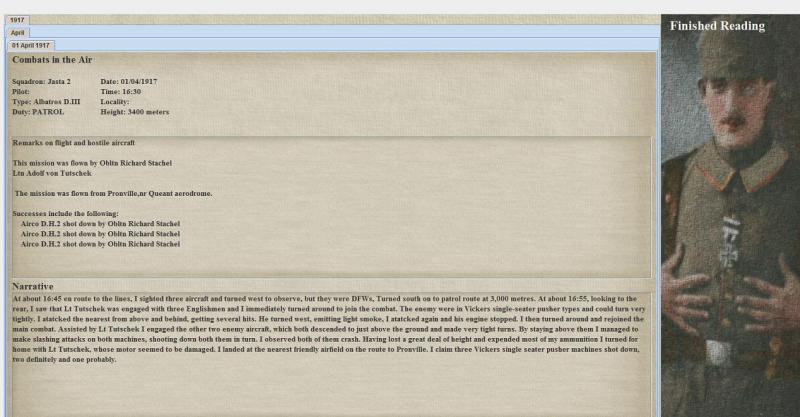
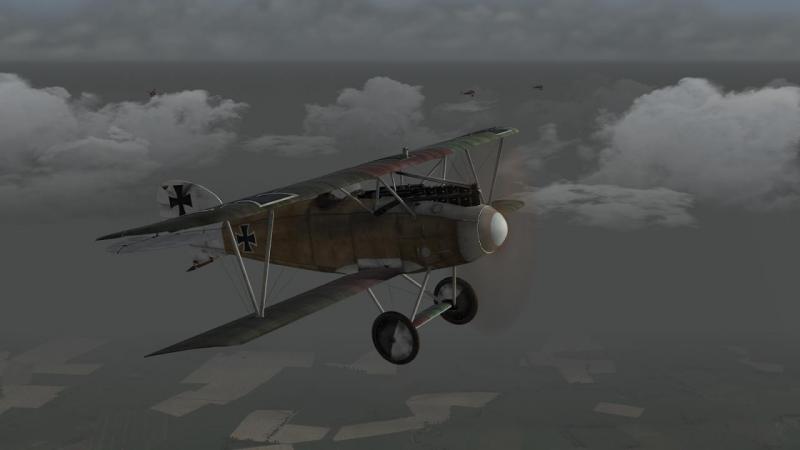
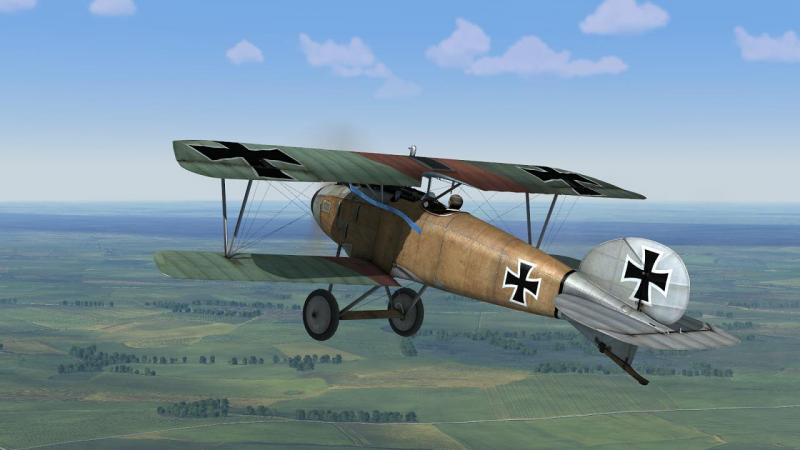
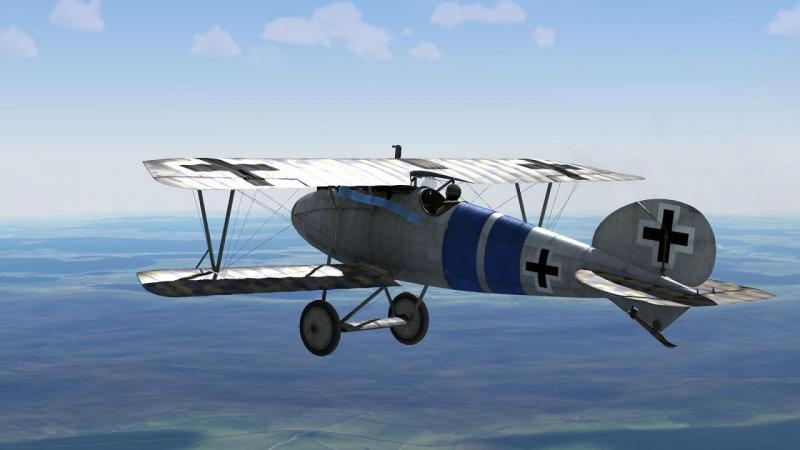
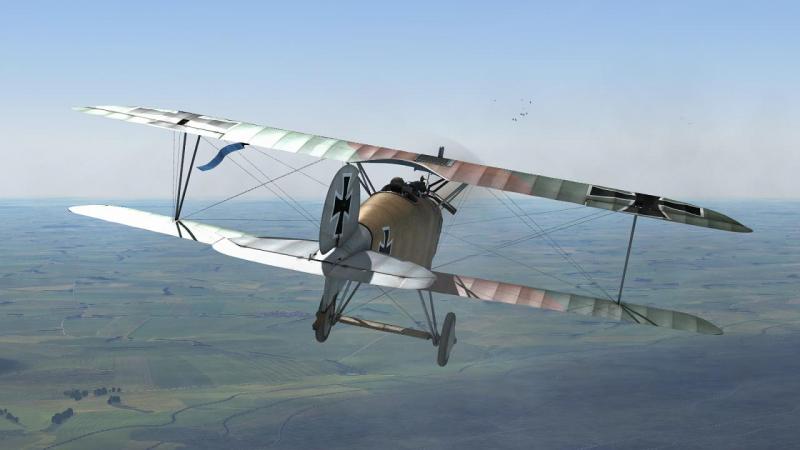
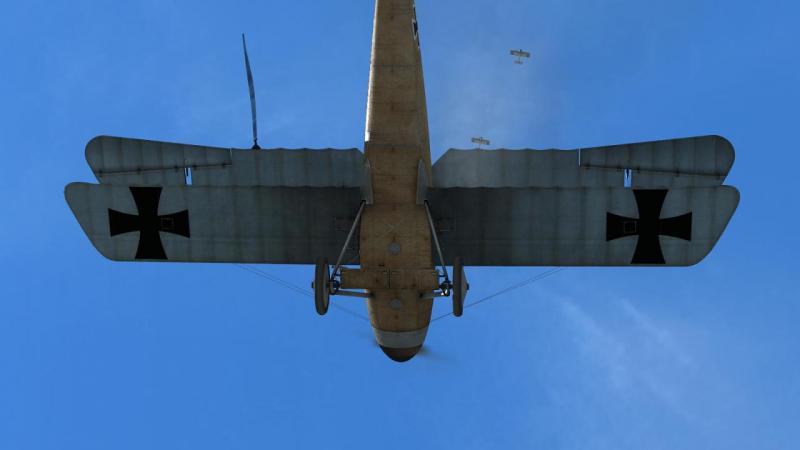
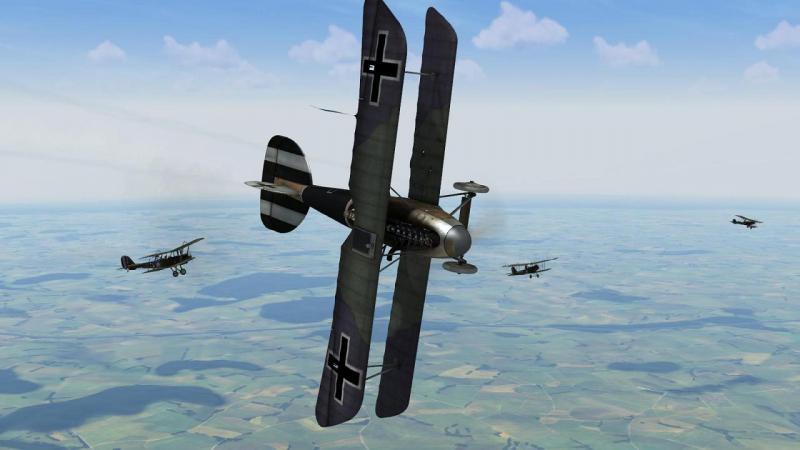
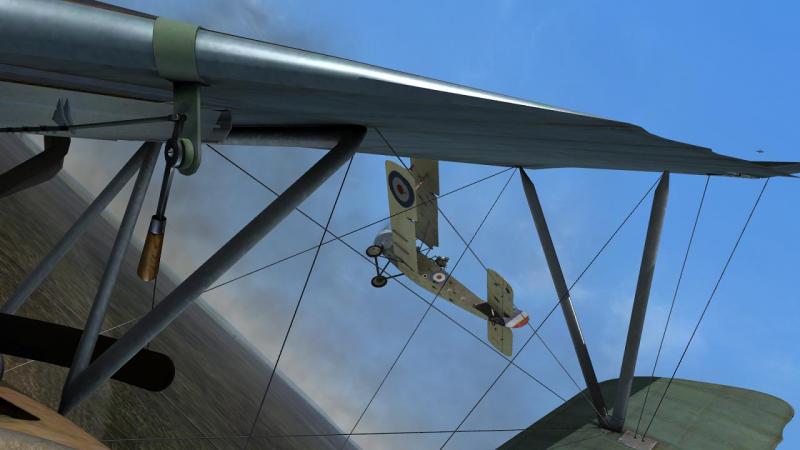
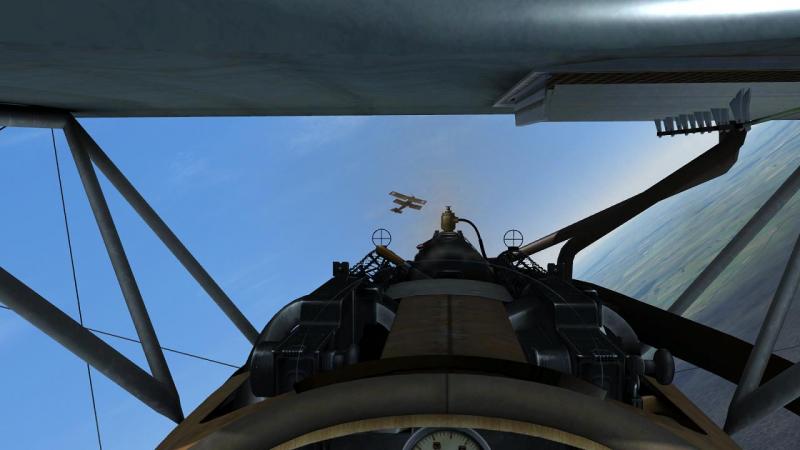
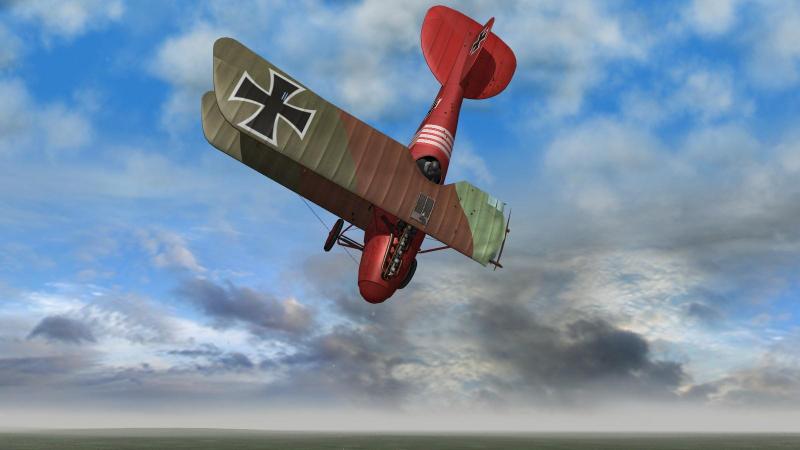
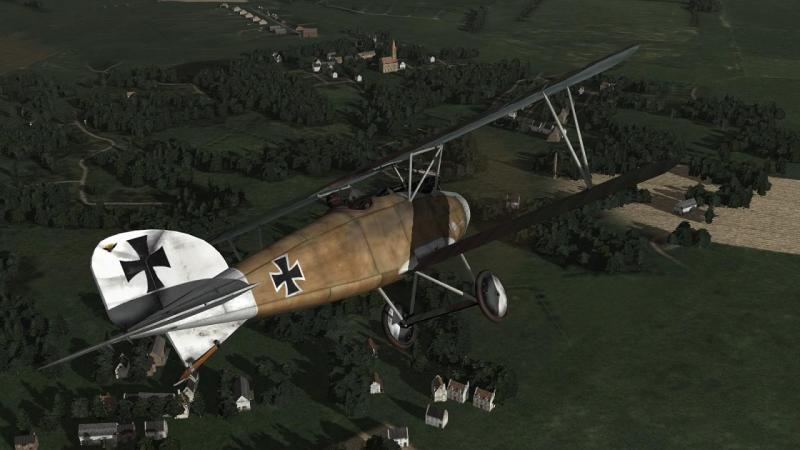
Campaign set-up...and first mission RoF has a ‘career’ mode with some nice features. Some are fine with this, and I can’t remember now why I didn’t particularly warm to it. Like (I suspect) most RoF single players, I have tended to prefer the alternative ‘Campaign Generator’ system developed by Pat Wilson and recently adapted for Il-2 Battle of Stalingrad, whose stock SP campaign system was...well, let's just say here, unusual and controversial. 'PWCG' has evolved over the years; my version is #16, not quite the latest - 'Be not first with the new, nor last with the old' - but it’s what I had installed, when I started this campaign the other day. I have long since used the 'Planes owned' option to tell PWCG which aircraft I can fly, and tweaked some other settings. I believe the latest version of PWCG is automatically integrated with RoF's menu, so easing the process I'm going now to describe. In short, you run PWCG first, and create a pilot in a given unit at a given date. You can then do various thinks like checking out what other units are flying in your area. You can also adjust many mission-related settings, perhaps the most important being those related to enemy air activity, which I have set at ‘Medium’. My current campaign is the one listed above for Richard Stachel (yes, I'm an unashamed fan of the movie The Blue Max, so I'm flying as Bruno's brother, Richard). The next important task is to generate a campaign mission. This I did, and below is the map-based briefing for the mission I got. Note the rather good supporting information, in the panels to the right. Unfortunately, my zoomed-in screenshot has cut off part of the right-hand panel and the bottom of my patrol route, but that's basically just south, down the lines - the cross-hatched zone around 'No Man's Land' running roughly north-south, with each side's front lines marked in olive (Germany) and blue (Britain, in this sector). You can ‘scrub’ the mission if you fancy trying for something different. Mission types are what you’d expect, but for two-seaters include simulated artillery observation and aerial reconnaissance, which were the most important and common missions for World War One's 'working planes', but seem rarely featured well, if at all, in WW1 sims. This shows what's basically a segment of RoF's printable map (a nice printed copy comes with the Iron Cross Edition, which I picked up in Spain as a 'backup'). One thing I don't like here is the way the labels on the patrol route obscure map detail. As this info is already in the top RH panel, it would be better not printed on your route; maybe just the waypoints numbered, if anything. Because I dislike formation flying and prefer the extra tactical challenge of patrol leading, the next thing I generally do is review the roster for the mission and remove or add pilots, so that I am the senior rank and thus leading the flight. In playing First Eagles 2, I tend to fly a four-aircraft flight picking the same pilots each time, but this time, for some reason I can't remember, I settled for just one companion, Leutnant Adolph von Tutscheck, who like others on the roster, really flew with Jasta Boelcke at this time. Neat! Having generated the mission, I accepted it, minimised PWCG and launched RoF. Some versions of PWCG could be integrated into the user interface of some versions of RoF, so you could run everything from the latter, but functionally it’s the same drill, and it's neither complicated nor tedious. When RoF loads, the mission you just generated and accepted is listed under single missions. You fly it, and afterward return to PWCG, where, as we will see later, you can record any claims for victories, view a map-based mission replay, and write a combat report. I have various mods enabled, including Criquet’s AI mods for scouts (fighters) and two-seaters, and several skin packs. RoF doesn’t use a decal system like First Eagles (or classic Il-2) but you can choose a ‘skin’ for your own plane and if an ace is flying whose machine has a skin of its own, see that one on his aircraft. Here were are soon after take-off, from the airfield at Pronville (rather than Proville in WoFF; both airfields existed) near Cambrai. As per the briefing, the weather is good. Historically, the real weather was poor at the start of the Battle of Arras in early April 1917, as replicated nicely by WoFF. I get enough crap weather at home in real life, so I’m not complaining about RoF’s blue skies! As a leader, my Albatros has a blue streamer, attached (as is usual in RoF) to my upper main plane, inboard of the port aileron. I have neglected to choose a custom skin, but I will remedy this on the next mission. One consequence is that the cockpit view will display the heavily-pixellated outer surfaces from which some colours on some planes suffer. Take-offs in RoF I find to be much more likely to result in a ‘prang’ than in either WoFF or FE/FE2. Your nose may swing strongly and your wings can wobble up and down as you bump over the grass. I find it quite easy to ground loop or dig in a wingtip, if my control inputs are other than gentle. I tend to maintain gentle back pressure on the stick to keep my tailskid on the ground, the drag helping keep me straight until I have built up what I judge is enough speed to let the tail come up with the minimum of control input – it seems easy to over-correct and bring on a crash. For this reason, I tend to settle for taking the edge off any swing, rather than risk a crash by trying to keep dead straight. This can result in me getting off at a noticeable angle to my original heading from rest, but hey, grass airfields make that do-able and when I’m airborne, I feel I’ve accomplished something requiring a certain amount of skill, rather than undertaken a chore requiring none. Once aloft, I call up the mini-map and adjust my heading onto the first leg of my route. I’m afraid I usually have little time for navigating by real map and compass, though I may start. The printed/printable RoF map corresponds nicely with what you can see in-game, making more realistic navigation a more attractive option. Another thing I find about RoF is that I spend more time flying from the cockpit, than in the external view. In other sims, I generally switch to the cockpit view for combat. It’s a combination of factors, but the sights, sounds and visibility – I use mouselook – make RoF’s cockpits a more welcoming place for me. With their considerable tail heaviness and tendency to wander, I also find it easier to maintain attitude and heading from within, rather than outside, my virtual aeroplane. Perhaps it's my flying, but it can take a little while for my flight-mates to settle into formation; they generally keep up tolerably well, once they have. A word on aircraft visibility: one disadvantage of flying in RoF’s virtual cockpits is that it is has quite a zoomed-out, wide field-of-view, which makes distant aircraft look very far away, and hard to spot. You can zoom in and out as you scan, but that is rather tedious. By contrast, the external view has a more ‘telephoto’, lower field-of-view look, leaving the same planes, at the same range, looking much larger and a lot more visible. I dare say there may be some settings I could tweak here. But for now, I tend to flick on the padlock every so often. I don't think this magically picks up planes I should not be able to spot in real life, so I rationalise this as noticing aircraft that myself, or a flight-mate, could readily have seen while scanning. I don’t turn on padlock too often, as a balance. I have also noticed that my present mini-map settings will display a little black aircraft symbol if there is an enemy fairly close by. It's a bit like a map-based version of the Tactical Display available in WoFF. Again, I use the RoF mini-map sparingly. I would use both mini-map and padlock less often still, if distant aircraft were more visible from RoF’s cockpit view – or were more often rendered visible, by AA fire directed at them. But I’m finding that I’m ok with the present set-up; mainly because I’m now having encounters more regularly than I recalled with my early forays into RoF – the empty skies seem empty, no more. Precisely why, I don’t know. Planes may still be spawning inside a ‘bubble’ occupied by the player, but if so, it’s not obvious, and I don’t care if the skies outside that bubble are indeed empty – no need to waste processing power generating enemies I’ll never meet, enemies that’ll have no effect on the static WW1 battlefield below. This time, I don't need the padlock to spot three specks in the sky, over the lines to our right front, at nearly our level. They're not being fired on, so I am clueless as to their identity. As I watch, the group splits up: one of the machines flies off to the left, the other two to the right. In such situations, I always follow 'Mick' Mannock's rule, that an unidentified aircraft must always be treated as hostile, until proved otherwise. I swing north, away from our patrol route, to intercept the two aircraft. In the picture below, you can see them just above my offset centre section radiator, while the third aircraft is above the Maltese cross on my port upper wing. The two aircraft turn east, towards the German lines. They're still not being fired on and from their distant but distinctive profile as I climb past their level, I get the impression they are DFW two-seaters. My identification is correct, and the two slip past below and to our right, homeward bound. One of them is glinting in the sunlight off my starboard wingtip; the other is above my nose. I turn back south and am soon flying along our patrol route, above our lines. In the picture below, you can see the rather ugly pixellated effect you get on exterior textures with some colours on some skins. Strange, that a relatively modern sim should exhibit this; on my next mission I'll have a skin which doesn't do this. Uh-oh! A glance up and right reveals von Tutscheck is no longer there. Looking back over my tail, I can clearly see why. He's in an air fight, rather far back already, with three enemy scouts which must have crept up on us! Needless to say, I spin around and have at them. 'Them' turns out to be three DH 2s, pusher fighters that the Germans knew as Vickers types, after the original Vickers FB2 'Gun-bus'. They are highly manouevrable but don't like the fire of two synchronised MGs. I surprise myself by chasing one off damaged and smoking, then knocking down first one, then the other! During all this, I have lost sight of von Tutscheck, and conclude sadly that I have been too late to save him. I'm all the more pleased, therefore, when I begin my usual post-combat full-power spiral climb and, looking back to clear my tail, see he's still very much alive. He's trailing some white smoke, but still apparently determined to rejoin formation. Time to go home! I level off and, throttled back, lead my comrade back towards our base. The Rise of Flight mission end screen confirms my three kills... ..but this is a PWCG campaign mission I'm flying, and something a whole lot more interesting and immersive awaits me, than this rather dry summary. First, I'm invited to submit a quick claim form, which I duly complete, using the drop-down lists supplied to select the number and type of aircraft I am claiming to have brought down. Next, I can elect to view an animated, map-based mission replay. The picture below shows this after it has finished playing, marking out my track and listing the mission's main events. That von Tutscheck is shown as 'Destroyed' indicates he, or rather his machine, has cracked up on landing, though I didn't see this happen - more of this in the next mission, where he'lll be flying with me again. Finally, I get to see a mission summary, to which I can append a typed combat report of my own (under 'Narrative'; everything else is pre-populated). As you can see, I wasn't sure I had knocked down the first 'Vickers', because after chasing him from the fight I immediately went back to help my comrade. Truly, I find bringing my men back alive is as satisfying as shooting down the enemy. Unlike WoFF, I don't think your RoF combat report helps you get kills confirmed, as this appears to be automatic. However, for me, the PWCG 'before' and 'after' mission elements really lift the Rise of Flight single player campaign experience, from rather ordinary, to something altogether more immersive and wonderful. I was also quite pleased, even on 'medium' air activity settings, to find that I was able to see and/or encounter other flights going credibly about their business, in a way I saw more rarely in my previous 'empty skies' outings with Rise of Flight, even with previous versions of PWCG. So far, so good. But I'm going to need at least another decent mission, to prove this isn't a fluke! ...to be continued!
-
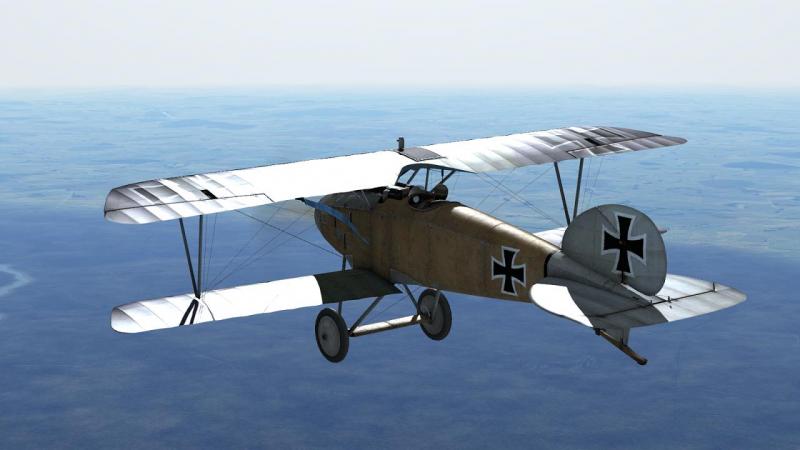
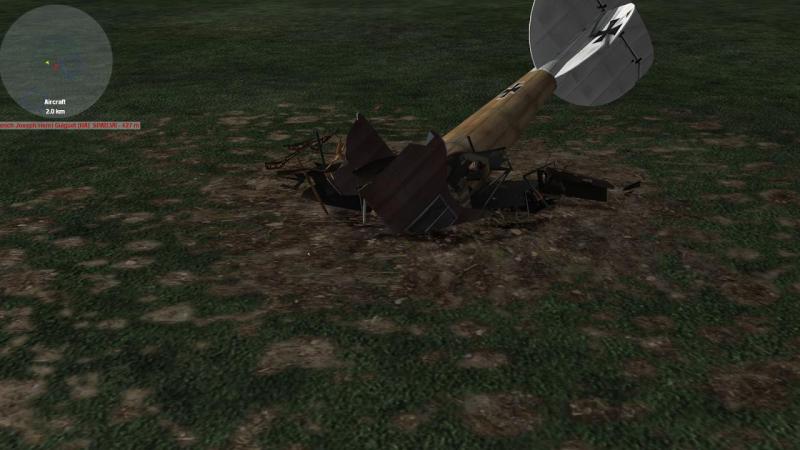
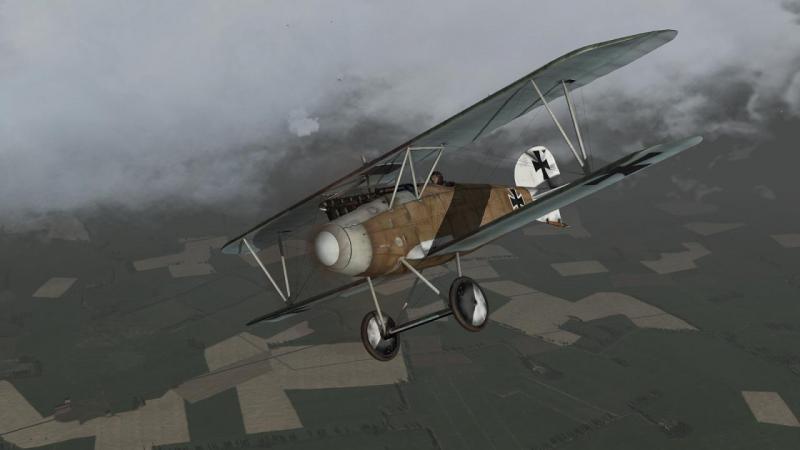
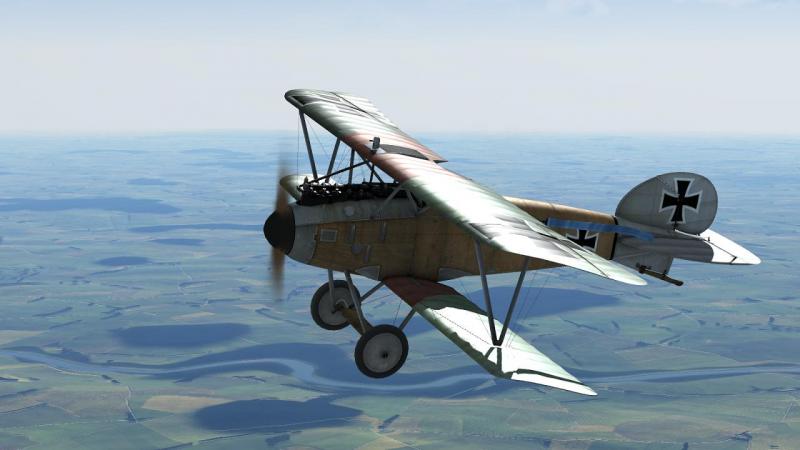
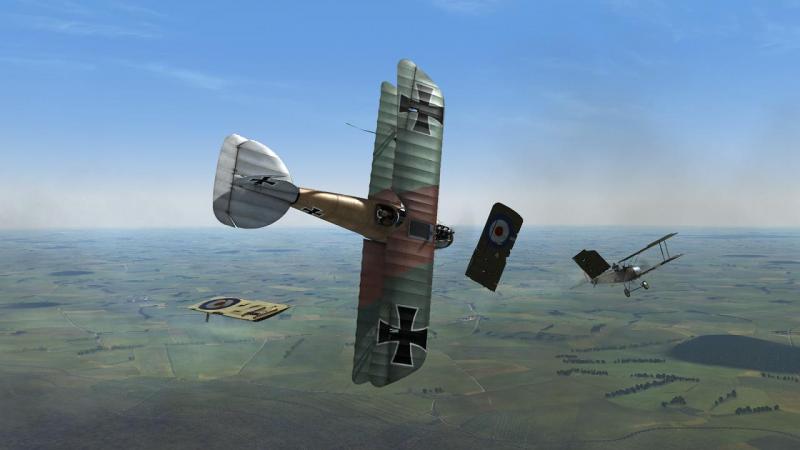
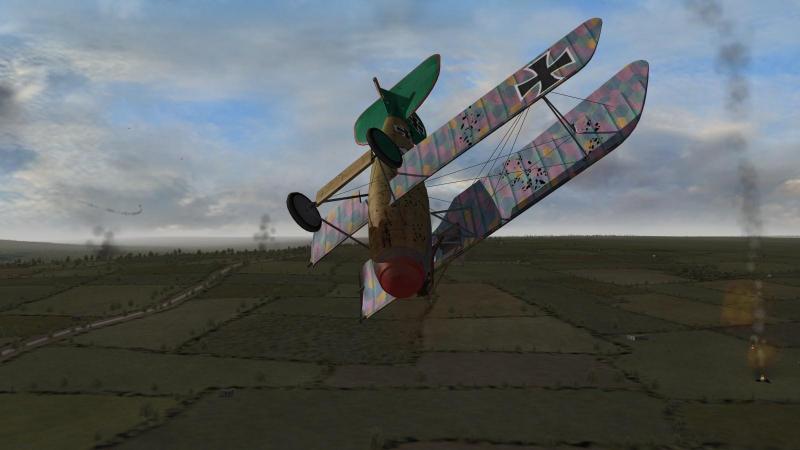
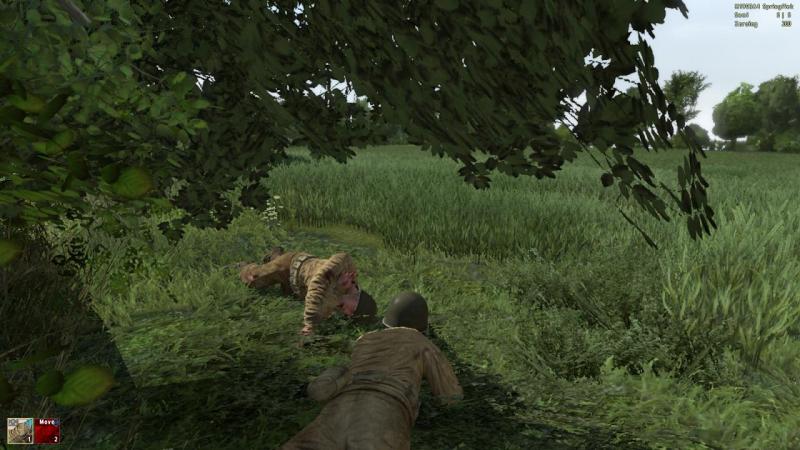
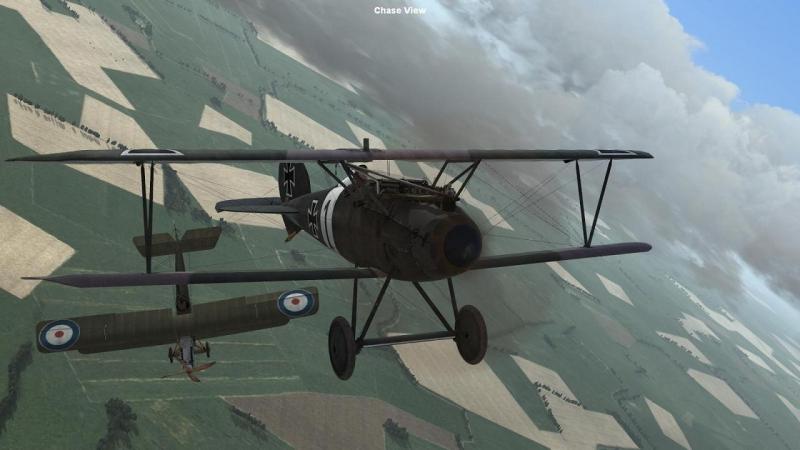
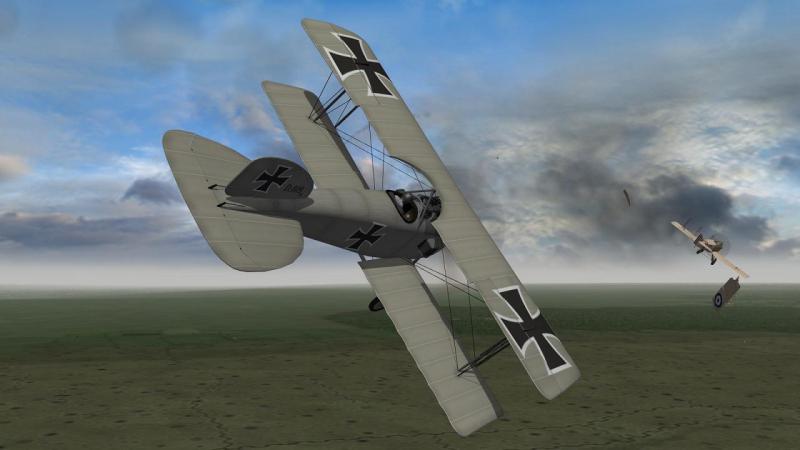
The prologue (skip, if you don't like digressions)... To renew my acquaintance with Rise of Flight, I decided to fly a Pat Wilson's Campaign Generator (PWCG) career flying an Albatros D.III with Jasta Boelcke in April 1917. This was partly because I had recently completed a similar campaign in Wings over Flanders Fields, which, fresh in my mind, would form a useful yardstick. When I say ‘completed’, I don’t mean ‘brought to a satisfactory conclusion’. Unless you consider this satisfactory: We’ll come back to RoF in a moment but to digress a little, that whole final mission was unsatisfactory, not just the finale. I had led my flight south towards the airfield over which we to try to catch hostile aircraft. About half-way there, a check to my rear revealed they were no longer in formation behind me, but were sliding off to my left. I thought at first they were attacking something I couldn't see amidst the clouds, but no. Instead, they spiralled down, to the cloudbase and then on down, below, until they were putzing about just above ground level, seemingly flying in circles. I believe this sort of AI behaviour in WoFF commonly has two causes. First, they have departed to attack an enemy they have spotted, without letting you, their leader, know. I’ve seen this happen in RoF as well, and would find it less unrealistic if both sims operated like the AI in First Eagles/FE2, which will stick with their leader unless actually attacked, or about to be. They still won't announce their sighting - no WW1 sim seems to have cracked this, short of using on-screen visual aids - but at least in FE/FE2, they don't break formation lightly. The other WoFF explanation for mass disobedience is, I believe, that your buddies have come to the conclusion you are is no longer able to lead, and that they should continue the mission with a new fellow at the helm. Today, neither of these explanations seemed to fit: the first, because there was no enemy around, the second, because I had done nothing to indicate that I was abdicating my leadership and they showed no inclination of continuing the mission. I watched this rather unsatisfactory circus for a while, hoping that either its cause would become apparent, or my flight would give up and rejoin. Sadly, neither of these things happened. And in WoFF, the ‘Rejoin!’ command only works as a recall after a ground attack, for whatever reason. So I lost patience, gave up and decided I would do a short ‘lone wolf’ patrol over the friendly airfield we were to protect. I’d do just enough to show willing, show my face as it were. My pilot’s career was developing quite nicely and I was in no mood to spoil my chance of a Blue Max by wading in to an unequal fight of any description. So that’s what I did. I flew down there and then made a few circuits where the fellows down below should be able to see me, like I was looking for trouble, rather than looking to stay out of it. But as soon as I felt that honour had been satisfied, I turned back for home. When I arrived there, I still hadn’t lost enough height for a ‘straight in’ approach and overflew our base, the better also to get a good look at three Albatri that had already landed – members of my errant flight, I suspected. You can see them, near the top left of the picture below, taken as I was turning in for my overflight. While making said overflight prior to turning back onto a final approach, I was suddenly shot at from behind by the leader of a small pack of SPADs. Really, this was too much! My frustration boiled over and I turned and went for the leading Frenchman, using my superior manoeuvrability to get onto his tail. Even as I tanned his hide with my twin Spandaus, I was thinking, ‘Now, safety first! Get down or away as soon as you can, let the airfield defences put some holes in them!’ But that’s not what I did. We’ve all been there – ‘Just one last burst, before I break!’, you know the story...and the usual ending. I nearly got the Frenchman. He was an ace, but that didn’t save him. One of his mates did, coupled with my target fixation. I was hit from behind and broke hard left. Or tried to. Nothing worked. I don’t know where I was hit, but some magic bullet or bullets had simultaneously clobbered all control. My plane just fell sideways out of the sky like a shot bird, with me apparently unwounded but just a helpless passenger. Hence the picture of my crashed Albatros, at the head of this post. And before you ask, does it look like my pilot walked away from that? All right, I was asking for trouble, leaving my break till the rounds were flying past or (as it turned out) into me. But this was a bad ending to a bad mission. My flight should have stuck with me, or have been able to be recalled, when they didn’t. Then those SPADs rather doubtfully chanced descending into the circuit of an enemy aerodrome just to pick off a solitary Albatros (or shoot a few holes in hangars). And to cap it all, a few hits from a short burst instantly rendered my aircraft uncontrollable. Visions of having Countess Kaeti watch admiringly from the limo as the Blue Max was hung from my neck, in front of the staffel, had been swept away, just like that. So I thought I’d give the same career a try, in Rise of Flight – same timeframe, same unit, same machine. Well, not quite the same plane. WoFF models different variations of the Albatros D.III – the plane that made April 1917 ‘Bloody’, for the Royal Flying Corps. RoF has one version – what in my day we would have called a ‘late production’ model. This we now know was the version built by OAW, the Ostdeutsches Albatros Werke, distinguished mainly by the rounded, rather than straight, rudder trailing edge; also by the centre section radiator having been offset from dead centre to the right on the D.III, by the time OAW production began – said to be to avoid the pilot getting scalded in the event of battle damage, but also usefully improving the view dead ahead, by moving the associated pipework to the side. As RoF also has the Albatros D.V, in service from mid-1917, an earlier variant of the D.III would probably have been a better choice. But it would be churlish to complain about getting to fly a fine bird like this, a little while before the actual sub-type probably arrived at the front. Especially as the OAW version was reportedly more strongly built, lacking the parent company's product's rather unhelpful tendency to serious lower wing failure under stress. Anyway, here endeth the prologue; if you skipped this bit, we'll be back to Rise of Flight in the next installment! ...to be continued!
-
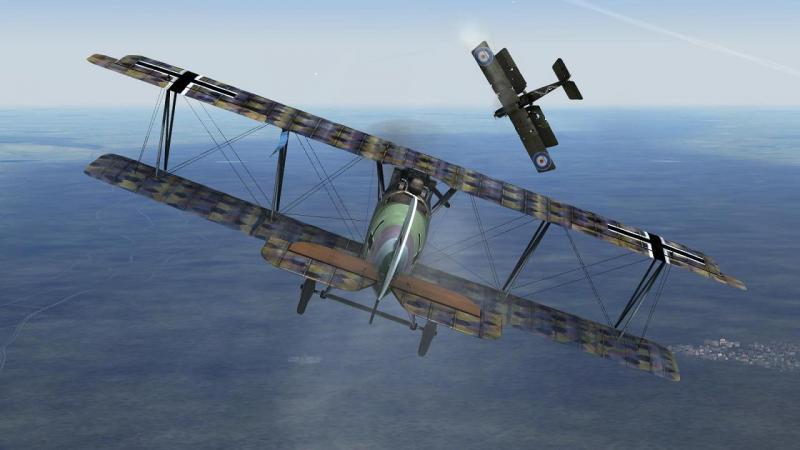
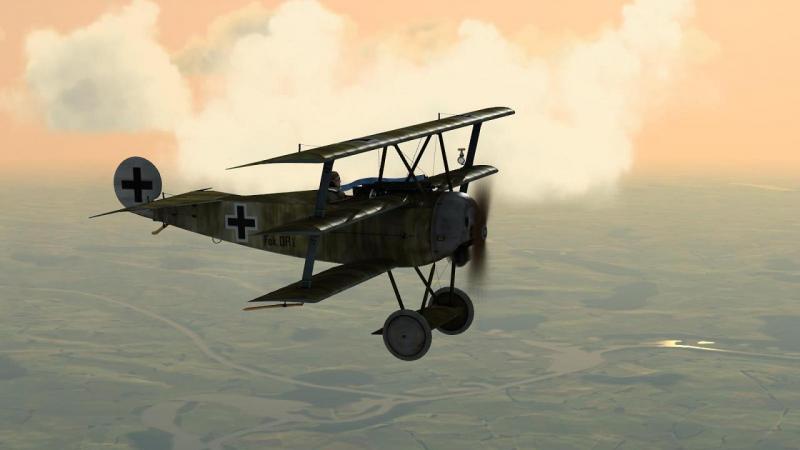
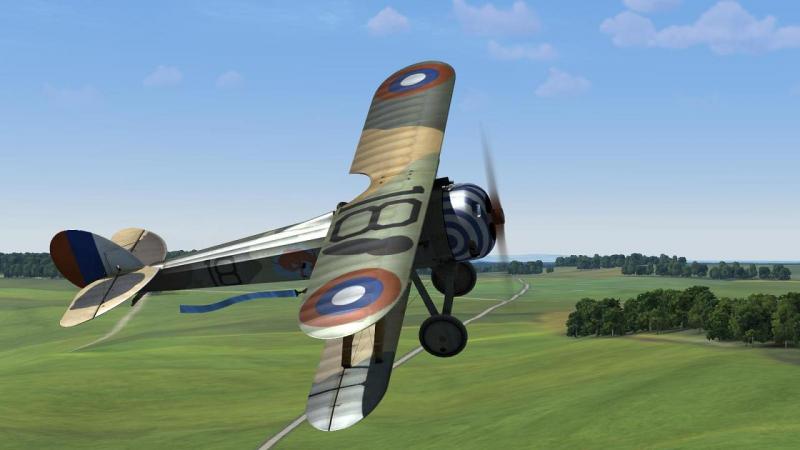
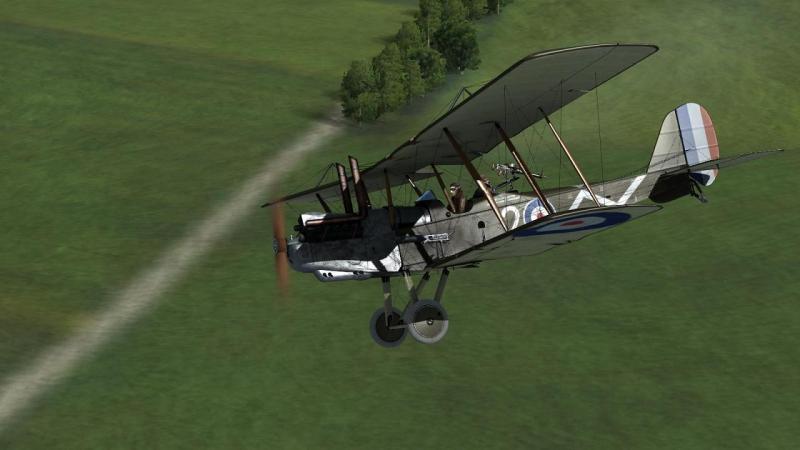
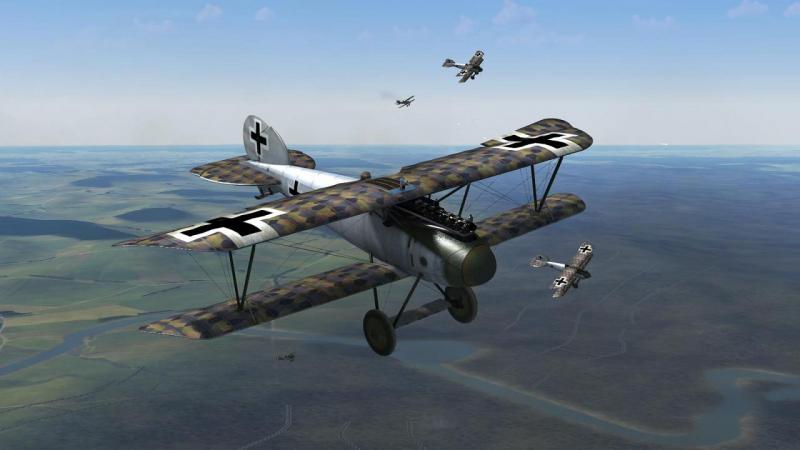
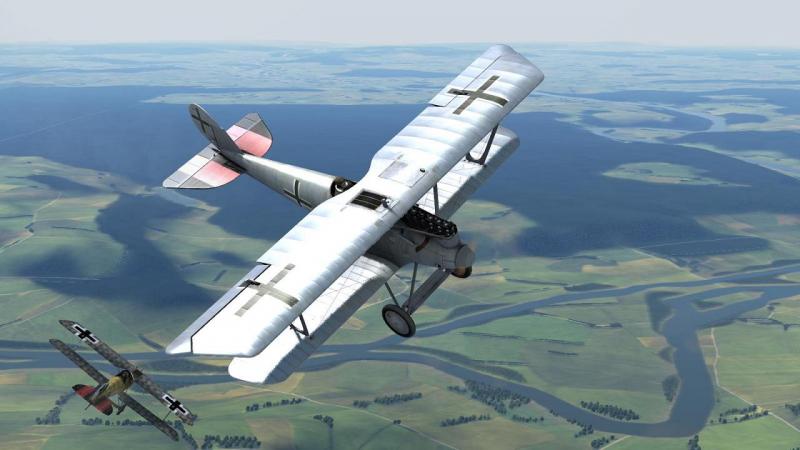
Back to the front with 1C/777's World War 1 air combat sim! 'Is Rise of Flight dead?' is a question that's been asked online, of late. There have been no new planes or updates for some time, while the developers have been concentrating on other products. By my definition - for whatever that's worth - a game's dead, not when the developers lose interest, but when people cease to play and enjoy it. I had ceased, mostly, despite buying a good many individual planes, like the Pfalz D.XII... ...the Fokker Dr.I... ...and the Nieuport 28... Heck, I even got the Gotha and some two-seaters, including the rather unlovely RE8... Not that you need to pay anything, of course, since RoF is free, with the Albatros D.V and SPAD XIII flyable and the others appearing as AI-flown unless & until purchased. And the D.V is one of my favourite WW1 birds, sleek, often colourful, and in RoF guise, free to boot - what's not to like about that? However, RoF never really took off for me (dire pun intended). I have zero interest in multi-player, for one thing. And RoF single player could be a bit...well, anaemic, once you got used to the generally very attractive graphics. The campaigns seemed to me to be a tad unengaging, and the AI a bit of a mixed bag, from sniper-like gunner/observers to fighter jockeys with a rather repetitive box of tricks (if attacked, turn a bit, then go low and turn a lot more, on the deck). Even after Pat Wilson's Campaign Generator came along to offer an alternative single player campaign system, I still never caught the RoF bug. Mainly, the combat zone seemed dead. There could be enemy flights going about their business - you could cycle through them using the very capable view system - but unless you had the 'AWACS map' active, they might as well have been flying under a cloak of invisibility. In First Eagles and to a large extent Wings over Flanders Fields, many enemy flights would have been rendered visible through being engaged by friendly flak, at least over the lines or your own territory. Not very often, in RoF. Many's the time, bored with the empty skies, I would cycle views to an enemy flight, then once I had established its location with reference to the scenery, be dumfounded as to why it was invisible from the player's aircraft. But the other day, CombatAce forum member Jeanba posted a favourable comment about the improvements the mods had made to RoF, so I thought, well, I'll give it another go, what have I got to lose. And you know what - RoF's still got some 'little foibles', but I'm glad I did. This double mission report will, I hope, explain why! ...to be continued!
-
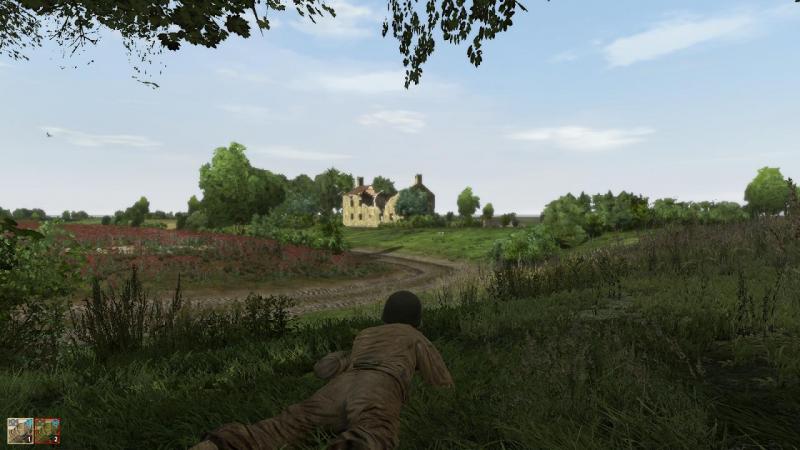
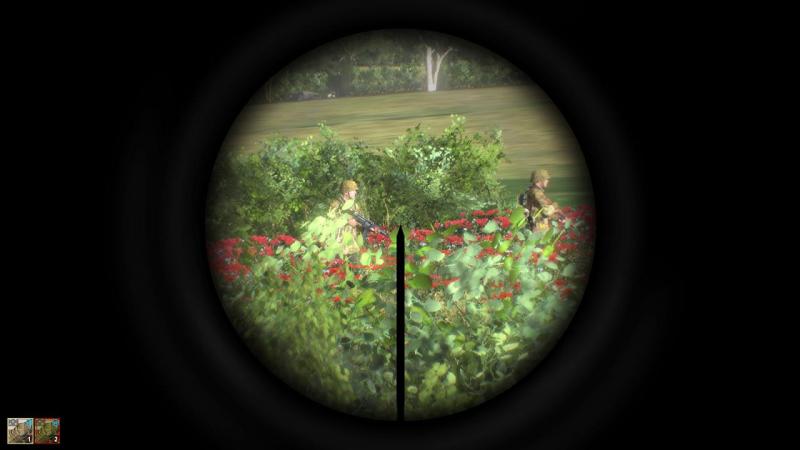
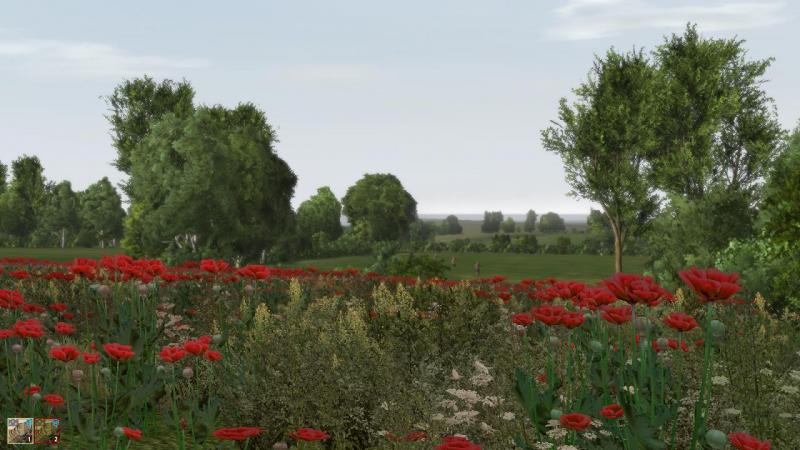
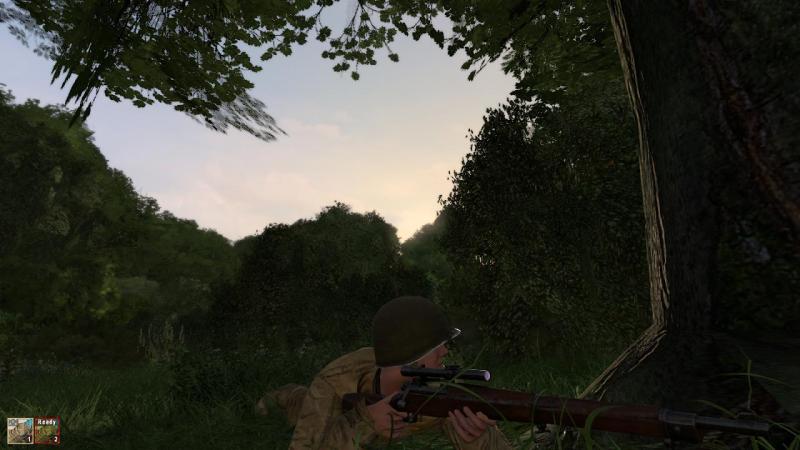
Thanks, but I'm not having much luck with the replays! First, the late-mission save point I thought I had, reverted to much earlier on. So I tried a wide sweep to the south, moving faster, and got as far as a ruined house next to a poppy(?) field... But, in too much of a hurry, I ran into a patrol while having got too far ahead of my number two. I made it to the abandoned house and, reluctant to leave my buddy to his own devices, managed to pick off one of my pursuers through a convenient hole in an upper floor wall... The enemy moved up to the house and I lay prone with my pistol covering the top of the stairs, ready to blast whoever showed up first... ...but they never came. I should have waited longer to see if they moved off, but I got impatient, moved out onto the landing, and was spotted by several of them from a nearly field; I think a second patrol had joined in the hunt. A scoped bolt-action rifle is not a great asset in such a shoot-out! Failed again! Next try, again moving faster than first time... ...but taking a slightly less southerly route, I got in sight of the enemy base, from the west. Usually in the original Operation Flashpoint, you can snipe enemy in a camp quite successfully, with maybe just one of them coming out after you, and taking a while to get to you. So I decided I'd have a go at this. First, I quit the mission, because the 'Suspend' option saves at this point, thinking the previous reversion to an earlier save point was a fluke. I got one of the dismounted Tiger crewmen... ...but was then imediately fired on, then rushed and killed, by other enemies from the camp. They are rather hotter than I was used to, from OFP! To make matters worse, the 'Suspend' option didn't let me resume from my position near the camp, but threw me back to my original mission save! Next time, I went for the high ground to the north of the base, hoping for better fields of fire. Arriving there and leaving my number two back a little way, I had to crawl out into a field, to get a decent view... I needed to rise to a kneeling position, to get a clear field of fire... ...but could not see the officer I had come here to shoot. I edged left a few feet, and rose again. There he was, at last! I was reluctant to crawl forward to get into a spot from which I could fire from the prone position. So I took the shot kneeling, hitting him but not fatally. Instead of immediately dropping flat as planned, I lined up another shot before my target crawled out of sight, but promptly went down in a hail of accurate enemy return fire! Again, my impatience had got the better of me. Still, I'm having a lot of fun. The major downside is that while the enemy planes are around, my number two is constantly and pointlessly halting and reporting their presence, instead of shutting up and keeping up. I may see if I can edit them out of the mission. But the Iron Front D-Day DLC map is a wonderful place for a sniper mission and looks even better now I have turned up the shadows a bit, with no observable framerate hit. I'm looking forward to my next replay! And there are plenty more user-made missions available over at the Iron Front Mission Repository. That enemy officer had better watch out!
-
Have you tried it with the 'Elite AI gunnery' option? I don't dare - I don't much mind winning! I do have wind effects (don't affect AI) enabled...and now also 'duds', which I hope does affect the AI, so it takes a little of the edge of the 'super-torps' (tho shells can also be duds).. As for future development, Killerfish, on the AF Steam forum on 12 August, posted: "As for Atlantic Fleet, we're not quite done with it yet. If sales remain steady and we continue to bring in some funds with the seasonal Steam sales, the goal would be to dedicate a month or two of development in order to do the following sometime before the end of the year: - fix the turn cycle bug with merchants - add some very basic modding to tweak some game parameters (air cover, submarine start distances etc) - maybe add a few more ship classes - add Pacific Fleet (direct mobile port) as a stand alone DLC - add Steam Trading Cards " Somehow I could live without the 'trading cards' but the rest sounds good, if it comes to pass.
-

Very specific request for Falklands mod
33LIMA replied to tn_prvteye's topic in Mods & Skinning Discussion
You could try pulling some clips from this, or any similar videos you can find: https://www.youtube.com/watch?v=6S2mODnwG1Y -
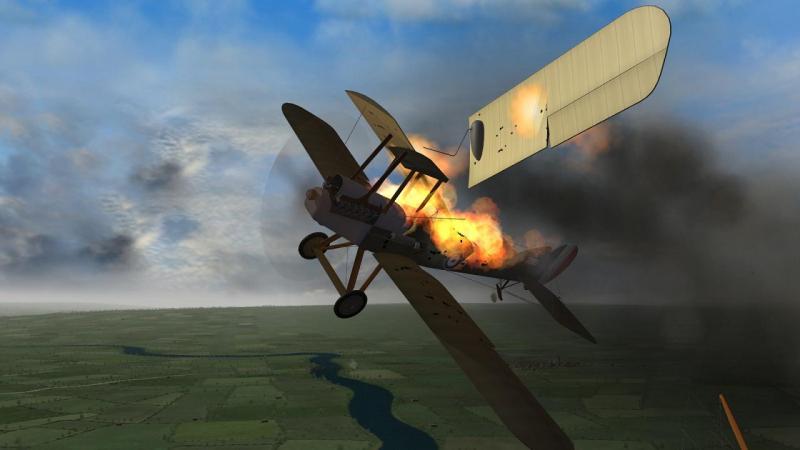
What AI mods are you using for Rise of Flight? I have Criquet's AI mods for scouts and 2-seaters enabled. I just tried another PWCG mission (version 14 is the last one I installed), flying for Jasta 2 in April 1917 and it wasn't as bad as I remembered. Distant aircraft visibility is still awful. But at least flak seems to be a slightly better target indicator than it used to be, though not as good as in First Eagles. For example, 'Archie' showed me the way to these two FE2bs... ...but it totally ignored this bigger formation of Sopwith Strutters a short time later, in the same general area... This also happens far too often...I got an RE8 ( a single machine, which was good, but he was I think too low to have been doing anything much, which if so, was not so good)... And three of the Strutters. And they all shed their wings in this fashion... And I expect that Albatrosses still lose all their interpane rigging at the same time, like this one, in a different mission... On the plus side, at 'Medium' PWCG air activity settings, there seems to be a little more going on in the skies than I remembered. And it is possible to spot some of it without resorting to on-screen aids. Others are still too hard to see, though, they might as well have a Cloak of Invisibility. Still, the 2-seater observers are no longer as deadly which I assume is Criquet's mod in action. This one kept shooting at me all the way down, helped by his pilot taking the edge off the roll to the right after I shot his starboard wings off. There's still too much of a scatter in the planeset, though, the lack of a BE2c or 2e and a French 2-seater prior to the Strutter being the main gaps. As far as flight models are concerned, I'm not sure about some aspects of WoFF's but in RoF, I find the considerable tail heaviness wildly overdone, and the general tendency to wander all over the sky unless kept on a tight rein, likewise too much.
- 23 replies
-
- armée de lair
- cfs3
-
(and 3 more)
Tagged with:
-
-
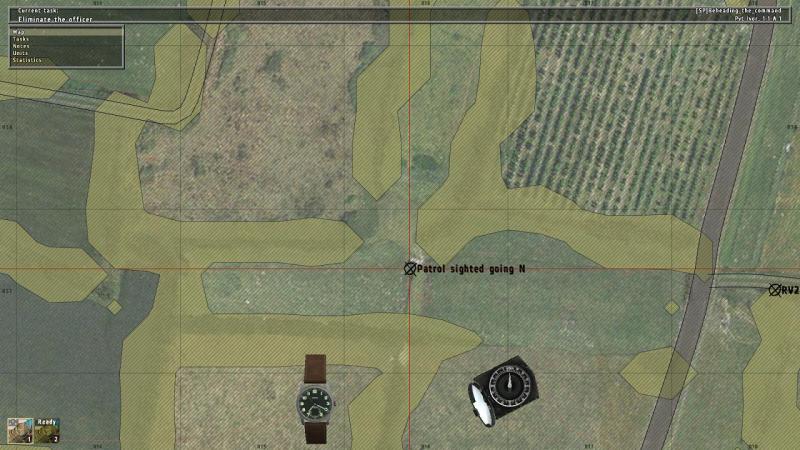
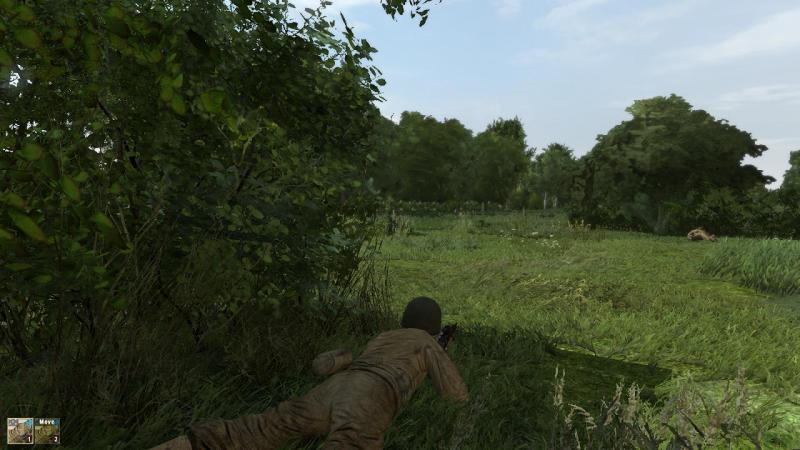
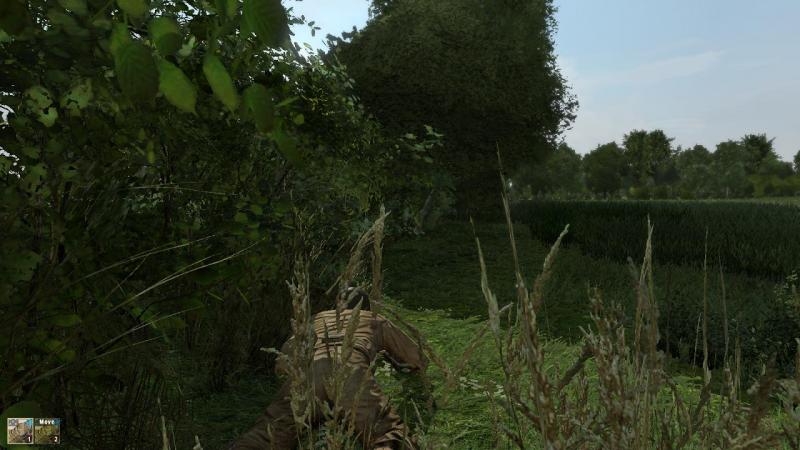
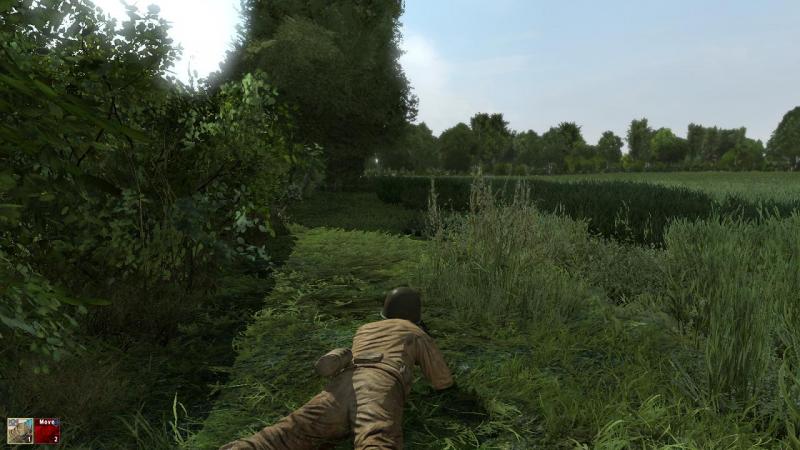
The last lap? We crawl on to the west, towards where I hope the Final RV lies, at a distinctive track junction short of our objective. The previous RV isn't far behind us when we spot a small enemy patrol, moving across our front from left to right. We lie still till they have passed. My buddy mustn't feel threatened, for he sensibly obeys his 'hold fire!' standing orders. While allowing a couple of minutes for the patrol to clear the vicinity, I mark on the map what I believe to be the position in which we spotted them. The hedgerows are now fairly discontinuous and we cross the gaps carefully, one moving over the open ground while the other covers him. At a point while I'm in the lead, my buddy reports sighting enemies to our rear. I turn around, staying prone, but see nothing. Suddenly, shooting breaks out; single shots, then a burst of semi-auto. All I can see is some pale grey gunsmoke. Some of it appears to come from the spot along the hedgerow to my rear where my number two is lying; some slightly right of that. I hear a metallic 'ping!' after one of the shots, which I realise is the clip of my buddy's Garand being ejected after his eighth round. I edge out into the field to my right, trying to get eyes on the enemy. From here, I can see the smoke of firing from near the base of a tree, beyond and right of my number 2's location. The long grass is blocking my view but marking the spot, I rise to my knees and line up my sights. I can still see sod all, and to make matters worse, my buddy is now wounded. He's still in action though, and fires off another clip. Soon after, the enemy fire having stopped, I see him crawling back. It looks like we have got away with it again, but not entirely unscathed, this time. I crawl up to him, with the intention of administering first aid. But if it's possible, I can't work out how. No suitable 'action menu' seems to be available. He's still mobile so I turn around and crawl on. I don't want to hang around here. To help break trail, I cross to the other side of the hedge, through a gap, having checked the other side's clear before emerging. Once over, I go firm and call my number two forward. I wait, but he doesn't re-appear. In the end, I decide I'll go back, and make a more determined effort to do the first aid thing. I have no sooner started to crawl back to the gap in the hedge when a Kraut runs through it, muttering something about somebody who's 'gerwundet'. Recovering quickly from my considerable surprise, I naturally omit to enquire of him as to whom he's referring. He's no more than five yards away and coming right at me. He spots me and goes down on one knee. Knowing he'll have got me by the time I can line him up in my scope, I fire a quick round over open sights. By that time, he's so close I can hardly miss, and I don't. Recovering my composure, I sit tight for a few seconds but no more enemies appear. So I resume my crawl back to my number two. But I'm too late! I am bitterly disappointed at losing my buddy, and not just because he's been a good guy to have along on this trip. I don't play sims using my 'wingmen' as canon fodder; I want to bring them back alive. Any satisfaction at my second kill of the mission is overshadowed by this loss. But there's nothing else for it, but to go on. As careful as I may be, I am very conscious that without the extra pair of eyes and ears, and the additional firepower, my chances of completing my task have just nose-dived. I consider briefly leaving my Springfield and taking the Garand, but decide against it. Moving on, my spirits are somewhat lifted when I come to the Final RV, confirming that my navigation has been up to snuff. You can see the track which comes in from the right, making the junction which marks the RV, just beyond the small bush about ten yards ahead, quarter right. I call up the map, and after some thought, mark my intended fire position, in a hedgerow just north of my objective. The latter looks to be surrounded by hedges and my chosen spot is a bit closer than I'd have liked, but it provides a quick, covered escape route north, to the patrol which will cover my withdrawal. Incidentally, one thing about these maps I don't like is that while the foliage patterns and roads are accurate, the contours are almost invisible, even if you zoom in and out, making it tedious to judge the lie of the land. Moving towards my chosen firing point, I edge further south to take advantage of a hummock which looks like it might give me a decent view of the area of the objective, to supplement what I can make out from the map. This turns out to be a good move. There they are! I can see a group of sand-coloured soft-skinned vehicles, and what look like either stacks of supplies or sandbagged sangars. Ominously, I can also see a Tiger tank, to the left of the enemy position, facing in my general direction. I back off into the shadow of the hedgerow behind me and then edge down to the road to my right, into dead ground. From there, I crawl forward, aiming again for my intended firing point. If it looks too exposed when I get nearer, I'll either double back or press on, until I find somewhere better. I crawl along the near side of a hedgerow, until I come to a low crest from which I can get a closer look at my objective...including that Tiger. This looks about as far as I can safely go on this side of the hedge, so I edge back, then go through a gap, onto the far side. I haven't gone very far when I spot a three-man patrol in a field, heading my way. I watch them for a few seconds, long enough to gauge their direction. They are consistently heading my way. What are they aiming for? The road behind me? Hard to say. What is clear is that I can't just lie here getting a tan. I'm going to have to take them on, or go to ground. Remembering how the first German we met walked past me on the other side of a hedge without spotting me, I decide to pull back and lie low. I slide off the crest and then crawl back through the hedge. Through a small gap in the foliage, I suddenly realise that the Germans are very close and seemingly making straight for the gap in the hedge through which I have just come, now right in front of me. I consider grabbing a grenade, but am concerned it'll be caught in a branch and land back on my side. That leaves my .45... ...but it's to late. One of the Germans shouts out a warning and the next second I'm hit! Mission over! At least I got to the objective. But I'm a bit miffed about the rather keen vision the enemy displayed this time, and the fact that they made a beeline for my position, before apparently spotting me. Perhaps that was just my bad luck. I had saved the session at a point before my buddy was hit, so I do have the option of replaying from well into the mission. Which I may do at some point. I certainly enjoyed the operation. I'm not sure yet how well Iron Front handles other kinds of mission, stock or user made, but in this Operation Flashpoint-style, freewheeling 'stealth' mission, it does quite well. The D-Day DLC's Normandy map seems to lack villages but otherwise, it looks really great. The 'bocage' close country effect is first class. You may have noticed that some shadows look a bit box-like at my 'Normal' setting but this probably improves with higher settings. I did get the odd 'black screen+sound playing on' problem, but pending finding a full solution, pressing and holding left shift+keypad minus, then releasing both simultaneously then typing 'flush', reloads the visuals (reminiscent of 'cheat keys' from OFP). All in all, the mission was more tense and interesting than this mission report likely conveys, and was much more my style than a 'run and gun mission on rails'. This is how I like my 'soldier sims' and I'm looking forward both to resuming my Iron Front campaign...and yes, at having a crack at some of the tank missions!
-
My PC is pretty old, Vista 64 with a 2.33 GHz core 2 quad, 6 GB of RAM but slow, and a 1Gb 250 GTS (basically a tweak of the 512Mb 8800GT it replaced). I suppose you already tried updating your graphics drivers and maybe creating and tweaking a profile for CFS3, like turning off triple buffering, if it's on. Maybe also worth posting over at Sim Outhouse's CFS3 forum, if anybody can help it'll be somebody over there. I had a look but could not find a report of a similar problem but somebody over there may have an answer. Worth trying, CFS3 looks soo much better with the latest DX9 mod. Especially as regards processor, my PC is at the bottom end of the specs for WoFF but runs it fine (possibly not in busy late-war skies but I rarely go there). And I am able to use fairly high graphics settings. Definitely worth a try if your PC is no worse than mine! For Single Player, I find WoFF is much better than RoF, even tho the latter is free with the D.V and SPAD XIII. The WoFF graphics I think are as good on balance, and the campaign is much better. Even with PWCG, in RoF I hate it that other flights can be nearby but effectively invisible, and the WoFF AI is much better than RoF. If your PC can handle RoF it could probably handle WoFF - that was my experience, anyway.
- 23 replies
-
- armée de lair
- cfs3
-
(and 3 more)
Tagged with:
-
Wow. Not seen that before. Looks like the Firepower Me 410. One thing you might want to try is (re-)installing DirectX9. Can't do any harm, Rise of Flight insists on it, every time you update, won't interfere if you have a later version. https://www.microsoft.com/en-gb/download/details.aspx?id=34429
- 23 replies
-
- armée de lair
- cfs3
-
(and 3 more)
Tagged with:
-
In an unusual example of enemies co-operating in aeronautical engineering, an Albatros D.I converts a SPAD VII to a monoplane... ...Albatros courtesy of Stephen1918.
-
Can't see those images - just a big red + white 'No entry' sign for each, with the label 'No Permission'. As an experiment, I went to my stock CFS3 install and used the cfs3config program - not the in-game video options tab, tho it may not make any difference - to reset my screen resolution to 1024x768. Not very suitable for a widescreen monitor but it works. And the DX9 mod also works - here's the stock CFS3 Bf 109G-6 with dynamic shadows, the more natural viewpoint, and ground object shadows, screen resolution 1024x768. It may be nothing to do with whatever problem you have encountered, and as an 'old hand' with CFS3 you probably know this already, but it's definitely a good idea to run CFS3confix.exe and use the File/Custom Settings/Window/Overrides and Window/Texture Info tabs to apply all the settings illustrated in Olham's easy-to-follow guide, here: http://combatace.com...ictorial-guide/ What was the problem in the pics? You can upload files into your posts here using the 'More Reply Options' tab that appears at the bottom, when you are posting a reply- this lets you upload into your reply screenshots you have saved to your hard drive.
- 23 replies
-
- armée de lair
- cfs3
-
(and 3 more)
Tagged with:
-

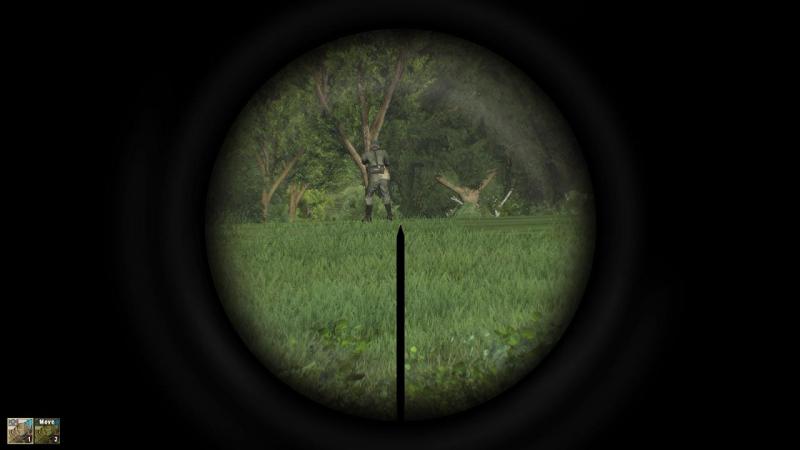
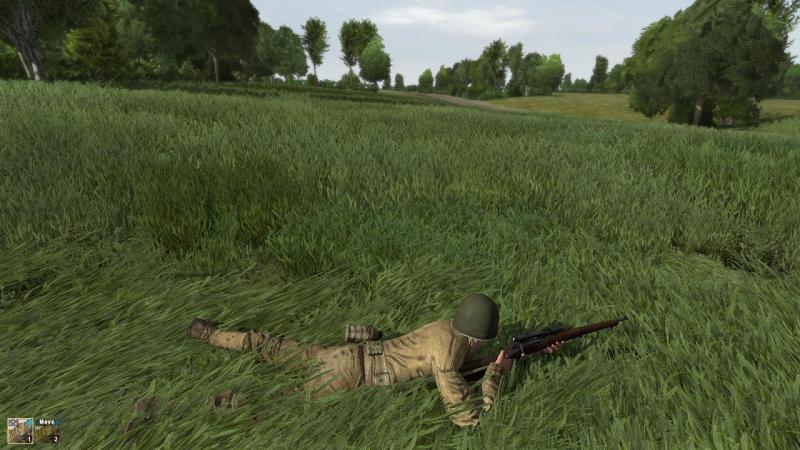
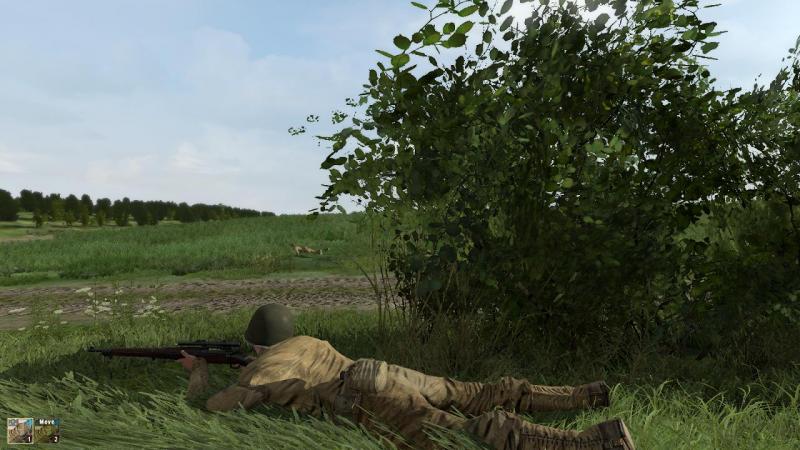
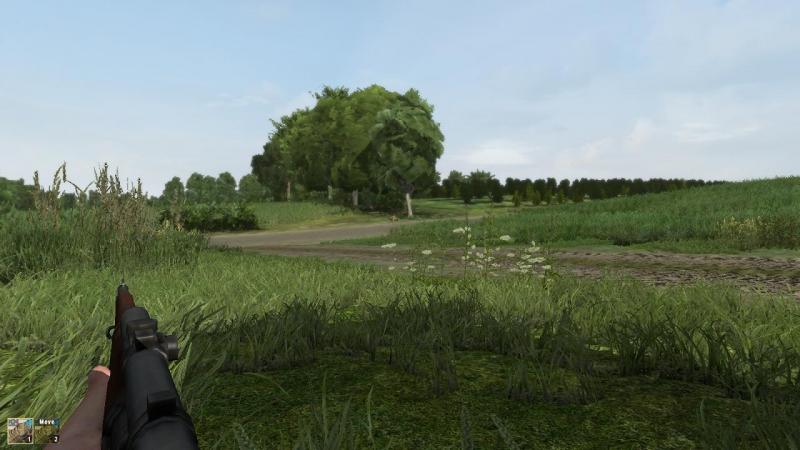
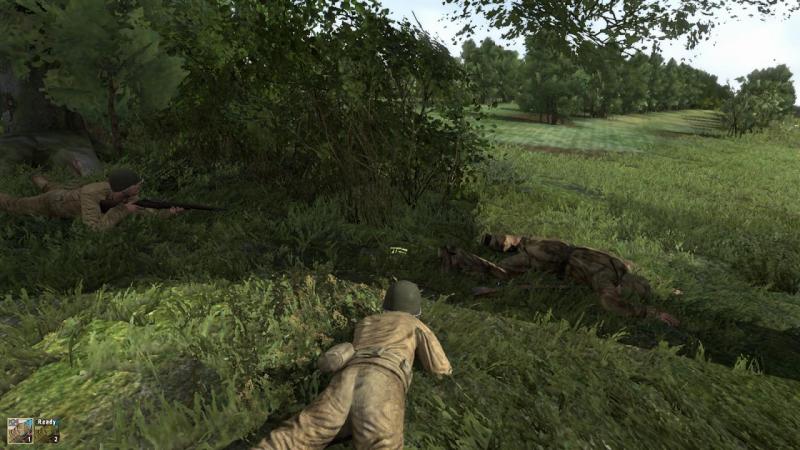
Iron Front: Liberation 1944 - first German campaign mission
33LIMA posted a gallery image in Member's Albums
From the album: Combat Sims
-

Iron Front: Liberation 1944 - first German campaign mission
33LIMA posted a gallery image in Member's Albums
From the album: Combat Sims
-

Iron Front: Liberation 1944 - first German campaign mission
33LIMA posted a gallery image in Member's Albums
From the album: Combat Sims
-
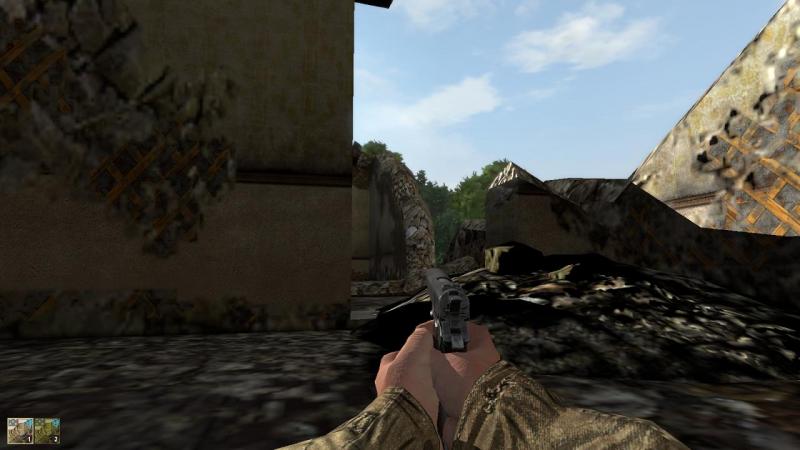
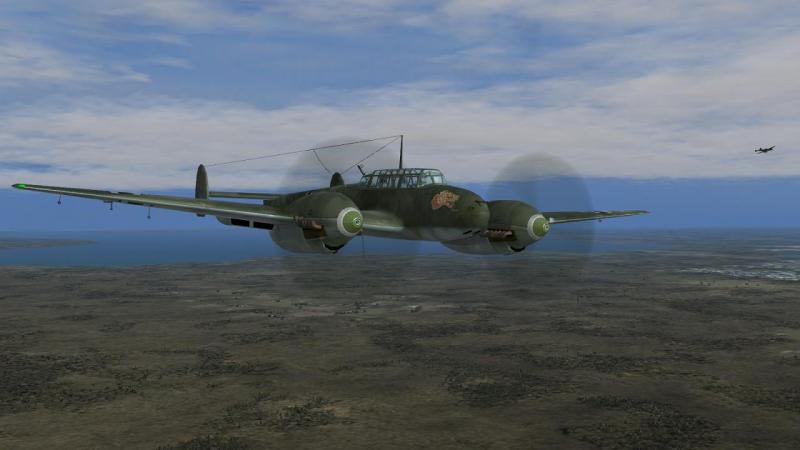
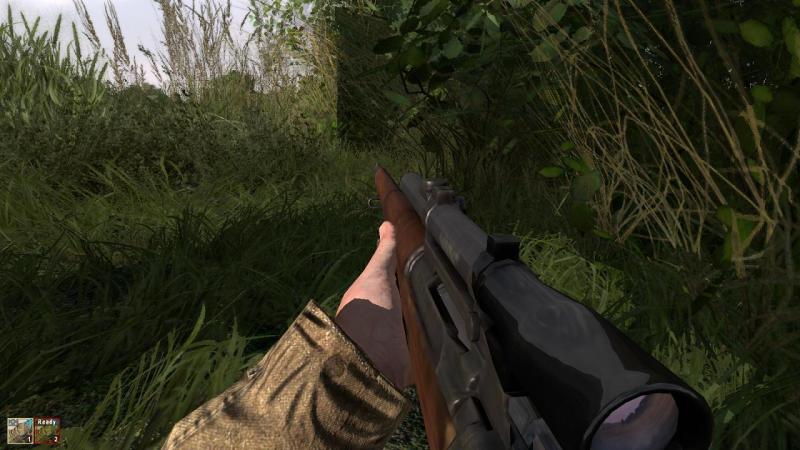
Another contact! We move on without delay, lest the sound of the recent shooting attract enemy attention. I owe my buddy one; despite being fired on, he nailed the lone German, with no help from me. My sniper-scoped Springfield is not going to be much use in a close encounter of this sort - especially with the magic 'floating aiming point' and other on-screen aids disabled. So I decide to sling my rifle for now, and draw my trusty .45. Convenient or not, thank goodness proper 'soldier sims' don't encourage you to run around with multiple 'primary' weapons, which is one of the things that, to my mind, mars the otherwise excellent shooter, Brothers in Arms...that, and heavily-challened mission maps, plus the ability magically to convey verbal orders to accompanying tanks, as easily as to your own squad-mates. Yes, I admit that a Thompson SMG would be really good to have at this point. I have actually fired one, once; tho without a compensator, in full auto the muzzle climb was a lot more more impressive than my accuracy. I've fired a Colt M1911A1 too, and it seemed to me no heavier in recoil that the average 'nine mil', so I'm quite happy to have one of these in my virtual hands, for now. Come on, Jerry, care to try and sneak up on me now, eh? Next time, I'll be ready for you! Or so I tell myself. Now, we're heading west, aiming for the second RV, which is at another 'T' junction, for ease of recognition upon our arrival in the vicinity. As usual, we're moving one at a time, using intermittent hedgerows for cover. I'm continuing to move out first, for now. It helps with the navigation; I can use the minor junctions we cross, to help keep me oriented. As we approach the RV, the ground begins to fall away in front of us, opeiing up a longer field of fire to front and left. Still crawling ahead while my buddy covers a short way behind, I slow down, to get a better view of what's to be seen, calling my number two up to join me as I do so. Again, it's the movement that catches my eye. Almost directly to my front, headed roughly towards us at walking pace, are two Germans. They have emerged from a treeline and are out in the open. I holster my .45 and grab my rifle. I'm hoping they'll turn left or right and leave us alone. If they don't, I decide, I will fight at bay, and we'll kill them. Suddenly, shots are fired. By whom, I don't know. One of the enemy runs to the left, and gets out of my line sight, the other side of some trees. This isn't going like I planned it! I pick up the other German in my sights. He's down on one knee, but as I line him up, he gets up, turns around... ...and starts zig-zagging back the way he came. I'd prefer not to have to try for a crossing target but I'm in luck; his next change of course sets him moving directly away from me. I line him up and let fly. The round seems to strike the ground a short way in front of me, perhaps clipping the low crest I'm lying behind. I work the bolt automatically and as soon as the next round's chambered, raise my point of aim and fire again. I seem to hit him high, perhaps in the head from the spurt of blood. Down he goes, and lies still. I start scanning for the second German or other enemies, but see nothing to my front. Likewise, to my left. Where the heck has that other darned Kraut got to? There's more shots fired, somewhere slightly right. My buddy is engaged. He's too far away to hear any reports he's making (and I have subtitles turned off, glutton for clear screen punishment that I am). The shooting has stopped again. I scan again for targets and again see none. I wait, but don't want to wait here too long. I order my buddy to crawl across the open ground to the far side of the track junction - which is the second RV point. He's the one with the self-loading rifle, so now it's his turn again, to move on ahead first. He makes it across without incident. Now it's my turn. I pause to scan for any reaction to our presence. Nothing happens. OK, time to go! After several anxious seconds, I make it over and rejoin my buddy. When I get there, I discover what's become of the second German. He must have doubled back across my front from left to right, in dead ground, while I was clobbering his mate. And run smack into the line of fire of mine. He looks like a sniper himself, in a two-piece camouflaged combat suit with a scope on his Mauser rifle. It seems like we have run in to our equivalent on the other side...and beaten them. But this is no place for a victory celebration. I check out the view to the north again, before resuming our move west, towards the final RV. Nothing to be seen. Apart from those darn Focke Wulfs, which are still buzzing around. Ignoring them, I turn west and resume crawling along the line of the hedgerow. The final RV's not far off now, and when I get there, I'll pick my firing point and plan my move to it. Won't be long now! ...to be continued!
-
- 23 replies
-
- armée de lair
- cfs3
-
(and 3 more)
Tagged with:
-
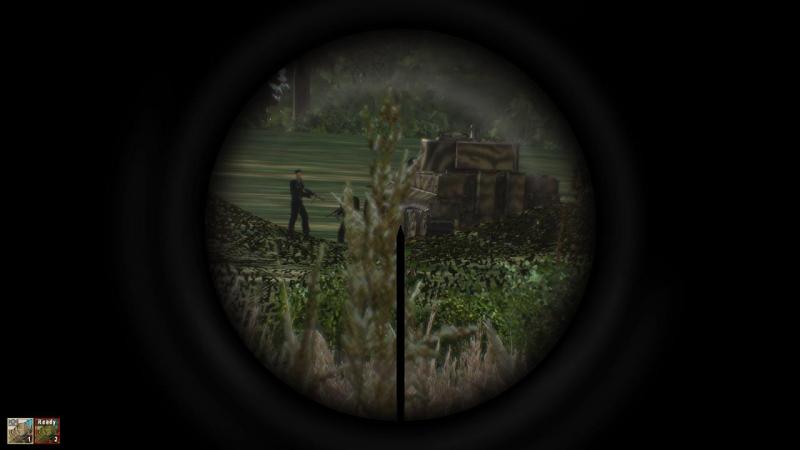
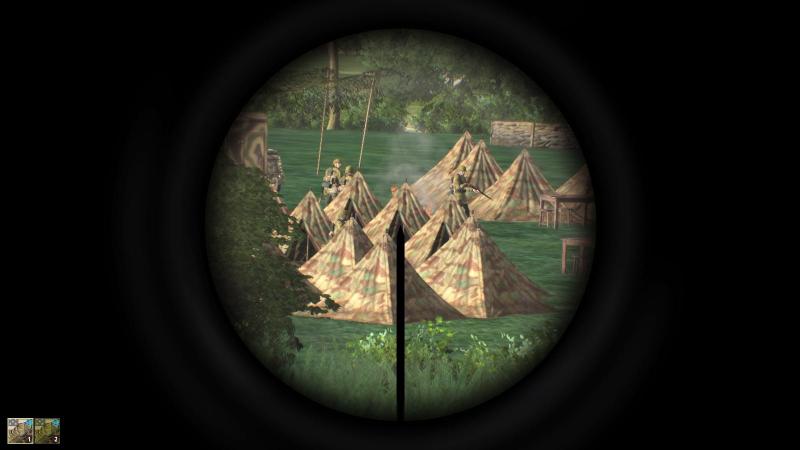
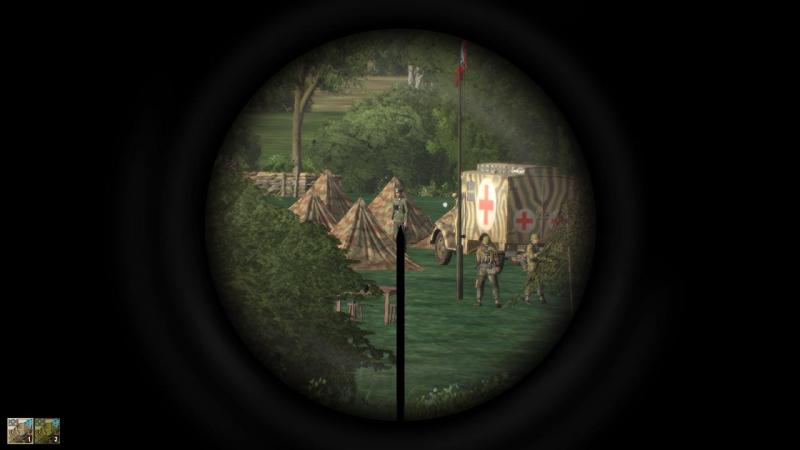
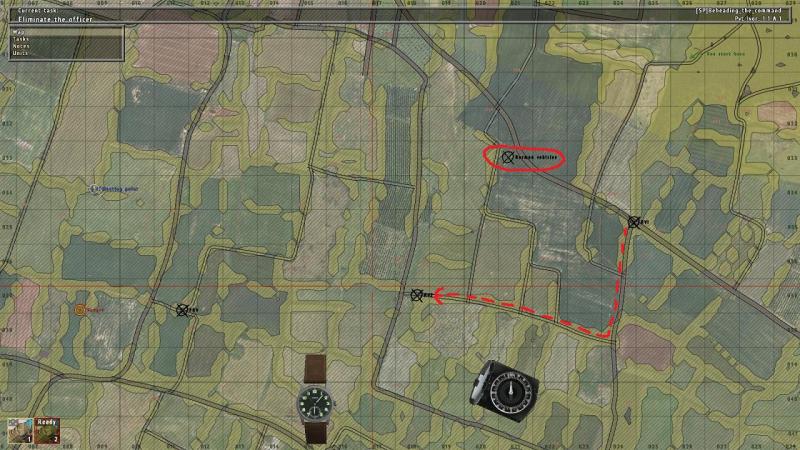
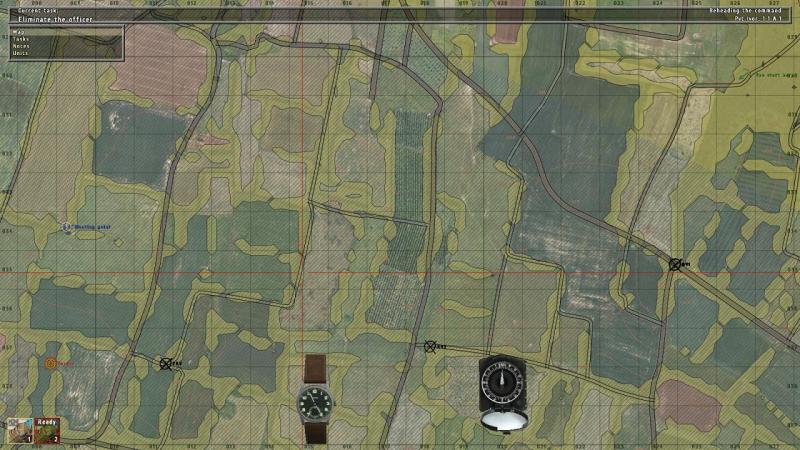
From a view to a kill! A check of my map confirms I've been rather too hasty in my identificatyion of the group of vehicles I can see, as my objective. They're too close, and more to the point, they're in the wrong direction - just north of due west at a few hundred yards, when they should be nearer a mile away to the west-south-west. Nevertheless, I mark their apparent position on my map, for future reference - in the red oval below. I back off and choose a new route. I will return to the first RV and from there, head south, along a roadside hedge running in that direction; then I'll turn west, to the second RV. The dashed red line shows the route I plan to take. The map tells me there is a long break in the hedge but there is no continuous cover in any direction. The next cover along the road looks a long way off - in fact, it's only just about a hundred yards - but I decide that's where we're going. We'll rely on the long summer grass to keep us out of sight. For the first time, I use my sniper scope to scan, but see nothing. There's no point hanging around any longer. Time to go. As we move, one at a time, the Luftwaffe continues to make its presence felt. There are two FW 190s in trail formation, buzzing back and forth every so often. I'll take a chance on them not spotting us; nothing else for it. Why are they here? Is that group of vehicles, or the man I've come here to kill, what they're flying cover for? I have no way of knowing, so I put then out of my mind. Nevertheless, with those two enemy fighters adding to my sense of exposed vulnerability, I'm in such a hurry to get us over that open ground that I keep us both moving at the same time. Most of the way, it's uphill and we crawl on our way as fast as we can, without rising above grass-stalk level. At last, I reach the cover of the shrubbery, and halt. I have no sooner stopped, than I am horrified to see a German walk down the track in the opposite direction, passing by so close I could reach out and grab him through the hedge. Concern for my companion is my first reaction but before I can act, there's a burst of SMG fire directly to my rear, from the bush the German's just disappeared behind. I see the grey smoke from his weapon. There isn't a second burst. I can't hear my buddy's whispers at this range but he's not dead. The Kraut was firing at him, no doubt at all - I'd have been dead meat, if I'd been the target. I lie still, watching for the rest of this new patrol. They don't come. The German seems to be on his own. 'Seems to have been', I should say. Past tense. Slowly, the tension lifts. It's been a close call, but we're still in business! ...to be continued!
-
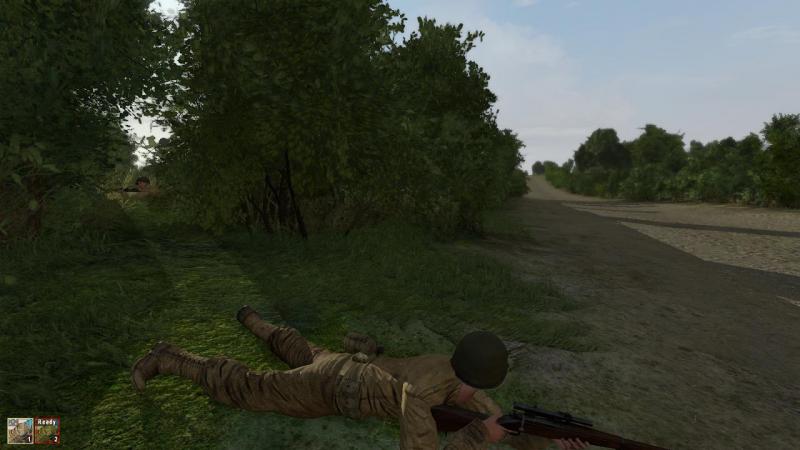
'To get to the other side!' I quickly decide to cross the road at this point, before heading west the short distance to the first RV. When I get there, I will plan the rest of my route, in the expectation I will not be taking a direct line between each of the RV points, but using whatever cover I can find en route. I call my buddy forward, to join me near the gap in the hedgerow by the road. We wait a few seconds, then it’s time to cross. This time, I decide I will move first, so that I can see for myself whatever there is to be seen. I crawl out into the road, looking left and right. At first, I can see nothing in either direction, just the grey strip of the road, unrolling on either side between those Norman hedgerows. I am about half-way across when I glance right again - and freeze. It’s the movement which gives them away. There, to the west, a couple of hundred yards away, hugging the right-hand side of the road, is the enemy patrol – several soldiers in single file, trudging in our direction. I spin around to face them and immediately start edging to my right, back the way I came. You can’t see the enemy in the screenshot above, but they’re there! In Iron Front, as in Arma2 and OFP before it, holding down the right mouse button pulls a limited zooming effect, at the cost of cropping your peripheral vision. It’s a good way to focus on something, in a way which compensates for the limitations of MonitorVision. If I hadn’t used this when looking up and down the road, I might have missed the enemy completely. I get back into cover off the road and breathe a sigh of relief. It very much looks like the patrol is running a circular route, and that they will turn north again before they come close to our current position. This sort of predictable patrolling is a big no-no, an open invitation to be ambushed. But not by me - I am here on more important business. I decide to move directly away, to the east, along the hedge beside the road. While looking in that direction earlier, I had noticed a slight dip in the road a few yards away, before it rose up to a low crest; we will crawl across in that dip. I nearly foul this up by switching to the ‘Tactical View’ which Iron Front provides if you have other troops under your control. I haven’t been using this at all so far, but for some reason, I decide to check it out now. Here’s what I see. The mistake I make, thinking about it later, is that I inadvertently order line formation, which causes my buddy to go back across the road, since that formation places him on my right, out in the open. I only notice something is amiss when he doesn’t crawl past me as usual, when I order him to leapfrog ahead of me, along the hedge. Instead, he comes in from the road. Again, we get away with it, because the ‘Stealth’ tactical mode I had sensibly ordered at the start, keeps his head well down. Like my own! On we go, passing a gap in the hedge. See what I mean, about dragging the muzzle in the dirt? About this time, I get a fright when I hear engine noise, but it turns out to be not a vehicle, but an enemy aircraft with a rather truck-like motor sound, reported by my ever-alert buddy. Some Luftwaffe crew evidently hasn’t heard, or doesn’t care, that the Allies have air supremacy in the daylight skies of Normandy! We come to a side-road which we cross with the usual precautions. I’ve been expecting this from the map and it helps me confirm my position - this little 'T' junction is in fact the location of the first RV. We’re perhaps a little too close to the enemy patrol route for complete comfort, but in good cover. The RV is in a bit of a fold in the ground and I decide to crawl just a little further, to see what’s visible from the low crest up ahead. I’m soon glad I did so. From my vantage point, I can see a group of sand-coloured and evidently man-made objects, in a row in front of the tree-lined skyline a few hundred yards ahead. I don’t need my telescopic sight to see that it’s the enemy; only in the less authentic movies are later-war German military vehicles painted ‘panzer grey’. The more prominent object on the left I can see is a truck with a box body, just like a conversion I made many years back of the Italaeri 1/35 Opel Blitz. This is probably an HQ vehicle and its location, about where the target should be, tells me I’m probably now looking at my objective. Less happily, the object on the right looks like a Panzer IV, its turret pointing north above the flat protective plates which clad its hull sides. OK, now we’re getting somewhere and better still, that ‘somewhere’ isn’t ‘lost’! Despite the close country, short lines of sight and making that unplanned detour, my navigation has proved to be up to the job. So far… I take a last look at my objective…’last’ for now, at any rate. I need to head over there and get into a more suitable firing point, avoiding the temptation to make a beeline for the enemy HQ. I'm too far for a good shot and don't have a decent view of the objective from here, either. Besides, that patrol is likely due back in the vicinity at any time and I don’t want to be here when it arrives. I need to backtrack, then re-orient myself and plan my next move – literally. ...to be continued!
-
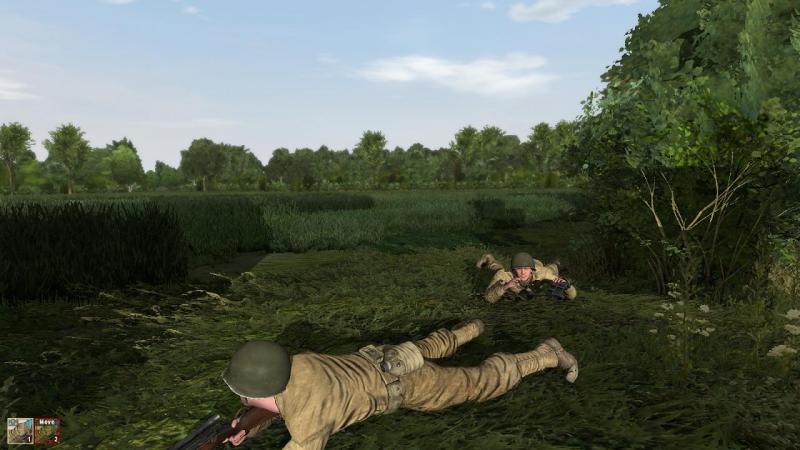
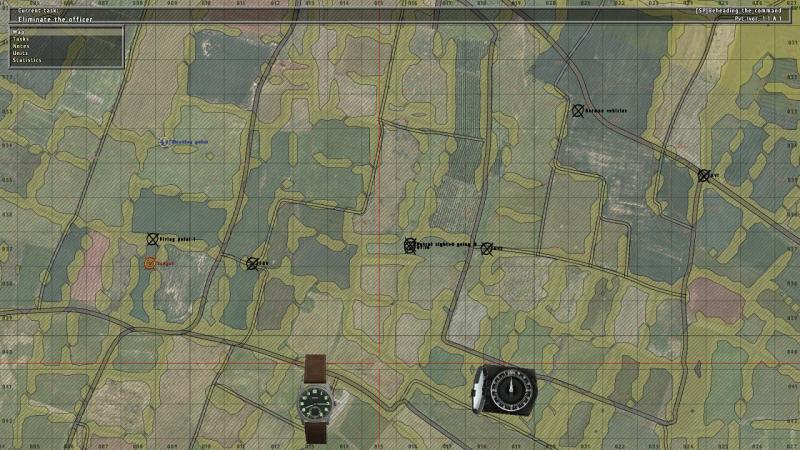
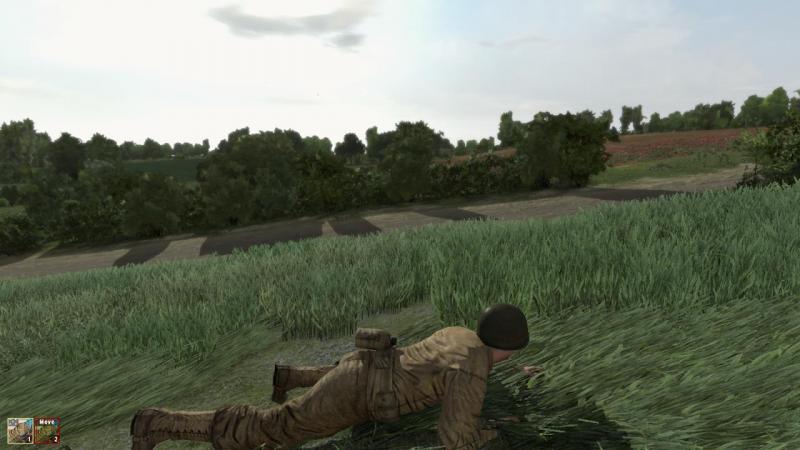
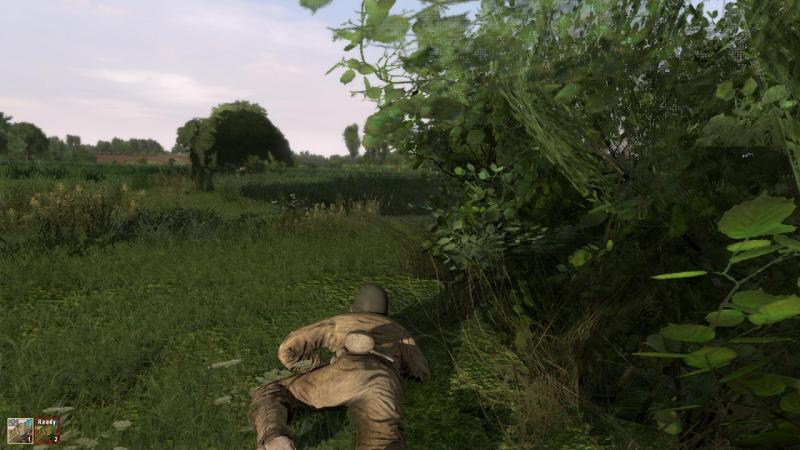
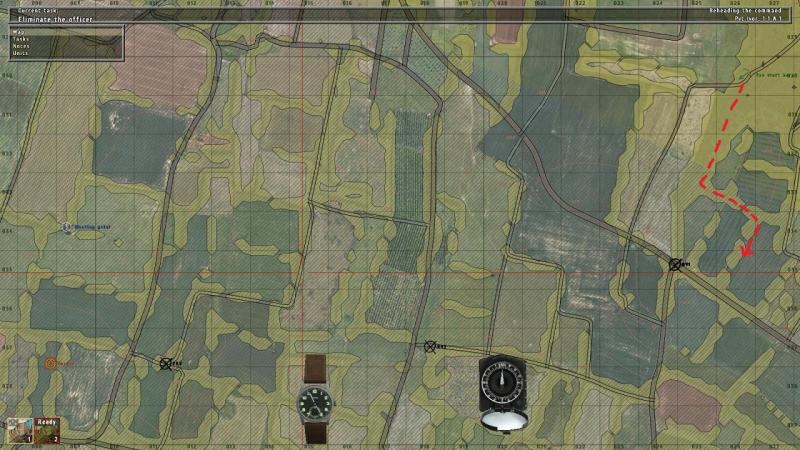
'Why did the sniper cross the road...?' If you're still reading this, you're likely either exceptionally patient, or like me, you find crawling around in the grass (real or virtual) trying 'not to be seen', more fun that merely 'running and gunning'. I hope it's the latter, because we're by no means finished with the crawling. Having decided to turn east, away from out objective, we have some luck, in that the hedgerow we're using for cover is actually two rows, between which we can more, staying in the shadows. The enemies we've spotted so far are to the south and south-west, so I keep my number two covering that arc as we move one at a time, advancing along the same line close to the right-hand hedgerow and leapfrogging one another as we go. Soon, the hedgerow peters out and we cross a short open space to link up with the next one, which is more an intermittent series of clumps of shrubbery, running roughly south. I know from the map that this will take us down to a road, just west of my first RV point. Here's the map again. It's not shown in-game, but the red dotted line and arrow which I added later show the route we're taking...if I'm not lost, that is... And here we are, heading south. Although now being on the eastern edge of the shrubbery means we're no longer in it's shadow, we're keeping such cover as there is, between us and the enemy...the ones we've spotted, anyway. On we go, always one moving while the other covers. And crawling the whole time, both of us. The crawling animation in Iron Front is OK, unlike the 'walking/squatting crouch', except that your soldier commits the cardinal sin of not keeping both his hands on the weapon. The right hand grips the rifle in the usual position on the stock. However, instead of holding the handguard, the left hand is on the ground, allowing the muzzle to drag in the dirt. Not so clever. You may also think that we're rather too exposed, but here's what I can see from eye level. Which is, not a lot. An enemy will be need to be almost on top of us, before he sees us. And with one of us static at all times, hopefully even then, we'll see him, first. As it happens, no enemies have been spotted for some time. But it's still pretty tense, when we have to crawl across a stretch of open ground between cover. I use standard obstacle-crossing drill here - sending my buddy over first, covering him from the near side. Once across, he 'goes firm' and covers me over. Finally, after what seems like an eternity, we come to the road! ...to be continued!
-
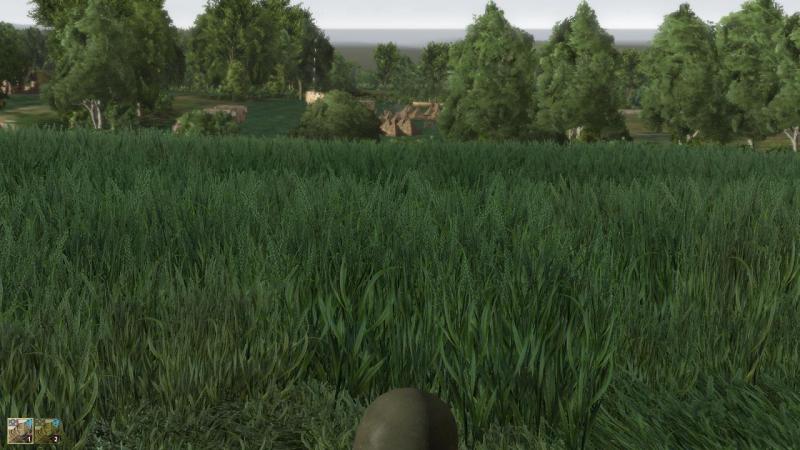
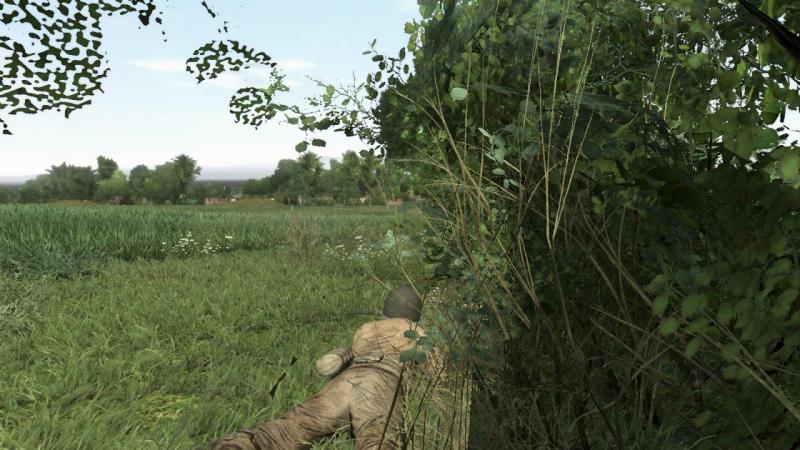
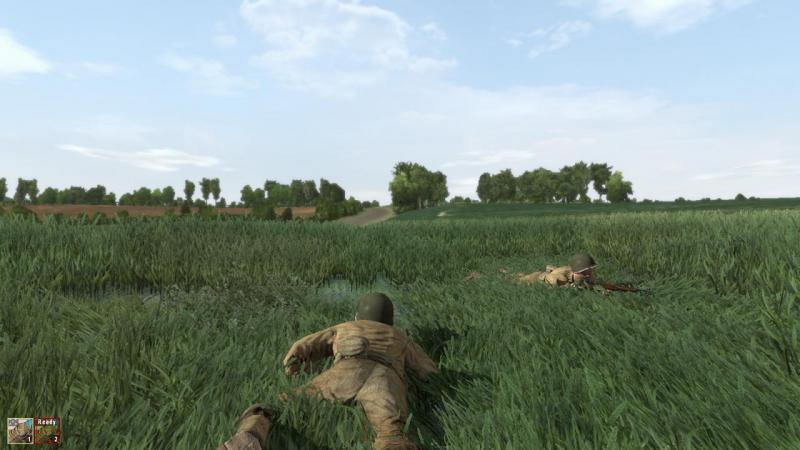
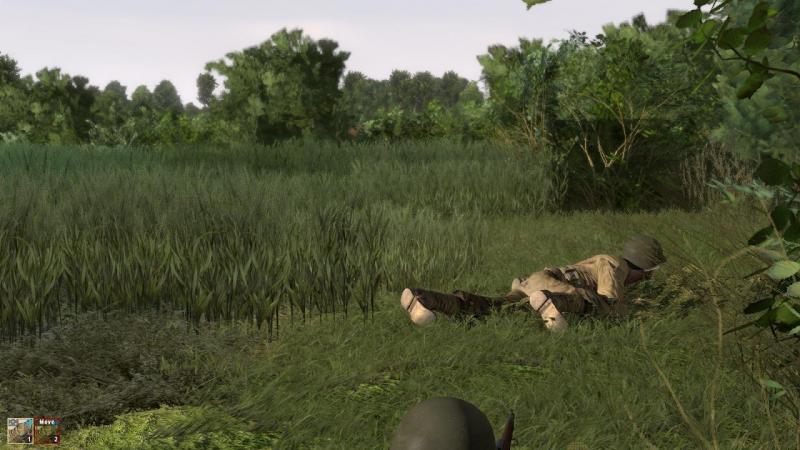
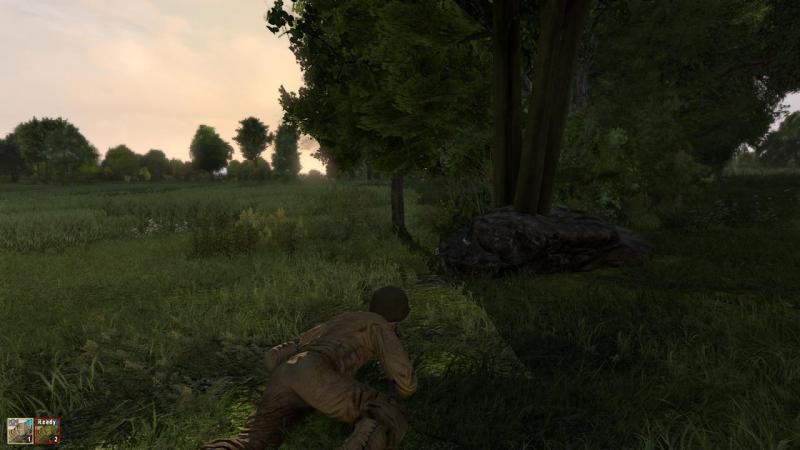
Out in the open! Crawling forward one at a time, it seems we have not gone very much further when the enemy patrol returns. It's not me who spots them first - my ever-vigilant buddy, who is on my right between me and the enemy, does the needful. He calls out sightings to our right rear, which drift from right to left. I turn and see them, the same single file of Germans and this time, tI see that heir rifles are at the ready, not slung as I had thought before. We lie still and once again, they pass us by without spotting us. I watch as they turn right and move away at right angles, perhaps along the very road we're aiming for, which must be close ahead somewhere. You can just about see one of the enemy patrol in the pic below; he's just left of the bush at the base of the prominent tree, to the right centre of the screen. We lie quite still for several long seconds after the last of the enemy disappears from sight. But they are not alone. My number two reports seeing more enemies up ahead, a few hundred yards off. It looks like this neck of the woods is not a healthy place to be, for a pair of GIs. I lie still for a bit longer, considering my options. I look at the map and deside I'm not going to risk another encounter with the patrol, or wheover might be up ahead, in this strip of woodland. The map tells me there are other broken strips of woodland or thick hedgerows leading off from the one I'm in, to the east. And that if I follow one of these for a short distance, I can turn right along another hedgerow leading back south. This hits the east-west road just east of my first RV point. In effect, I can break track and displace my leg to the south, by about 50 -100 yards to the left or east. I backtrack to where there's a gap in the woods, looking for one of the east-west hedgerows. I can't see one, so I slide sideways into the gap for a better field of view. My buddy dutifully covers to the south. I send my number two out into the field first. He's proved to be an excellent spotter, and I fell sure he will warn me if there's anything nasty out there. All is clear. Not daring to rise from the prone position and relying on the long grass to keep me concealed, I move out into the open. I quickly pick up an east-west hedgerow and start moving along it, keeping the cover between me and the enemy to our south and west. You can see that we're now moving east, from the fact we're heading towards the rising sun. The hedgerow is thick and tall but not continuous, as the map indicated. But there's no point in dallying further, we're soon on our way. Once, my spotter reports enemies to the south, but they are now distant and no immediate threat. I relax a little. We seem to have extricated ourselves from a rather dangerous spot. But we haven't made even the first RV yet. At least body and soul are still together! ...to be continued!
-

WoFF screenshot of the month, August - V-strutters
33LIMA replied to 33LIMA's topic in WOFF UE/PE - General Discussion
-
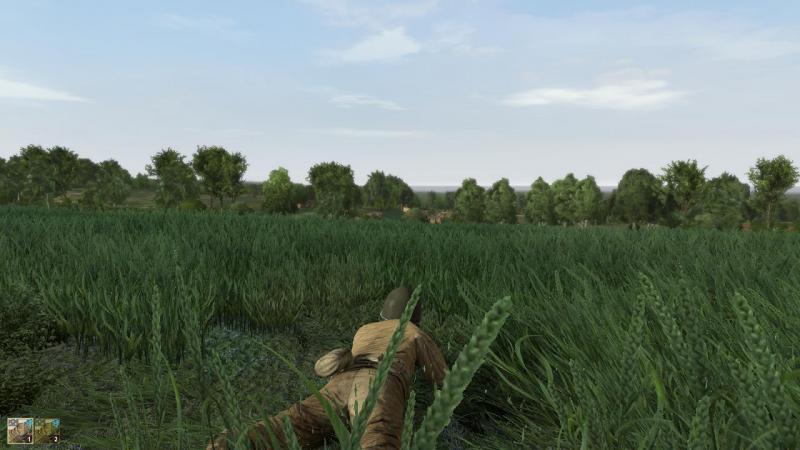
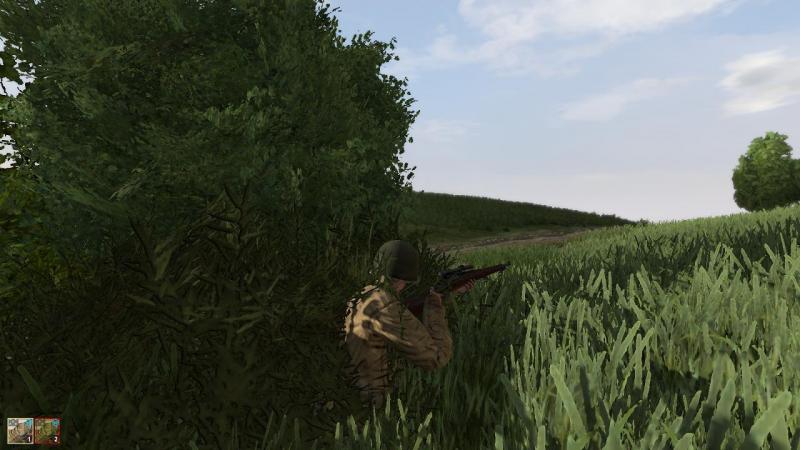
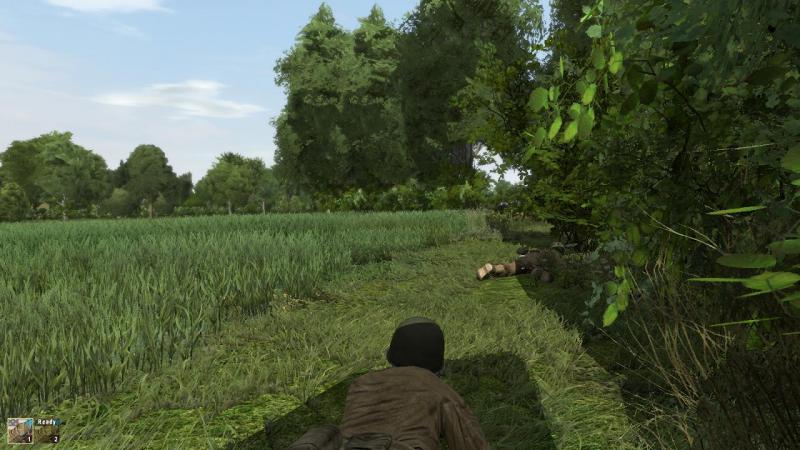
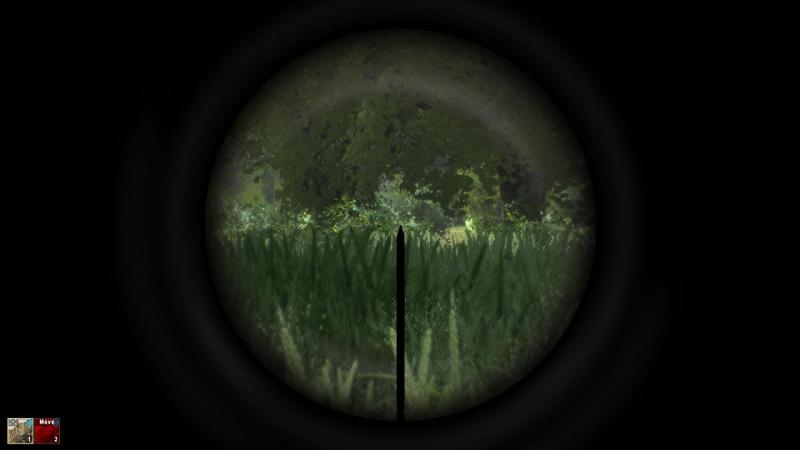
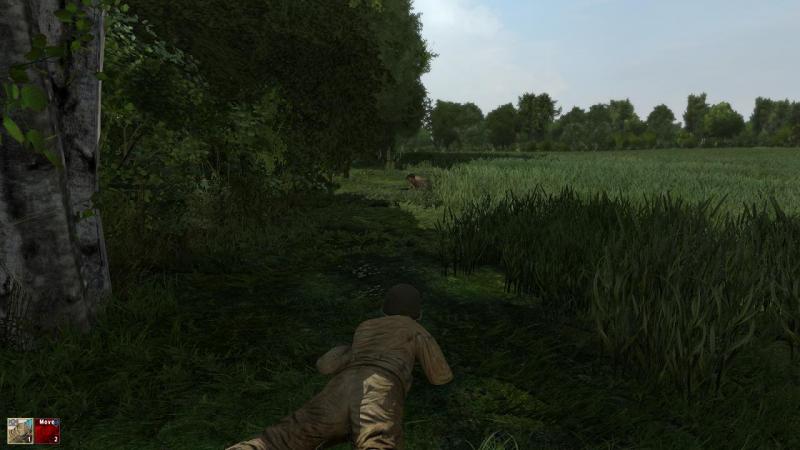
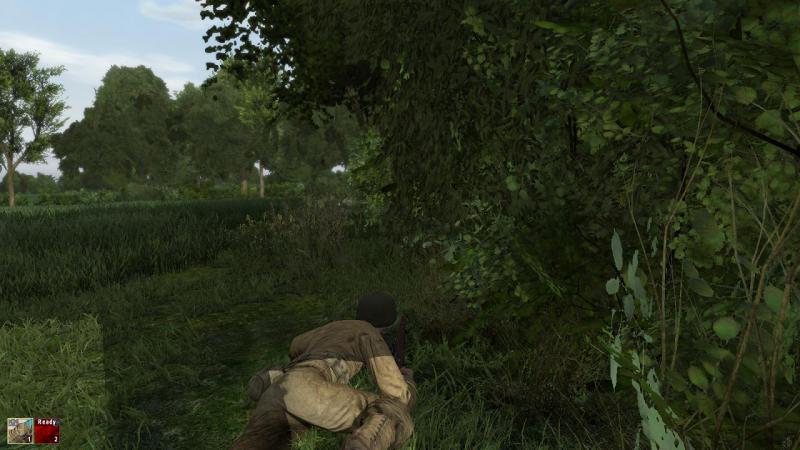
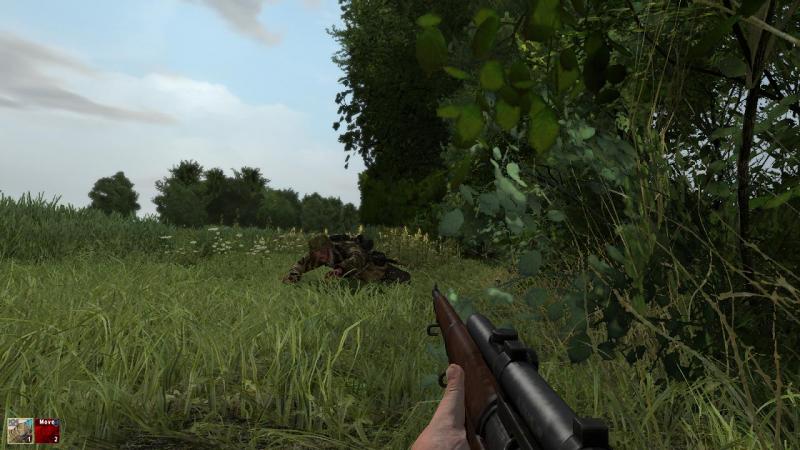
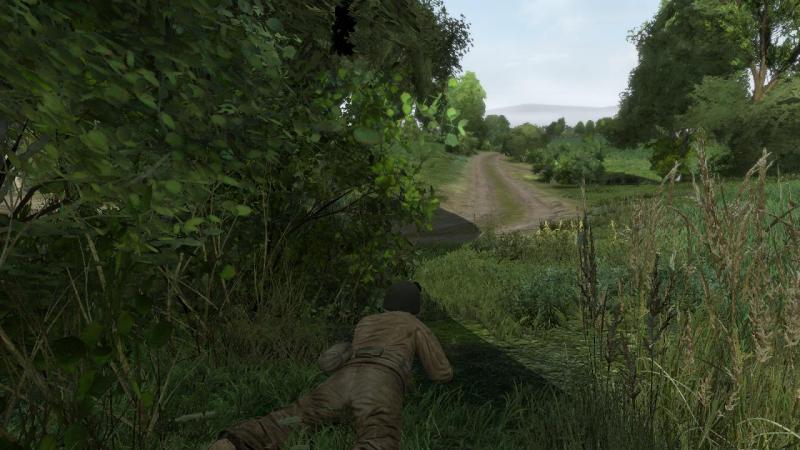
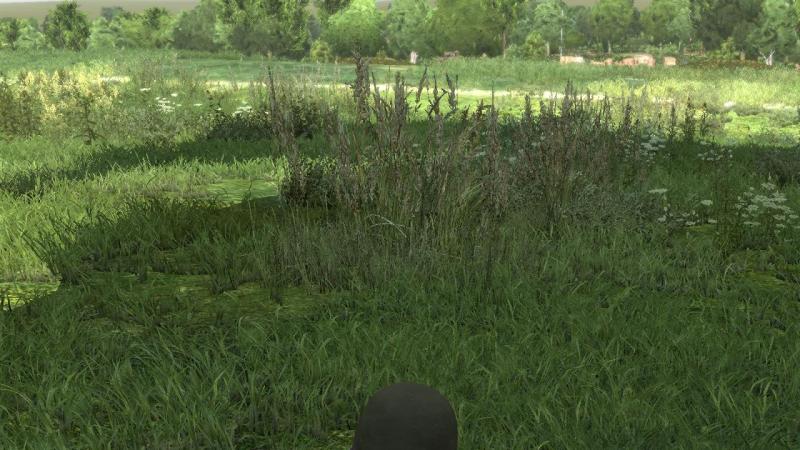
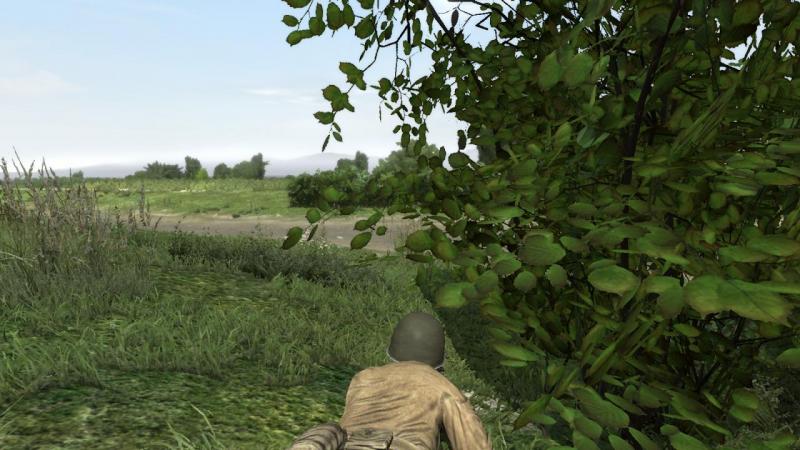
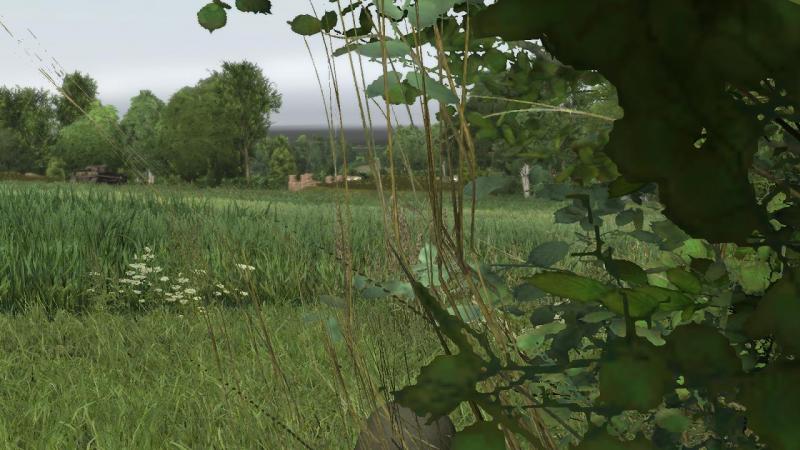
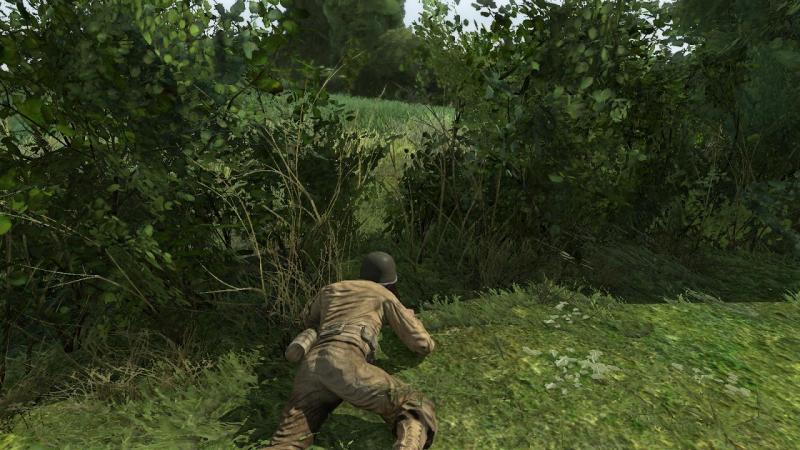
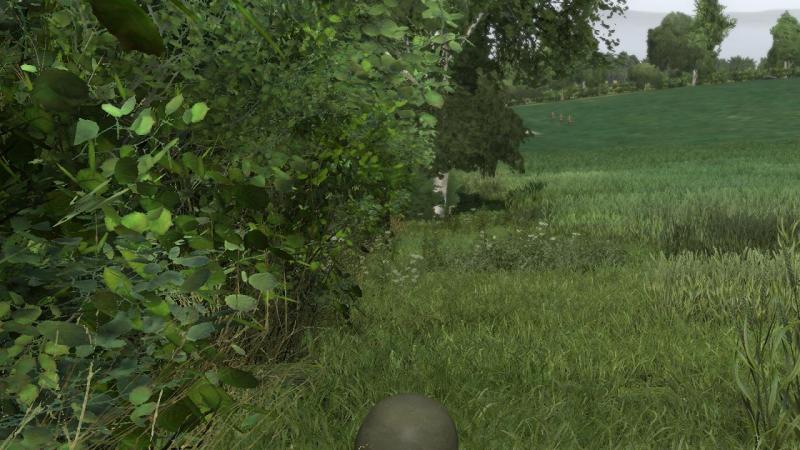
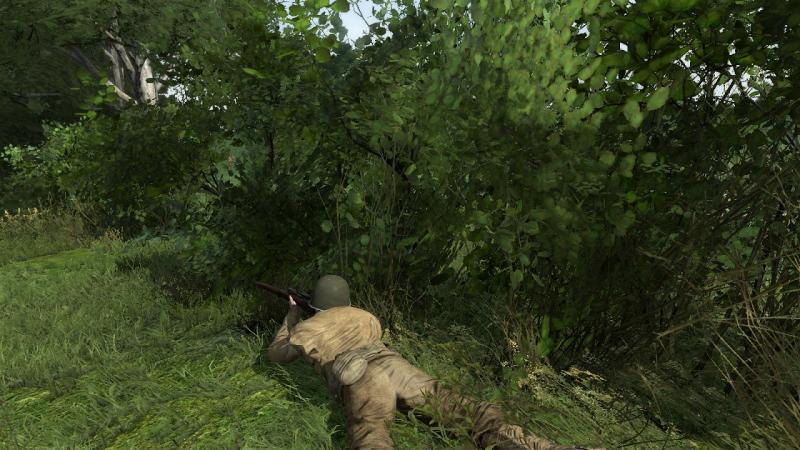
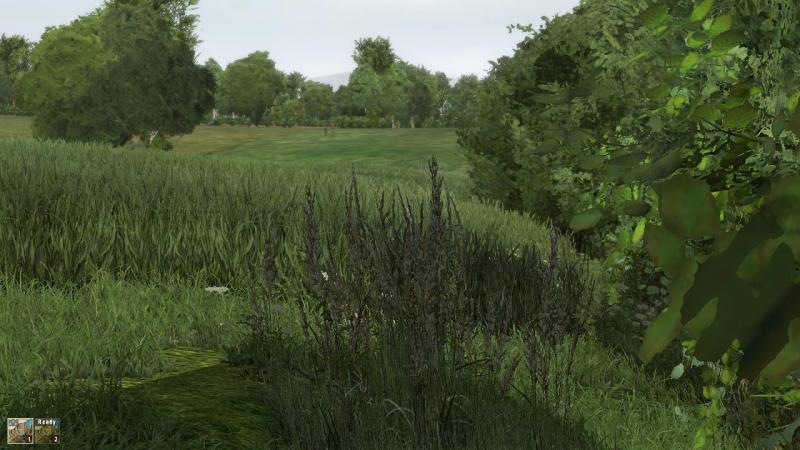
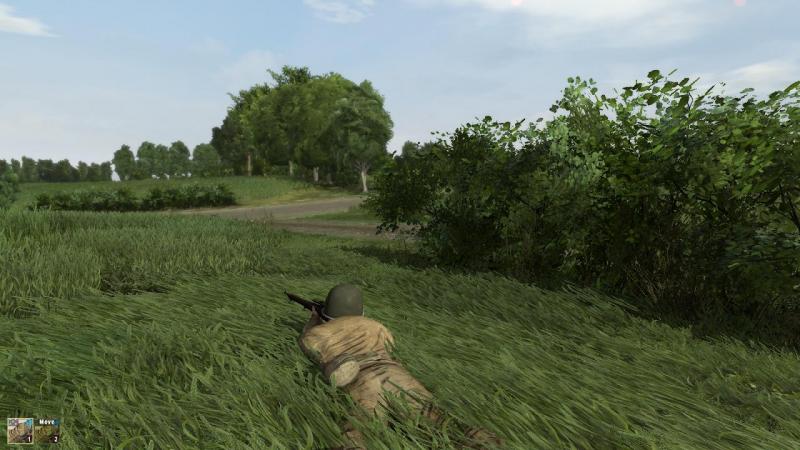
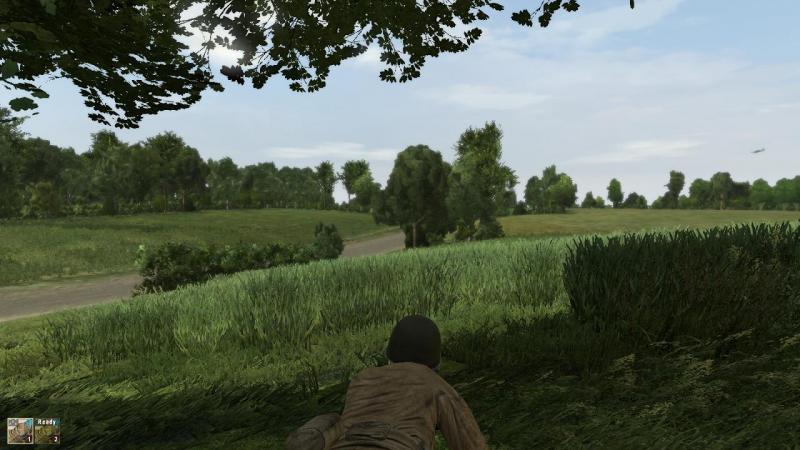
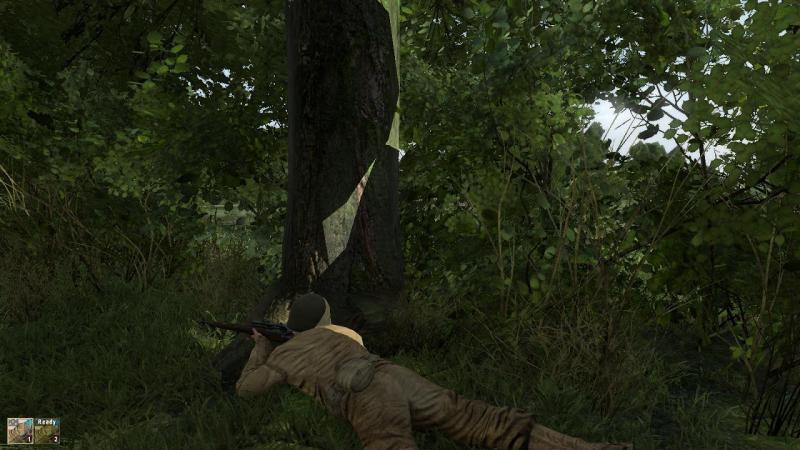
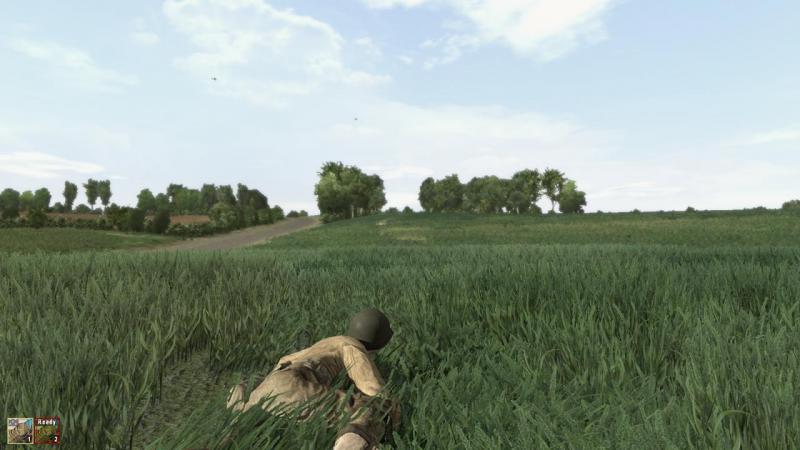
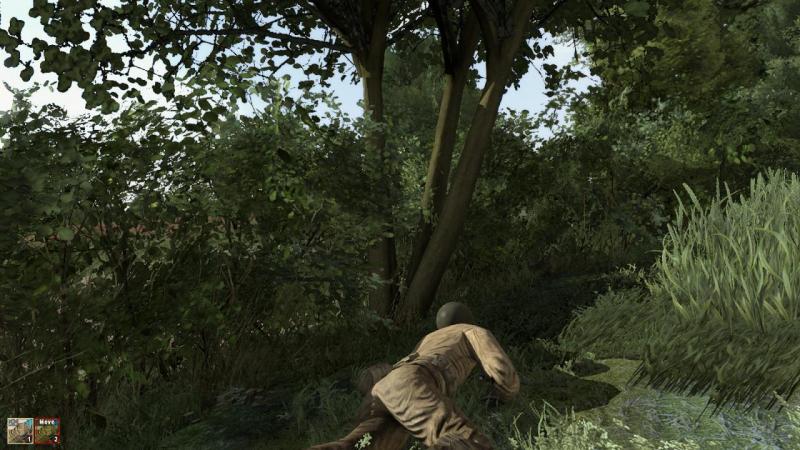
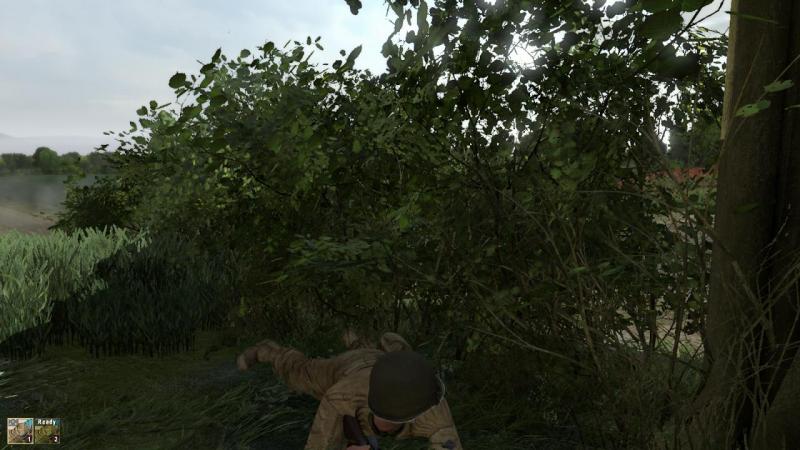
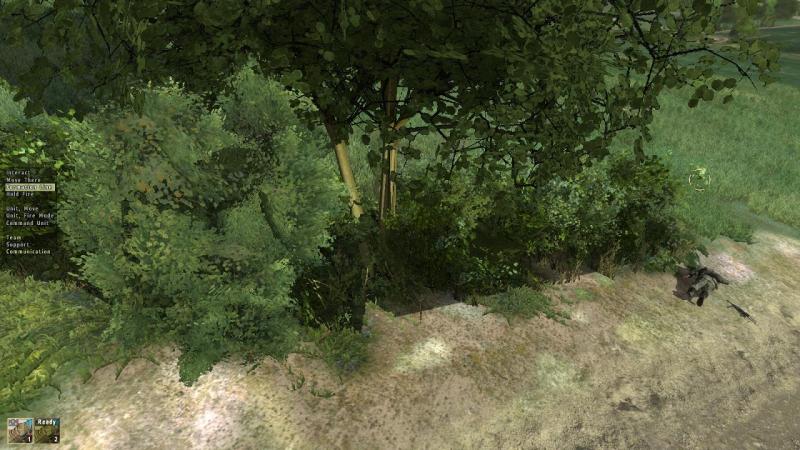
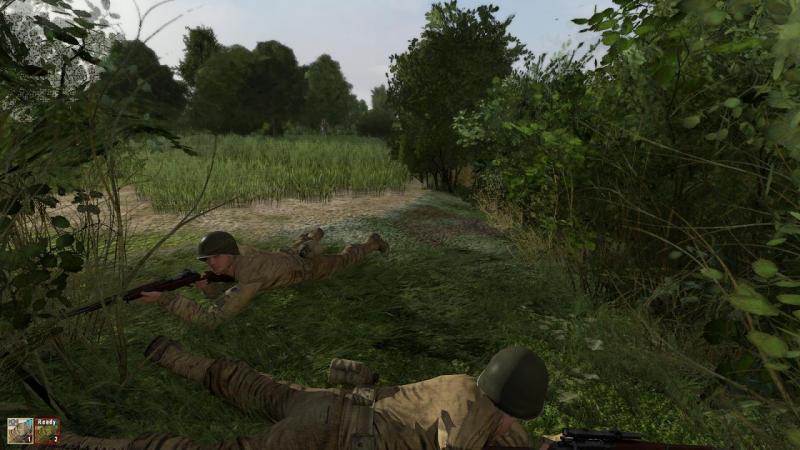
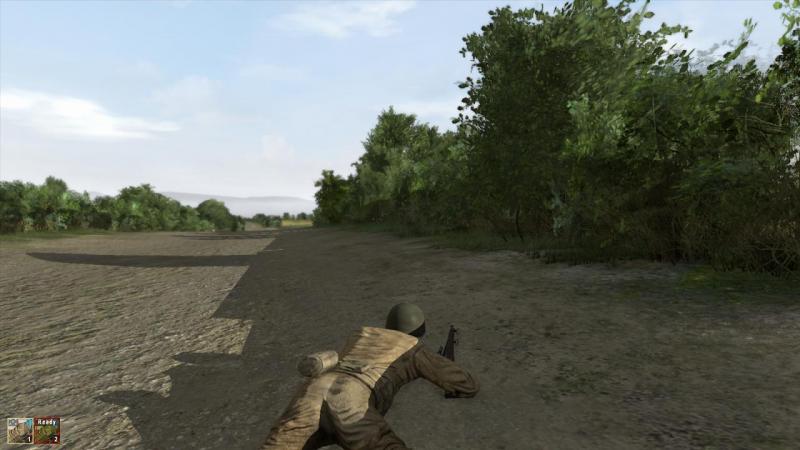
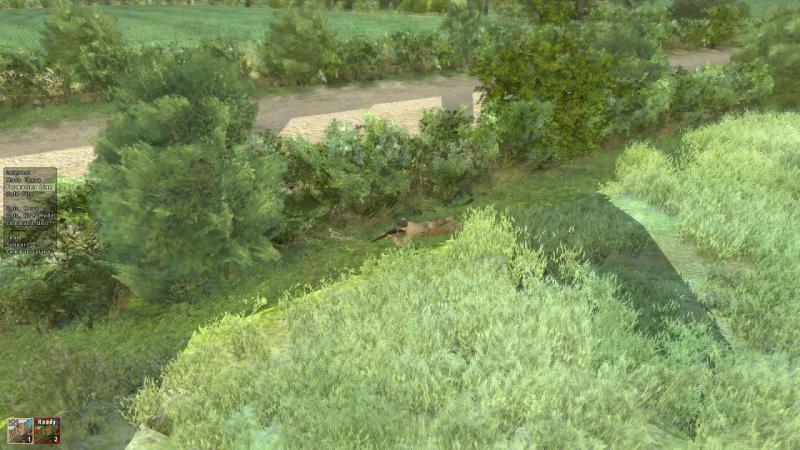
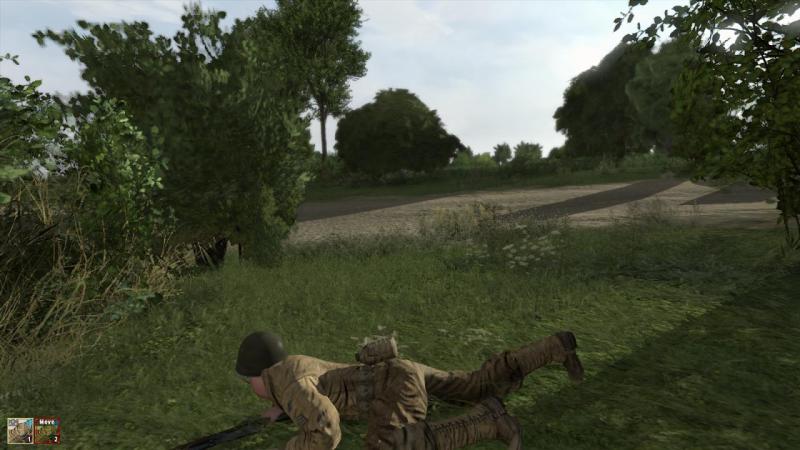
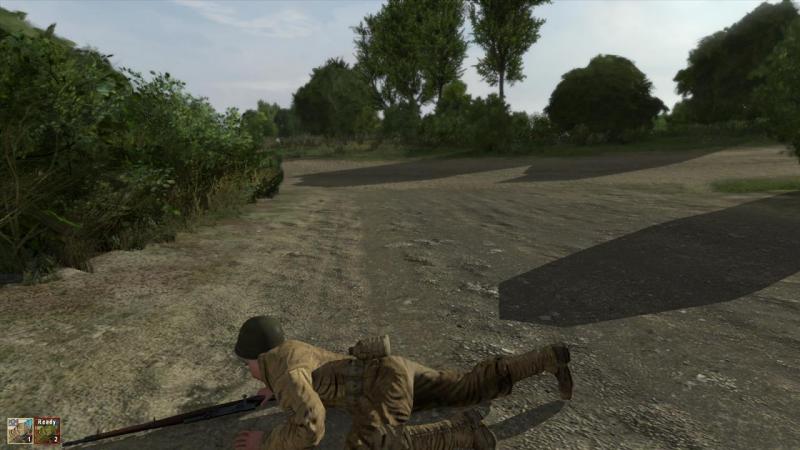
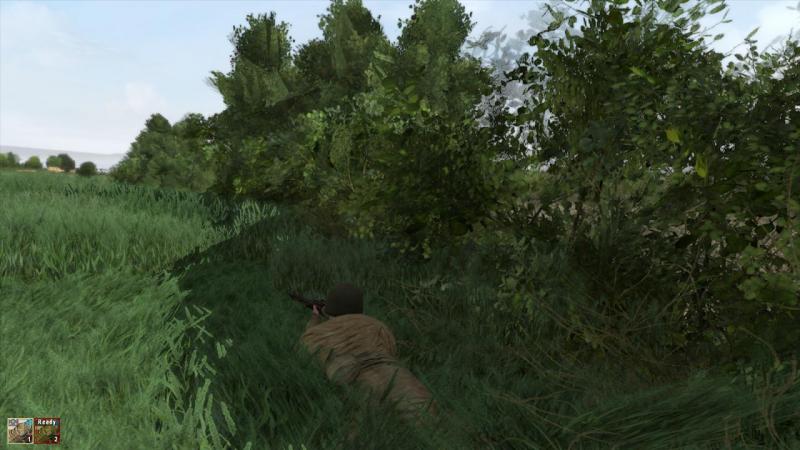
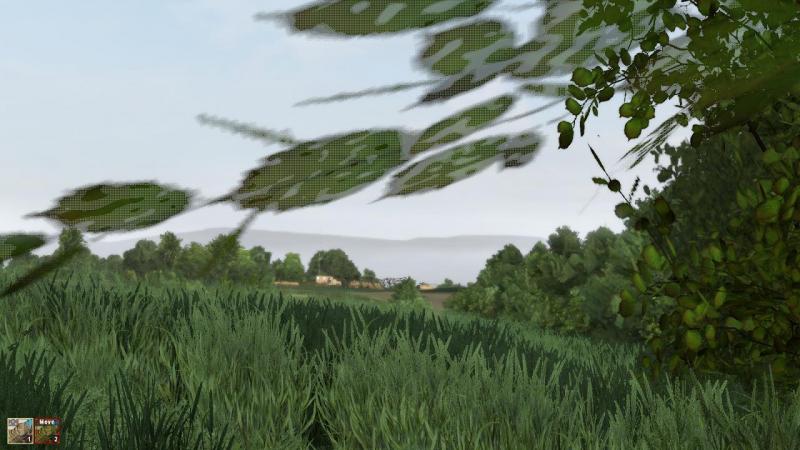
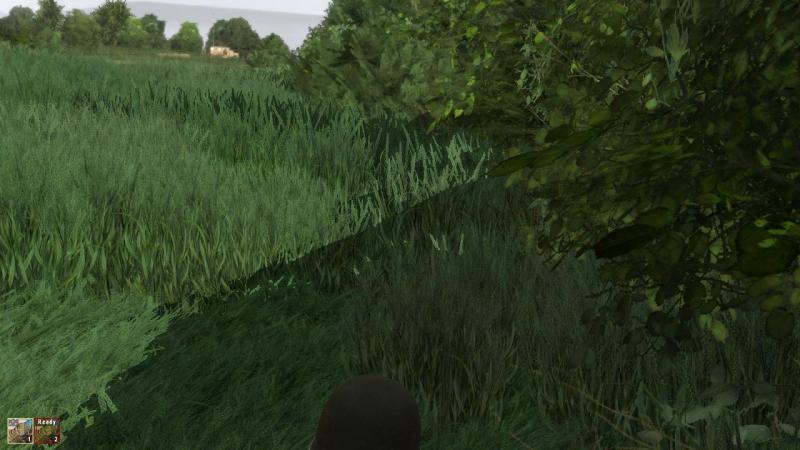
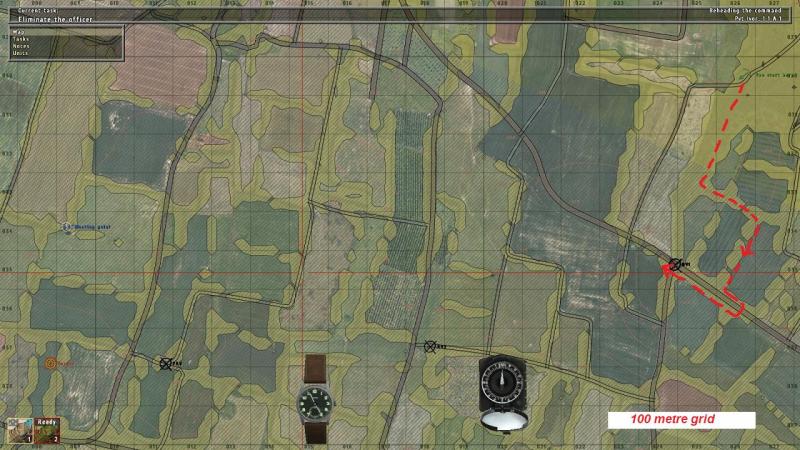
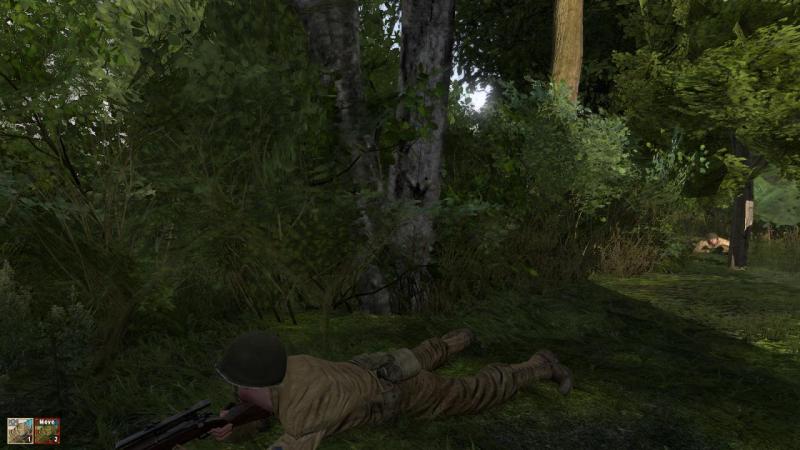
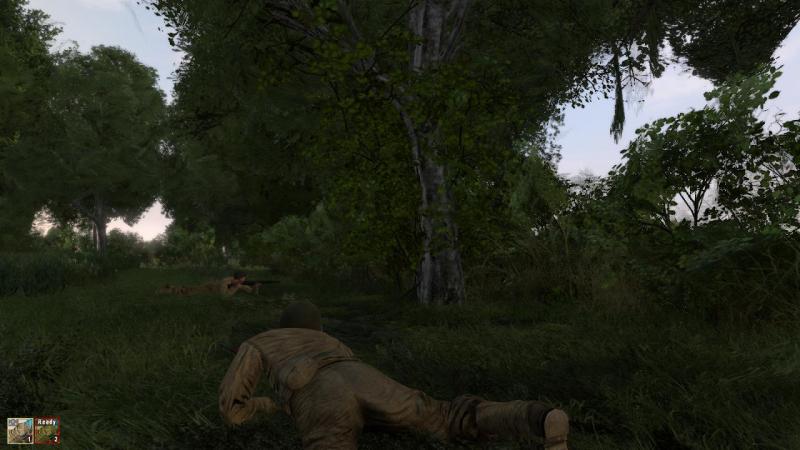
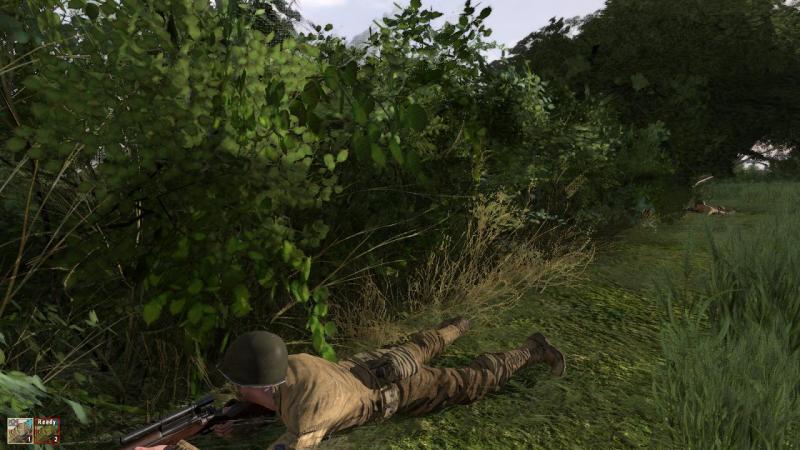
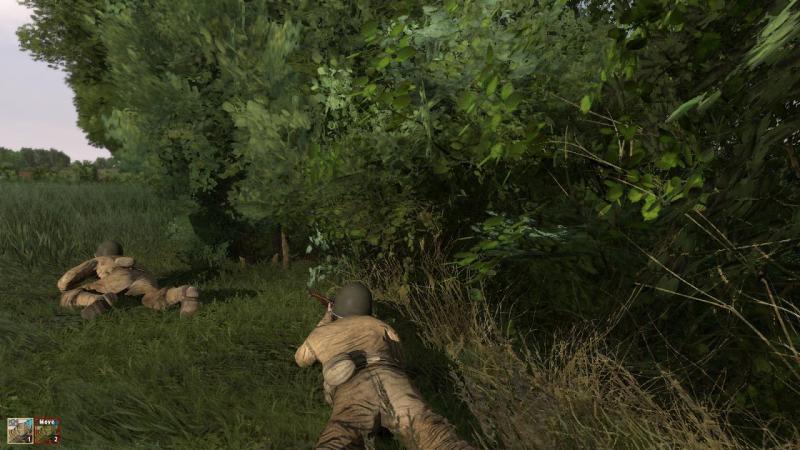
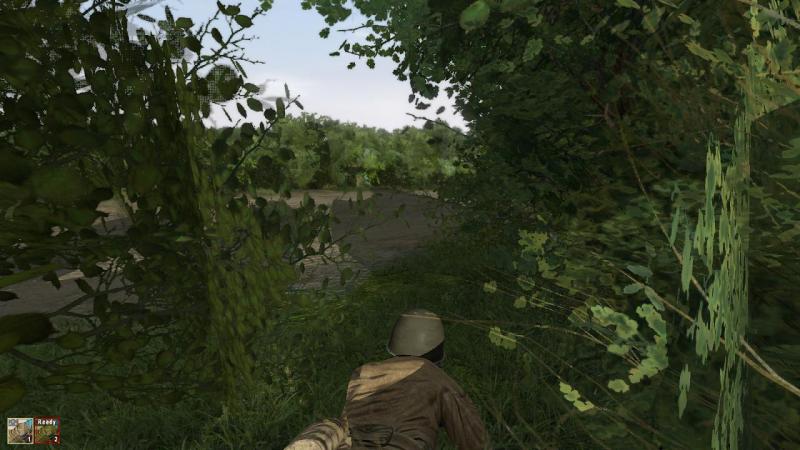
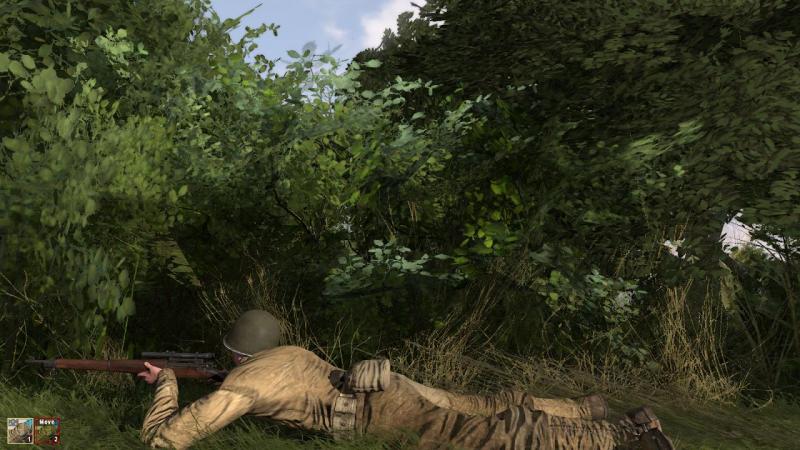
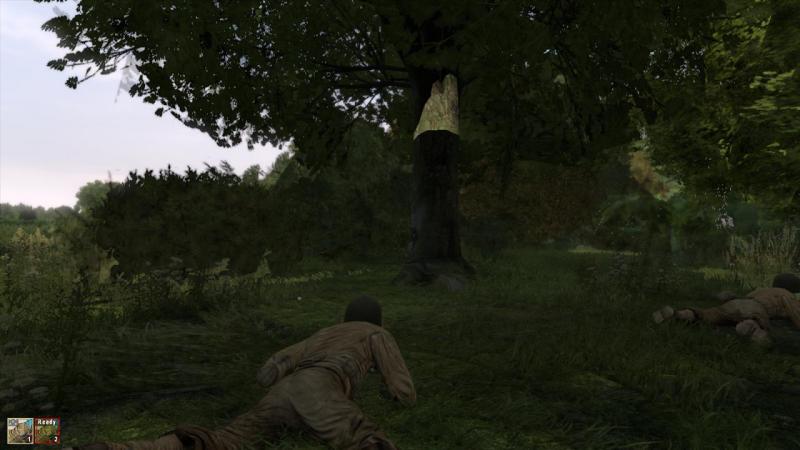
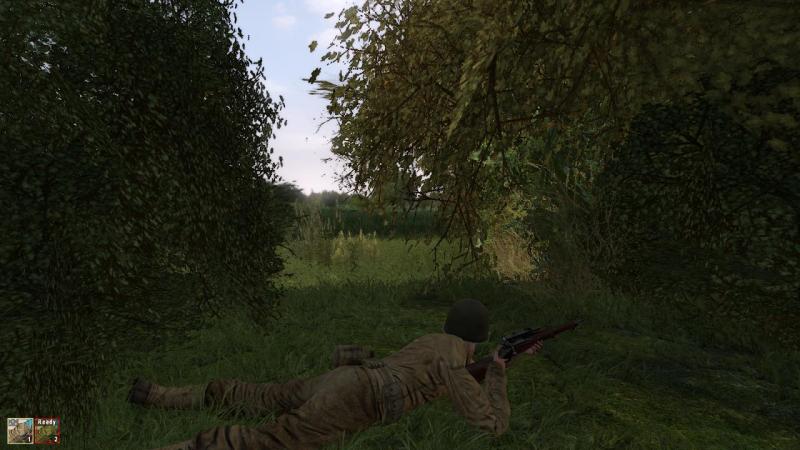
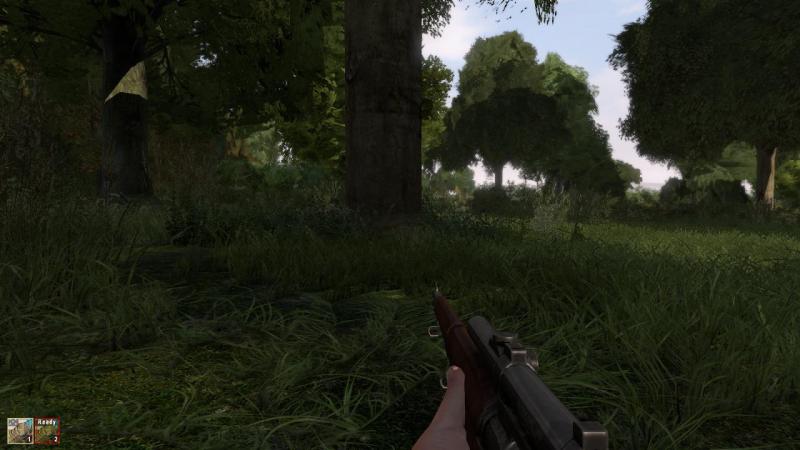
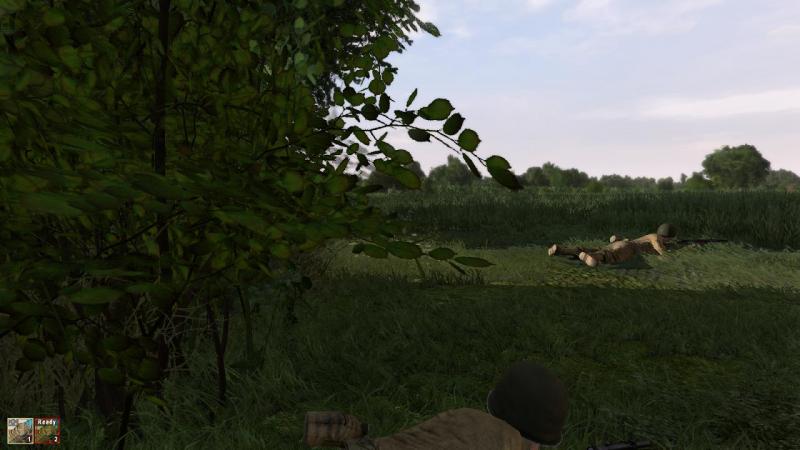
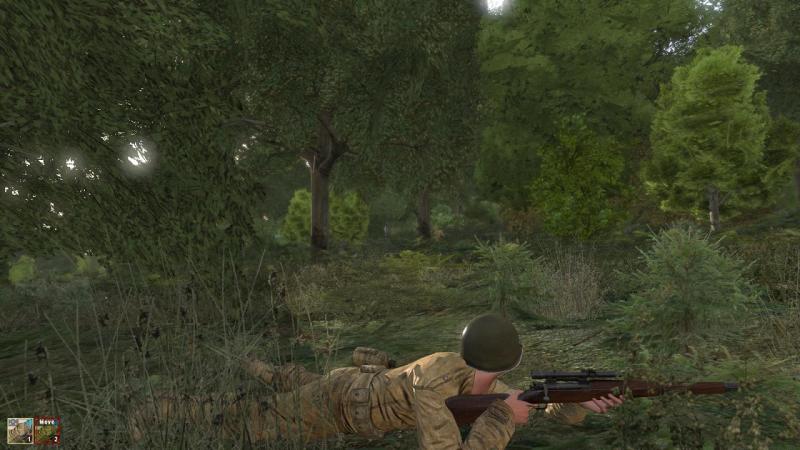
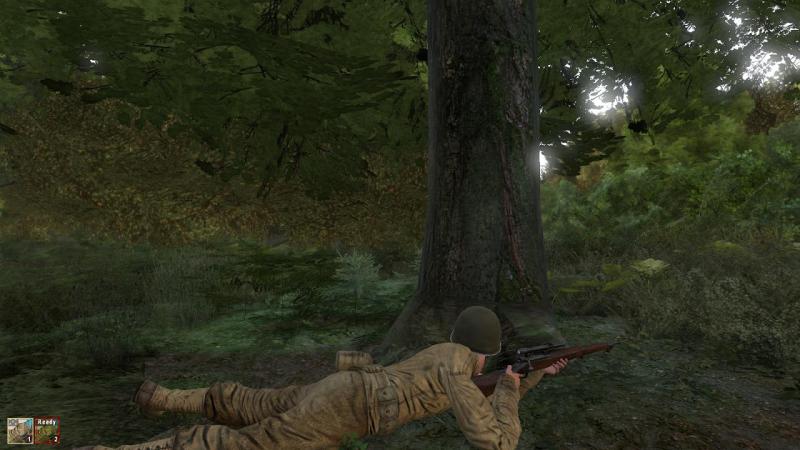
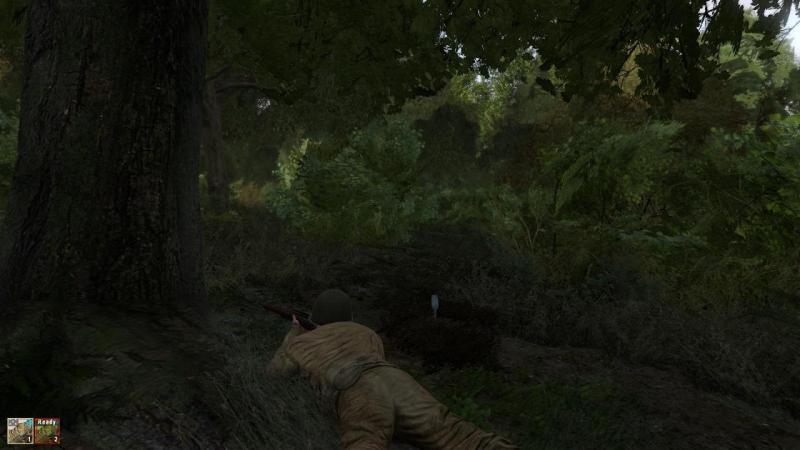
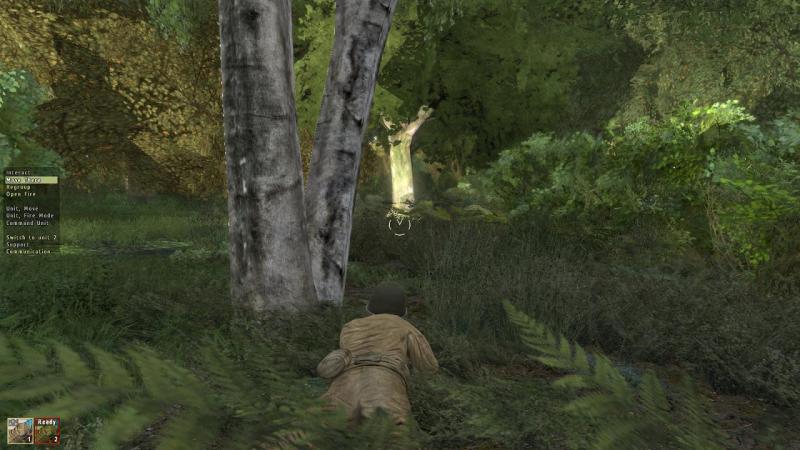
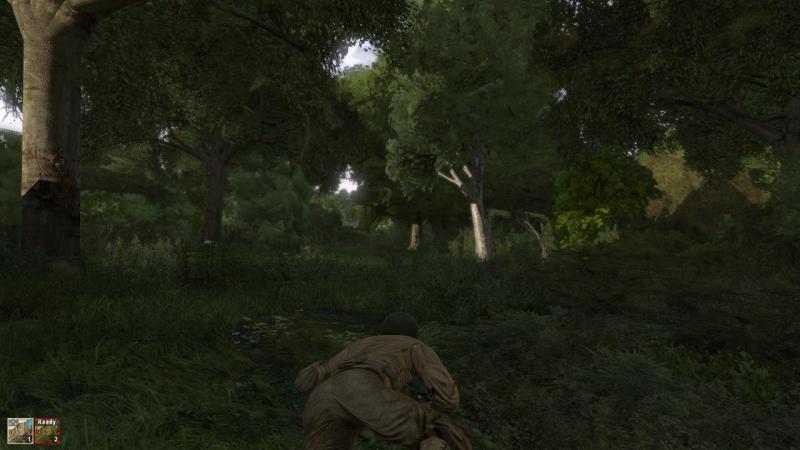
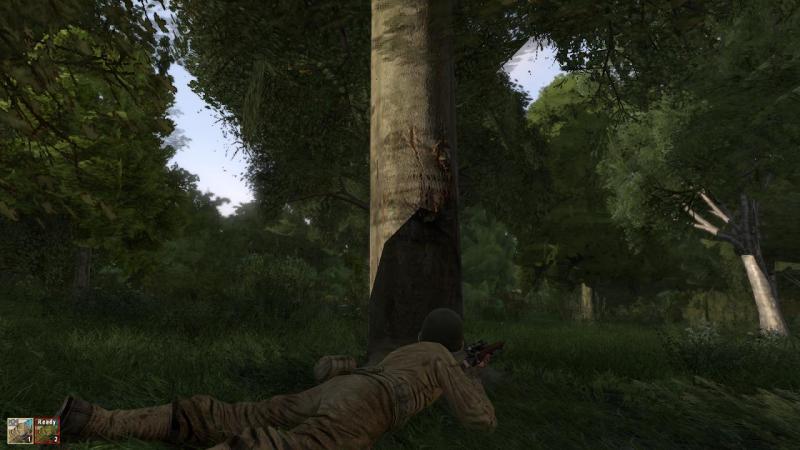
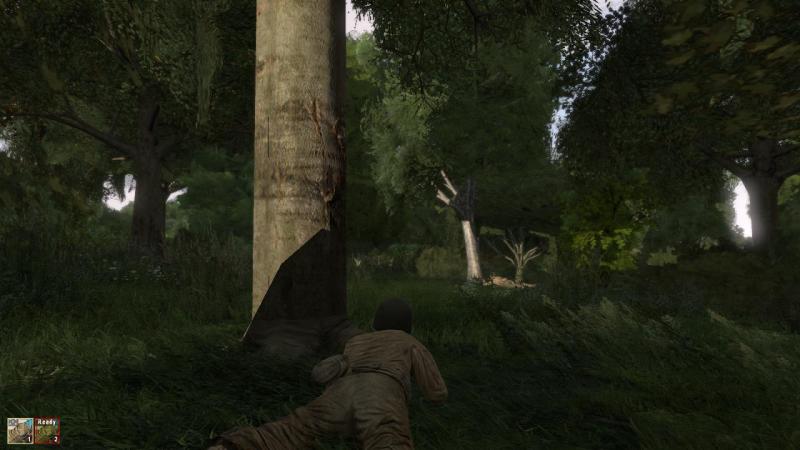
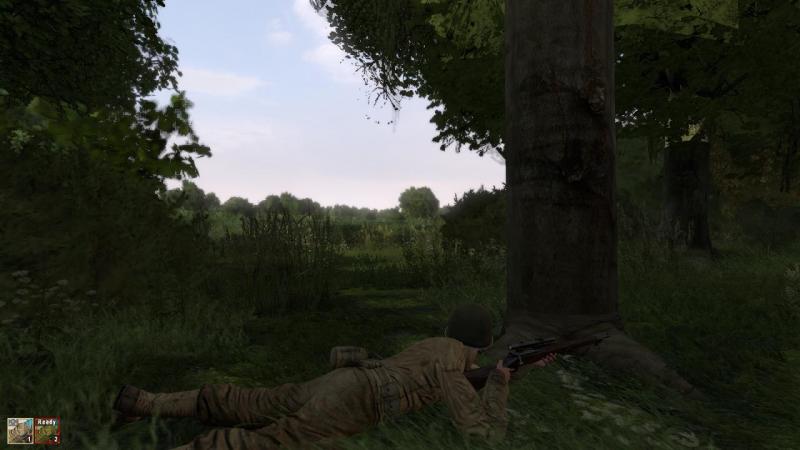
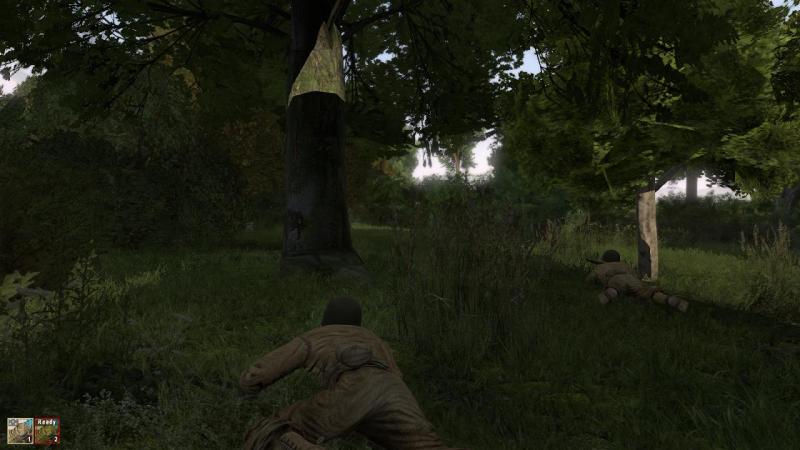
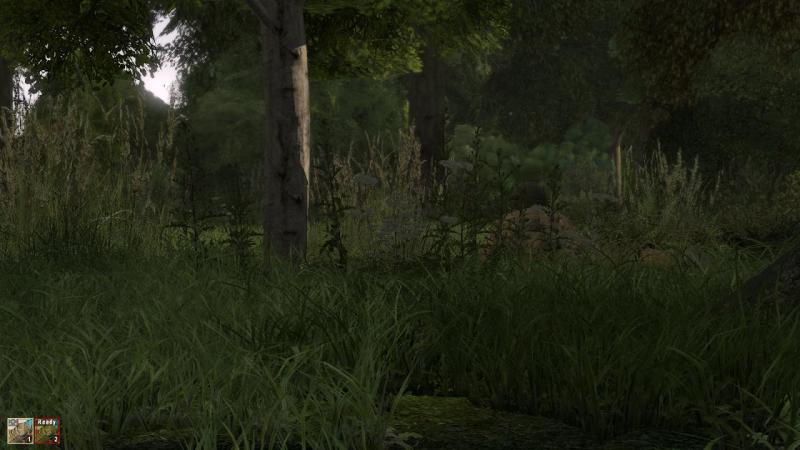
'If you go out in the woods today...' Right, off we go! It’s just after dawn amongst the hedgerows of Normandy, July 1944. I’m a sniper with a scoped Springfield bolt-action rifle and in ‘belt order’, just the minimum of kit slung from my web belt. Of course, I and my M1 Garand-armed partner should be properly ‘cammed up’ - if not wearing gillie suits, then at least with helmets camouflaged, exposed flesh blackened and some local foliage strung about our persons where it won’t easily fall off. Without any of this, and no option to acquire it, I feel a tad exposed, already. Perhaps we’re just regular GIs who have been ‘volunteered’ for this show, rather than a professional sniper team. But even common-or-garden line infantrymen know how to do better than this, ‘Fieldcraft 101’ as it were. But at least we’re travelling light, which is sensible. There is a track to our immediate left and to the left of that again, a strip of woodland, both running south, roughly the way we want to go. Down the track a little way, there’s some knocked-out German armour. Ahead and to our right, there’s an open field, bounded by hedgerows, not the sort of open ground I want to cross in daylight. From what I can see for myself and from the map, I decide I’ll use the south-pointing finger of that strip of woodland on the left, to cover my leg down to the first RV point. The German forces in Normandy were stretched so thinly that at any given point in time, some sectors lacked anything resembling a continuous front line. This must be such a sector, I tell myself, or they wouldn’t be sending us, right? The 'briefing' certainly has no useful information on enemy strength, dispositions or routine and there's no time for anything but a 'map recce'. So I decide that what I need to be prepared for is the sort of things a well-stretched force would have deployed – standing patrols on foot or in light vehicles, and possibly some static OPs or listening posts. I will avoid contact at all costs. If we do nevertheless bump the enemy, we will immediately break contact – using fire and movement, in reverse - and possibly scrub the mission. Which is to locate and kill an enemy commander, not risk death in a firefight for the sake of clobbering some mere underlings. The settings I’m using show nothing on the map, beyond markers placed either by me or the mission designer. In the Iron Front missions I have – a mix of stock, D-Day DLC and user-made - some builders don’t even bother marking your start position, which is just plain bonkers. Not a problem this time. But because the map will display neither friendly nor enemy units, once I’ve started moving I’ll have to navigate by map, compass and Mark I eyeball. Which will be part of the attraction of this mission. I’ll just have to try extra-hard not to get lost! I’m well used to playing OFP missions where I’m on my own, so I’m comfortable enough with this one. The extra eyes, ears and firepower of a single companion will be a big plus, without the hassle of managing a large squad via IF/ARMA2’s arcane key combos, which I’m still working on mastering. We get into cover and I set up my oppo (‘opposite number’) to cover to our front. We watch and wait, but see or hear nothing, apart from birds chirping. So I slide to one side, then turn left, get up and double across the track, going firm on the other side amongst the thick foliage cover there. After hitting the dirt, in the approved fashion I crawl to one side, so as not to reappear in the same position an enemy may have seen me disappear. I have no idea if such things help in soldier sims, but I find it more immersive, applying the drills I’ve been taught. Nothing happens. I scan my front, left to right. The fairly dense growth all around amongst the trees limits my view in all directions, but provides good cover from view. I have already decided that we will advance individually in short bounds, one man halted and covering the other. As the instructors say, like a parrot climbing a cage, with one foot firmly on the ground at all times. The next choice to be made is whether, in so moving, we will prioritise stealth or speed. In fact in IF/ARMA2 there is a scale - which you set using a ‘tactical mode’ – ranging from ‘slow but stealthy’ to ‘fast but incautious’. I set my buddy’s mode to ‘Danger’, one step less than the slowest, ‘Stealth’. All remains quiet, so I call my buddy over to join me, sending him off deeper into the woods, on my left. He moves a bit faster and less cautiously than I would have liked. I cringe, waiting for the burst of fire and the sight of him crumpling to the ground. But no shots come and he makes it, dropping out of sight. Now, it’s my turn. Still prone, I edge back and left from my fire position, rise to a crouch, and move off. The 'running crouched' animation is fine, but the walking crouch in Iron Front is a bit naff, sort of like moving while squatting, legs bent far too much. Armies teach their soldiers precise methods of moving, from the normal ‘Walk’ to the prone ‘Leopard Crawl’, to use the terms I’m familiar with. The IF/ARMA2 ‘squatting crouch’ movement just looks un-natural. I’d have preferred either a more natural, bent over crouched run, or something like a ‘Monkey Run’ option, where you stay on your knees, balance your weapon in one hand and move forward, staying low, with the fist of your free hand forming a third point of contact with the ground. I go down again, taking up position so as to be able to fire around the right-hand side of the base of a solid-looking tree. If you’re right-handed, it’s best to fire around the right side of cover, as that exposes less of you as a target. If I really had to use the left side, I generally swapped shoulders with my weapon, but you can’t do this in Iron Front. Facing nearly south, I mark a tree slightly right of my axis of advance – maybe ten yards or so ahead, any further and he’ll be out of sight in the dense shrubbery. ‘Move there!’ I order my buddy, and off he goes. ‘Observe to the south!’ I tell him, and he duly spins around and watches along our axis. I, too, watch and wait. I see and hear nothing, and nor does he, for he makes no report. As I have been given no idea where the enemy are, and could bump them any time, I decide that from here on, we will both crawl forward, as a rule. Very, very slow, but much safer. So I order my buddy into ‘Stealth’ mode. This time, he crawls forward to the next position I designate for him, just as I want it. I'm now keeping him offset to my right, so we'll not mask one another’s fields of fire ahead; and keeping our bounds short, so that neither of us should run into something that the other will not be able to see. I get a bit of a scare when I notice a metallic-looking object like an aluminium toffee apple planted in the ground, as I take cover beside my next tree. My first thought is that it's some kind of booby trap, even if it's a bit conspicuous. I see no trip wires and it doesn't go 'Boom!' as I lie close to it. What could it be? I have no idea. It might be a geophone to detect the sound of movement, though I'm not sure the Germans used such things in WW2. But it seems benign and is a bit too colourful to be real military hardware, so I ignore it. At one point, I hear voices. Not my buddy’s sotte voce acknowledgements, but somebody talking briefly - in German, I am convinced. We freeze and watch our arcs. I think the sound comes from somewhere outside the woods on the right, not especially close. We wait a bit longer. It is quiet again. So we resume our slow advance. In these conditions, amidst all the foliage, fields of view are so short that my sniper scope is of no use to me. At one point, we come to a spot where the shrubbery is less dense on either side, giving me narrow arcs of view out into the fields to left and right. There's no sign of life, neither friend nor foe. I re-orient myself with map and compass, but it’s hard to decide how far we have gone along the stretch of woodland that will take us to the first RV point, where the woodland is cut by a road running left to right, which will be clearly recognisable when I get there. I hope... I spend a bit longer here, scanning out to either side, watching for any movement or other sign of the enemy. I see none. We carry on moving. Crawling forward again, I weave between bushes and the thinner tree trunks till I find another one solid enough to provide decent cover from fire. After a pause for observation, I mark out my companion's next fire position, keeping him on a tight rein, consistent with the very close country we're now moving through. On my order, my number two crawls past to my right and takes up his next position. I wait a few seconds for him to report anything he can see from there. Nothing happens, so I slide back and to the side and start crawling forward again. At grass level and moving, I can see almost nothing ahead, so dense is the foliage in this particular stretch. It's slow, but I find it quite absorbing, requiring patience and concentration. The enemy could be yards away and the moment I ease back on the cautious approach, could be the moment we run smack into him. Rinse and repeat. Go firm. Scan. Listen. All clear? Order my oppo forward on the next, short bound. And so it goes on. Suddenly, as I'm crawling up level with him again, my buddy starts to whisper sightings – first one man, then another, ahead and slightly right, and at close range! Staying prone, I slide rapidly to the left into the shadow of some bushes, spin around to 'face front' again, and freeze. Perhaps fortunately, I had, early on, given my buddy the order to hold fire. Now, I see him track something to his right front, but not shoot. Then I see them: German soldiers walking in single file, well spaced out and moving on a reciprocal course as if to pass us. They seem to have their rifles slung on their shoulders, not expecting trouble. They’re maybe 30 yards to our right, just inside the woods. You can just about see one of them below, just left of the birch trunk to the centre left of the picture. They flit into and out of sight behind the intervening shrubbery; there seem to be three or more of them. If I try to pick up one of them in my sniper scope I will break my line of sight and narrow down my field of view, so I just watch, knowing that if they spot us, we are in big trouble. The German patrol comes level with us and walks on, my number two slowly moving on the spot, to keep them in his sights all the while. I wait until the last one is out of sight, somewhere behind us. Then I wait some more. Nothing happens. We have escaped detection, by the narrowest of margins. Thus far, our slow but stealthy approach is paying off. Will the patrol come back the way it came, a threat to our rear? Patrols are trained not to do such things, you don't come in the way you went out, so as to avoid hasty ambushes. But there are Germans somewhere behind us now; the next threat could come from any direction. …to be continued!


