-
Posts
3,749 -
Joined
-
Last visited
-
Days Won
7
Content Type
Profiles
Forums
Gallery
Downloads
Store
Everything posted by 33LIMA
-

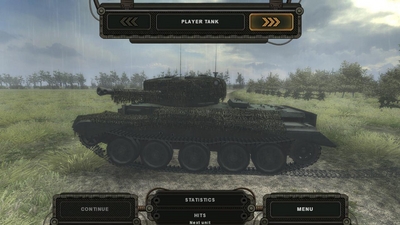
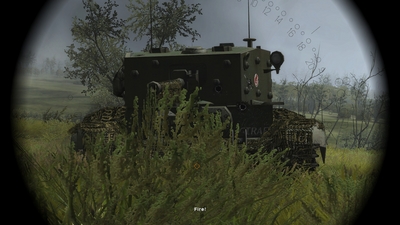
Steel Fury, STA mod: Cruiser Tank A27M Cromwell IV, Lockie's Villers Bocage mission
33LIMA posted a gallery image in Member's Albums
From the album: Combat Sims
-

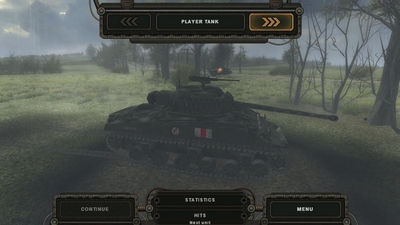
Steel Fury, STA mod: Sherman VC 'Firefly', Lockie's Villers Bocage mission
33LIMA posted a gallery image in Member's Albums
From the album: Combat Sims
-

Steel Fury, STA mod: Cruiser Tank A27M Cromwell IV, Lockie's Villers Bocage mission
33LIMA posted a gallery image in Member's Albums
From the album: Combat Sims
-

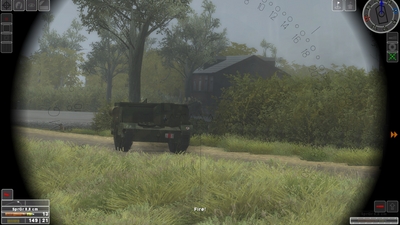
Steel Fury, STA mod: Universal Carrier, Lockie's Villers Bocage mission
33LIMA posted a gallery image in Member's Albums
From the album: Combat Sims
-

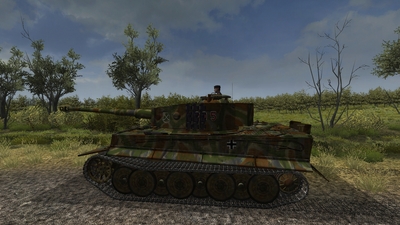
Steel Fury, STA mod: Tiger I, Lockie's Villers Bocage mission
33LIMA posted a gallery image in Member's Albums
From the album: Combat Sims
-

Steel Fury, STA mod: Cromwell, Lockie's Villers Bocage mission
33LIMA posted a gallery image in Member's Albums
From the album: Combat Sims
-

Steel Fury - Cromwell, Lockie's Villers Bocage mission
33LIMA posted a gallery image in Member's Albums
From the album: Combat Sims
-

Steel Fury - Universal Carrier, Lockie's Villers Bocage mission
33LIMA posted a gallery image in Member's Albums
From the album: Combat Sims
-

Steel Fury - Tiger I, Lockie's Villers Bocage mission
33LIMA posted a gallery image in Member's Albums
From the album: Combat Sims
-
ATAIU SEA was the Allied Tactical Air Intelligence Unit, South East Asia. They evaluated captured enemy aircraft. I haven't seen those interesting pics before, but others of Zeros, Bettys etc in similar markings are fairly well-known.
-
From the album: Combat Sims
-
From the album: Combat Sims
-
Sorry, don't know and can't check, because the selector proggie that switches between eras has stopped woking in my CUP install, leaving me stuck in the WW2 era - which is fine by me as I don't think Il-2 can really compete with sims with the radar age built in. If it's there, it's probably restricted to guns and Sidewinders, doubt very much you can track and engage multiple targets with BVR missiles.
-
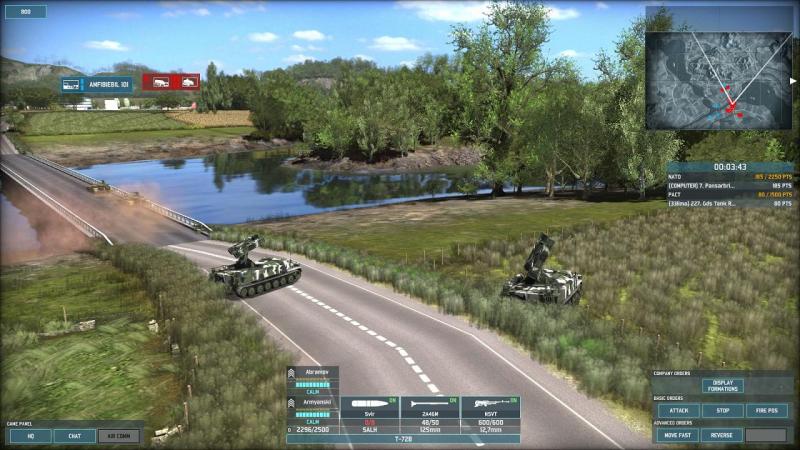
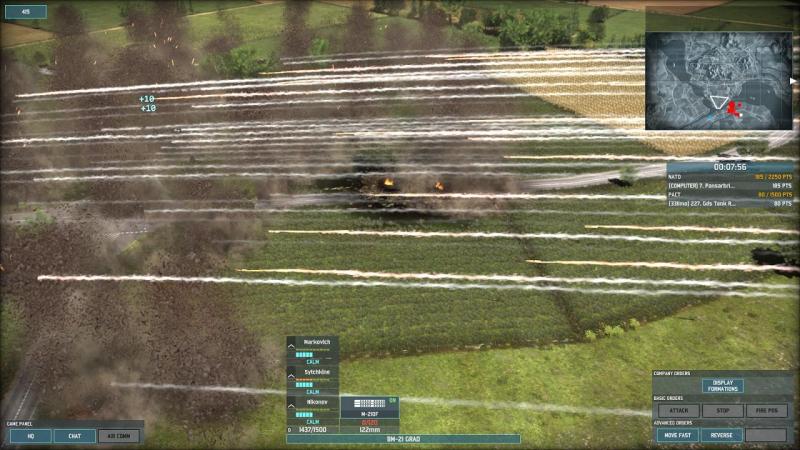
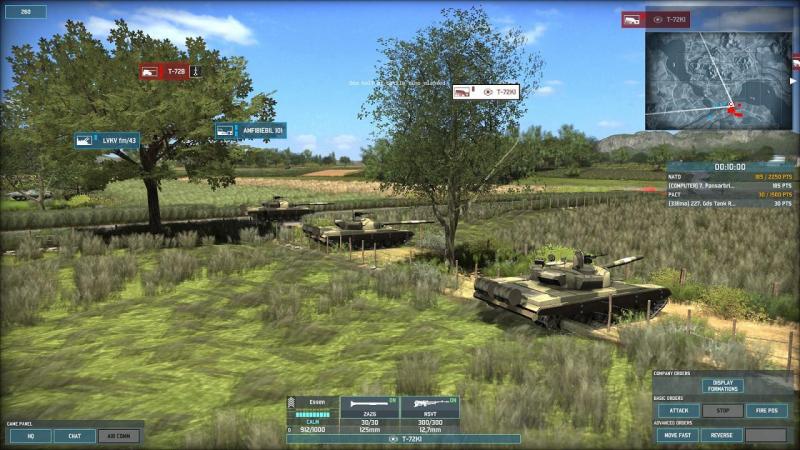
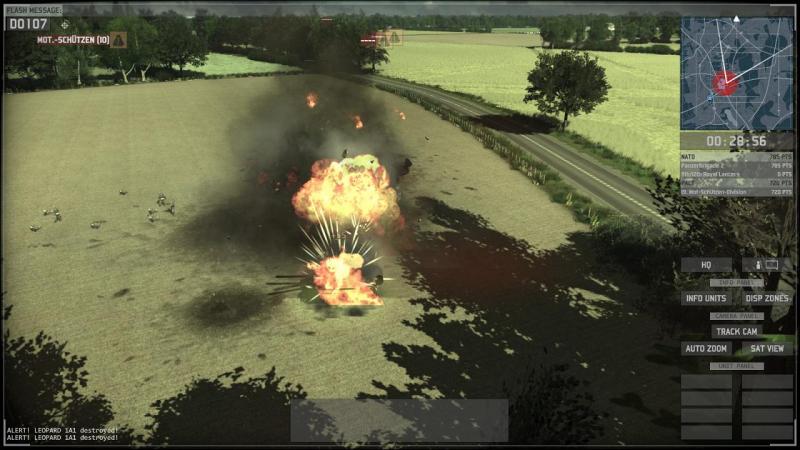
Rather uncanny you should say that, because even from the first couple of missions, that is EXACTLY the feeling I have got from W:EE - an attachment to my virtual people, not least those magnificent men in their recce machines, who really seem to have some special skills, not to mention nine lives. It's perhaps unfortunate that despite being able to generate such immersive sentiments, the game mechanics seem heavily oriented to feeding you new units to replace losses, rather than enabling you to win with (mostly) the troops you start with...and maybe bring them through alive, too. I'd love to be able to start a W:EE campaign with a company group of three or four tank platoons, one or two of mech infantry, and a few sections of support troops like artillery, mortars, recce or ATGWs, and have a decent chance of winning my battles without throwing away my people like expendable pieces in a game, heavily reliant instead on being able to replace them. I'm not complaining, though, W:EE is a Cold War wargamer's dream come true. And if W:ALB (and W:RD, which I've yet to acquire) are in some ways better still, I'm very, very glad I have now made the series' acquaintance. I mean, what's not to love, about watching your MT-LB-mounted SA-13 launchers scanning the skies, as your T-72s dash over that bridge... ...or the sheer, explosive mayhem as your Grads MLRSs simply drench an unfortunate target with 122mm rockets... All good, clean fun!
-
Cool! Never fired any of those; closest I got was the HK33 that's mentioned as the progenitor of the 53, and the MP5. The latter was better than the Sterling SMG (provided the rollers didn't fall out of the bolt during cleaning) but the 33, though an elegant weapon, was a bit heavy for a 5.56 rifle. Neither came remotely close to the ergonomics of the SLR.
-
In conclusion... You may have gathered that there are a few things in Wargame: European Escalation that I think could be done better, which could enhance the combat simulator side of the wargame: a little more 'war' and a little less 'game', if you will. At the outset, I'd like to be presented with - or be able to choose - a more realistic, balanced force, instead of having this restricted, then expanded as the mission progresses and ground is gained. That's much the way the classic 'army lists' worked, that you used to get as supplements to 'hardcopy' wargame rules like those from Wargames Research Group and Tabletop Games. Typically there would be some 'compulsory troops' like a headquarters/command unit (in the real sense of 'unit', ie not a single vehicle) plus a tank or infantry company. This stopped you picking fantasy armies, like all Jagdtigers or the like. W:EE's follow-on, Wargame: AirLand Battle, seems more like this, with much more kit available from the outset. In a similar vein, I'd like there to be more of a focus on the role being played. The one which suits W:EE best is the company commander role. Commanding, say a company of tanks with 3-4 platoons; plus 1-2 platoons of attached infantry; with maybe recce and AA sections; and some indirect fire support. W:EE can can provide enough platoon-level AI so you don't have to micromanage individual vehicles. But it doesn't provide company-commander-level AI, able to receive and handle orders from a player acting as a battalion commander and direct platoons accordingly. For a battalion-sized force, there are far too many platoon-sized units for a player to command effectively. Even with a frantic click fest from well-zoomed out. Crafting missions so that the player acts as the boss of a reinforced company - tanks with some infantry, or infantry with some tanks - would work best. The present approach is better than other wargames I have played but the player's role, in military terms, is a little bit amorphous. The AI's Banzai charge tendencies badly need toned down, if not eliminated. Not only are they pretty wildly unrealistic, they require very rapid reactions, to the detriment of proper planning. The dreadful FOBs need replaced by something that looks more like what you might see in a combat zone - an impromptu supply dump. There is a pause function but it seems to bring you to the 'war room' view, unable to look around the battlefield. Not unrealistic and perhaps totally undesirable in multiplayer. But in single player, there are times when it would be ok to let the player to pause and take stock - or pause and take screenshots Or just admire the great graphics, closer-up than you often can, with firefights suddenly flaring up. It seems that in the recent Red Dragon iteration, developers Eugen have introduced a sort of slo-mo option, if not a pause. So as with W:ALB's binned (or reduced) unlocks, W:RD seems to indicate that Eugen are learning and applying lessons from W:EE. It would be nice, though, to see some of this fed back into W:EE, which is the 'daddy of them all' and the one which still fits best into the classic 'Cold War gone hot' scenario that used to hang over us all (and perhaps for that very reason, still I think holds the greatest appeal for the post-WW2 wargamer). More variability in SP campaign mission replays, would also be good. At present, there seems to be little, if any, such variability. in short, I'd like more of a sand-table approach to solo, single battles, with nothing locked down; and an approach to the SP campaign's missions that is less locked down in terms of units and game mechanics like FOBs and fixed zones - and more focussed on a company commander role. Make no mistake, though, what we have now in W:EE is one heck of a wargaming package. Even the features I'd prefer to have been handled somewhat differently, appear generally well-implemented and designed to deliver a great wargaming experience for both singleplayer and multiplayer sides. In this, they succeed pretty well. My frustrations so far have been mostly down to my not taking enough time to understand some W:EE conventions and procedures that are quite important to gameplay. I've thoroughly enjoyed playing out the two missions I have fought so far. As for W:ALB, I'll save that for later because I'm finding W:EE to be pretty fantastic, already. While some things have been improved and play differently, W:ALB s looking like an equally polished and immersive Cold War wargame of the kind I couldn't have dreamed I'd ever be playing, a quarter of a century ago, when the Cold War was very much a part of the world we lived in.
-
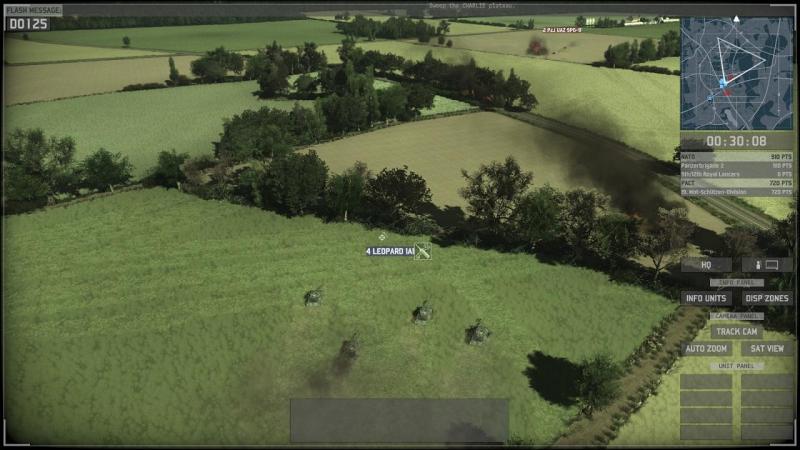
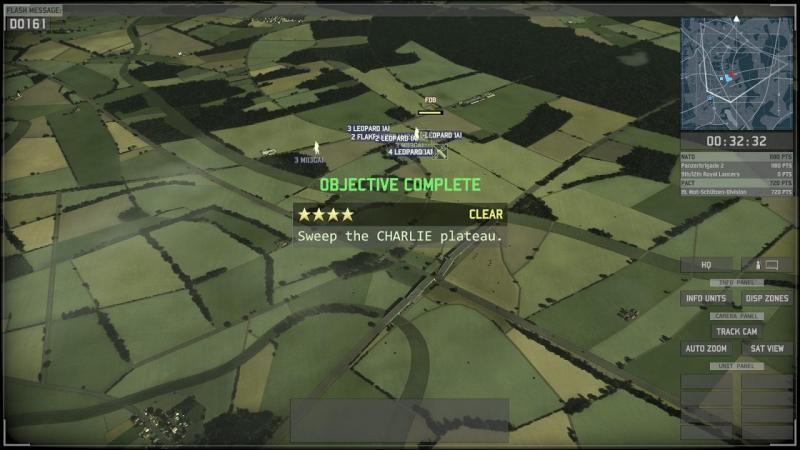
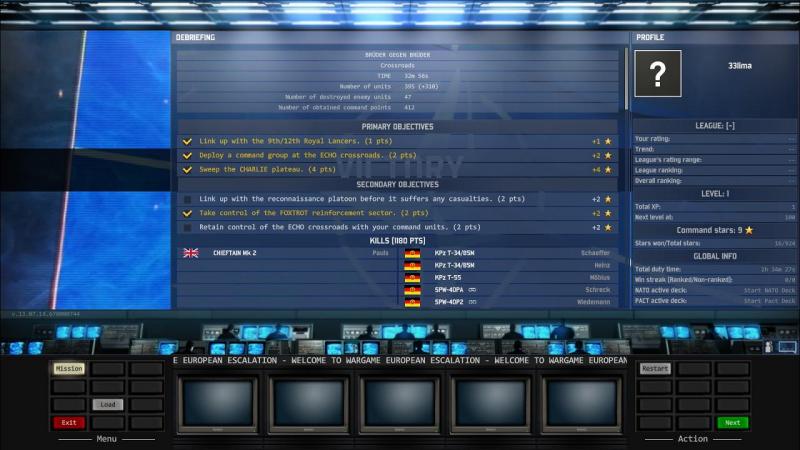
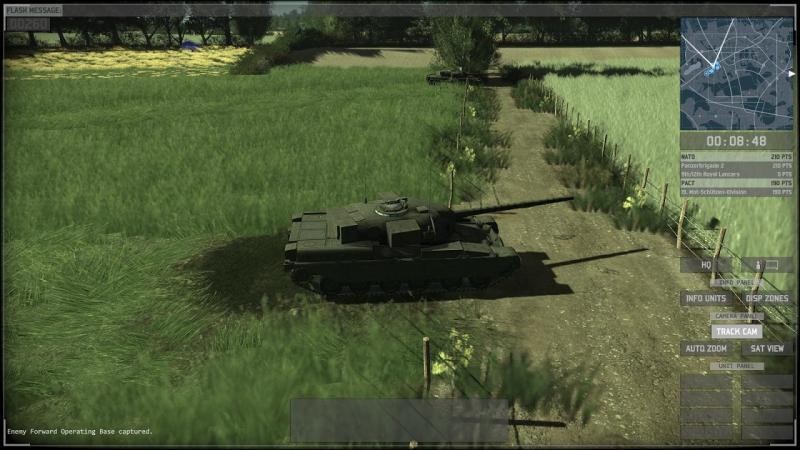
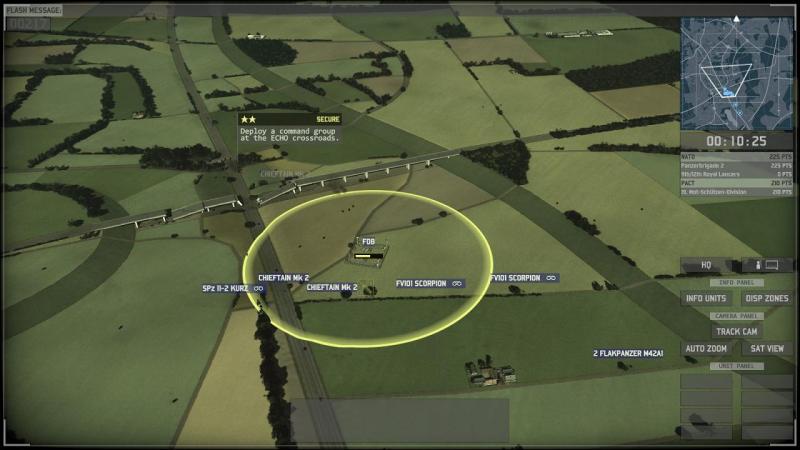
Revenge of the Banzai bruder...again They say that a war on two fronts has been the downfall of more than one 'enterprise of martial kind'. But this was the prospect I was now facing. Unidentified enemies had been spotted to my north-east at the very time that I was developing operations to scout and then secure the re-inforcement sector over on the west. ‘Selection and maintenance of the aim’ I was taught to be the master principle of war – contrary to John Keegan’s assertion in ‘The Face of Battle’ that such things were no longer taught at a certain military academy back in those days. In general this means deciding on a clear objective and then not being easily deflected therefrom. I had decided to open up the route for much-needed re-inforcements, starting with a recce and deploying stronger forces only if that became necessary. My main force – small as it was – would hold my pivot of manoeuvre, the key ground at the crossroads. If necessary my Chieftains and light units there would fight a defensive battle in the centre, while we brought in re-inforcements from the left flank. Then and only then, our numbers bolstered, would we pursue objectives further north. That’s what I had decided to do, and I was going to stick with that. For a while, I hope that the sector Foxtrot might be unoccupied, but the Hotchkiss has a contact with some enemy troops in a small wood. I make sure the command vehicle, coming up behind him, halts short of that location, hidden in some trees. The enemy seems just to be a squad and the Hotchkiss actually manages to suppress then destroy them. So I then bring up my M577 to take possession of the sector. Having done so, I lose no time in checking out what re-inforcements I can summon, within the 200-odd points I am being allowed. Basically, clicking top left brings up unit icons in the standard W:EE categories (infantry, tanks, recce, support, other vehicles). Only Bundeswehr units are available and in fumbling with the unfamiliar interface, I end up selecting three platoons of Lepoard 1s, a couple of single Leos (selected by accident!), two platoons of mech infantry in M113s and – fearful of another helo attack and conscious of their firepower against troops and light vehicles – another pair of M42 SP twin Bofors guns. By the time I realise that it might be a good idea to grab a third command unit, or perhaps get some artillery support, I don’t have enough points left. Each time you make a selection, you then indicate where on the map you want them to drive to; the units then appear from off-map, drive up the white arrow re-inforcement route into the sector, and head off to the location you selected for them. I am rather rushing this process - and failing to take screenshots in the process, you maye have deduced from their sudden scarcity - because by the time I have started, my crossroads position has come under attack. To the north, one or more BMPs are cutting loose on us with wire-guided AT missiles. To the north west, several small groups of tanks and light armour emerge from cover and rapidly advance on our right flank. In seconds it seems, a pair of T62s dashes down the plateau, smashes the light units I'd left in a wood on my right flank and from that wood, though both now damaged, turns right to threaten the rest of my force, downhill at the crossoads. I make some hasty adjustments to our positions down there to meet the new threat, then turn my attention back to summoning and directing the re-inforcements that will determine the success or failure of this mission. The Chieftains and surviving light units around the crossroads will just have to ‘circle wagons’ and hang on, until the cavalry arrives. Amidst the din of battle I complete selecting and deploying reinforcements, then turn my attention back to the Crossroads battle. I get there just in time to see the last Chieftain knocked out, the light armour having already gone under. My M577 command vehicle is the only surviving unit at the crossroads, but doesn’t last much longer. Some enemy infantry dismounts seem to be the only survivors from their attacking forces but, charging down the hill, they are enough to kill my command vehicle before I could order him back out of harm’s way. Now, I am going to have to re-take the crossroads all over again, then have a go at clearing the plateau at sector Charlie. Over on the left, I survey my hastily-assembled re-inforcements. They amount to a decent force, a large mixed-arms company with three Leo and two mech infantry platoons (plus two single tanks which could represent company HQ); a Hotchkis for recce; a pair of M42s for AA defence; and my sole surviving M577 command vehicle. With this force, my plan now is to attack east and re-take the crossroads. There we will re-organise and mount a hasty attack north-east, uphill and onto the plateau, destroying the enemy forces in and around sector Charlie. First task is to rush the crossroads before the single enemy infantry unit there is himself re-inforced. I have deployed my three Leo platoons in a rough inverted wedge with one mech infantry platoon on each flank and the M42s in the middle. I now begin moving my tank platoons forward in bounds, one at a time, till they can see and shoot up the enemy at the crossroads (which foe has temporarily disappeared, having been lost to sight after killing the M577). I’m careful not to get too close, for the enemy’s RPGs, fired in salvoes, can be quite deadly. The East Germans are soon spotted, put to flight then destroyed, as are the two battered T-62s. I quickly re-form my platoons into positions from which they can defend against a renewed enemy attack on the crossroads, while also being poised to step off on our next attack. Crossroads re-occupied; Phase 1 complete. The enemy seem to have gone quiet so I start leapfrogging my platoons up towards the crest of the plateau, onto which they will have no line of sight until they get there. This tension is considerable: with no artillery or recce vehicles chosen as re-inforcements, we are mostly going in blind and unsupported. My three Leo platoons race forward in short bounds, from cover to cover, one or two platoons moving while the others cover them. Just behind the leading tanks, the APC platoons do likewise. The first Leos reach the edge of the plateau and immediately get ‘eyes on’. The enemy is there and he’s coming the other way. towards us. He's mounting a new attack of his own, it seems. The first casualties are some East German mechanised infantry, pushing ahead of the rest, caught in a cornfield by my Loepards as the reach the edge of the plateau. One of my Leopards is hit hard by enemy fire, in return As you can see from the number at the top left of the last few screens, this has gone up, seemingly indicating that more friendly forces are available for deployment. But I'm fighting a fast-developing battle at the moment - most battles in W:EE seem to develop quite fast! - and that will have to wait. My priority now is to get at least another Leo platoon up onto the edge of the plateau, from where they can hit the enemy - from the flank, hopefully - as they come down from the north. As you can see in the pic below, they are already on their way, in the form of a typical Banzai Bruder operation - two UAZ 469s, basically Soviet jeeps - are making a beeline for us, undeterred by the burning vehicles of the last East German troops who tried that one. They may be jeeps but we do need to shoot them before they get too close; as you can see from their labels, they are carrying SPG-9s, which is a dangerous recoilless rifle, equivalent to the weapon carried on the famous BMP-1 Infantry Fighting Vehicle. What happens next is a bit of a burr. Hurried mouse-click orders get all my Leos up into fire positions, in a good old-fashioned firing line along the edge of the plateau. From there, our great British 105mm cannon sycthe through the ranks of our attackers, soft-skins and AFVs alike. It's soon over. Re-grouping again rapidly, I waste no time. New orders send two Leo platoons in a first bound towards the enemy Forward Operating Base at my final objective, sector Charlie. They're covered by the third platoon and the two 'spare' Leopards. More orders bring my mech infantry and SP AA guns forward, ready to follow up behind the tanks and either hold the ground they gain or lend their support by clearing closer country. There's a sudden panic when a couple of T-72s - a very dangerous foe and the newest tank the Nationale VolksArmee has - appear at the FOB. They cause a bit of damage but soon go down in another hail of 105mm APDS. Suddenly, it's all over. There were still some enemy units on the plateau, further north. I don't know if I could or should have had a crack at them but a victory is a victory, i'm not quibbling. Here's the results screen; you can scroll down to see individual results, unit by unit, friendly and enemy. I'm rather sad that I wasn't able to save any of my Chieftains, who did a grand job of holding the field alongside their Bundeswehr comrades for so long, against superior numbers and a (sometimes suicidally) determined foe.
-
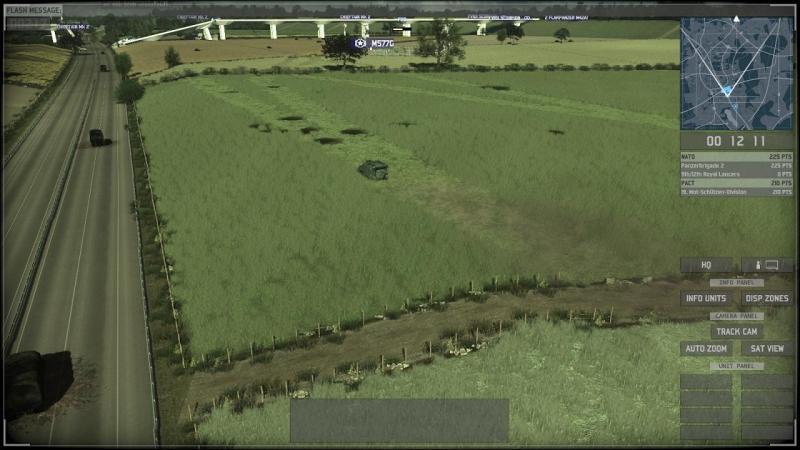
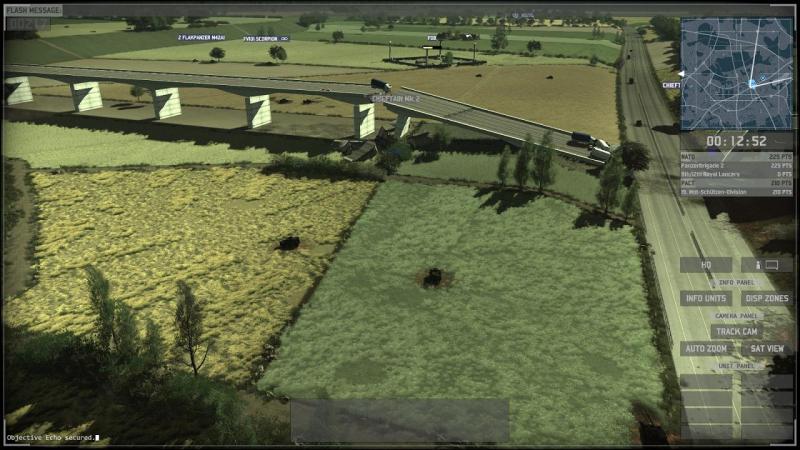
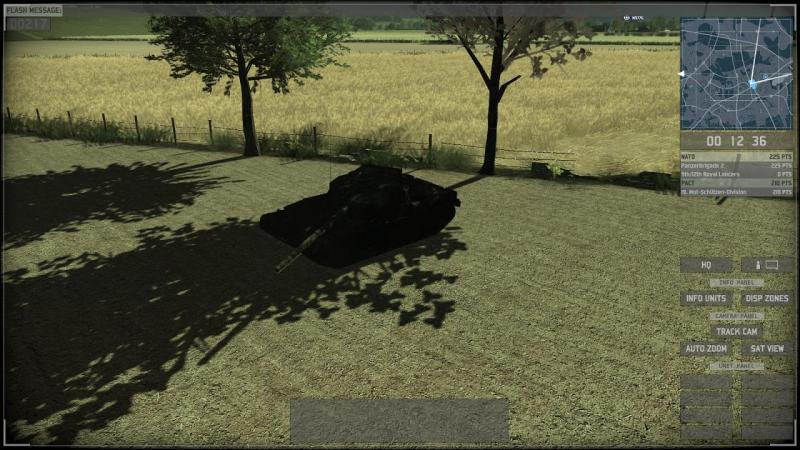
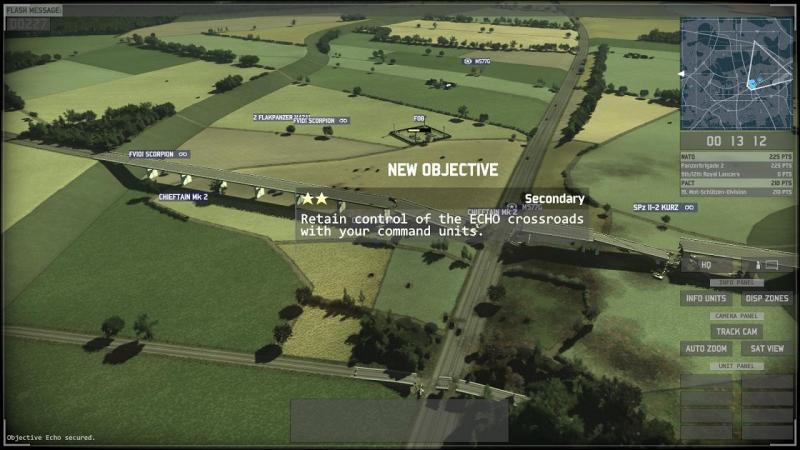
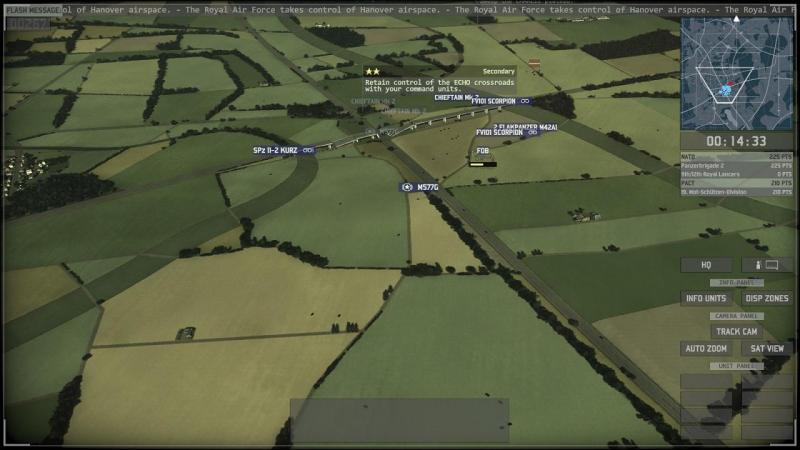
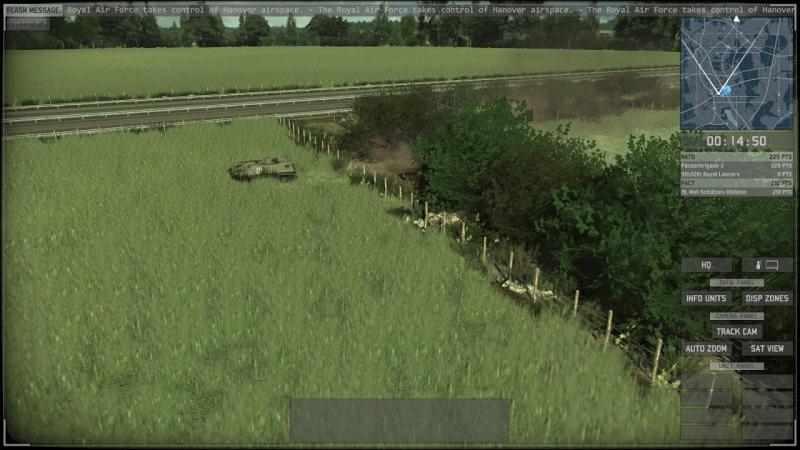
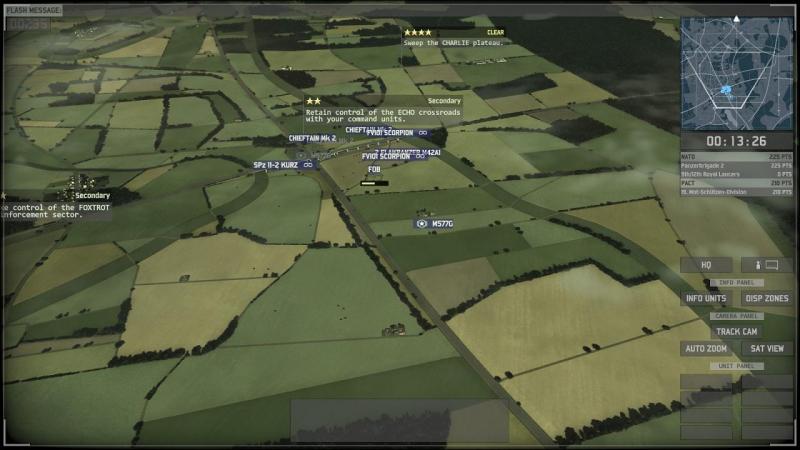
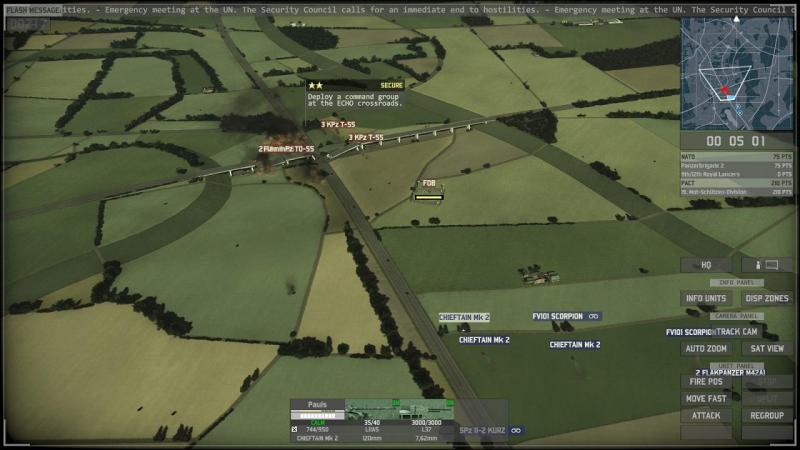
Decisions, decisions... I dealt with the enemy tank attack from the north about the only way that I could. I leapfrogged my three Chieftains forward, into fire positions from which they could shoot the bad guys. We took some hits in return, while the flammpanzer T-55s seemed intent upon incinerating not only the surviving Fusiliers, but also large swathes of the West German countryside. After after an intense and exciting firefight, we got them all, with no serious losses. In W:EE you need to have a command unit in a sector, to be able to claim it as your own - no matter if you have completely cleansed it of the enemy or turned it into a parking lot for your tanks. So having cleared the immediate area of the Crossroads, the next step was to re-organise the Chieftains on the other side of the downed bridge, in an arc facing outward, with the surviving recce vehicles on the flanks. Ready for any counterattack. Then it's the job of one of the two M577 command vehicles to trundle up and declare possession of the zone. In W:EE, you can direct the camera quite widely, though in doing so you will not be able to reveal enemies that your own units haven't yet spotted. Below is the view of my positions as we 'go firm' around the bridge, seen from the enemy side. Bottom right is a knocked-out T-55; bottom centre, are killed Saracens. At this point, a new objective displayed reminds me of the need to hold the crossroads in sector Echo with command units. This wider view, again from the enemy side, shows my second M-577, which I have been keeping to the rear out of harm's way (short of an airstrike) now trundling forward to rejoin. This is where it starts picking up pace again. Evidently, HQ doesn't think I have enough to do, because he's now got two new jobs for me; in nearly opposite directions' to boot. Looking back from friendly territory again, to the right front, we must clear the plateau in sector Charlie. And to the left, we need to take control (=get a command vehicle into) a 're-inforcement sector', Foxtrot. It's at this point that the penny finally drops - get there, then call up re-inforcements! I even remember that this involves clicking top left, to summon new friends via that available points total. With my presently-limited forces, I decide I'll have to do this one step at a time. Sector Charlie can wait. My priority is holding the crossroads. So I send but a single recce vehicle - the trusty Hotchkiss - off to scout Sector Foxtrot. An M577 goes in his wake, ready to occupy the zone and thus open it up for reinforcements if all is clear, but also to sit tight in a convient forest, if it isn't. You can see the two, trundling off to the left in the pic below - the Hotchkiss being the one labelled as a Schutzenpanzer Kurz. And there he goes, seen closer up. As I've said before, reece units like this are a great asset in W:EE, with their ability to spot enemies you might otherwise just stumble into, often without being seen themselves. And with a 20mm autocannon, the Hotchkiss can look after itself quite well, like the British Scorpion. Incidentally, when you select and issue orders to units, you get short radio transmissions, which can be a bit un-military - for example, ordered forward, a Scorpion commander may respond rather breezily 'You'd be lost without us!' when 'Wilco, out' would have sufficed. But these transmissions do add a little flavour to the airwaves. What you may have noticed in the earlier pic above is that even as all this is happening, a white dashed line on a red rectangle, up in the direction of Sector Charlie, indicates that the enemy are not going to co-operate. Unidentified bad guys have decided not to wait for me to come after them. ...to be continued!
-
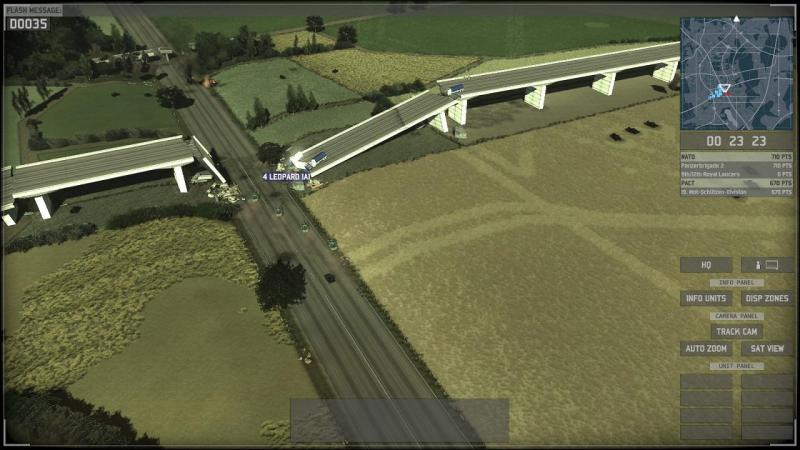
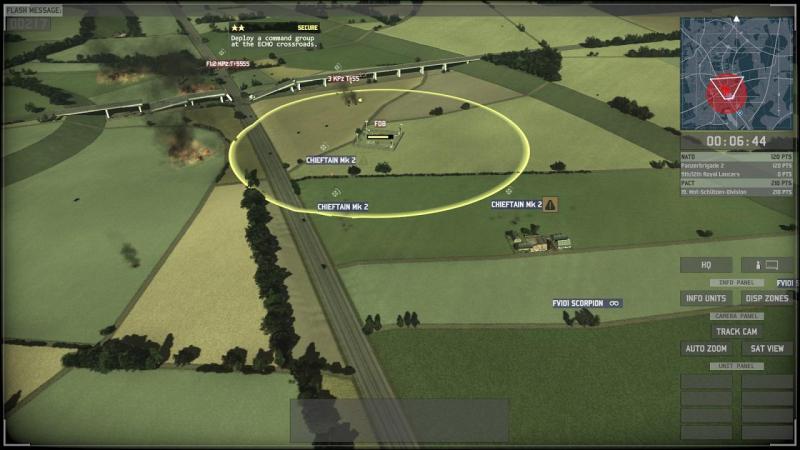
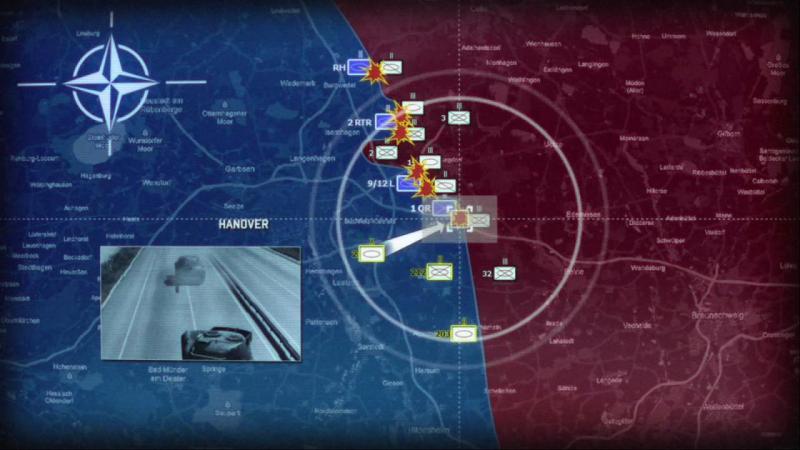
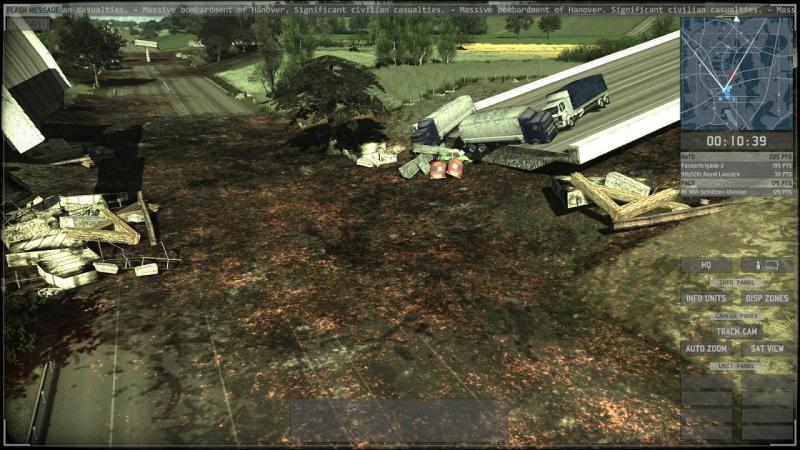
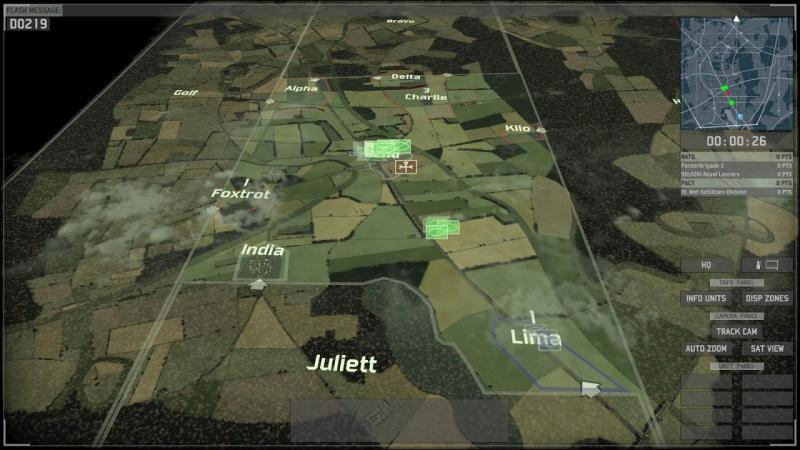
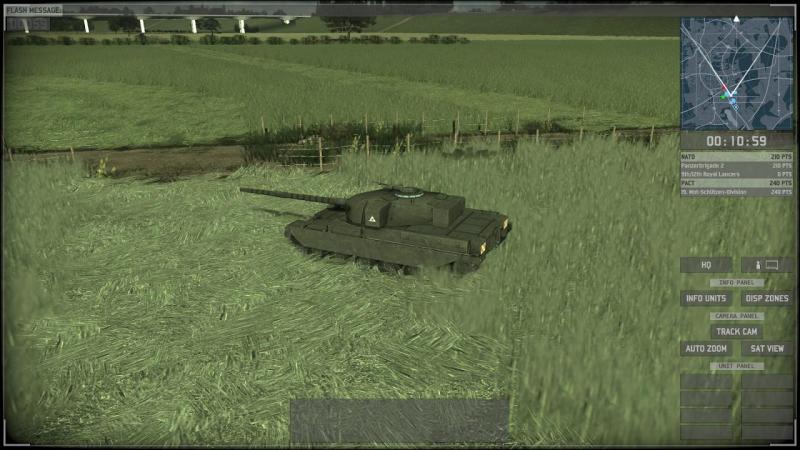
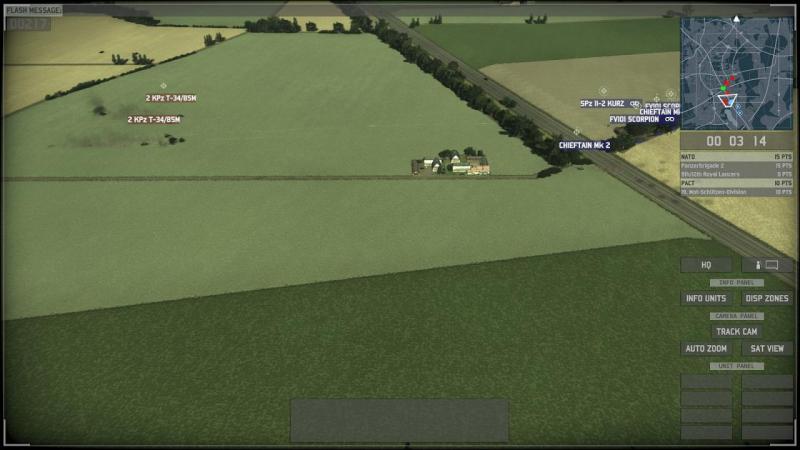
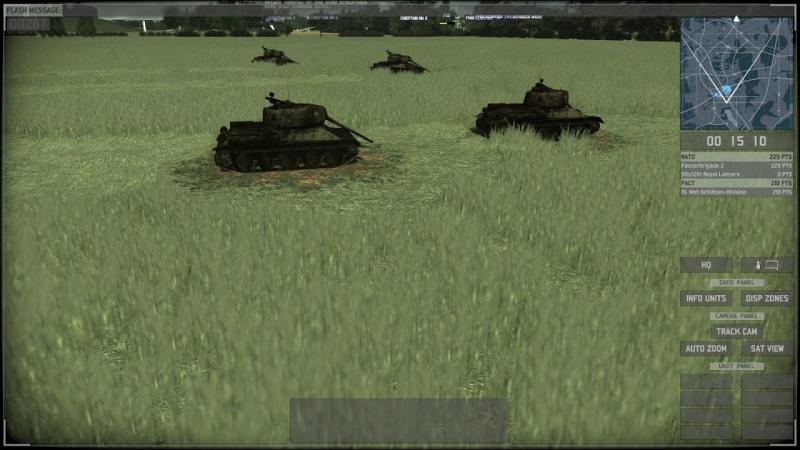
Well, after several replays, I finally won the second mission in the Bruder gegen Bruder campaign. The reason I won - which is probably also the reason I lost before, apart from intermittent Banzai charges - is that I finally realised that when the manual says 'you can use the white arrows into certain zones you occupy [which markings aren't visible unless you zoom waaay out] to bring in re-inforcements', it really means 'you really should...'. The other thing I learned was that it can be quite tricky, just diving in and playing quite challenging games or simulations without paying much attention to the manual and to critical game mechanics or concepts...which I suppose I already knew, but diving in is hard to resist, especially in W:EE, with its truly equisite wargaming maps and units. Anyway this, briefly, was the way of it... In mission #1, our newly-arrived Leo platoon, with a little help from a Hotchkiss carrier, managed to stomp the Banzai Bruder, despite several instances of their suicidally aggressive tendencies. In mission #2, Crossroads, still playing as Bundeswehr, we're going over onto the offensive. Specifically, the invading East Germans have been giving some British units a hard time and our first task is to link up with the beleagured 9th/10th Lancers, who have lost their CO. As usual in W:EE campaign missions, your tasks are fed to you one or two at a time ,over the course of a mission. Also as usual, they are introduced by a voiceover, providing an update on the tactical situation, accompanied by a map view which in stages zooms into a view of your actual battlefield. The immersive and professional presentation of the W:EE campaigns is a credit to the developers and harks back to the Golden Age of Sims, when sims were sims, men were men and no sheep was safe. This I believe is the crossroads of the mission's title, where a broken bridge carries an autobahn or other major road over another one. The attention to detail is lovely and worthy of a setting for an First Person Shooter. Note the ticker-tape 'news feed' display across the top of the screen, another nice little touch. Starting this mission and still not being sufficiently wise to the ways of W:EE, the first shock comes when you find out with what forces you are to link up with the British. You have a squad I would hesitate to take into a rowdy pub, let alone to a shooting war - a Hotchkiss recce vehicle, a couple of elderly M42 'Duster' twin 40mm AA guns, and two essentially unarmed M577 command vehicles (basically, M113 Armoured Personnel Carriers with a raised rear compartment). The zoomed-out view below shows the opening situation. My little party is the group of blue NATO tactical symbols (replaced with unit labels, when you zoom in) in zone Lima, bottom right. The white arrow into this zone indicated that I can use it to deploy re-inforcements...though this didn't register with me at that point, in my ignorance. The green tank symbols further north - their colour indicating they are friendly, but AI-controlled, unable to be given orders by the player - are what will turn out to be a troop (platoon) of three Chieftain tanks. Thank goodness that somebody decided to being some useful kit to this particular party. Further north again, are some mechanised infantry. These will turn out to be carried in Saracen 6-wheeled APCs, which really should not be in front line service with the British Army of the Rhine at this time (mid-1970s). There were also a couple of useful Scorpion light tanks. What I was to realise only later was that the number at the top left corner of the screen is the points value I have available, to deploy as re-inforcements. Apparently this value can increase, as you progress the mission and gain ground. For now, for want of anything better to do, I started leapfrogging my AFVs forward, keeping the vulnerable M577 command vehichles to the rear. One of the nice things about W:WE - nice, unless perhaps you are a farmer by trade - is that your vehicles actually flatten swathes of crops as they drive across fields, leaving a visible sign of their passage. When you get close enough to the nearest British units, there's bad news, then good news, and then some more bad news, roughly in that order. The bad news is that the Chieftains are noisly attacked - from the west rather than the east, in typically underhand Commie fashion - by two flights of attack helos, Mi-8s or maybe even Mi-24s. If your M-42 self-propelled AA guns are far enough forward at this point, you might succeed in shooting one down, or at least putting them off their stride. Hopefully, although your Chieftains may take some damage, they will still be in action, as the helos peel off to the north-east after making their passes. The good news is that whatever is left of the British force now comes under your command, indicated by its labels changing from green to blue. At the same time, message tells you you have completed the link-up objective and must now occupy the crossroads. Between you and this new objective is one of those rather theatrical 'Forward Operating Bases' which feature as excessively elaborate-looking supply dumps, in W:EE gameplay. The bad news is that even as you complete the link-up, the British light forces up near the crossroads are being driven back and taking losses. This is the least of your worries, for at about this time you are also being attacked - again, sneakily, from the west - by two platoons of enemy tanks. It could be worse, though, for the newcomers are T-34/85s, obsolete but not exactly harmless for they are charging your flank and are thoroughly imbued with the Banzai Bruder spirit, as they roll right at you ,over the open fields, shooting as they come. Even if you haven't got control of the Chieftains at this point, they will clobber the old T-34s, though as with your Leopards in mission #1, they can take a bit longer than you might expect, with a fairly high number of rounds off target. If unlucky, you may take some damage; but the end is never in much doubt. At about this point, the ticker-tape is telling you about developments at the UN, but you are unlikely to notice. The reason for this is that a more dangerous enemy is now mounting at attack from the direction of the crossroads itself, with roughly a company of T-55 tanks, including a couple of flame-thrower variants. If any of the Fusiliers or their Saracen APCs are still in the area at this point, this will be their cue to exit, stage left. Had I paid more attention before diving in, and had I understood properly how to do so, I think by this point I could probably have deployed substantial re-inforcements, perhaps even from the beginning of the mission. But instead, I was trying to fight a battle against waves of agressive tank-borne East Germans with three Chieftains and a few hangers-on who were barely able to protect themselves. Not a good start, really! ...to be continued!
-
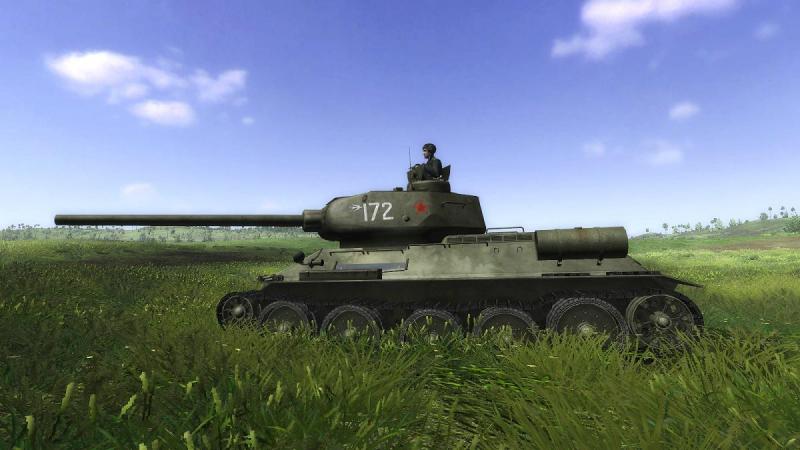
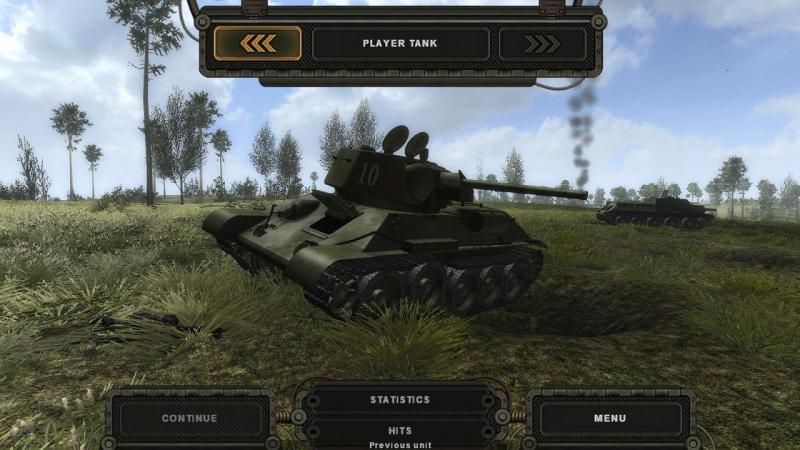
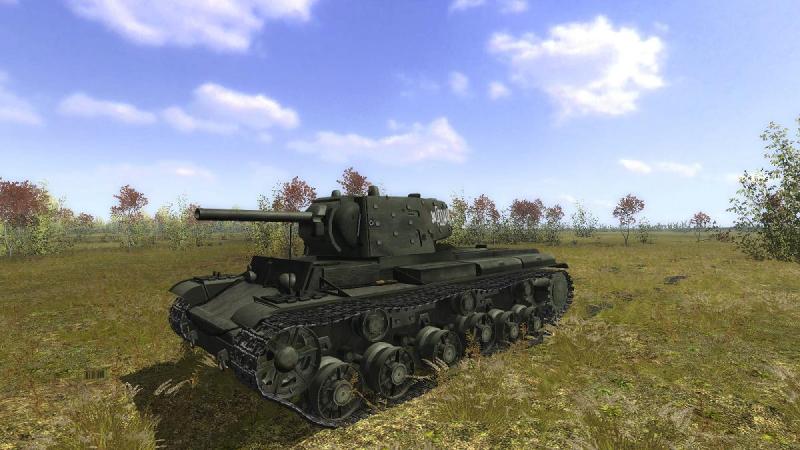
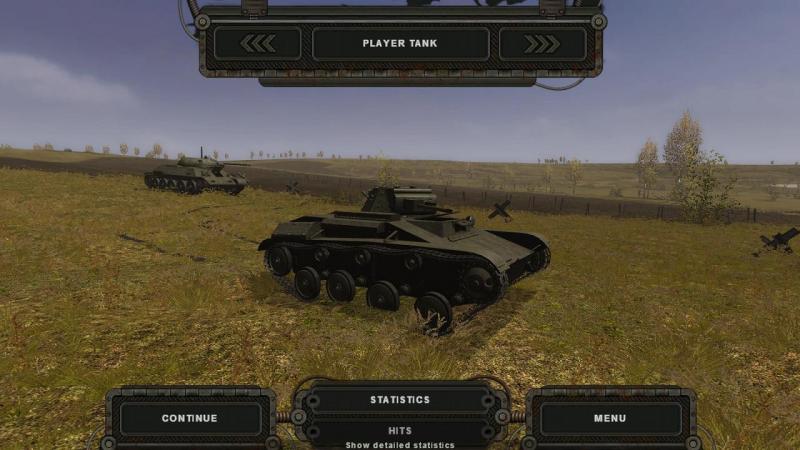
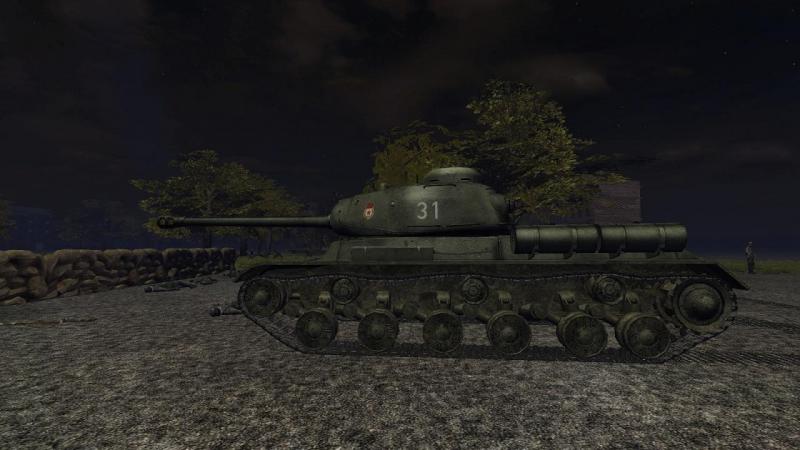
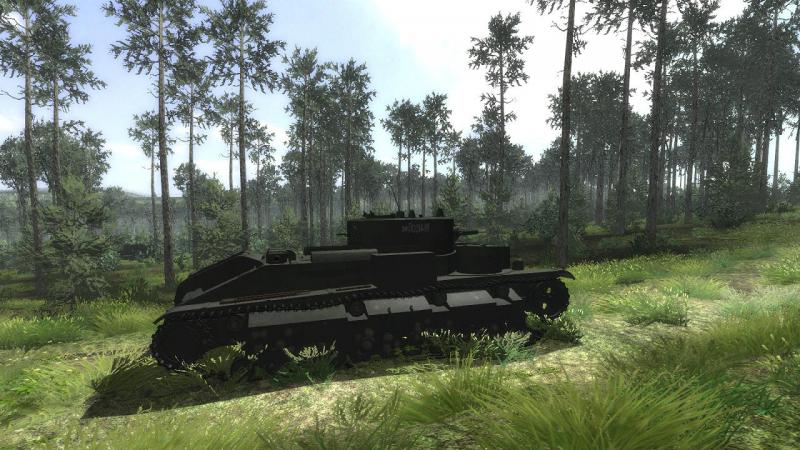
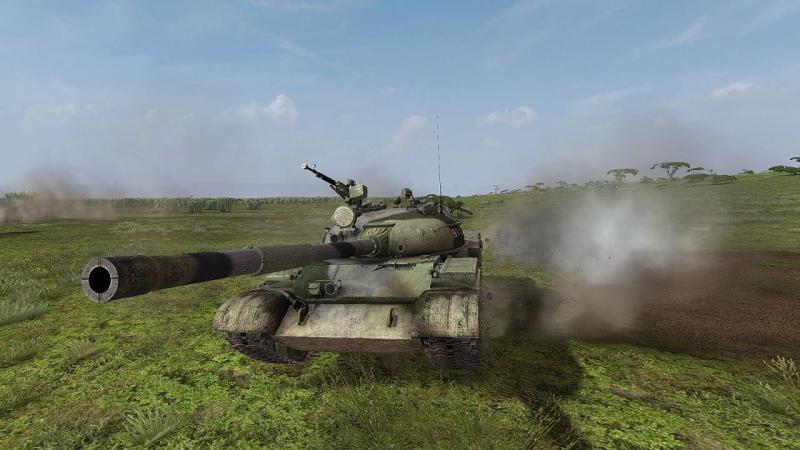
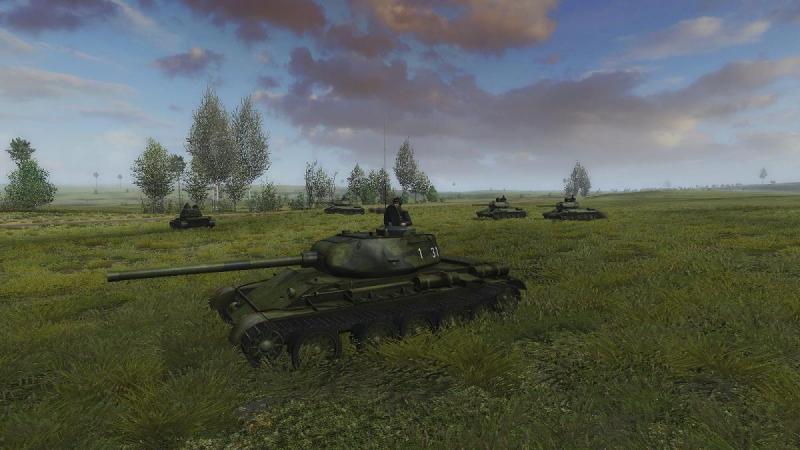
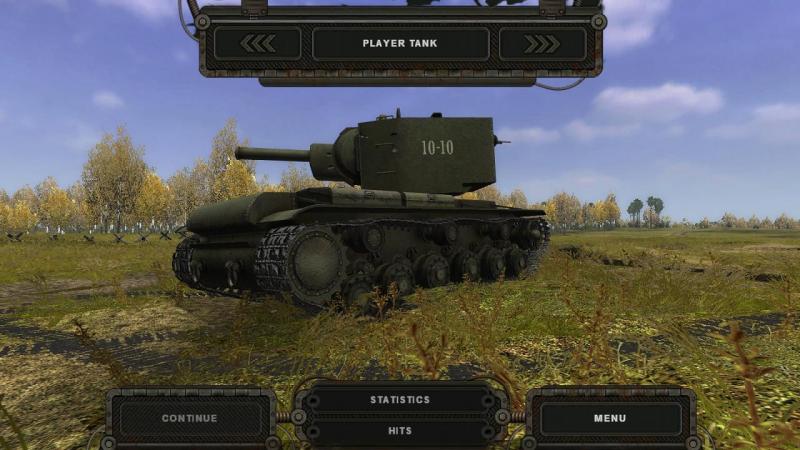
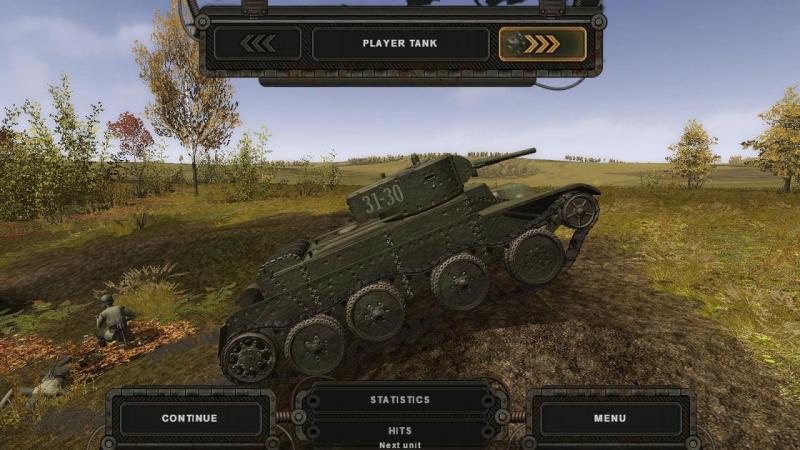
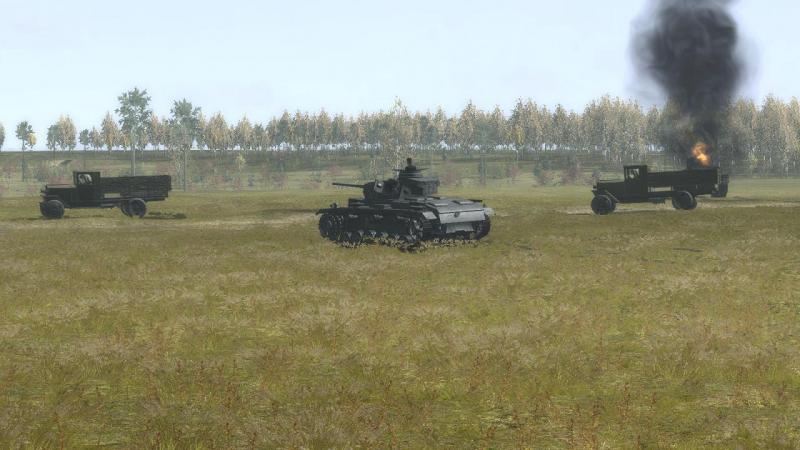
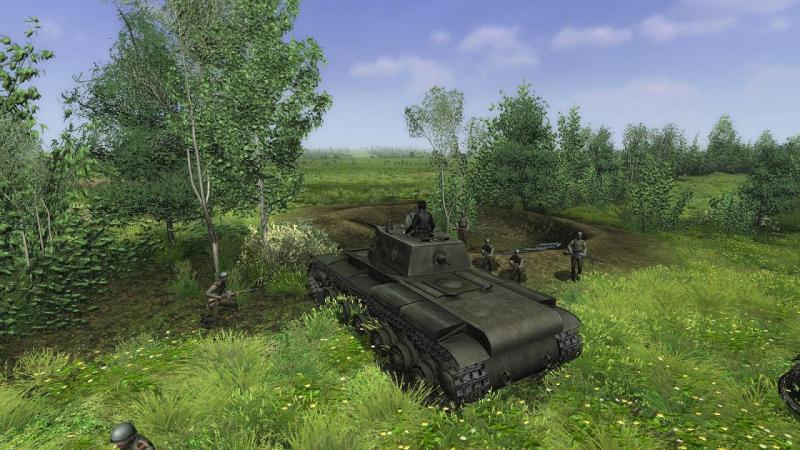
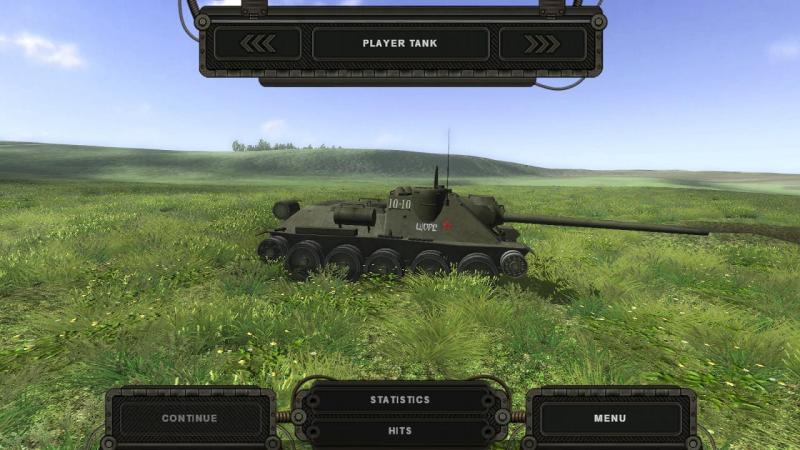
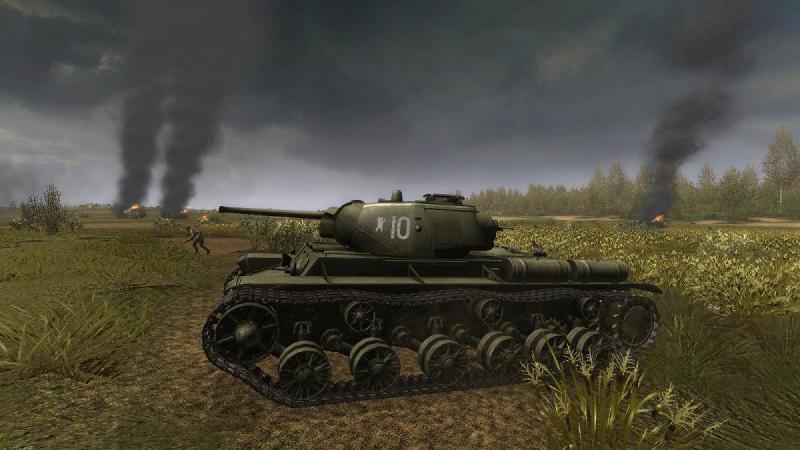
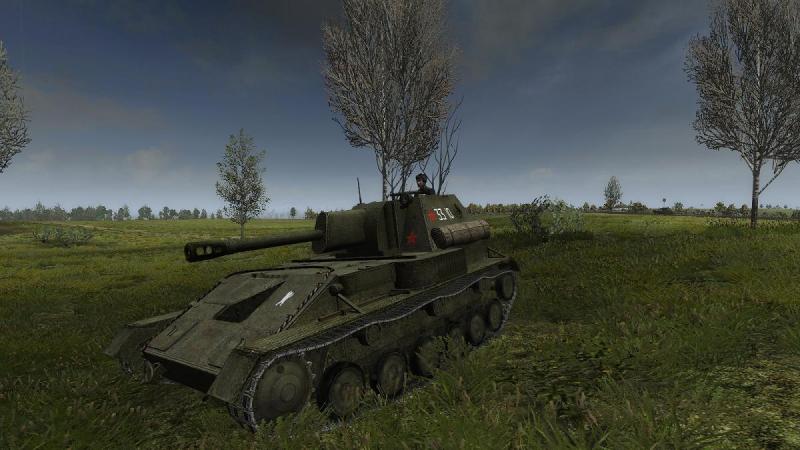
I think you may have had this question answered already on another forum, but the Ostpak mod that came with Panzer Elite Special Edition will have most ot all of the above vehicles. What there are, will also be included in PE3, a newer mod which combines many of the PESE mods and their updates with a version of the modified .exe which introduced inter alia realistic ballistic trajectories: http://panzerelite.yuku.com/topic/482/-Panzer-Elite-three-mod-LINK-contains-Ostpak-MvR--BritPak-mo#.VYU7BEarEl8 Naturally, Steel Fury- Kharkov 1942 is a must-have for Soviet WW2 tanking. While the original release had a limited tankset in keeping with its limited scope, modders have vastly improved this, including a large increase in playable AFVs (tho many lack 3-d interiors, they all have good exteriors, gunsight/vision port views, and hatch open views). Though most only feature as playable in single missions rather than campaigns, the range of playable soviet (and indeed, German) AFVs is one of the outstanding features of modded SF. Just some of the Soviet vehicles available in the STA mod are illustrated here: http://stasf2008.ephpbb.com/t22-available-units-in-sta-mod ...plus, there's plenty of towed guns, some softskins and infantry, not playable though, including these and many other Soviet & German examples: SF also features artillery support and air support for both sides, tho it is scriped not player-controlled, both seen in action here from the German side: Longer term, SF's developers Graviteam plan downloadable content for their Cold War tanksim, Steel Armor - Blaze of War. I would be surprised if WW2 and Eastern Front content did not feature in their plans and the quality will be excellent, if their finely-modelled T-62 is anything to go by:
-
Ah thanks, I didn't realise the replays were recorded automatically, tho I was told that was the way to get screenshots clear of the on-screen stuff you can't turn off!
-
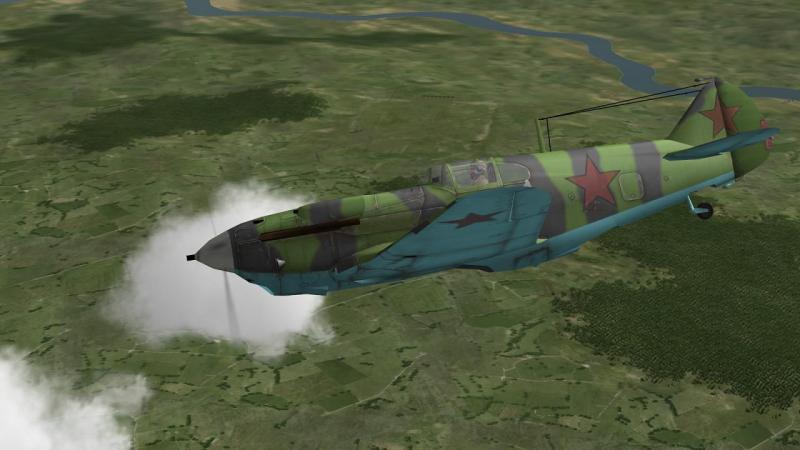
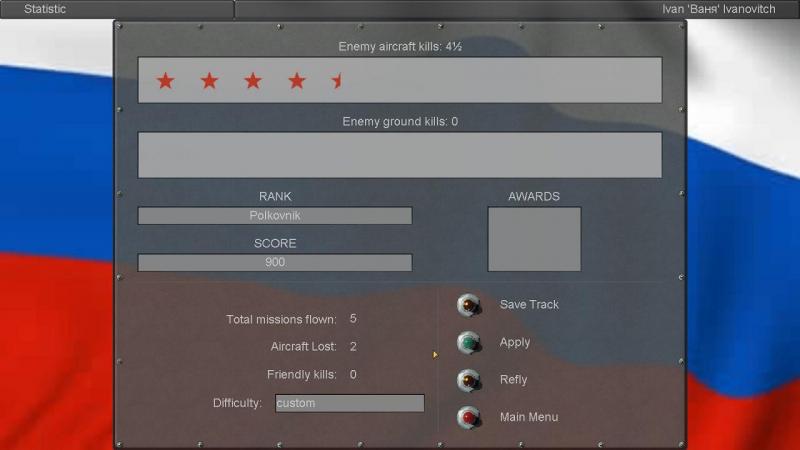
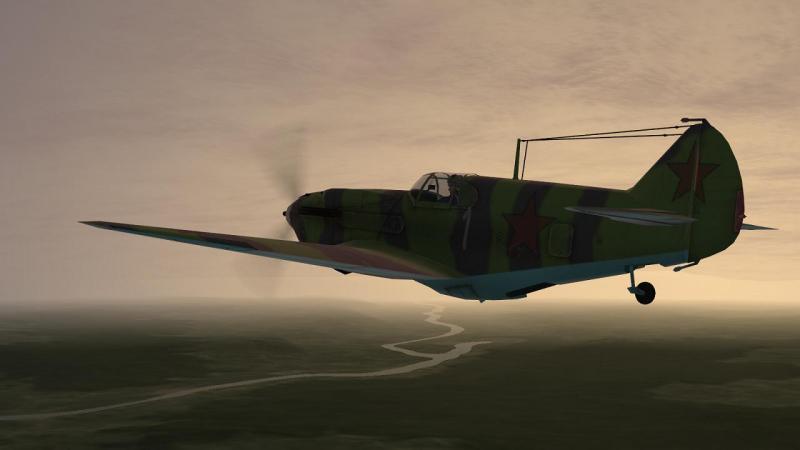
Your round I think, tovaritch? Turning at bay after my pursuer, I got my second surprise of the mission when the aircraft that I'd turned into, turned out to be a LaGG like my own. Hastily looking around, I saw yet another aircraft swing past, which I realised was a second LaGG. My wingmen hadn't been to far away, evidently. Had they chased off the German who'd shot me? Could I have been hit by ground fire? I didn't think so, but I remembered top German ace Erich Hartmann's first combat. Flying as the wingman of an experienced NCO, he had abandoned his leader to make a wild and failed attack on an enemy, then got lost and turned for home. Called to order by his leader, he ended up fleeing from a fighter closing from behind...which turned out to be another 109, his leader in fact. I knew something had hit me - causing more alarm than damage, as it had turned out - but I had the sneaking suspicion that since then, I had been running away from one or more of my own flight-mates. I know the labels in Il-2 are comparatively inconspicuous. I know they disappear at longer range and are therefore arguably no more than due compensation for the limits of MonitorVision. I know you can set them to display range only, to minimise the AWACS effect. But I still like to make as little use as I can of Il-2's on-screen aids. Even if it sometimes results in certain difficulties with the gentle art of Identification Friend and Foe...not to mention occasional embarrassment. Once again, I ordered my men home, thinking that their leader needed a little time to himself, after all that excitement. I flew straight back, knowing that though not in formation, my flight-mates would not be too far away en route, should further difficult situations arise. One of the good things about Eastern Front operations is that they are often very front line stuff from start to finish, with short flights out and back. It wasn't long before I was scanning the terrain ahead, looking for my airfield. As usual, I was soon regretting that I had not taken more trouble to note local landmarks before I set off. No big deal though, for I have my path and own plane's icon set to display on the mini-map, to be called up if and when I really need it - or get lazy. Soon I was joining the circuit, watching what must have been my wingmen land ahead of me, which helped me orient myself as I lined up for my own approach. Before too much longer I was down. Grass landing strips in CUP seem to come pre-planted with a goodly supply of Cabbage Patch Kids (remember that fad?) neatly laid out either side of the runway. Even so, I prefer these grass strips to the super-conspicuous concrete runway airfields, which seem to be fewer in CUP than in stock Il-2, I am glad to say. It's been a while, so I can't recall if the four and a half kills credited in the results screen include anything for this mission. But I'm fairly sure I got that 109. This seems to be one of those campaigns (ngen rather than dgen? I'm still not really au fait with the respective characteristics of the different flavours of Il-2 campaigns) which doesn't tell you much about your flight before the mission, nor your results afterwards. If nothing else, the results screen now boasts the neat national flag background that comes with CUP...though this being World War 2 - sorry, I mean the Great Patriotic War - they should possibly be pure Soviet red, rather than Russian white blue and red. Anyway, methinks I have just about earned that drink in the Officers' Mess...or whatever the socialist equivalent may be.


