-
Subscription required to download files
-
- 128 replies
- 7,763 views
-
-
Available Subscriptions
-
Our Picks
-


Su-33 Flanker-D
SF2 Aircraft Package -


RF-101A & C VooDoo. SF.2 2020 Redux.
SF2 Aircraft Package -
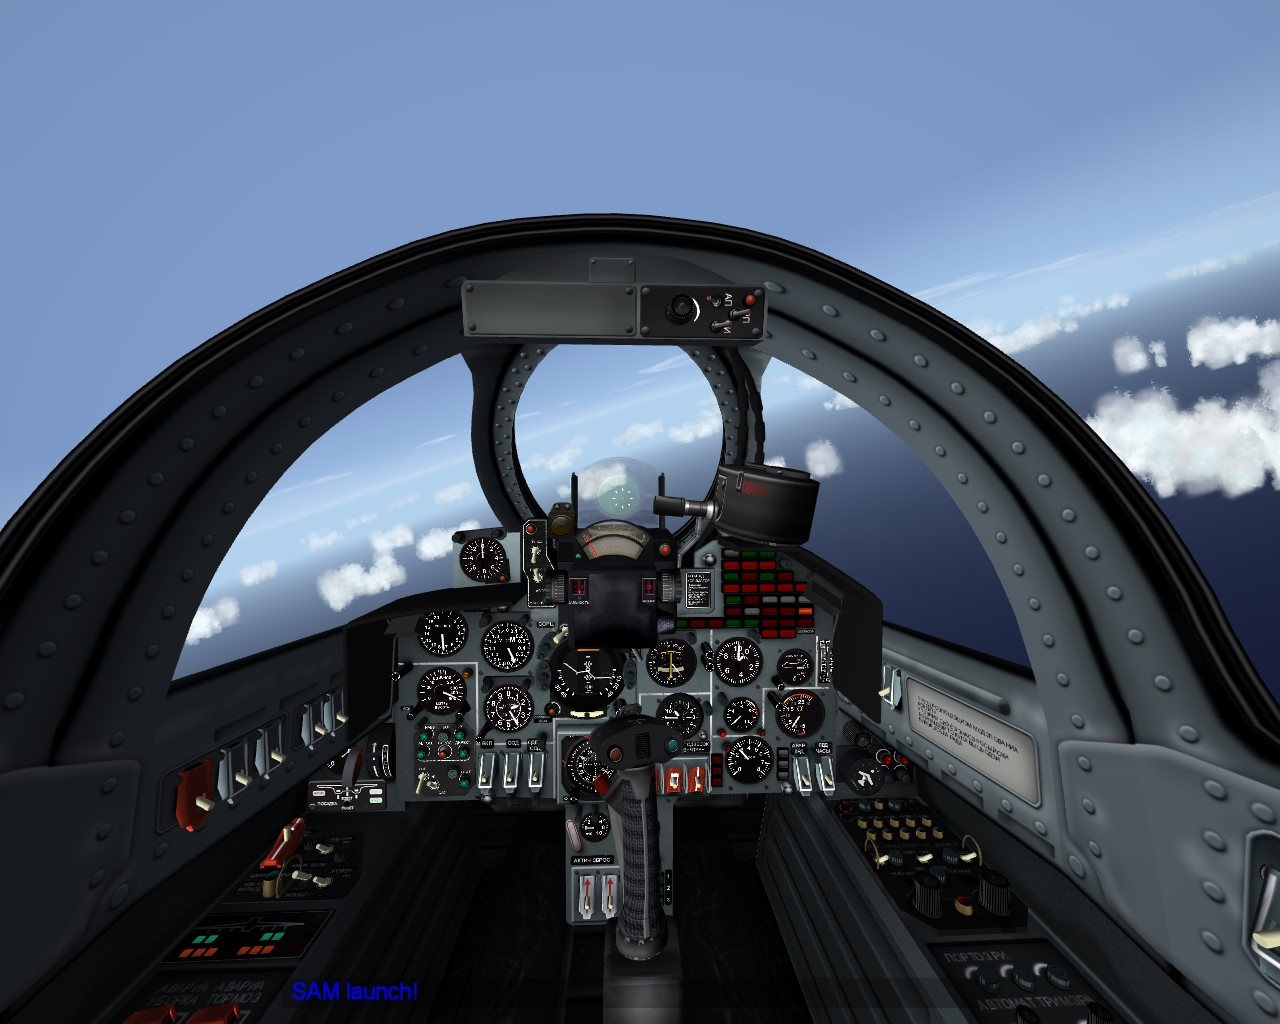

Yak-38 Forger cockpit
SF2 Cockpit Package -
.jpg.80009de8f0517f8545578316533e500b.jpg)
realSKY Environment
SF2 Environment Package -


Vertical Pack for Soviet Navy
SF2 Aircraft Package -


SF2V Air & Ground War Expansion Pack v2.0 Gold - Part 1
SF2 Campaign Package -

Lockheed F-117A Nighthawk for SF2
SF2 Aircraft Package -

Royal Meteors. 1944-1970.
SF2 Aircraft Package -


C-130 Hercules Megapack
SF2 Aircraft Package -
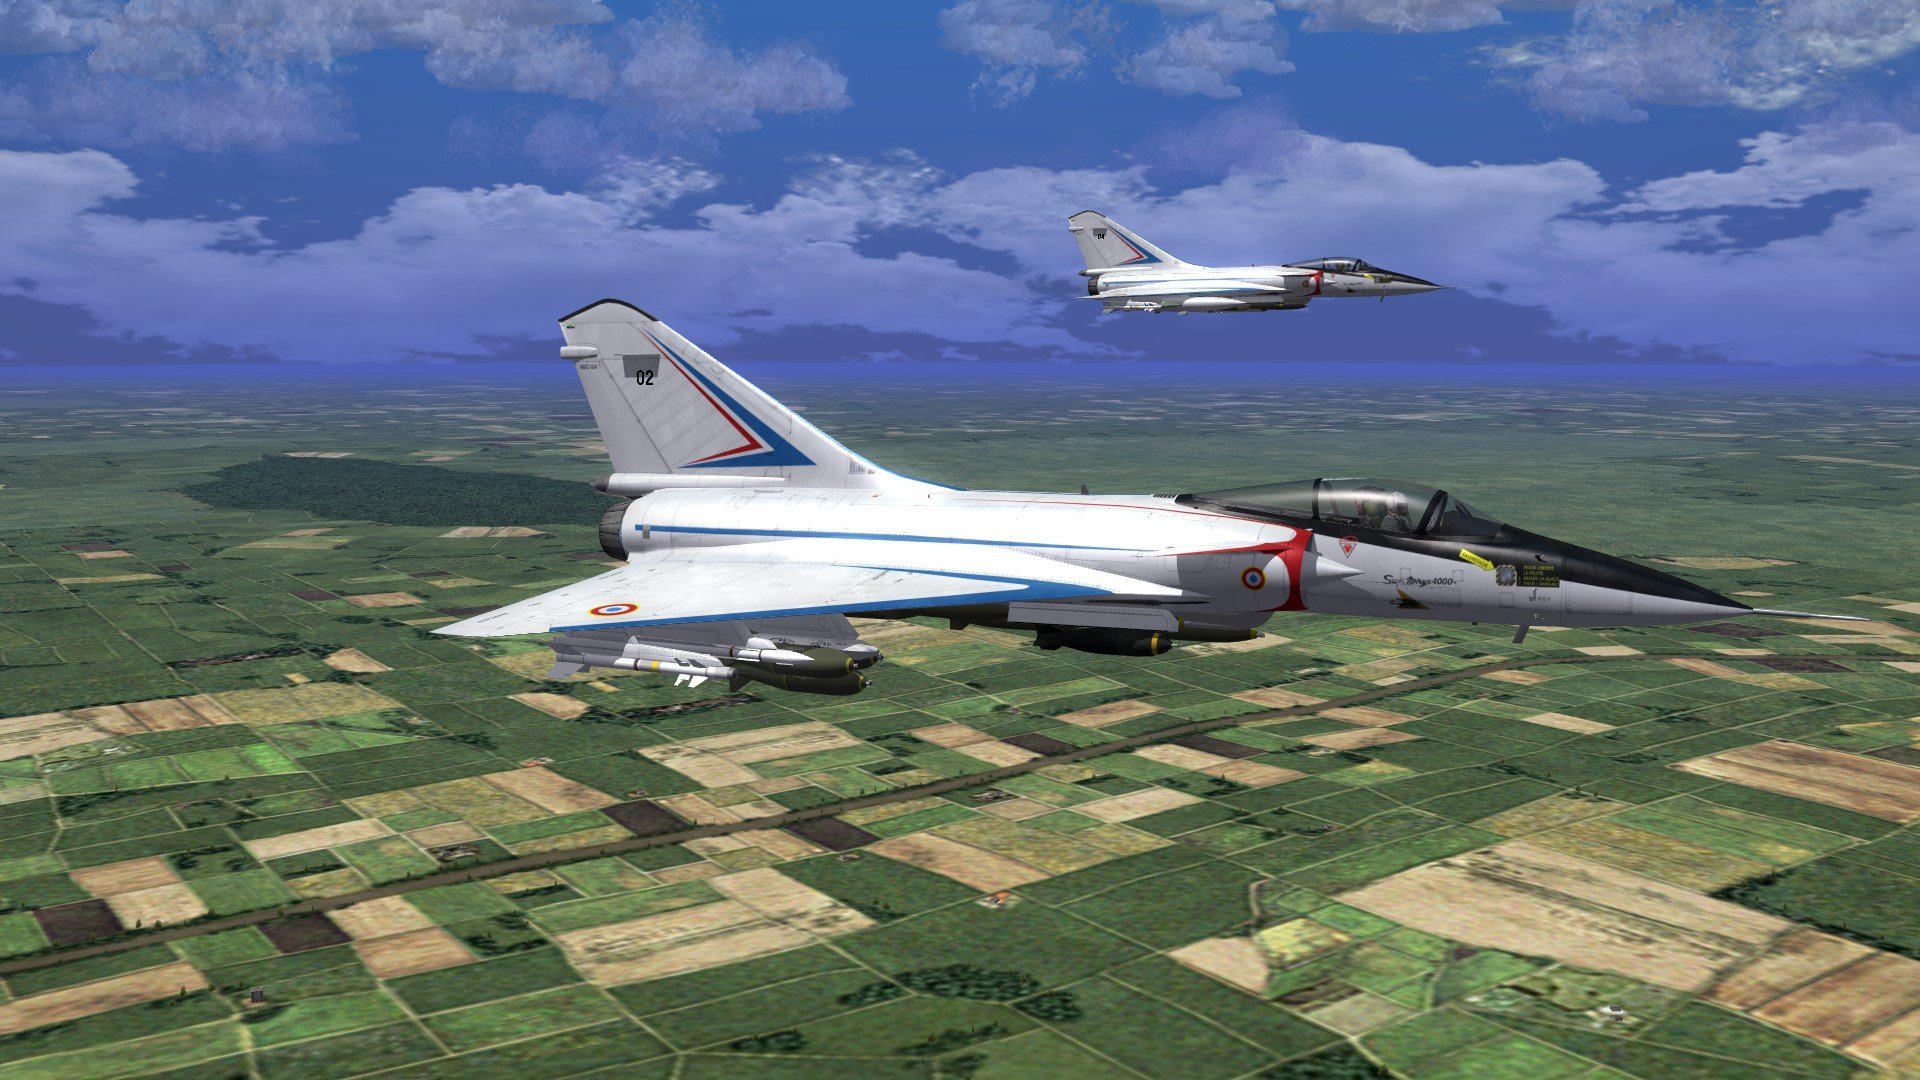

Mirage 4000 prototype
SF2 Aircraft Package
-

- First Eagles - WWI and Early Years - Skins
- First Eagles - WWI and Early Years - Add-On Aircraft
- First Eagles - WWI and Early Years - Add On Cockpits
- First Eagles - WWI and Early Years - Object Mods
- First Eagles - WWI and Early Years - Terrain and Environmental Mods
- First Eagles - WWI and Early Years - Missions and Campaigns
-
 116 0
116 0 -
 106 0
106 0 -
 143 0
143 0 -
 93 0
93 0 -
 82 0
82 0 -
 74 0
74 0 -
 351 1
351 1 -
 152 0
152 0 -
 100 0
100 0 -
 148 0
148 0 -
 112 0
112 0 -
 121 0
121 0 -
 800 1
800 1 -
 91 0
91 0 -
 93 0
93 0 -
 95 0
95 0 -
 127 0
127 0 -
 114 0
114 0 -
 125 0
125 0 -
 94 0
94 0 -
 121 0
121 0 -
 135 0
135 0 -
 141 0
141 0 -
 508 0
508 0
-
Download Statistics
