


GKABS
-
Content count
3,589 -
Joined
-
Last visited
-
Days Won
220
Posts posted by GKABS
-
-
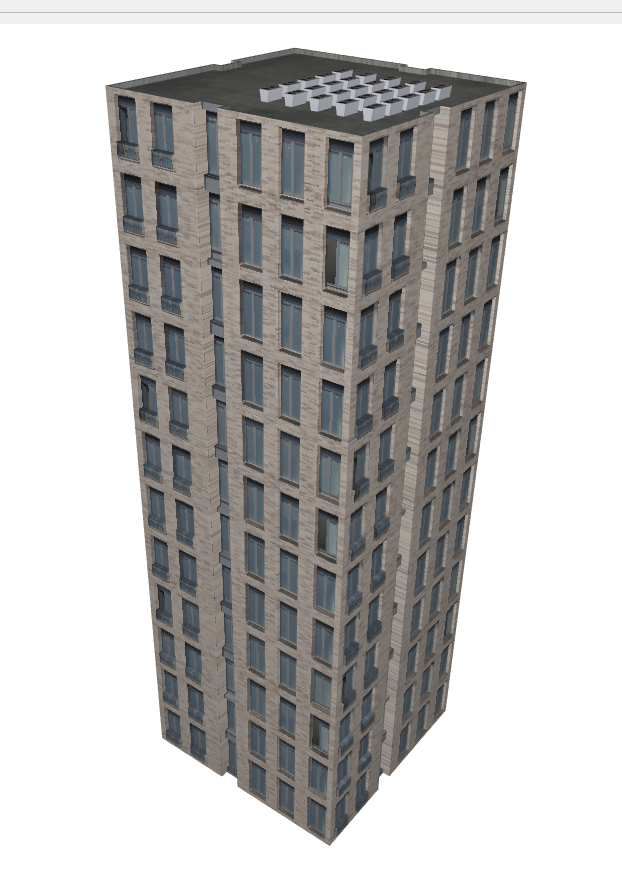
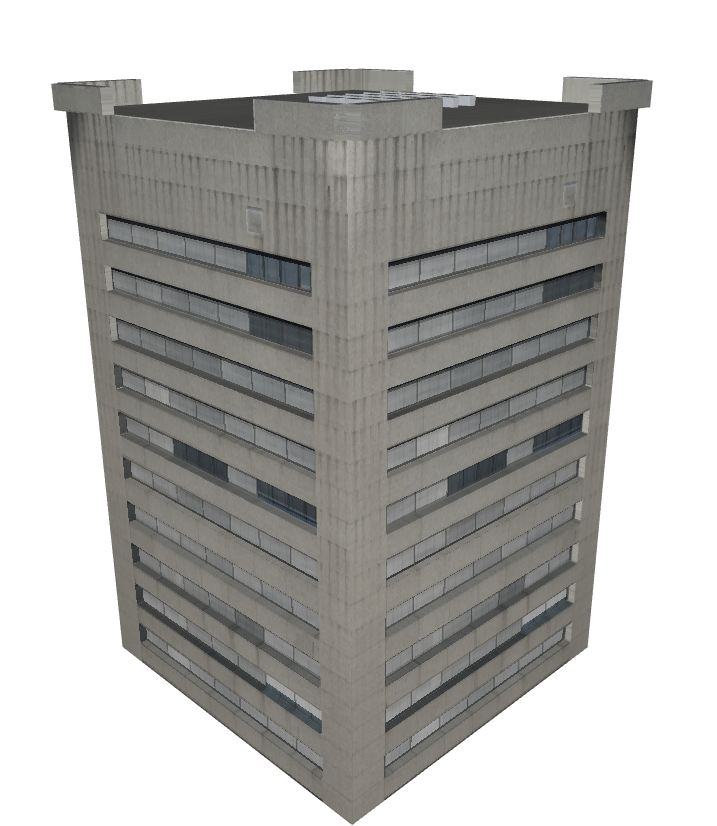
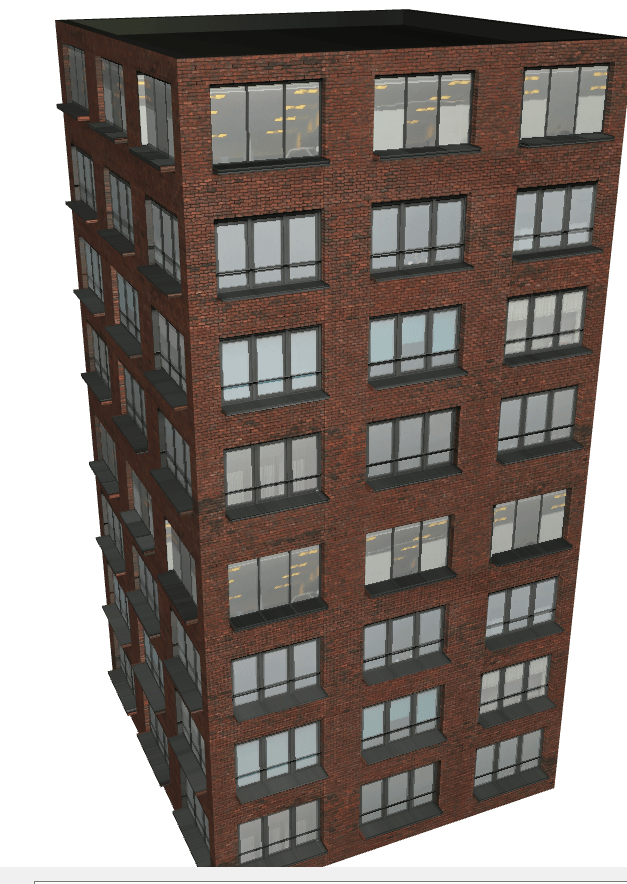
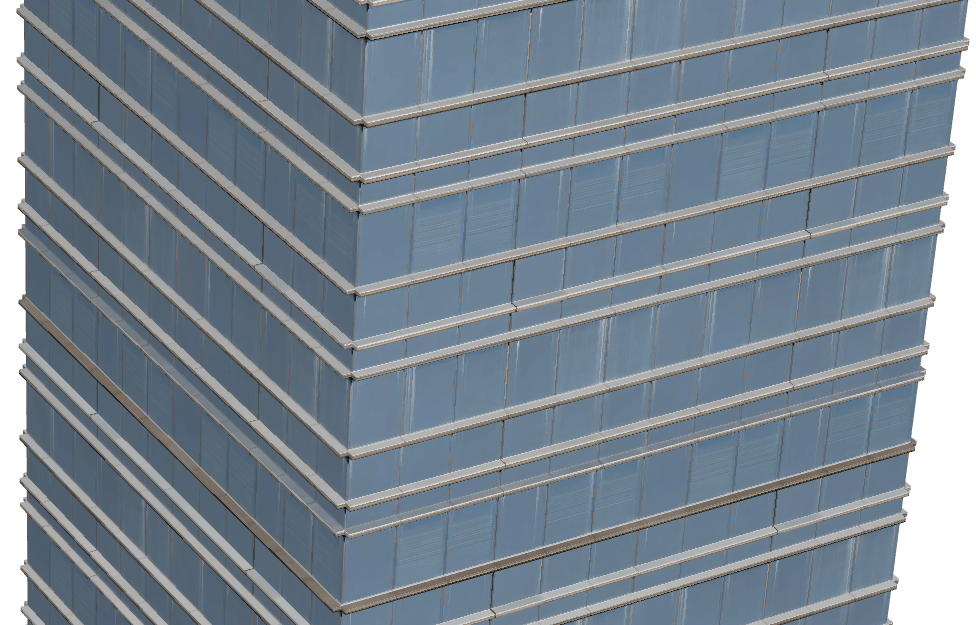
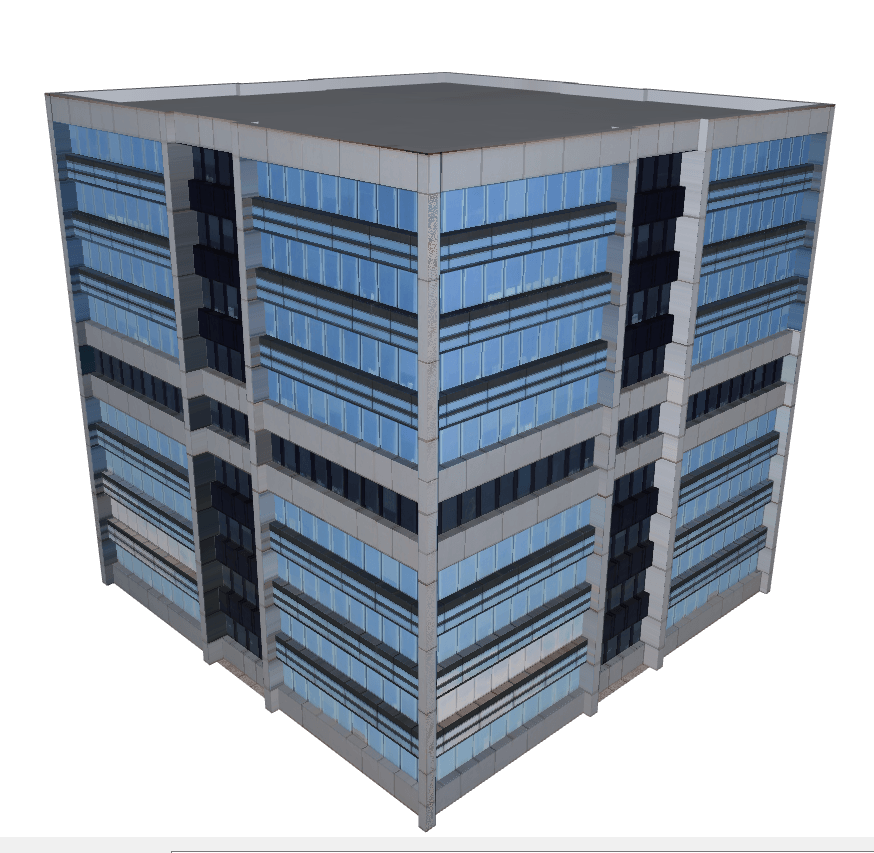
5 New City buildings
Hello and thank you for downloading my work.
What's included:
all my file should include the Strike Fighters 2 Series game file (.LOD) and the texture required.
Installation:
Copy all the files to Terrains folder and the falowing to _TYPES.ini file
[TargetTypeXXX]
Name=City BuildingGK1
FullName=City BuildingGK1
ModelName=GK-Building1.LOD
TargetType=CITY_BUILDING
ActiveYear=0
TargetValue=600
UseGroundObject=FALSE
DamagePoint=100.0
ArmorValue=30000.0
ArmorType=1
RepairRate=0.150
StartDetectChance=20
StartIdentifiedChance=0
IncreaseDetectChanceKey=0
MaxVisibleDist=12000.0
DamagedModel=
DestroyedEffect=LargeTallStructureCollapse
DestroyedModel=
SecondaryEffect=MediumExplosionEffect
SecondaryChance=100[TargetTypeXXX]
Name=City Building GK2
FullName=City Building GK2
ModelName=GK-Building2.LOD
TargetType=CITY_BUILDING
ActiveYear=0
TargetValue=600
UseGroundObject=FALSE
DamagePoint=100.0
ArmorValue=30000.0
ArmorType=1
RepairRate=0.150
StartDetectChance=20
StartIdentifiedChance=0
IncreaseDetectChanceKey=0
MaxVisibleDist=12000.0
DamagedModel=
DestroyedEffect=LargeTallStructureCollapse
DestroyedModel=
SecondaryEffect=MediumExplosionEffect
SecondaryChance=100[TargetTypeXXX]
Name=City Building GK3
FullName=City Building GK3
ModelName=GK-Building3.LOD
TargetType=CITY_BUILDING
ActiveYear=0
TargetValue=600
UseGroundObject=FALSE
DamagePoint=100.0
ArmorValue=30000.0
ArmorType=1
RepairRate=0.150
StartDetectChance=20
StartIdentifiedChance=0
IncreaseDetectChanceKey=0
MaxVisibleDist=12000.0
DamagedModel=
DestroyedEffect=LargeTallStructureCollapse
DestroyedModel=
SecondaryEffect=MediumExplosionEffect
SecondaryChance=100[TargetTypeXXX]
Name=City Building GK4
FullName=City Building GK4
ModelName=GK-Building4.LOD
TargetType=CITY_BUILDING
ActiveYear=0
TargetValue=600
UseGroundObject=FALSE
DamagePoint=100.0
ArmorValue=30000.0
ArmorType=1
RepairRate=0.150
StartDetectChance=20
StartIdentifiedChance=0
IncreaseDetectChanceKey=0
MaxVisibleDist=12000.0
DamagedModel=
DestroyedEffect=LargeTallStructureCollapse
DestroyedModel=
SecondaryEffect=MediumExplosionEffect
SecondaryChance=100[TargetTypeXXX]
Name=City Building GK5
FullName=City Building GK5
ModelName=GK-Building5.LOD
TargetType=CITY_BUILDING
ActiveYear=0
TargetValue=600
UseGroundObject=FALSE
DamagePoint=100.0
ArmorValue=30000.0
ArmorType=1
RepairRate=0.150
StartDetectChance=20
StartIdentifiedChance=0
IncreaseDetectChanceKey=0
MaxVisibleDist=12000.0
DamagedModel=
DestroyedEffect=LargeTallStructureCollapse
DestroyedModel=
SecondaryEffect=MediumExplosionEffect
SecondaryChance=100If you need any further help please read the knowledge Base at:
https://combatace.com/forums/forum/268-thirdwire-strike-fighters-2-series-knowledge-base/
LICENSE:You are allowed to use this model and everything included with it for personal non-profit use for Strike fighters 1 and 2. For use outside of this scope, you need to contact me for permission.
gkabs@gkabs.netCredit goes to the following:
GKABS for creating the model and the skins
Credit goes to https://www.textures.com as a use a lot of their photos to create the skins.
And finally not to forget the wonderful site of https://combatace.com and all the nice member's and their dedicated support for this game.
If you need any assistance please contact me at
gkabs@gkabs.net
https://gkabs.net
-
Submitter
-
Submitted02/23/2019
-
Category
-
-
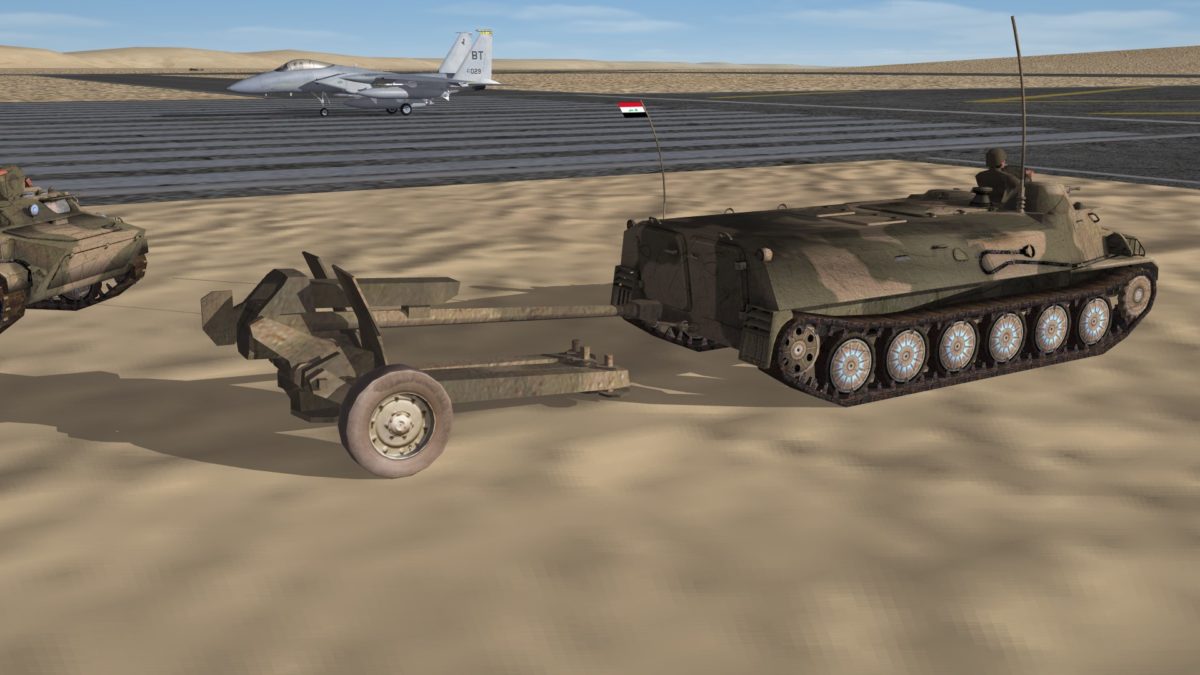
just another update, even tho I am at vacation couldn't stop the temptation of completing this one. the soldier is free to download from the net but I had to do the rigging to the model

-
 5
5
-
 1
1
-
-
-
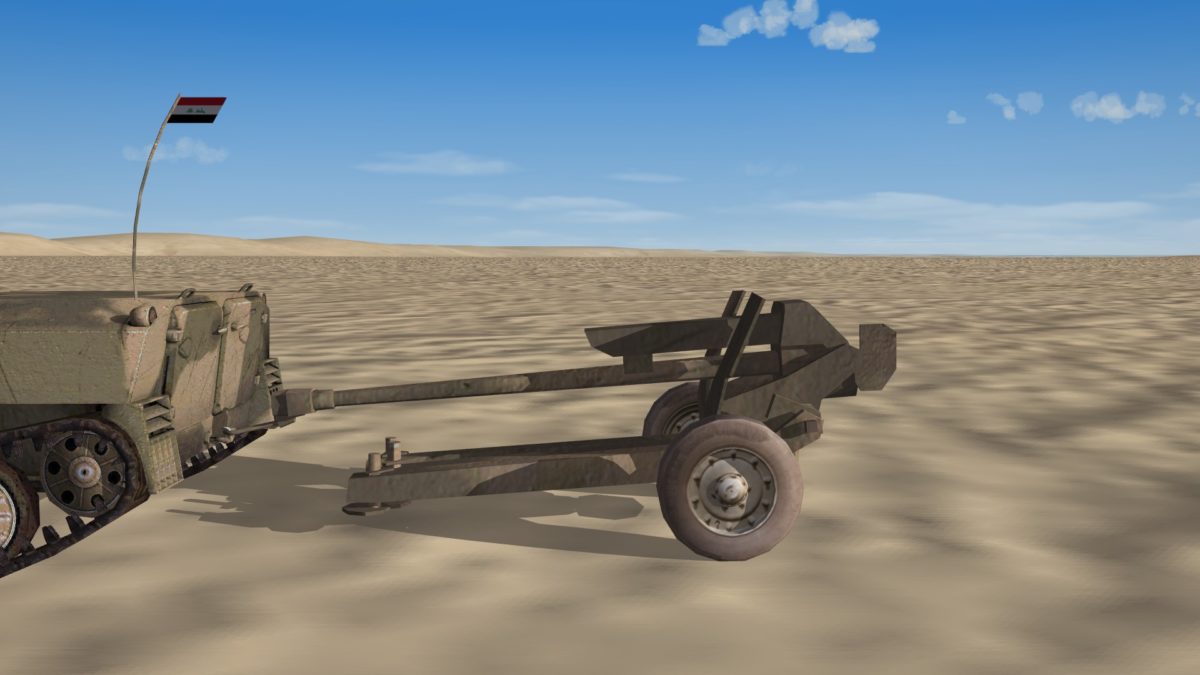
On 1/27/2019 at 9:53 PM, whiteknight06604 said:one question please. do you plan on making the D30 as a separate ground object set up in the firing position with a crew? just curious because we can never have enough ground targets. your vehicles so far have been great. thank you.
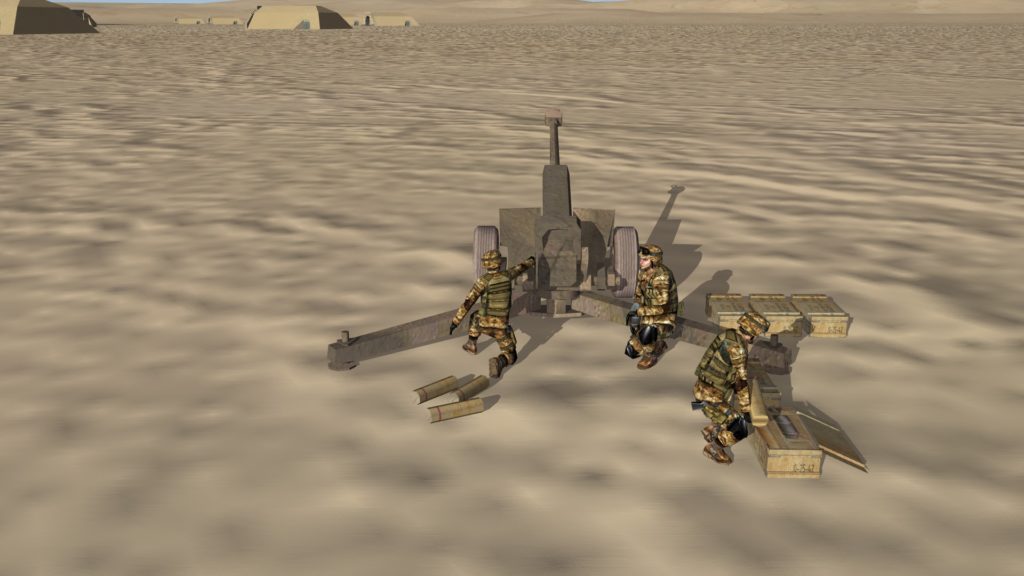
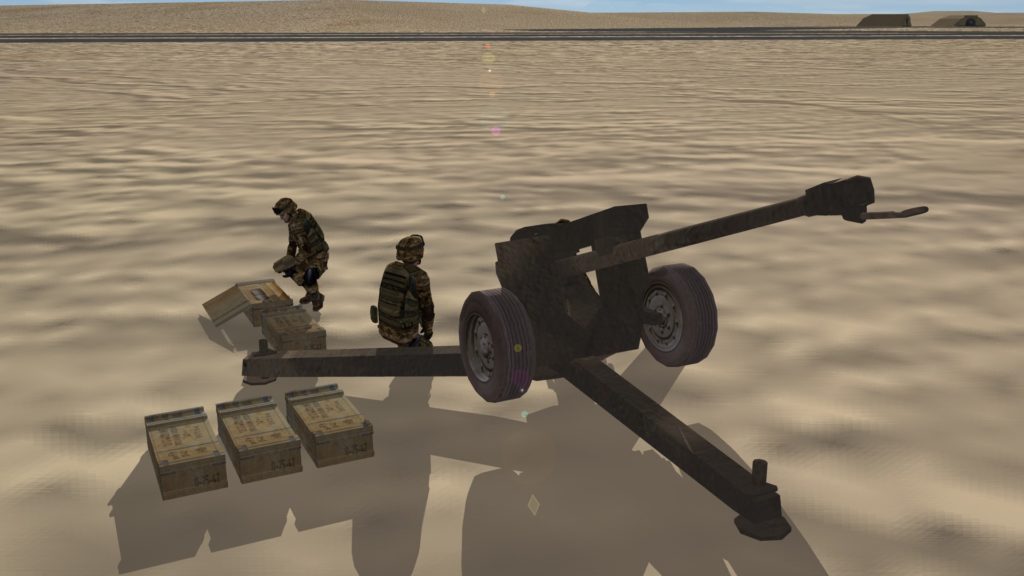
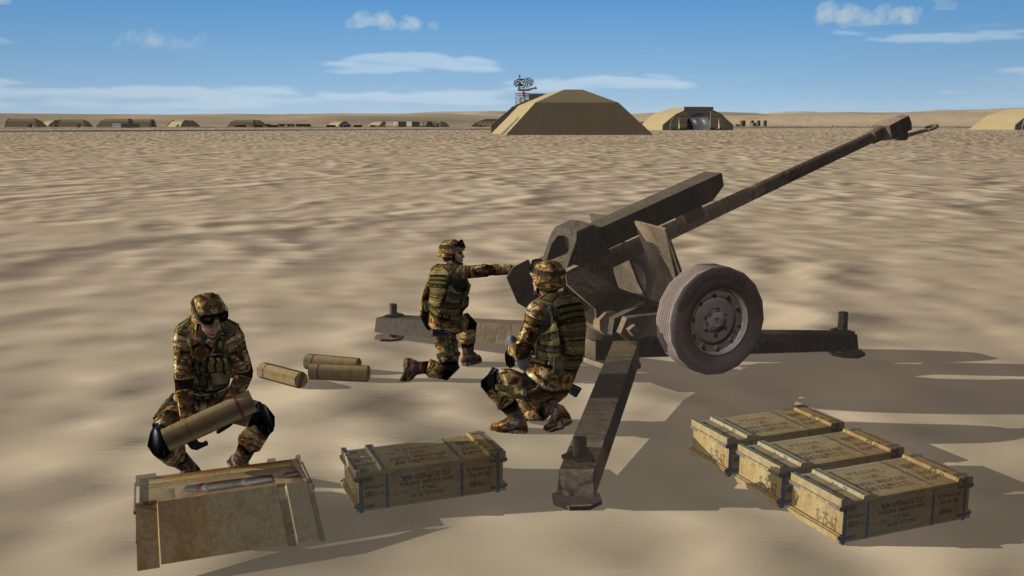
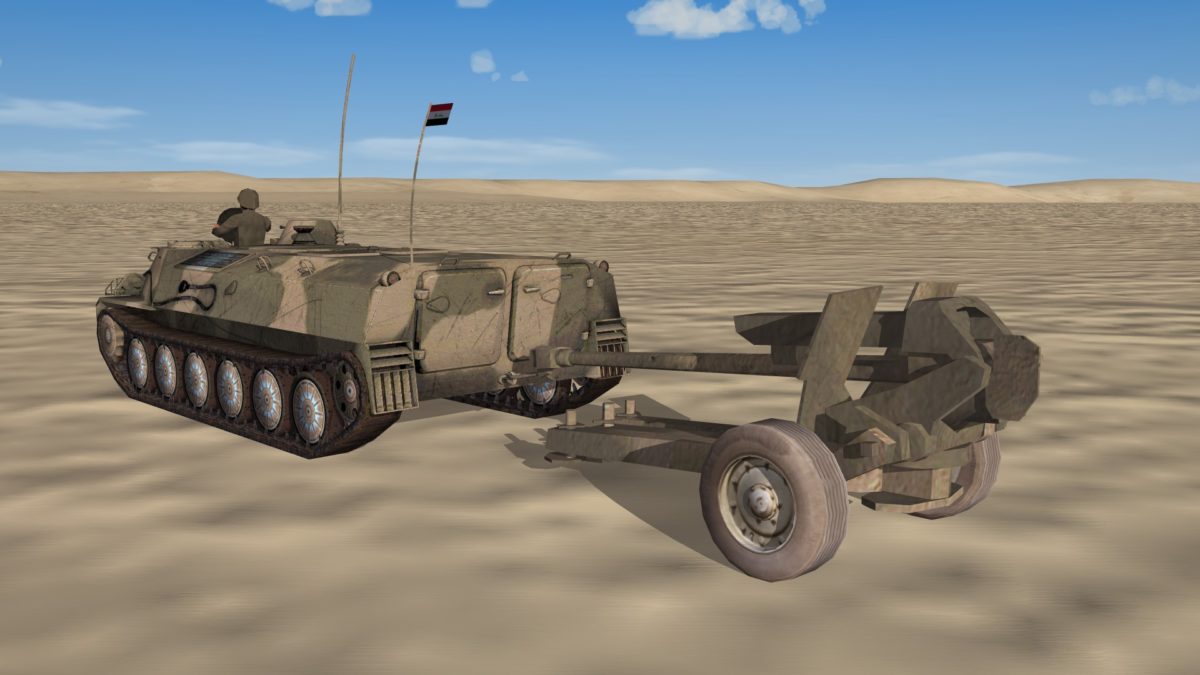
Dear whiteknight06604, as you requested
-
2
-
1
-
-
50 minutes ago, whiteknight06604 said:one question please. do you plan on making the D30 as a separate ground object set up in the firing position with a crew? just curious because we can never have enough ground targets. your vehicles so far have been great. thank you.
Hi whiteknight06604, Thank you for your kind words, yes, I am planning on doing just that, but I am not good with modeling soldiers so I will see what I can do. if someone has a low poly model and can share it that will be great. otherwise, I just need to learn how to do it.
-
1
-
1
-
-
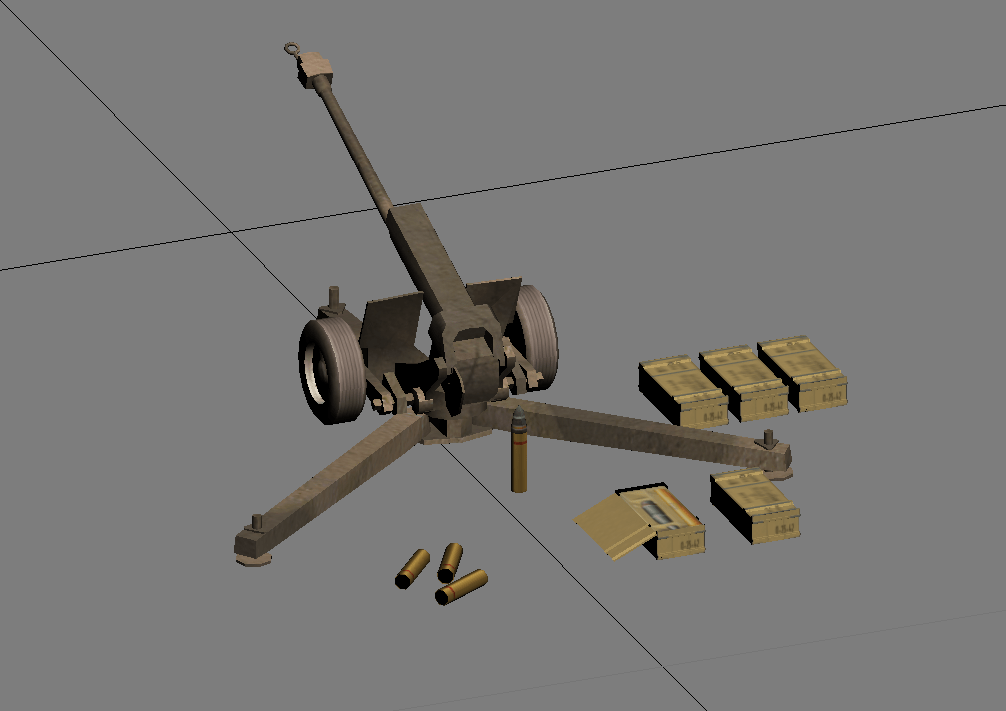
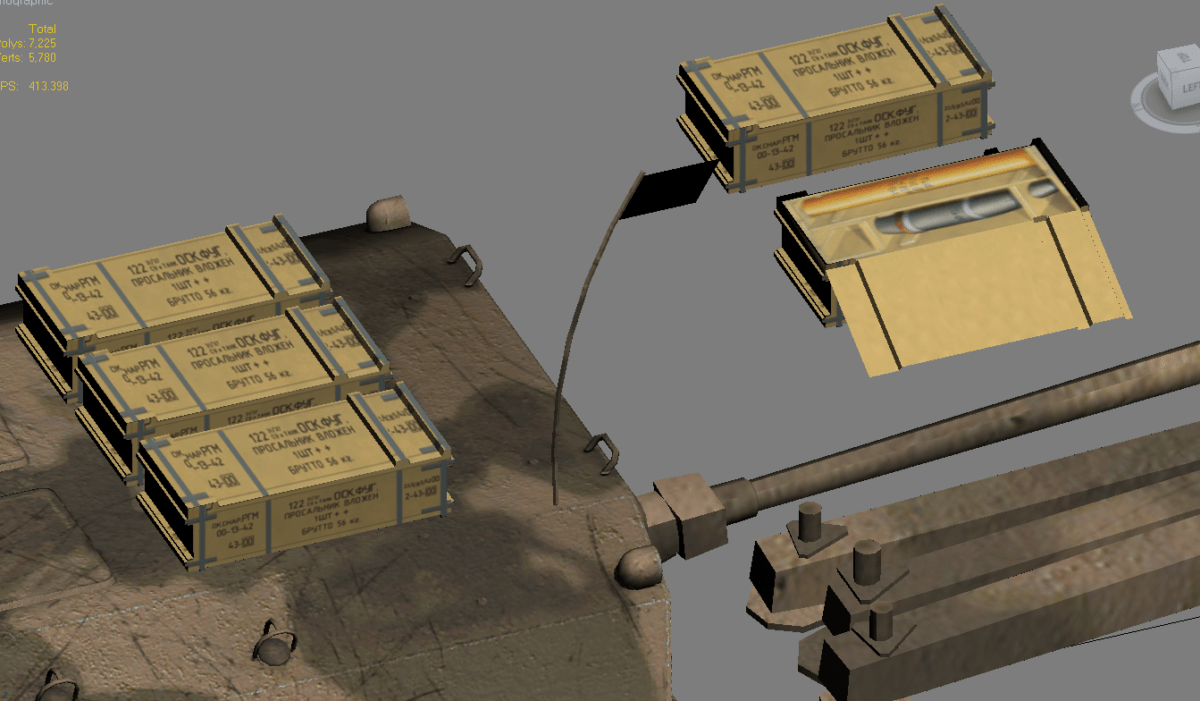
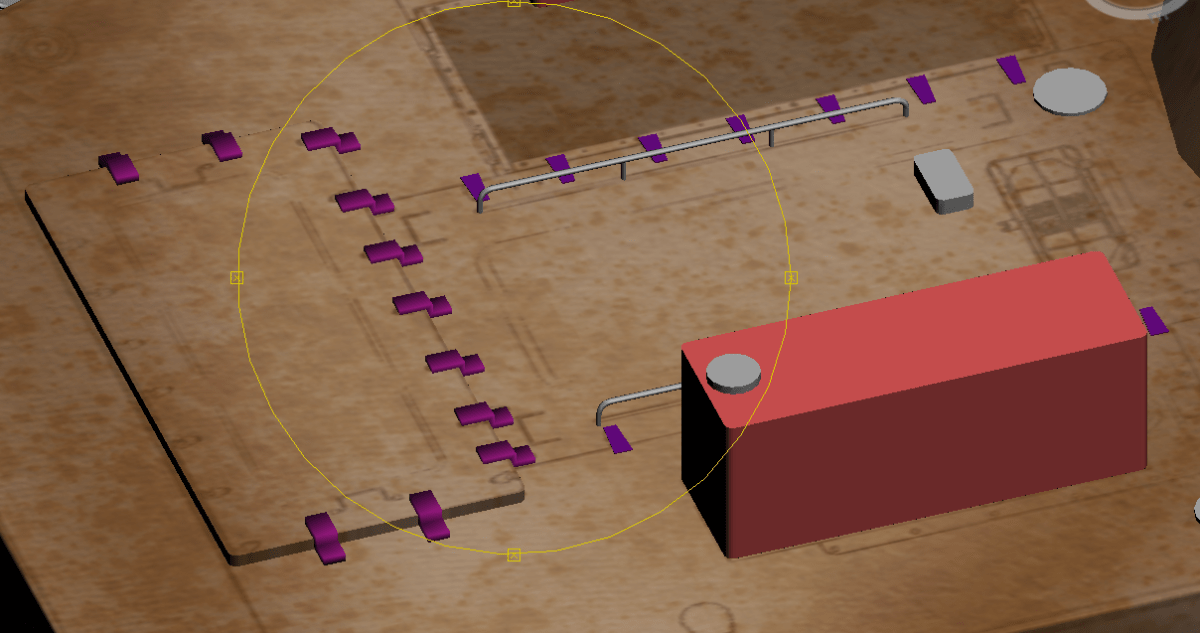
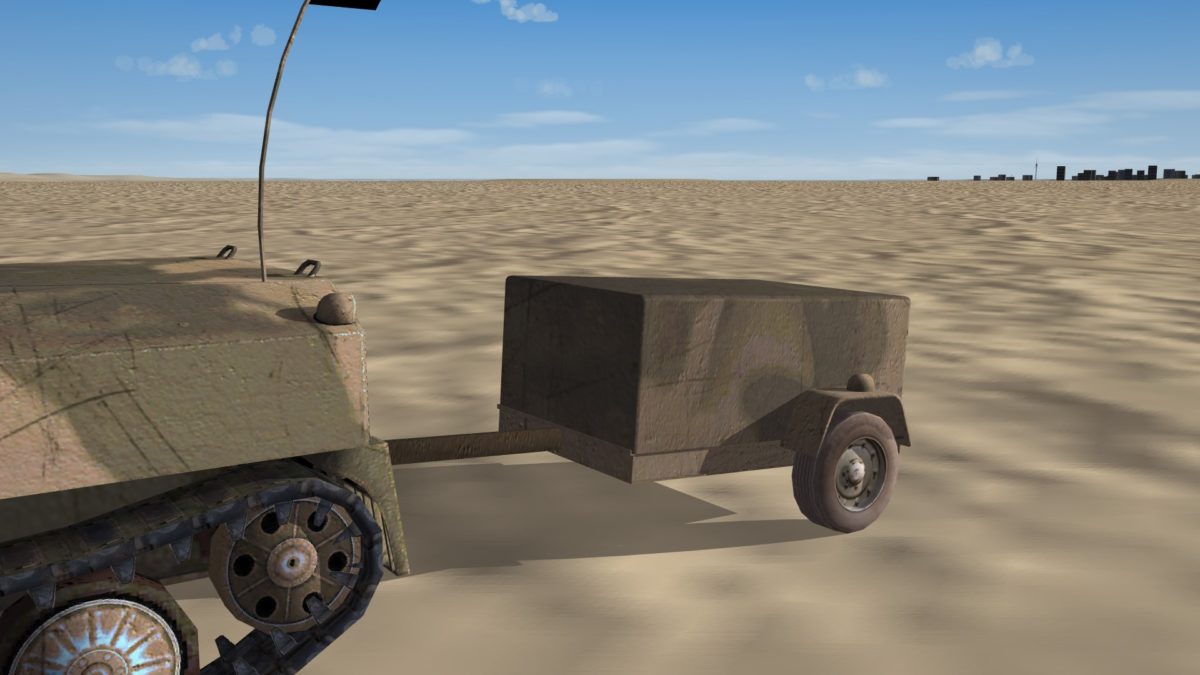
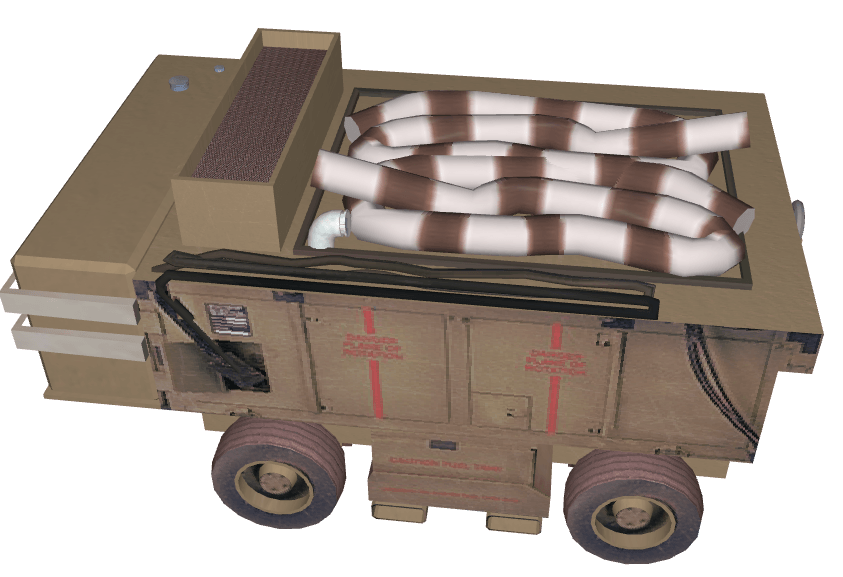
122 mm Ammo Boxes
-
3
-
-
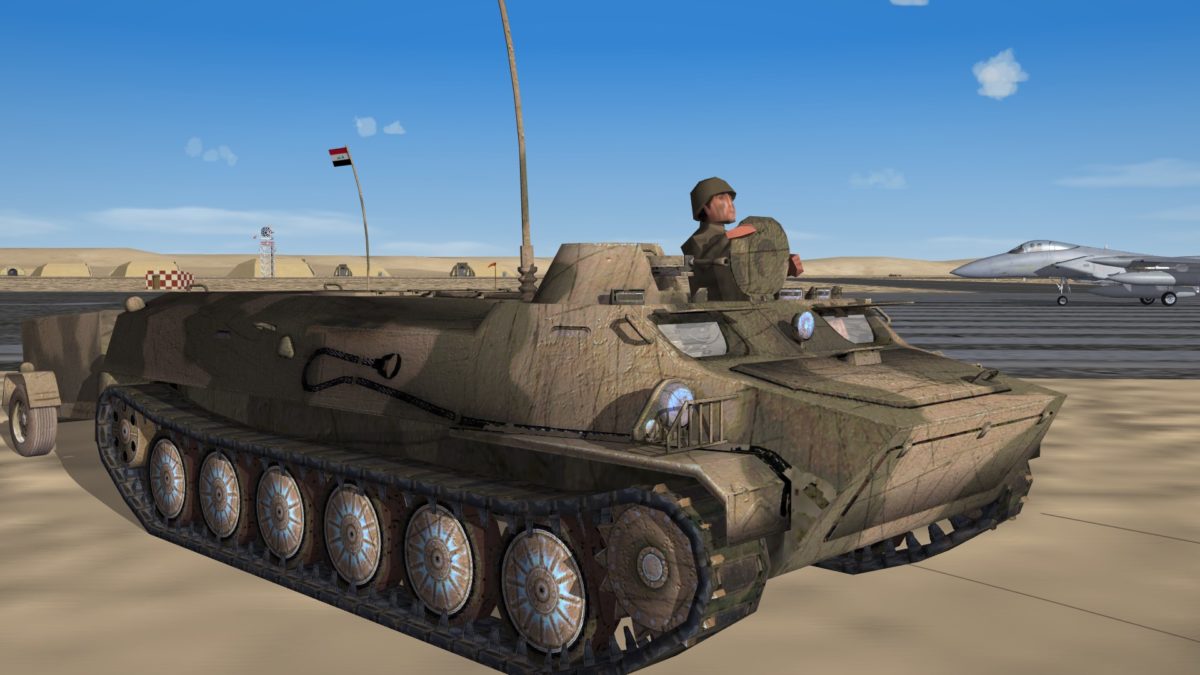
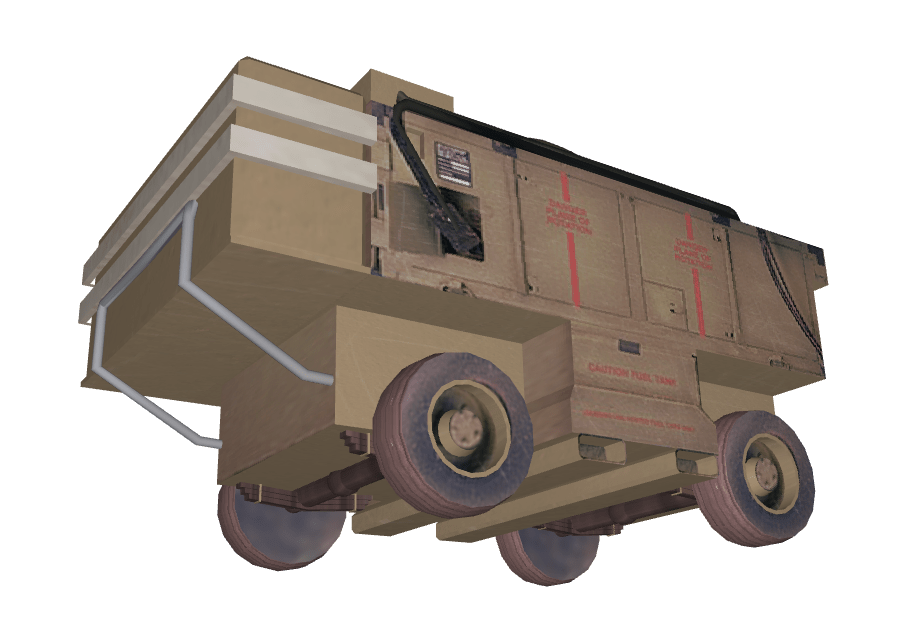
this is a quick fix, just cut the engine place and fixed the fuel tank.
-
1
-
-
Thanks, Will do

-
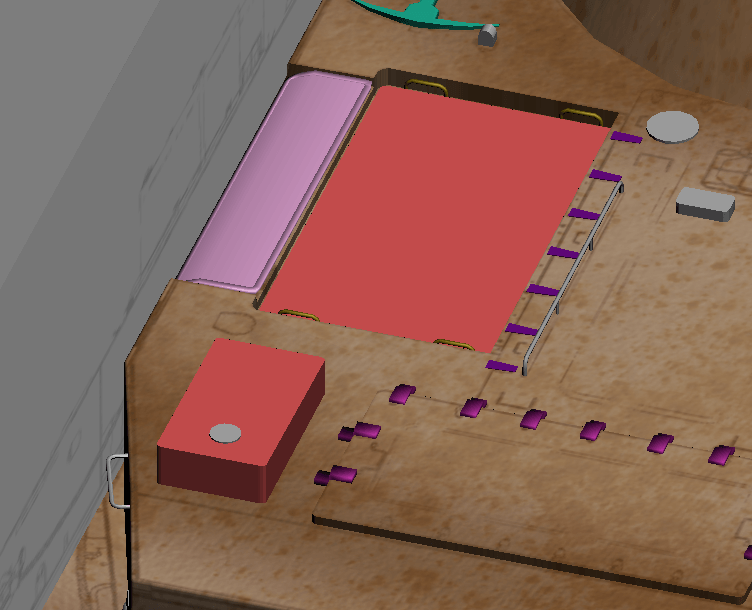
I think this is more accurate what do you think (for the auxiliary fuel tanks)?
-
1
-
-
27 minutes ago, yakarov79 said:those red boxes are auxiliary fuel tanks? If yes on left side need to be moved back. Can't be on exhaust section.
Generally, auxiliary tanks were at the back of the hull. (yes many plastic scale models have it moved forward - but this is basically wrong)
Many thank for your comment, I will correct it. I was thinking the same thing, but the blueprint I have been using have it in the wrong place.

-
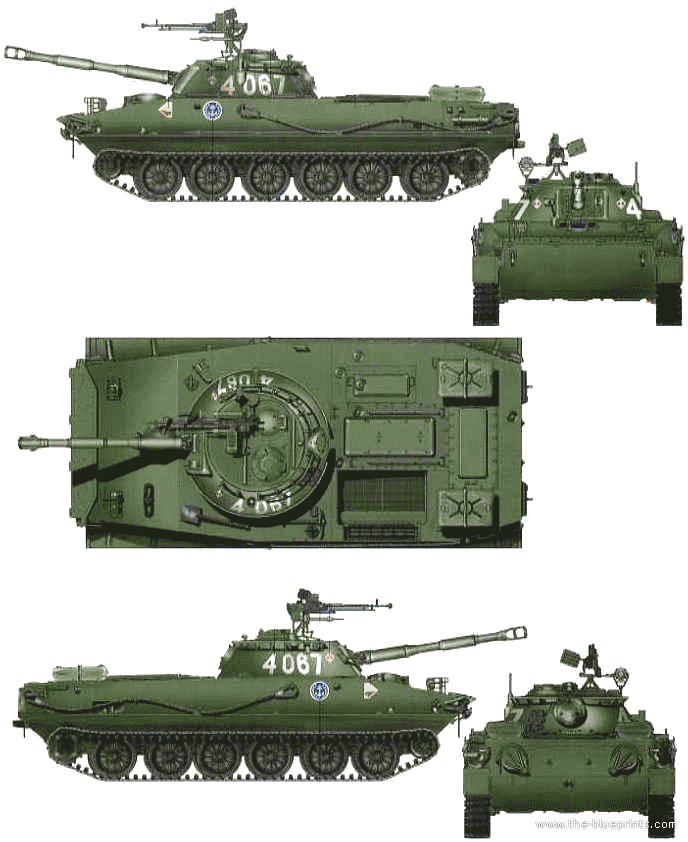
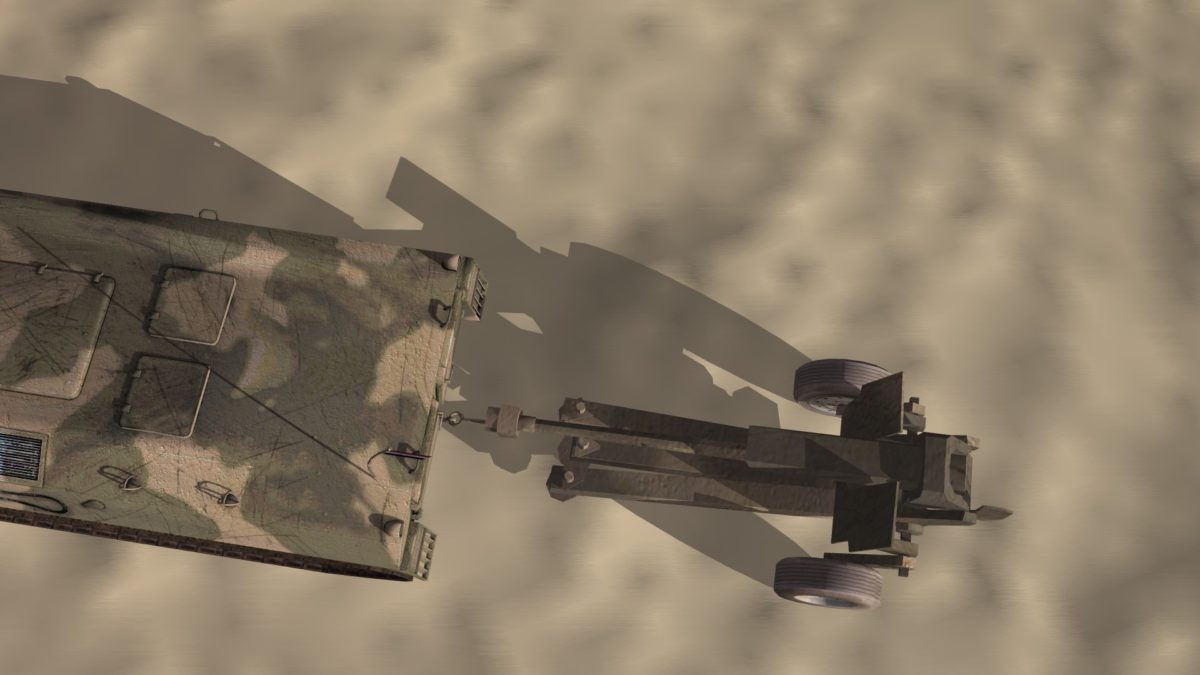
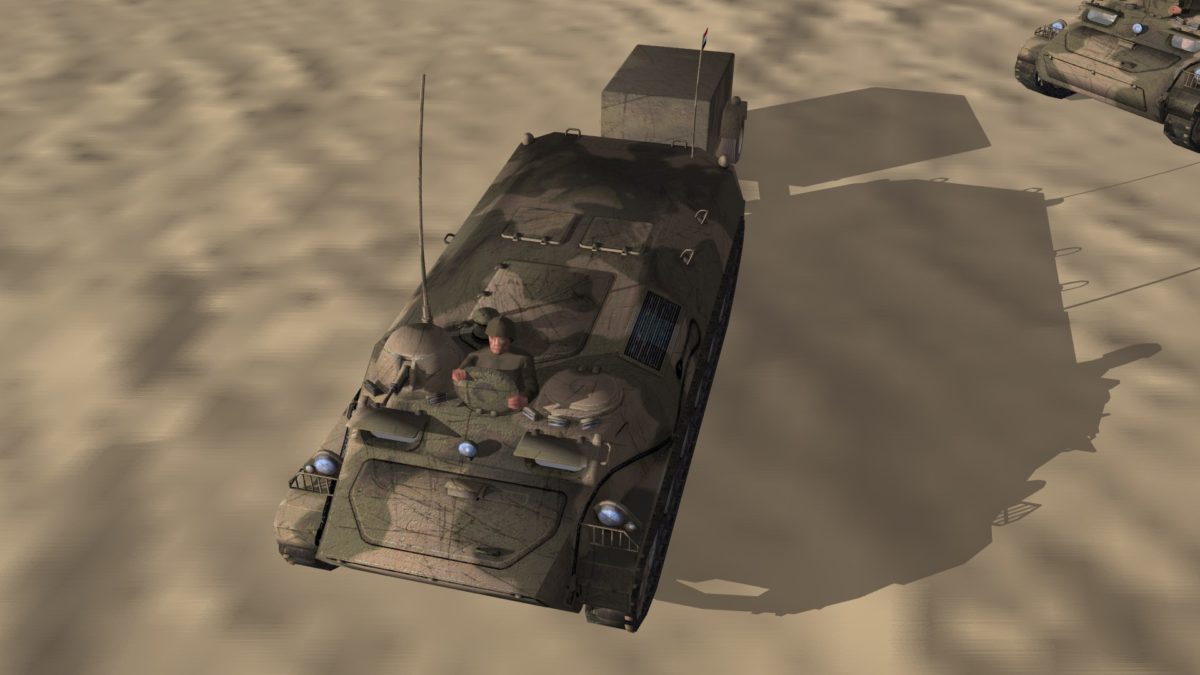
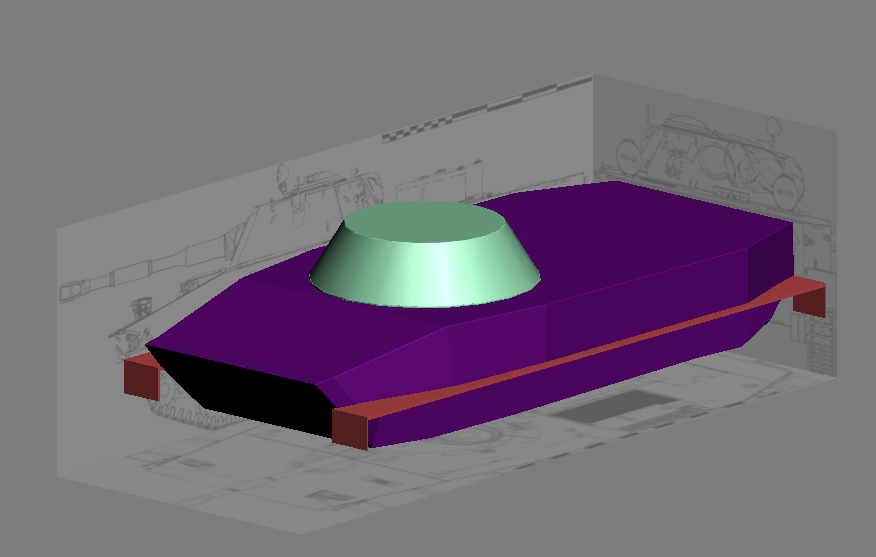
just another update for the PT-76 project.

-
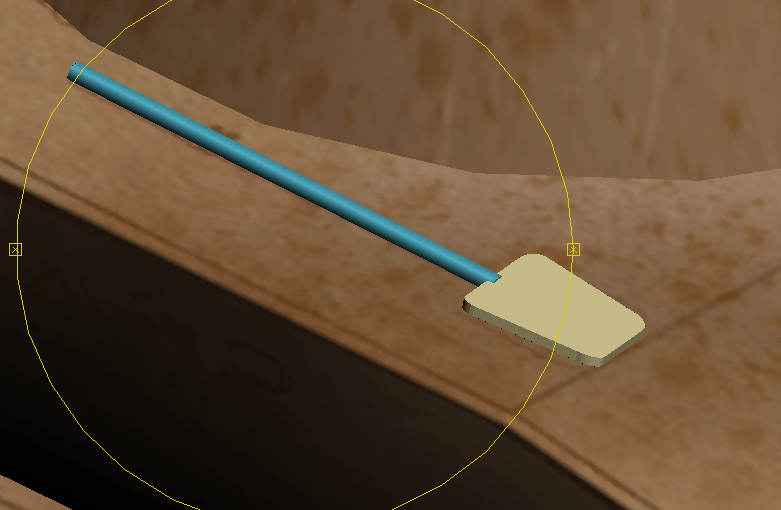
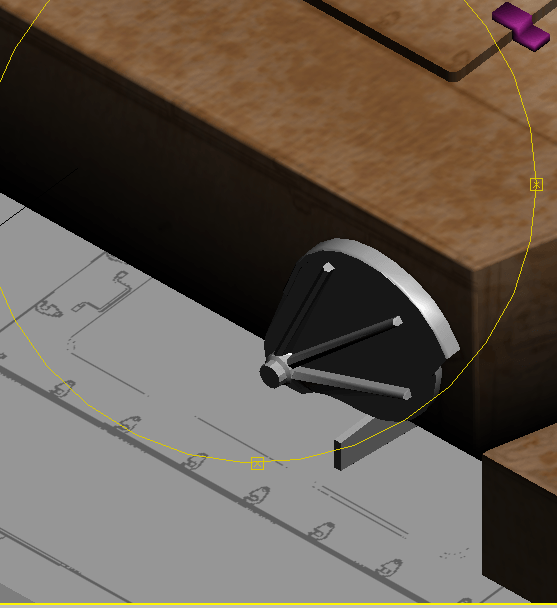
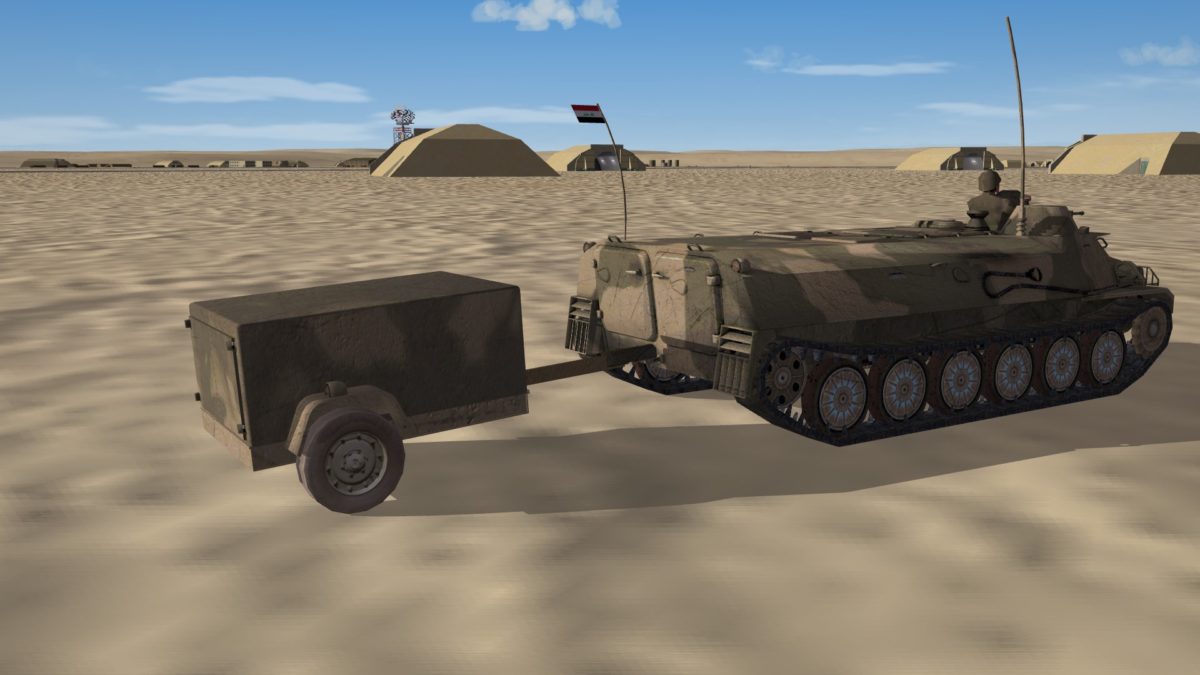
Just completed a low poly D-30 to add to the MT-LB model. I just need to make some ammo boxes to put on top of the MT-LB.
I will have the D-30 as a separated model too.
-
5
-
-
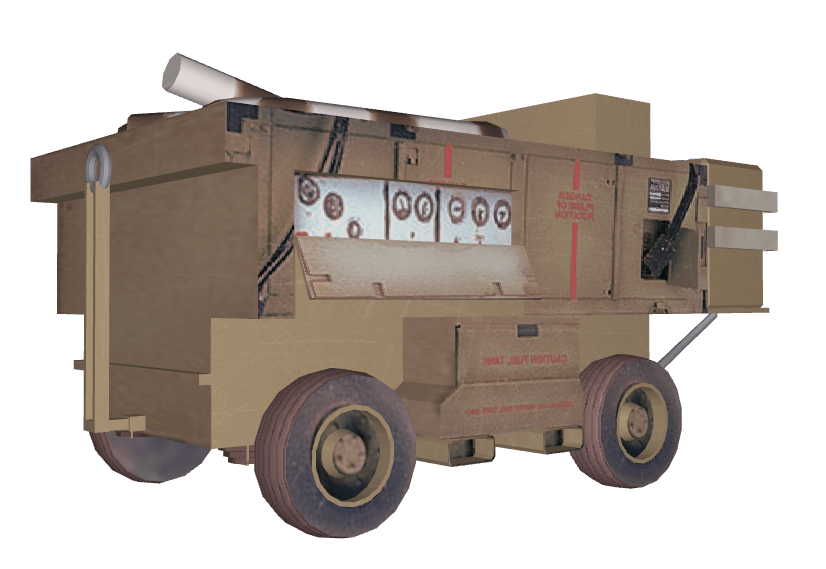
Just made a quick model fix, I think it's better ;) sorry for adding a lot of photos.

-
6
-
-
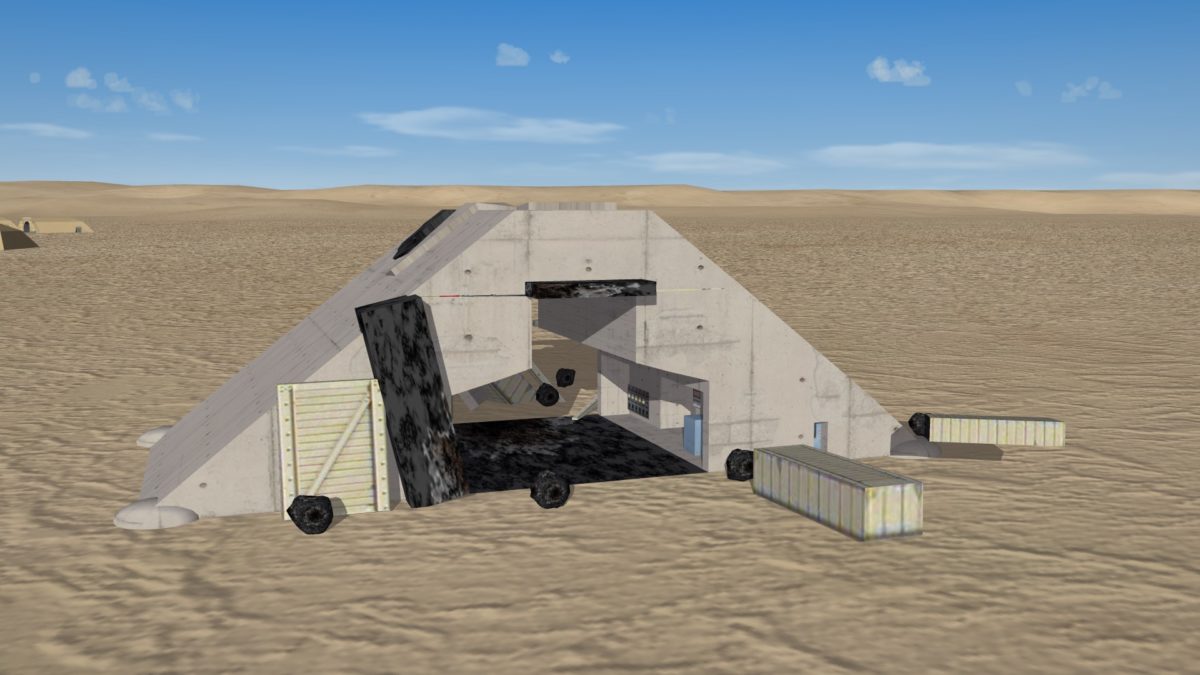
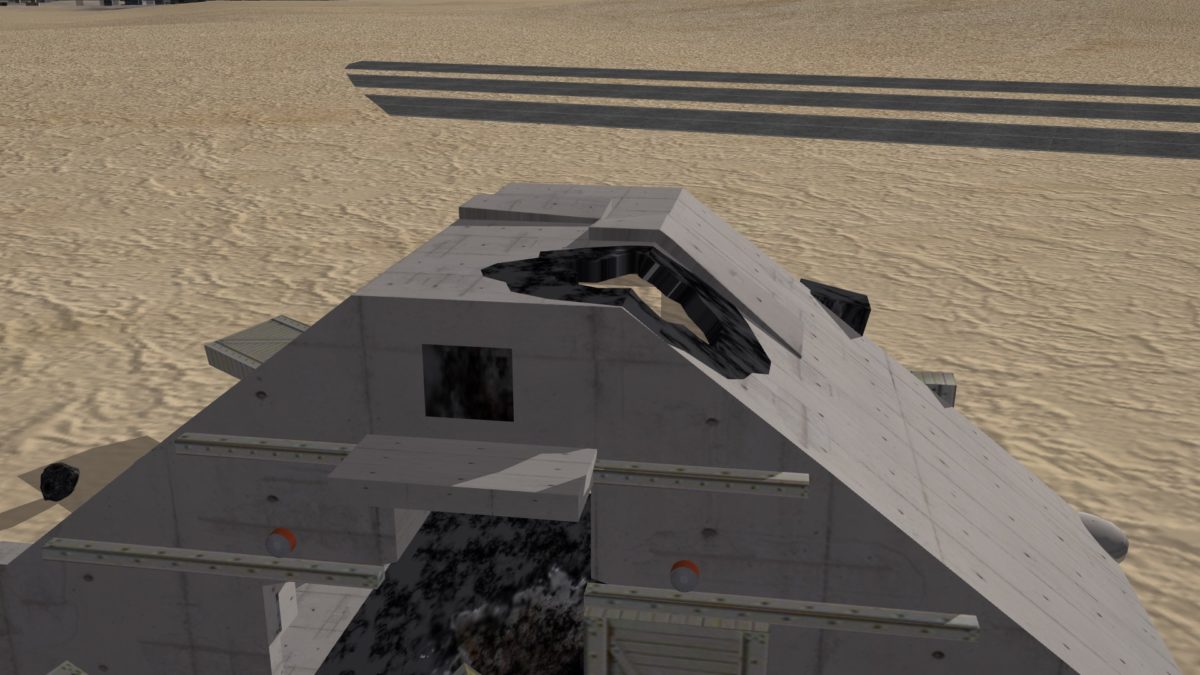
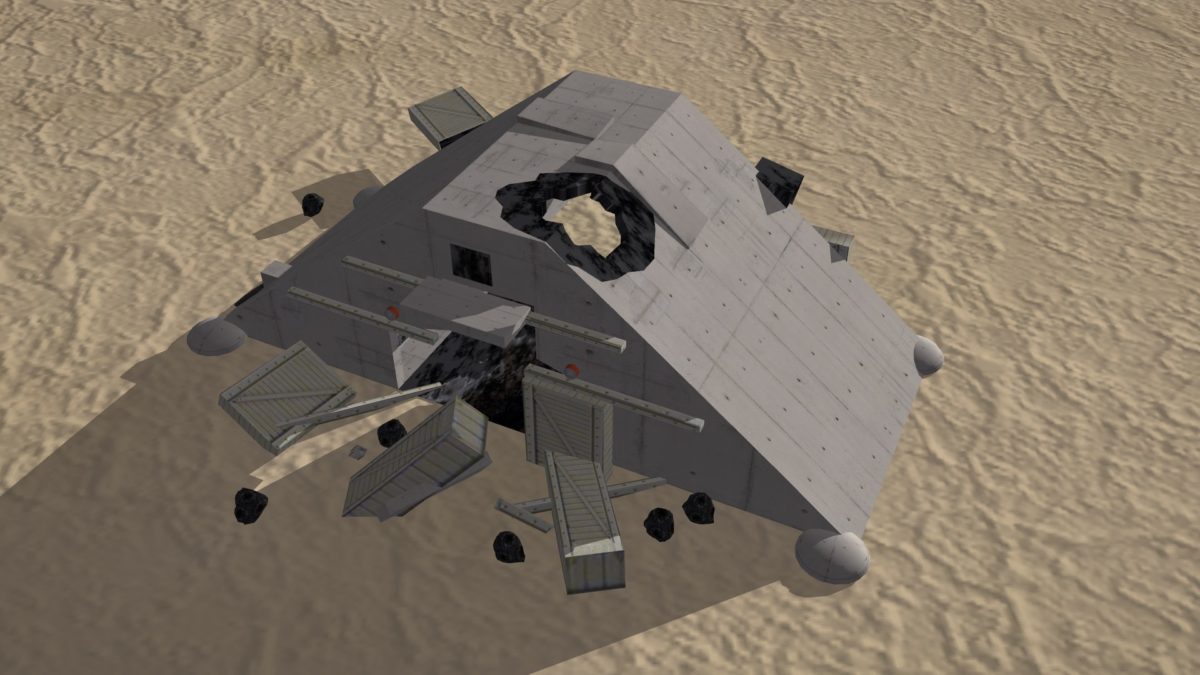
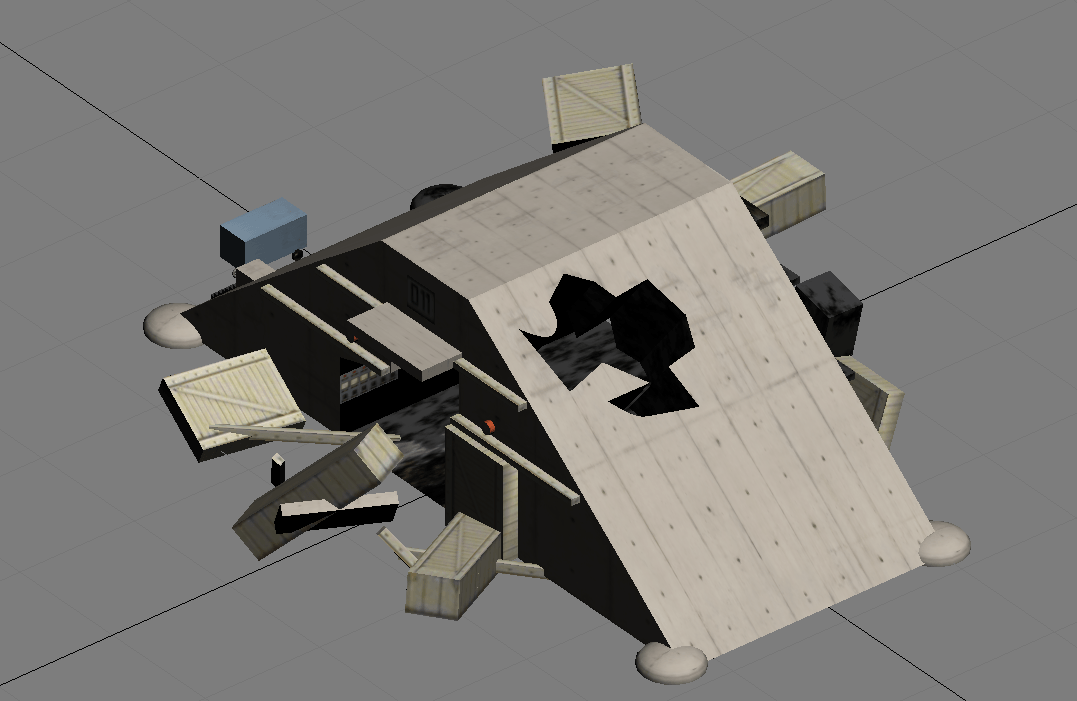
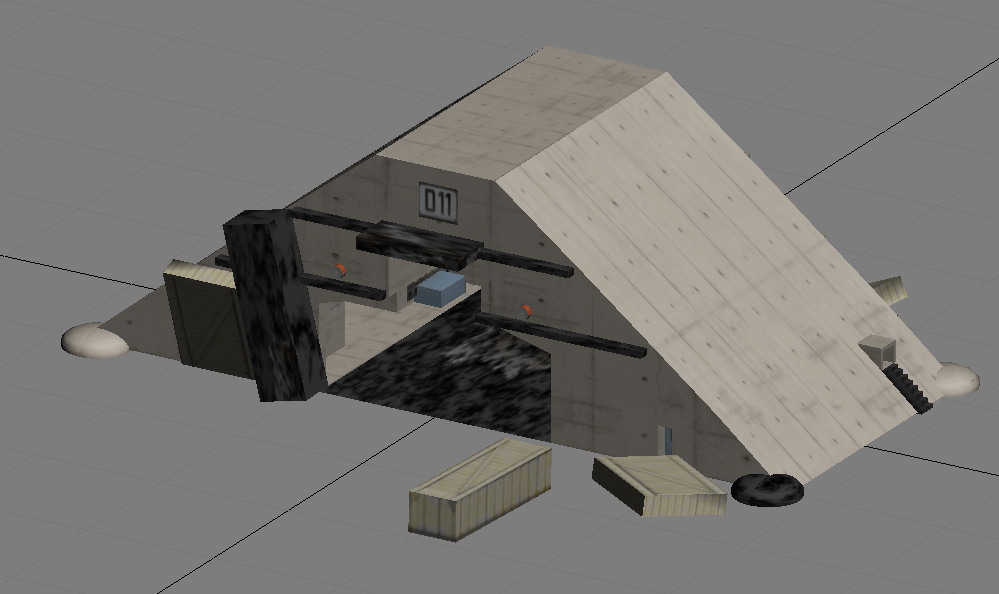
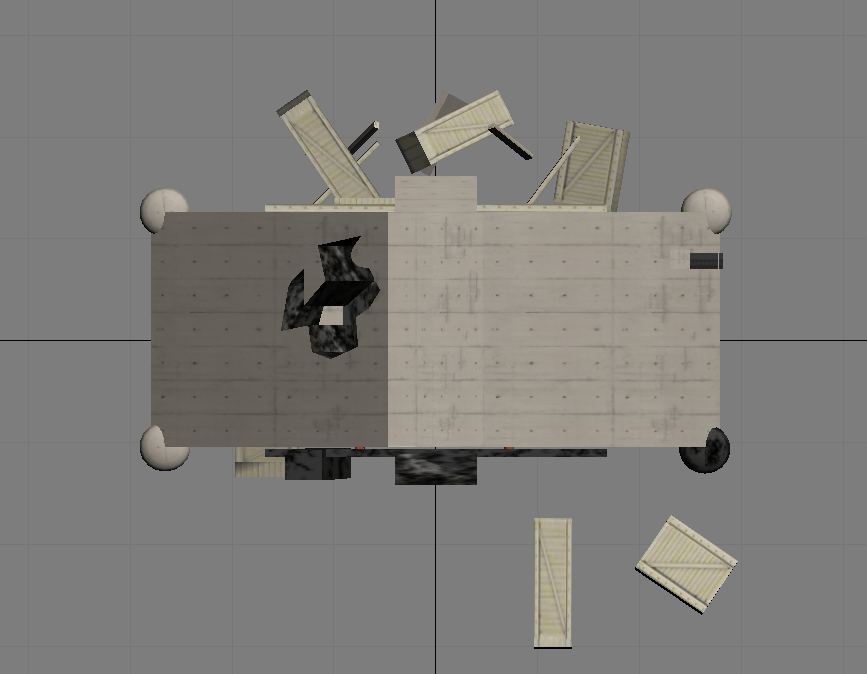
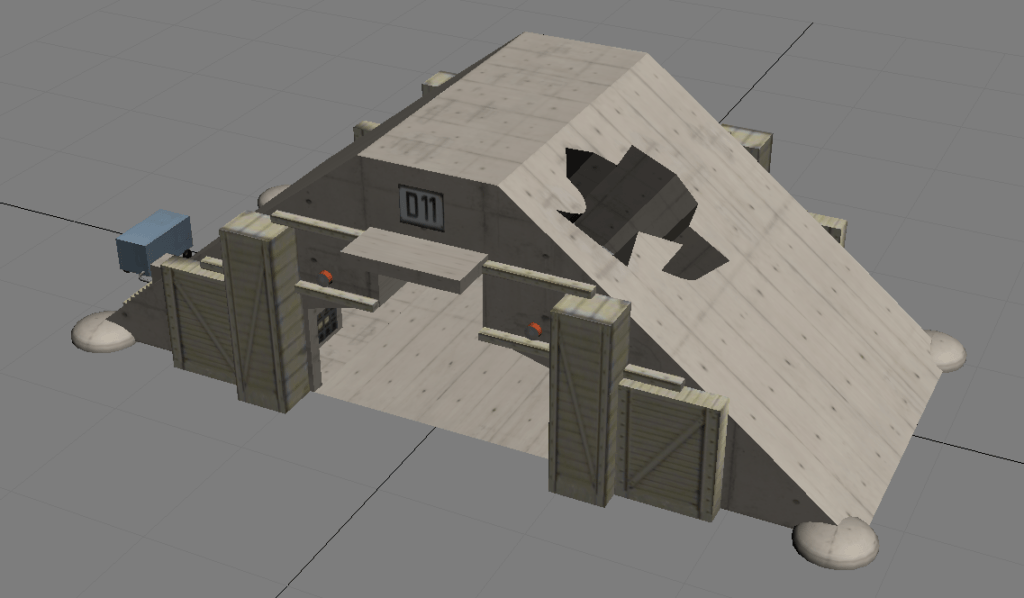
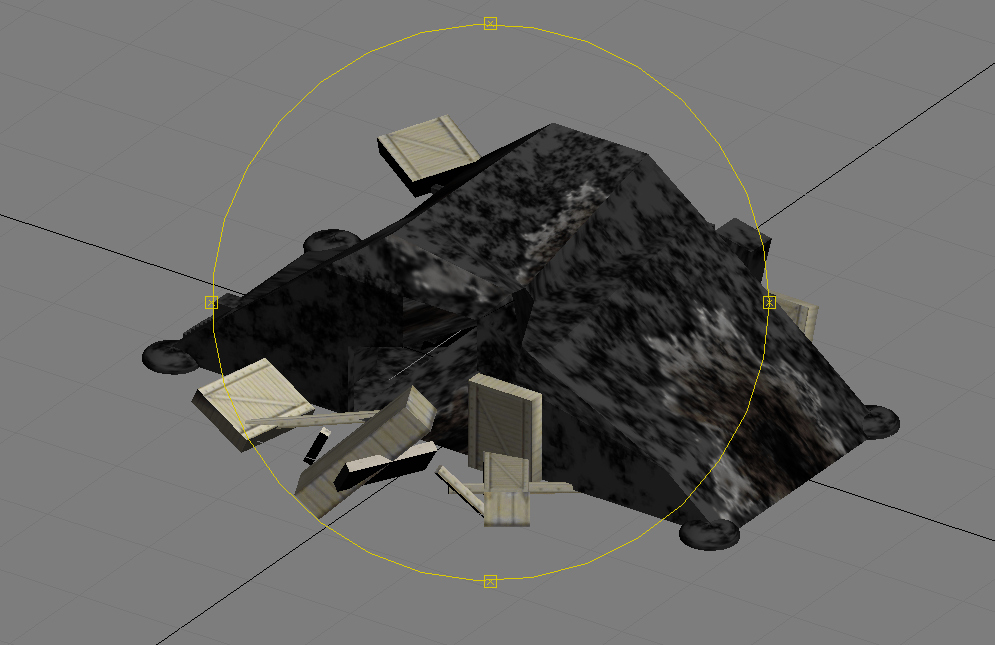
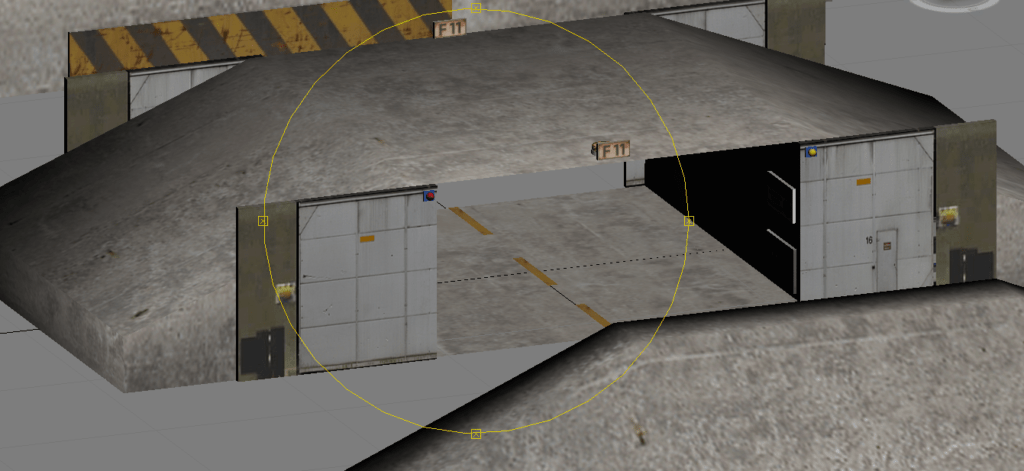
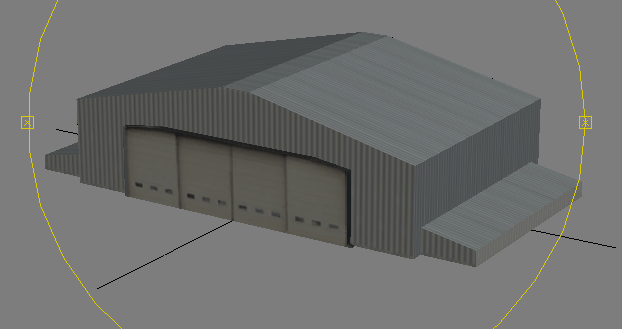
37 minutes ago, gkabs said:Thank you for your comment; you are absolutely correct about the damaged hanger; however I created two models. One has a hole within it which is meant to represent the more realistic turn out (it will eventually have things such as scattered/blasted doors) and then the other which will remain a smoldering hole. This will give terrain creators the option to choose which they prefer.
-
1
-
-
Thank you for your comment; you are absolutely correct about the damaged hanger; however I created two models. One has a hole within it which is meant to represent the more realistic turn out (it will eventually have things such as scattered/blasted doors) and then the other which will remain a smoldering hole. This will give terrain creators the option to choose which they prefer.
-
2
-
-
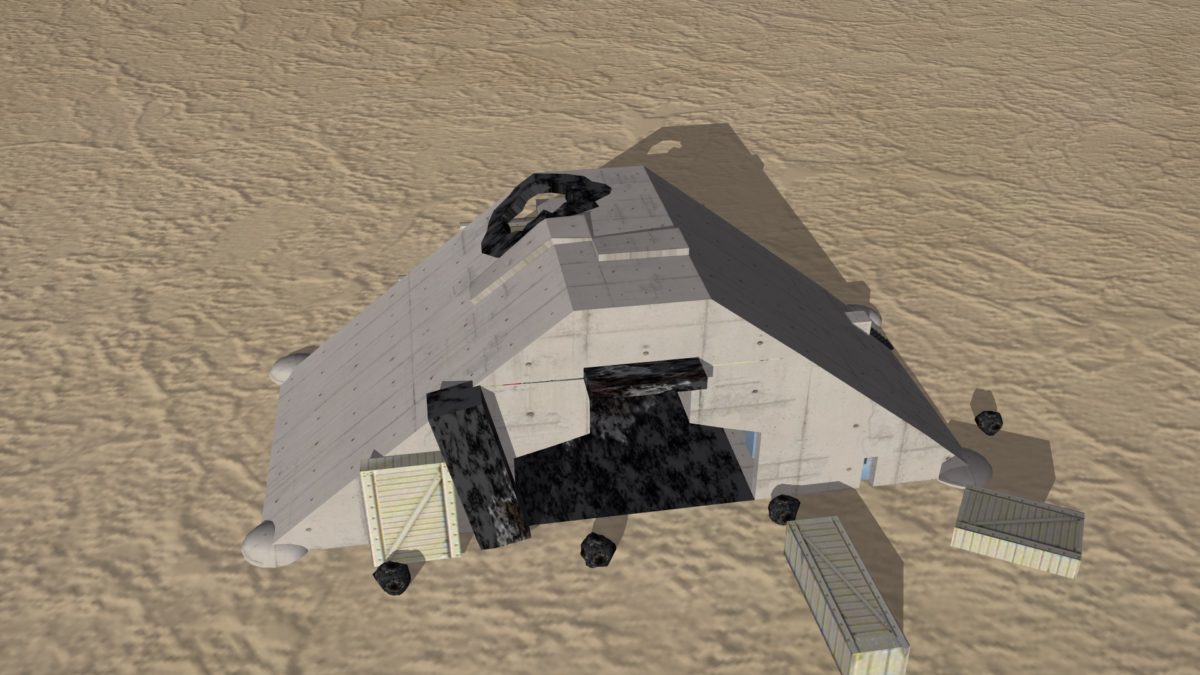
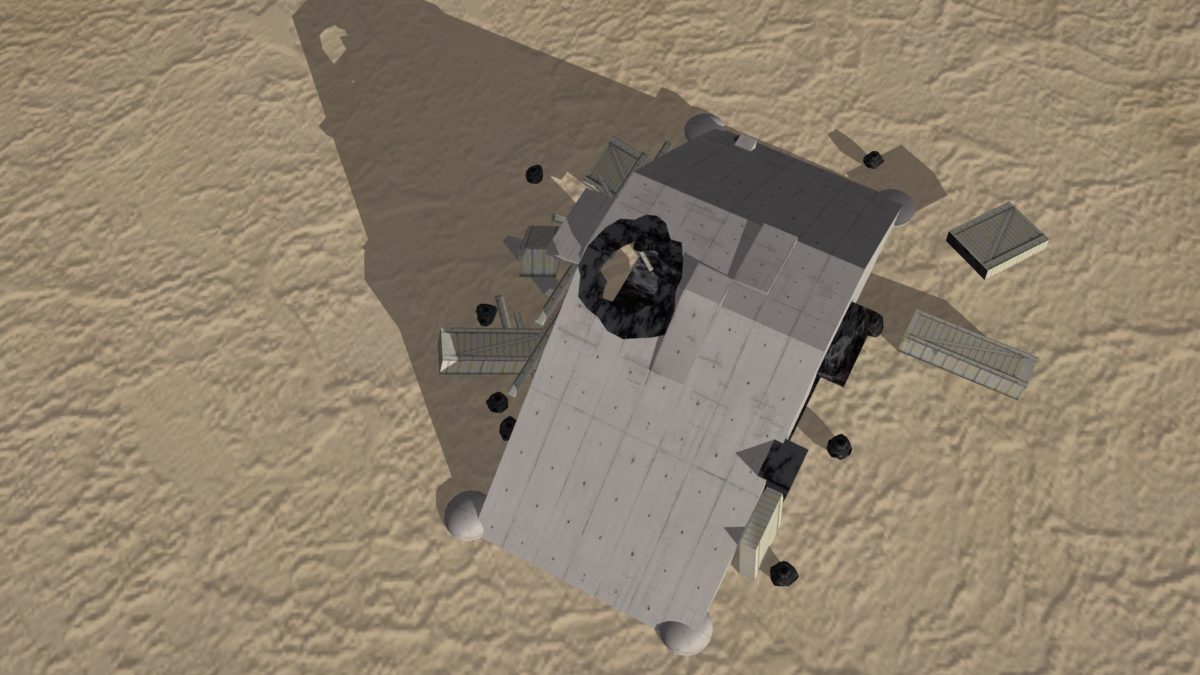
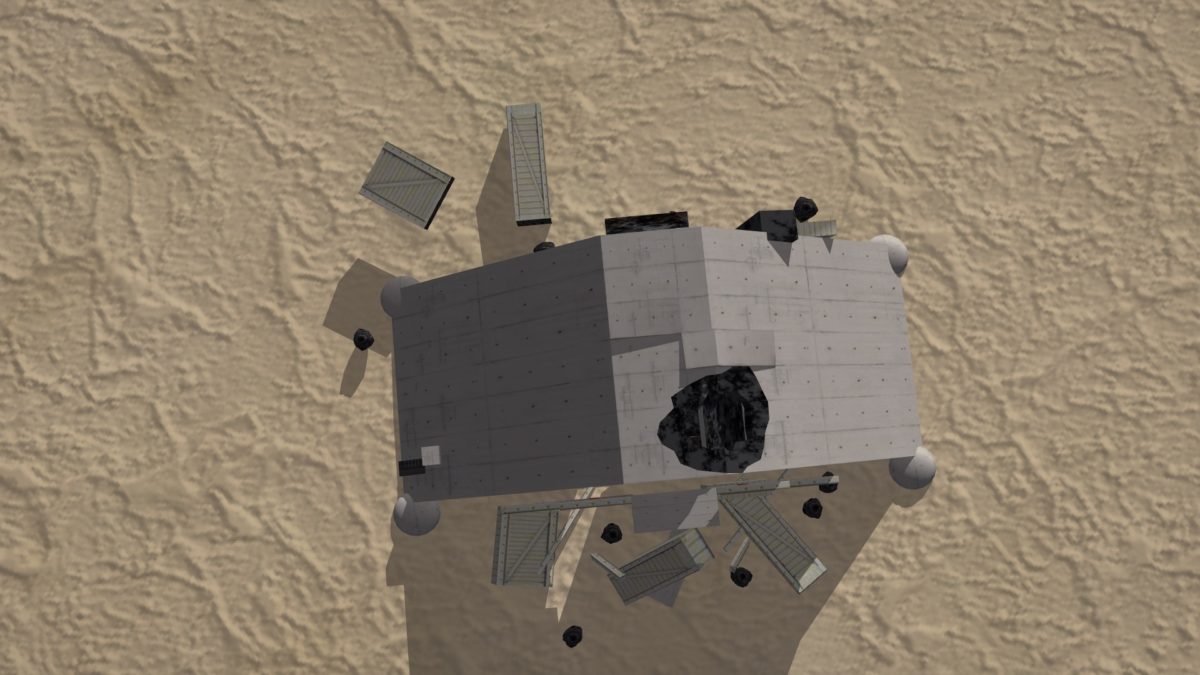
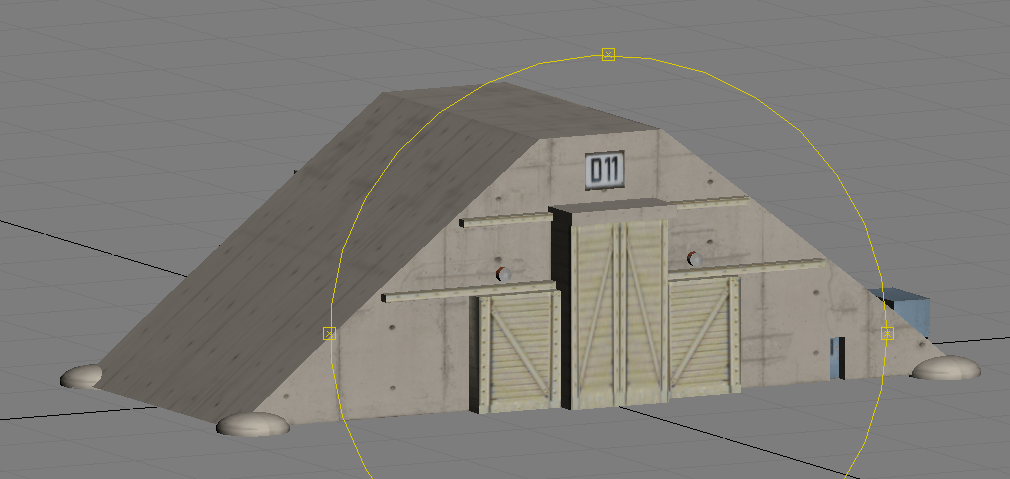
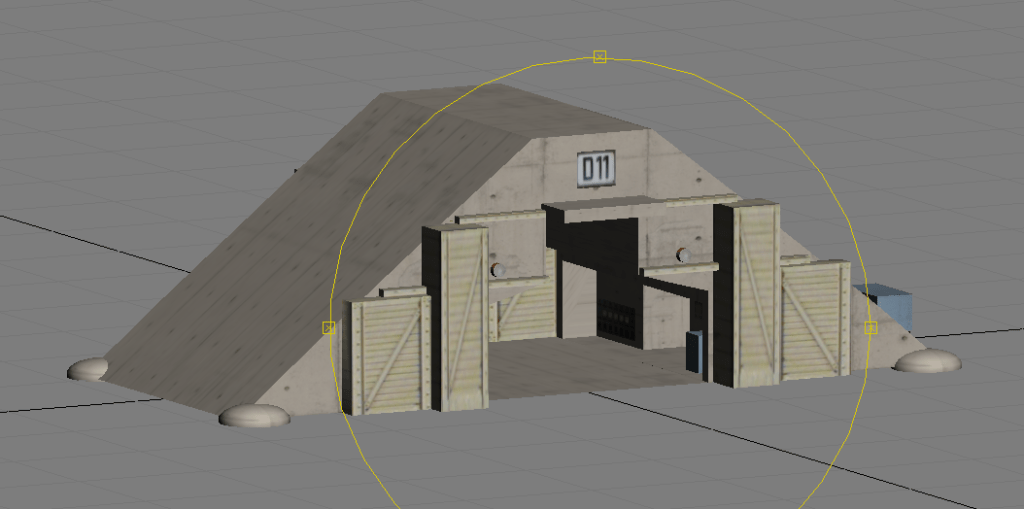
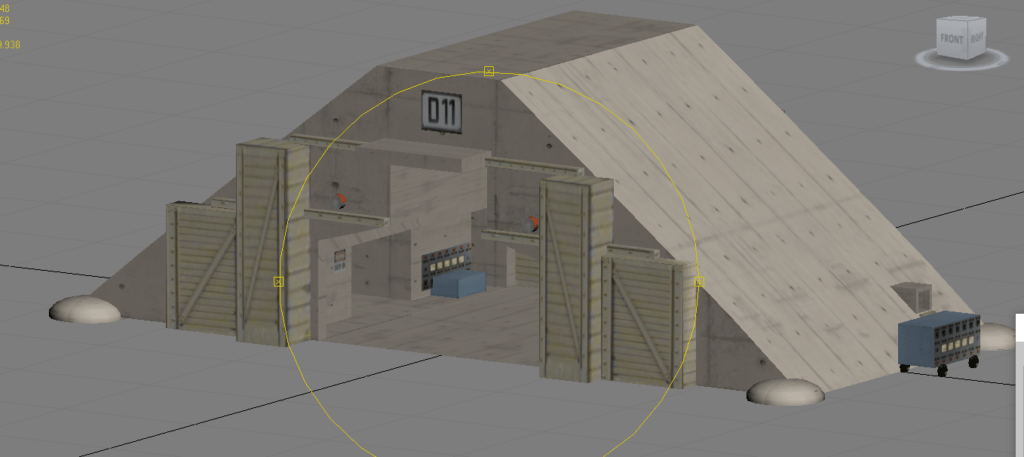
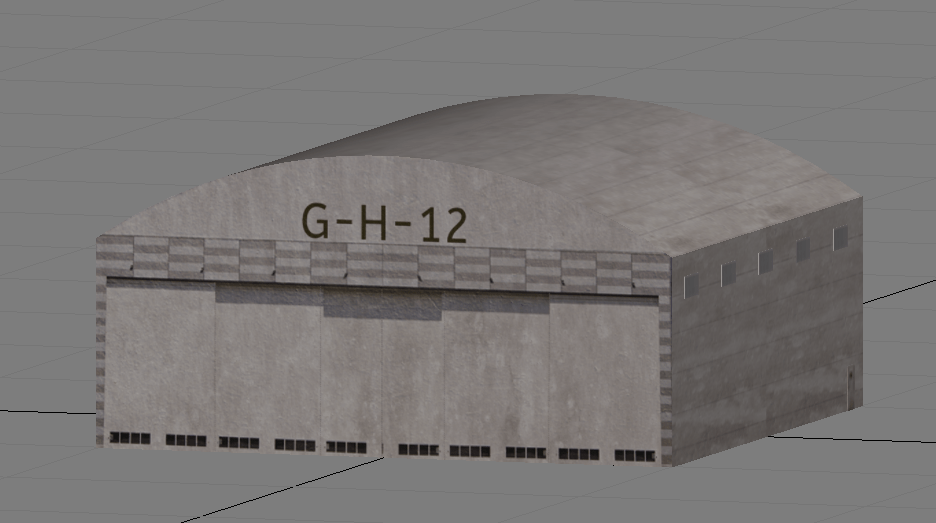
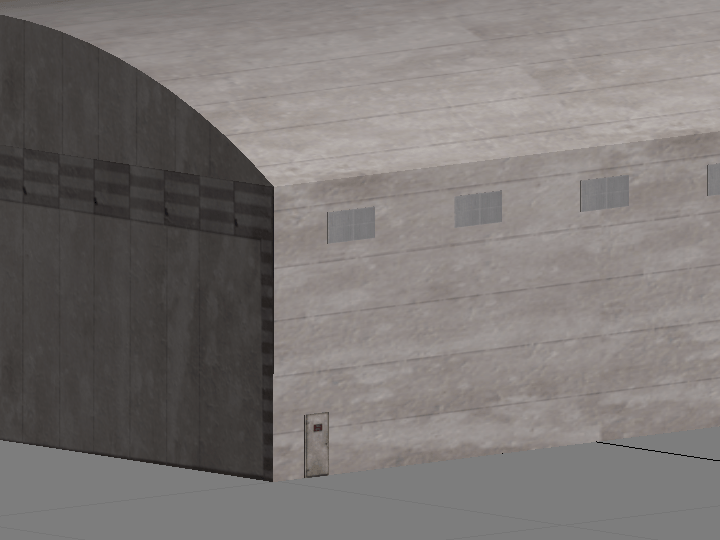
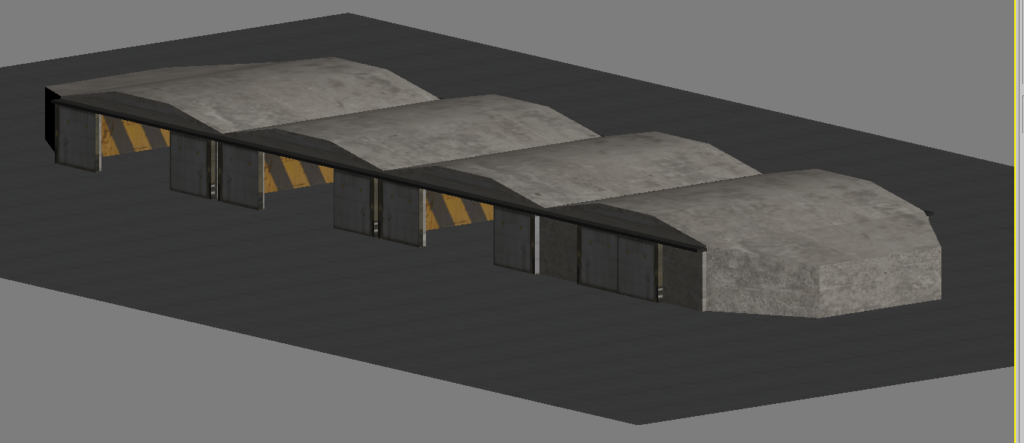
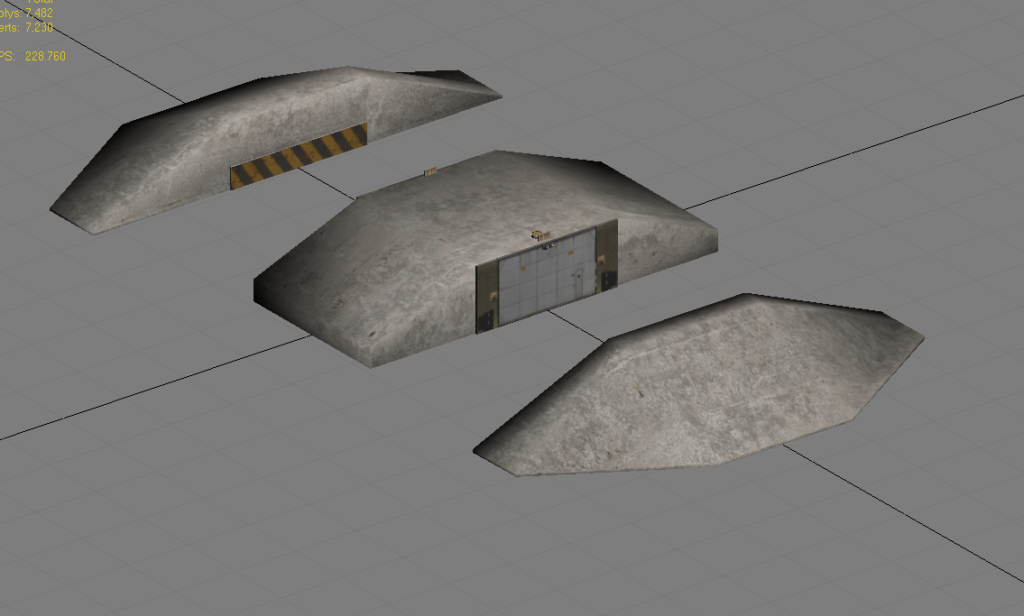
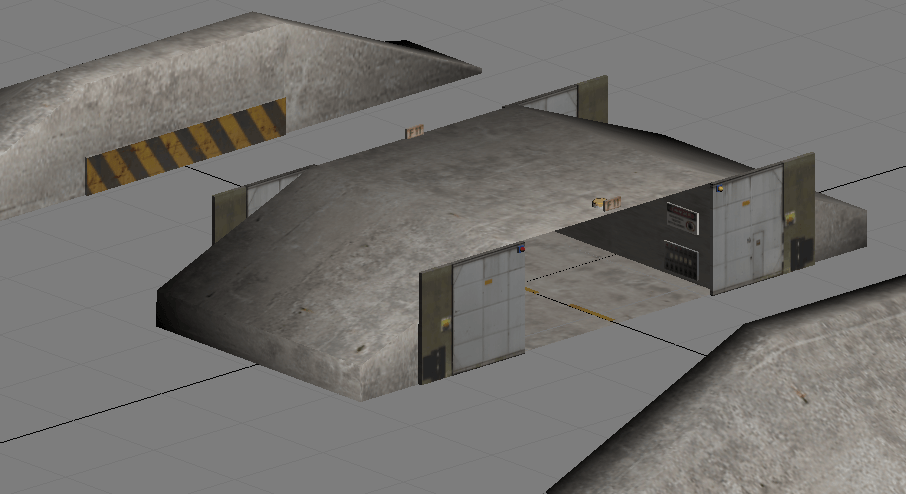
Yes, one more thing Underground Air Base Bunker.
-
10
-
-
This is what I have completed for the AB, some of the models Ideas are from the net and the other from the Kuwaiti AB that I am working near.
-
7
-
-
-
This is another nice FREE script that I use and I thought it would be nice to share it with you.

This Tool is useful for extruding border edges of an editable poly. You can also add a tilting angle and choose to use corrected corners.
How to use:
For installation instructions download the .zip below and read the readme file included. In max, open the “Customize User Interface” dialog and locate the tool in the category “RacoonScripts”. After you have made a hotkey, menu item or button, simply select some edges of your editable poly object and start the tool.Extrusion Depth = the absolute amount the new edges are extruded
Angle = The tilting angle of the extrusion
Smoothing Group, Inherit = Inherits the smoothing group ID from the adjacent faces
Respect loop ends = If you are not using straighten corners, selections that end on corners are extruded perpendicular to the bending, if this is not desired, activate this option – it will extrude the those edge perpendicular to only the selected edges.Tips & Tricks:
Alt + Apply = negate the angle value and apply
Alt + Cancel = undo the last applyKnown problems:
* Haven’t tested it myself (still using 2014) but it I heard it might not work properly in Max 2017 (I blame Autodesk, it works in all versions prior to 2017). Also, for installing in 2017/2018/2019 installation instructions might not work anymore (again, haven’t looked into it myself). One user commented that evaluating the macroscript (RacoonScripts_Extend_Borders.mcr) once using the menu items “Scripting”->”Run Script…” did the trick for him.
* Distorted polygons (e.g. skewed and rotated) may be problematic for the straighten corners algorithm. It’s better to disable this feature in these cases.
* Since it’s a Maxscript it is not very fast in calculation speed. Higher edge counts may slow down the tool considerably.
Download-
3
-
-
I found this 3d max script and I thought of sharing it with you. and it's Free

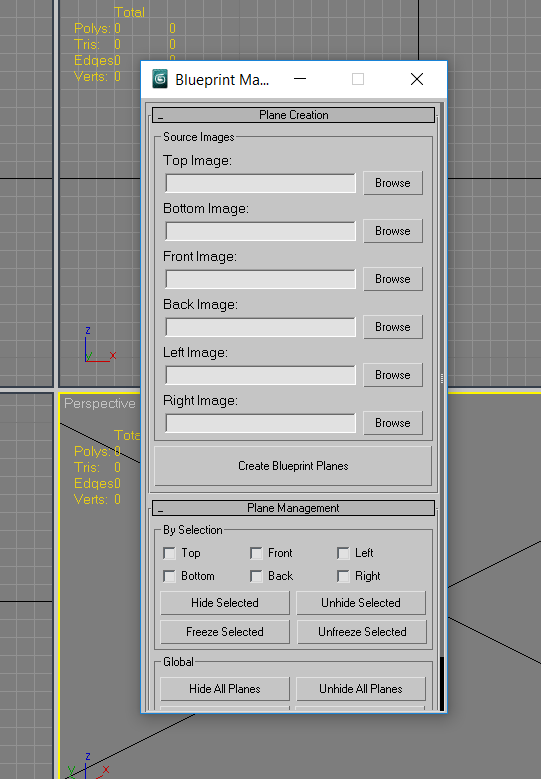
Why Blueprint Manager?
Most modelers will tell you that the most annoying part of creating a new model is setting up the reference images. Once you have them prepared in Photoshop or your 2d graphics software of choice you have to create the image planes having the same proportions with the images, you have to create materials for each plane, apply the materials to the planes and make sure they are properly mapped and visible in the viewport, align the image planes and make sure they properly fit with each other, then lastly, change the properties of the newly created image planes so they are non renderable, when they are forzen they still display the images, and have backface culling on so that they don’t interfere with viewing your model. Tired yet? Just to add to this, when you finally start working on the models you will need to hide/unhide or freeze/unfreeze the reference planes. Well, with Blueprint Manager, all these tasks are reduced to a few mouse clicks!What is it?
Blueprint Manager is a MAXScript which automatically creates a set of mapped planes from a series of blueprint images, sets their object properties to non renderable, backface culling on, and show frozen in gray off, and places them in proper position.-
4
-
2
-
-
-
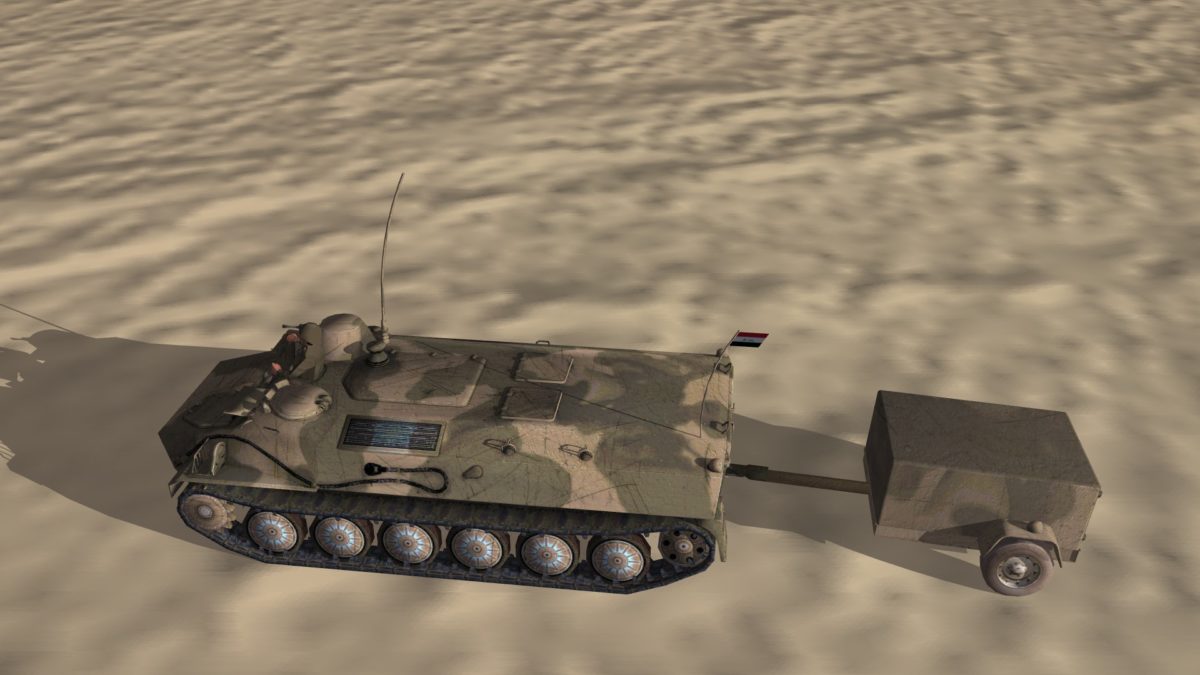
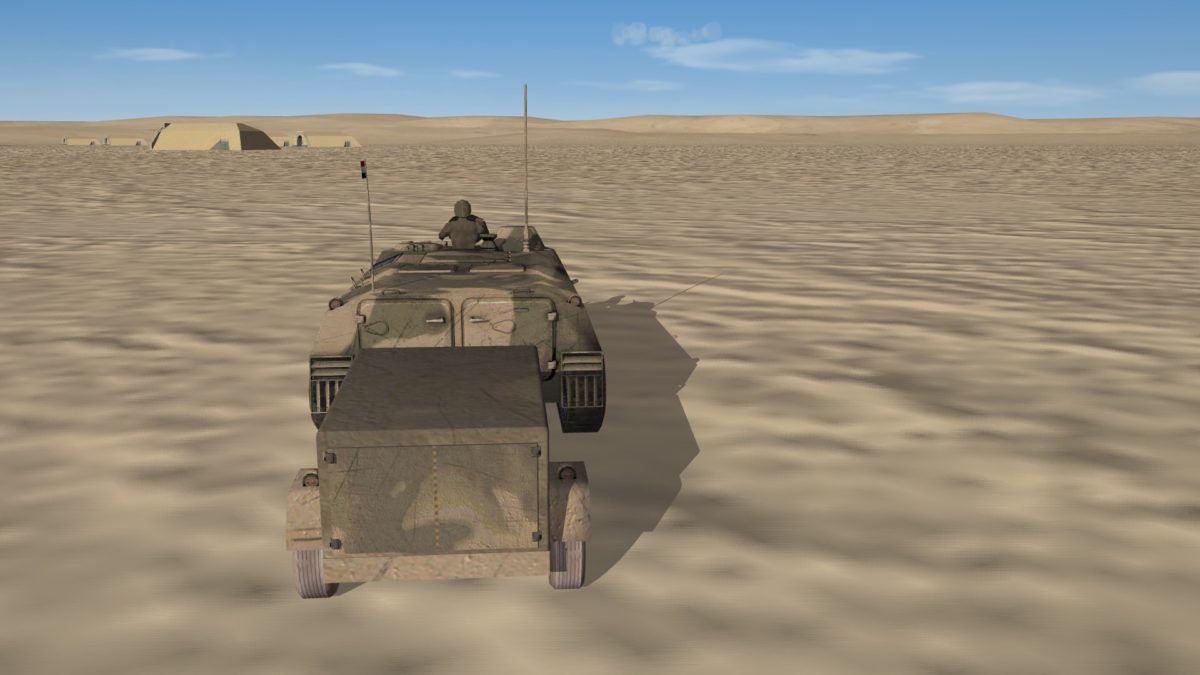
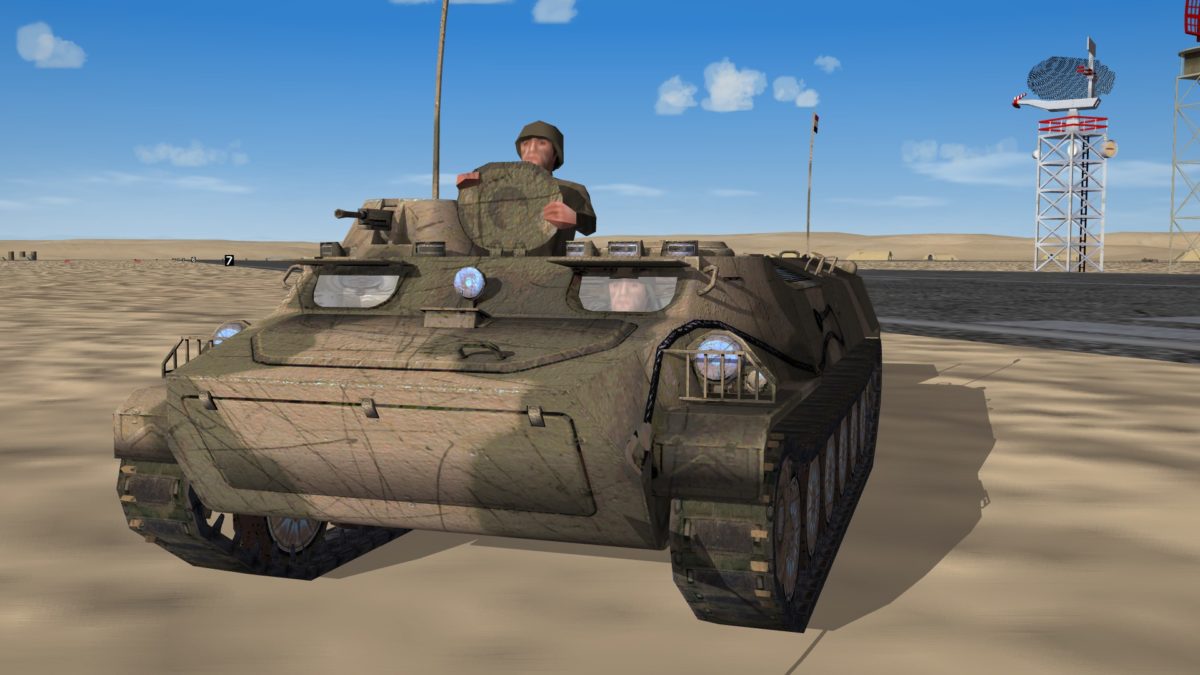
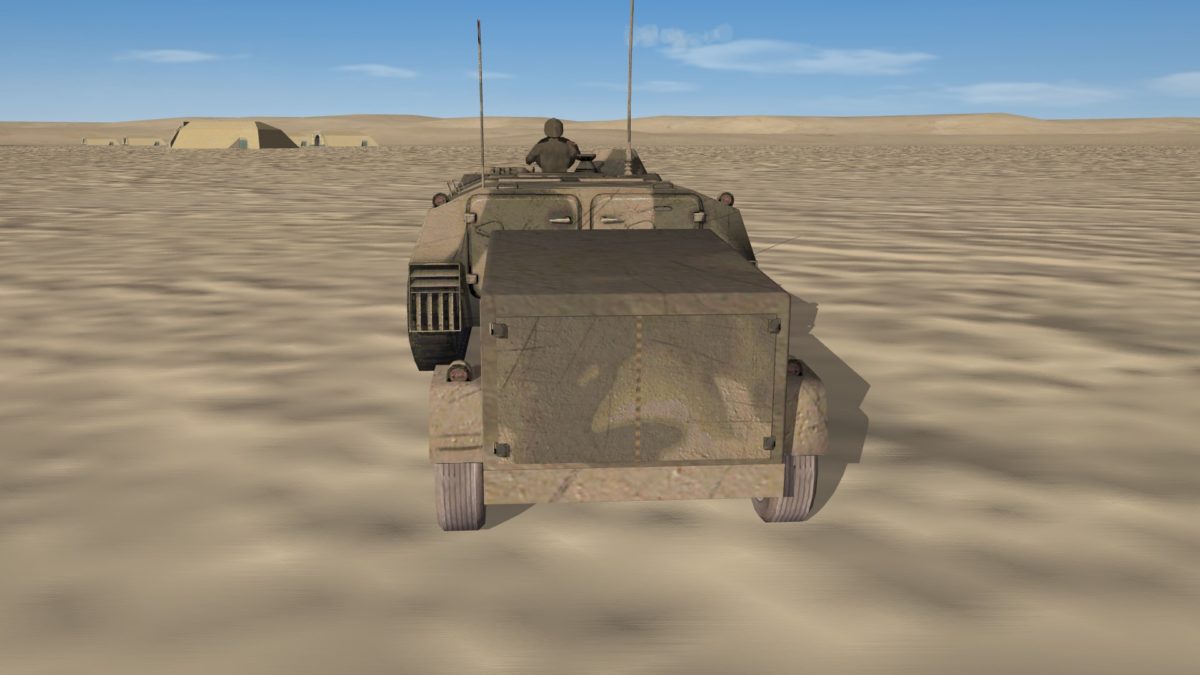
Just another update I had to restart the MT-LB model all over again from scratch. Thanks to yakarov79 for sharing his file with me, I learned some tricks from his work, this is how it looks now, it’s almost completed and I should release it soon.
I hope you like it, once again I extend my thanks and gratitude to yakarov79 for his help and sharing his work.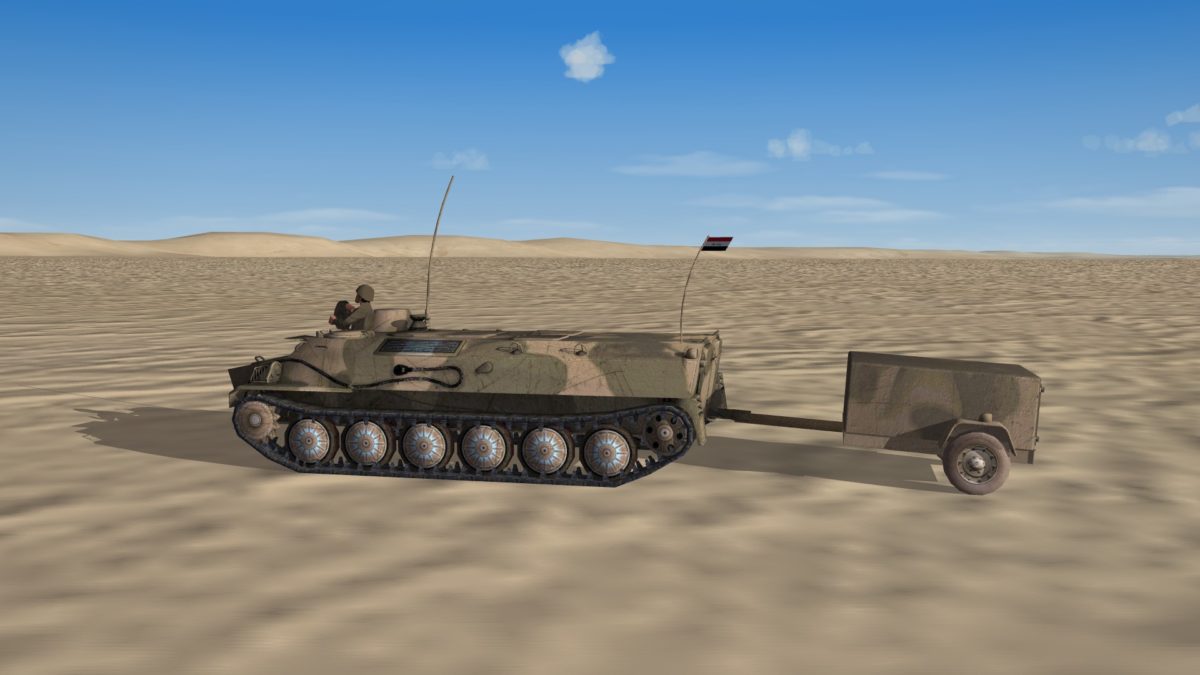
-
6
-
1
-
-
Re: A/M-32A ground power unit
-
4
-
-
1 minute ago, JSF_Aggie said:There are some .INI tricks you can do to get both runways active. This will get you twice the quantity and variety of game generated parked aircraft, if you go that route.
It's also cool to see the AI operating aircraft from the other runway, while you're taking off or landing.
That sounds good, I will look into it well I get there.
-
1
-


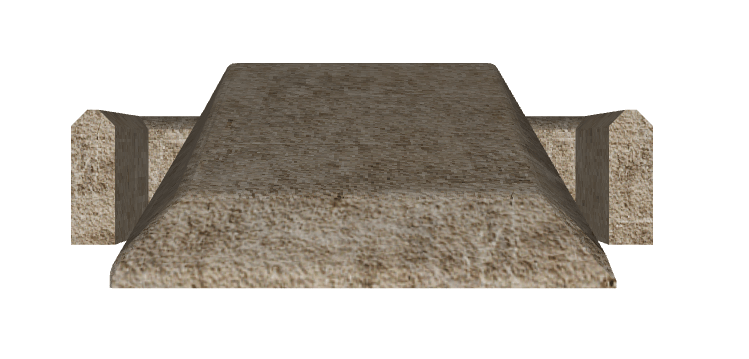
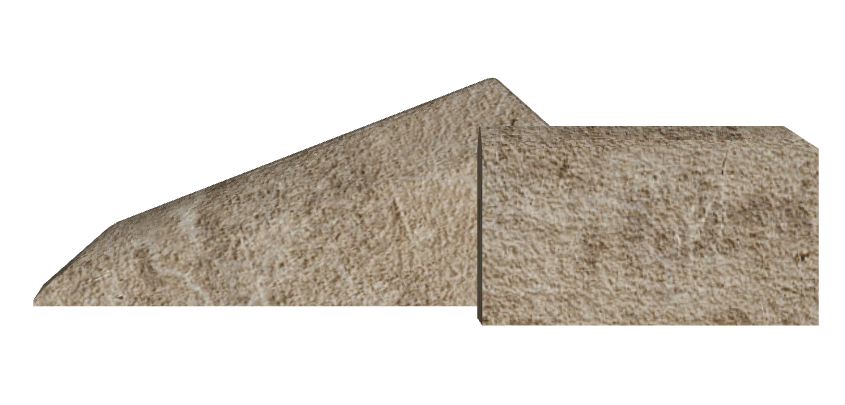
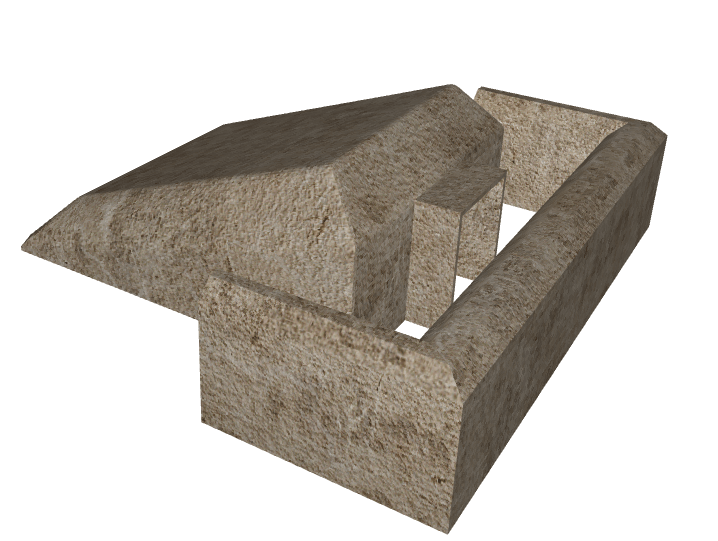
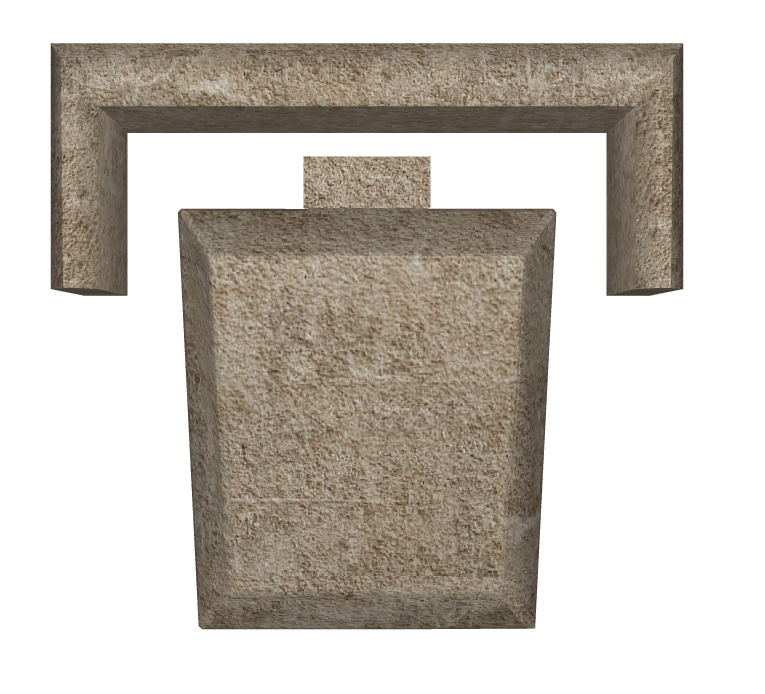
Mountains & big rock formations
in Thirdwire: Strike Fighters 2 Series - Mods & Skinning Discussion
Posted · Edited by gkabs
This is just a fast test try to create mountain formations requested by Stratos, I hope you like the first test. If you Ok with this I will go ahead and Try to make the big rock too.