
GKABS
-
Posts
4,019 -
Joined
-
Last visited
-
Days Won
262
Content Type
Profiles
Forums
Gallery
Downloads
Store
Everything posted by GKABS
-
This is one nice tutorial I like to share it with you.
-
Just completed the civilian airport main terminal next I need to do the UVW and making the skin.
-
Hello russouk, I just wanted to correct what you stated if you don't mind me doing so. you can only use max 2010 to save as 2009 but anything above that can only save three down for example 2014 can save as 2013, 2012, 2011. with the exception for 2011 cant save down.
-
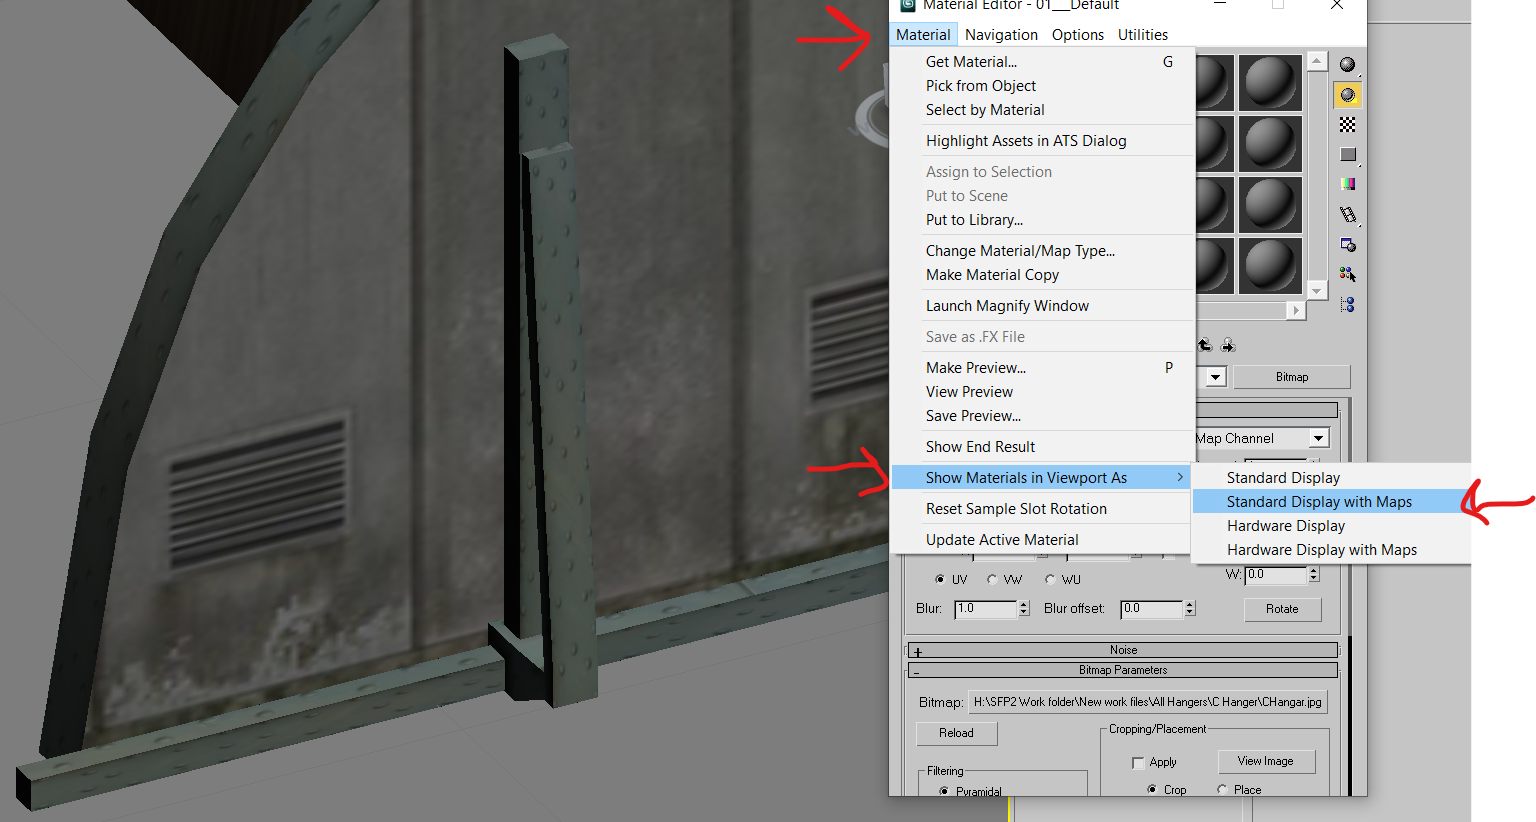
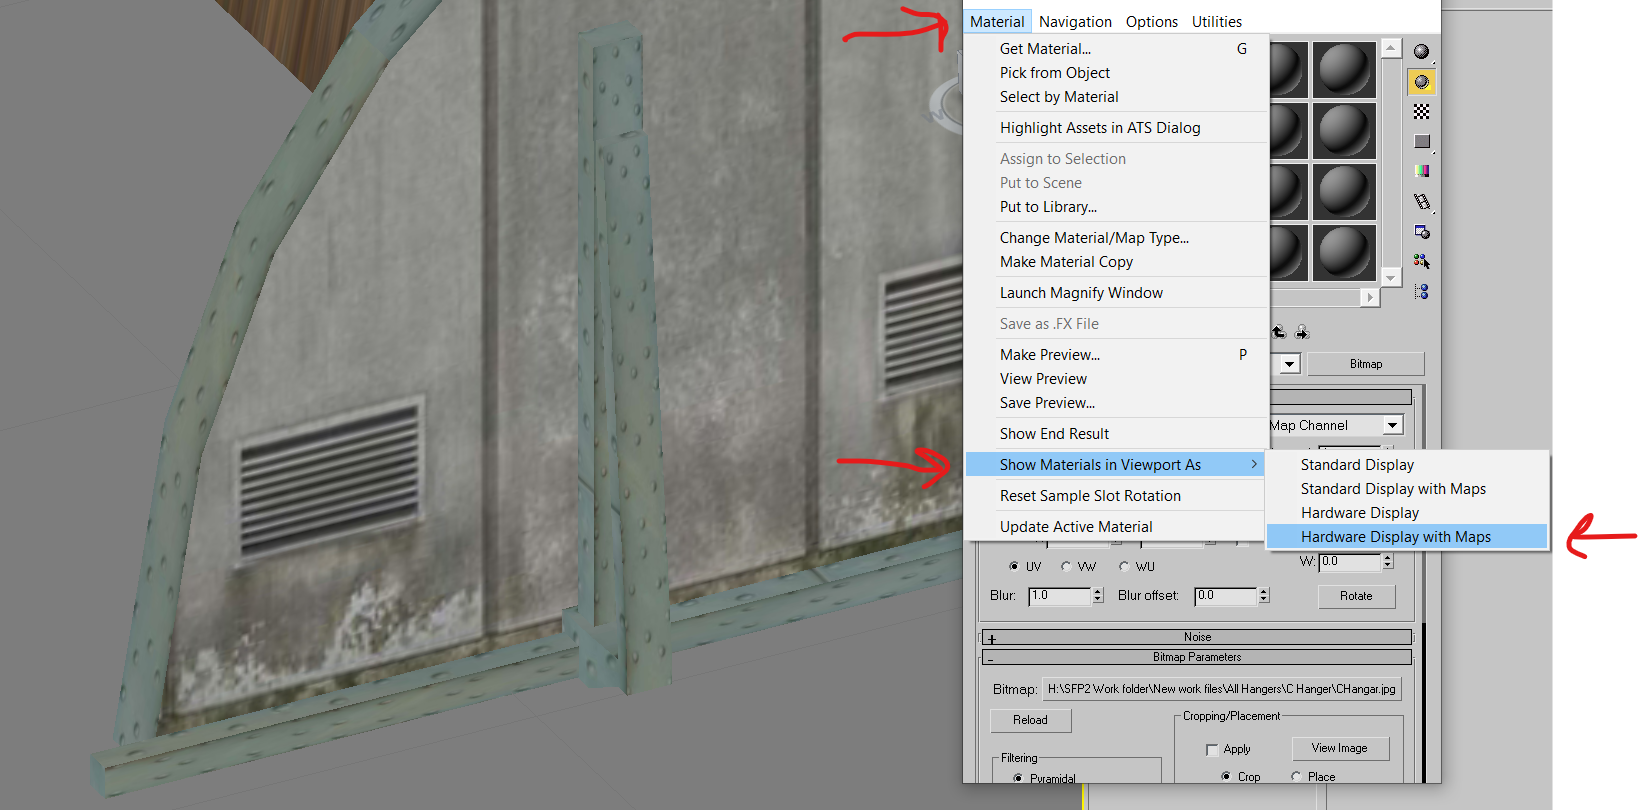
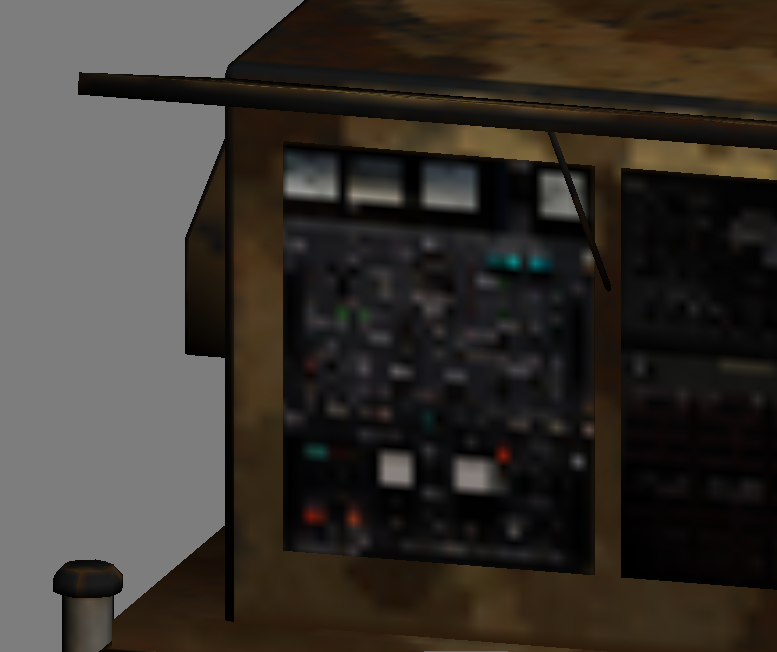
If you set the material editor to "Hardware Display with Maps" it should make it smoother and clearer. Look at the difference in the 2 screenshots provided. Using 3D Max 2009. 1 with a standard display with maps which looks like you described lol. But if you set it like how I explained it should be better. You'll see more details/get better results. Another example


-
You are correct, but maybe more than one LOD but not big poly
-
Just a small update with all the military hangars setup for testing.
-
This is another AB I would like to complete its the Al Udeid Air Base is a military base southwest of Doha, Qatar, also known as Abu Nakhlah Airport. Work on progress but it will take a long long time to complete.


-
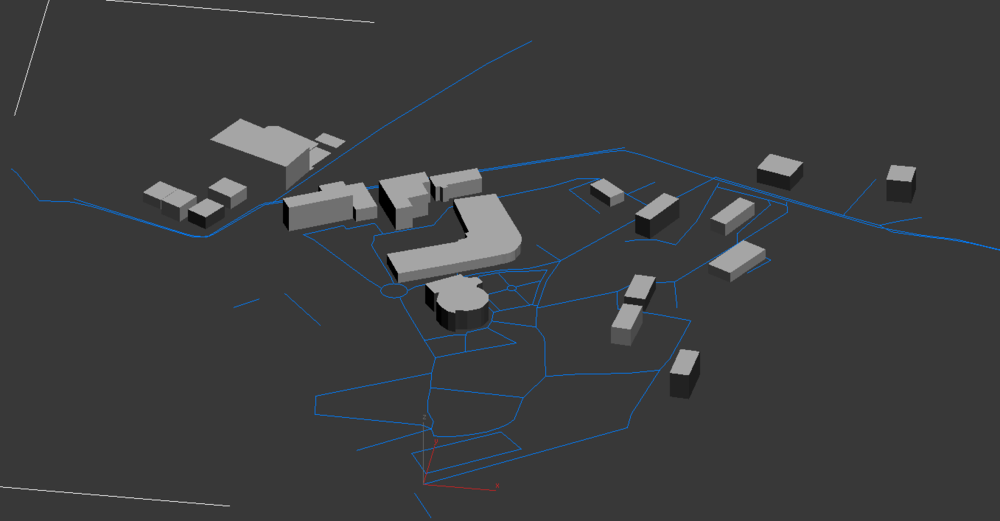
This is one other thing that I am experiencing with making streets and building using the map data.
-
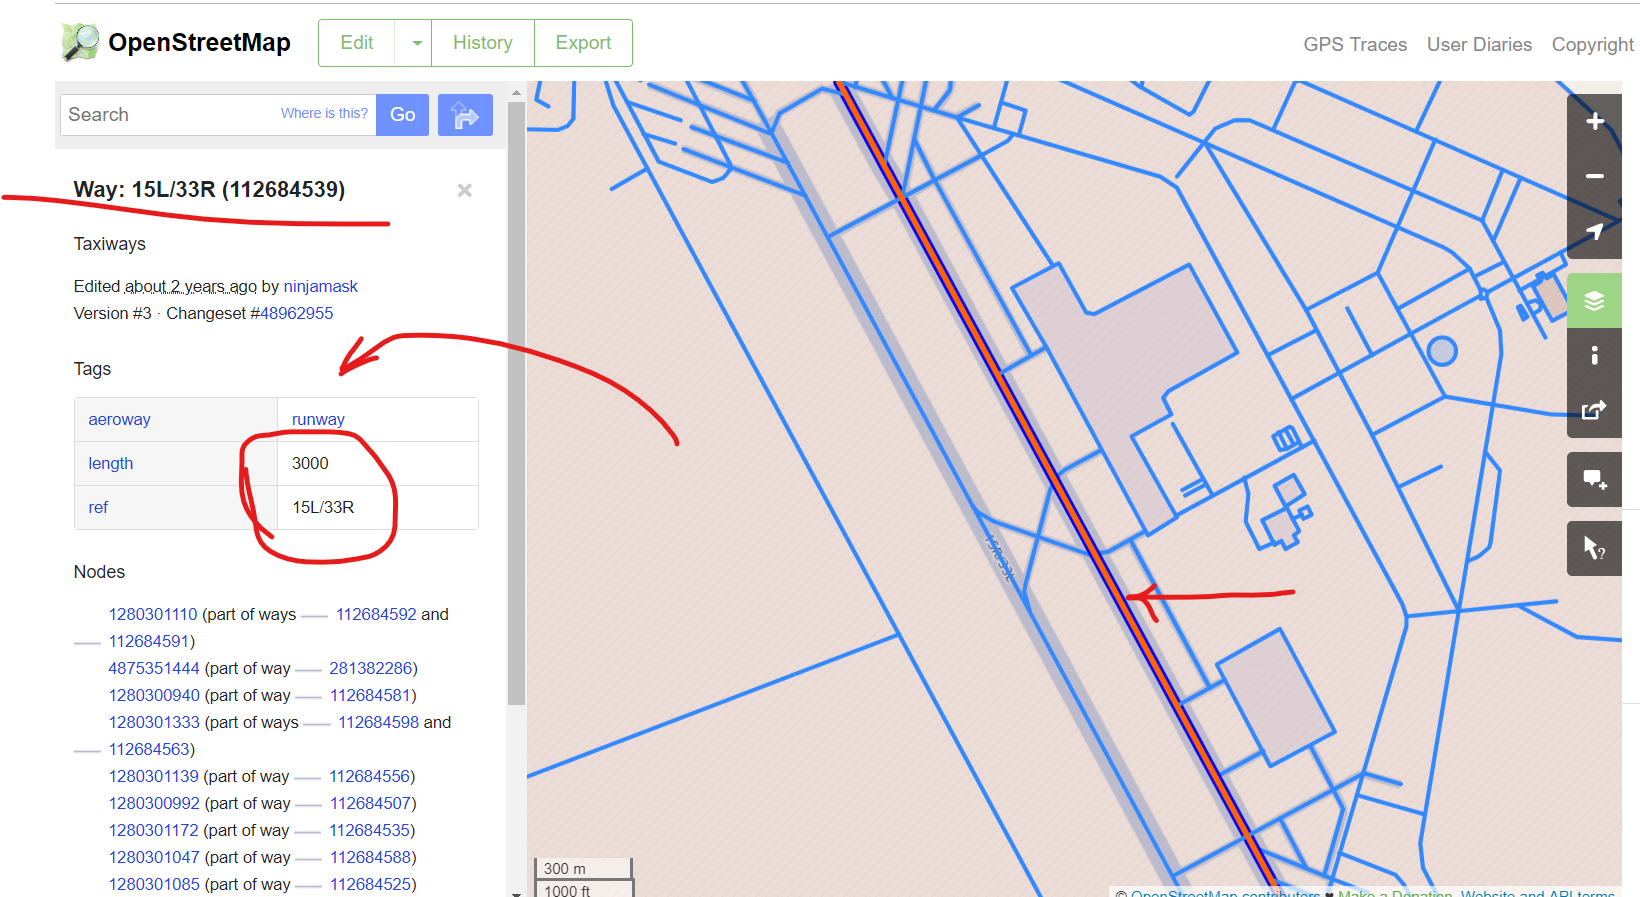
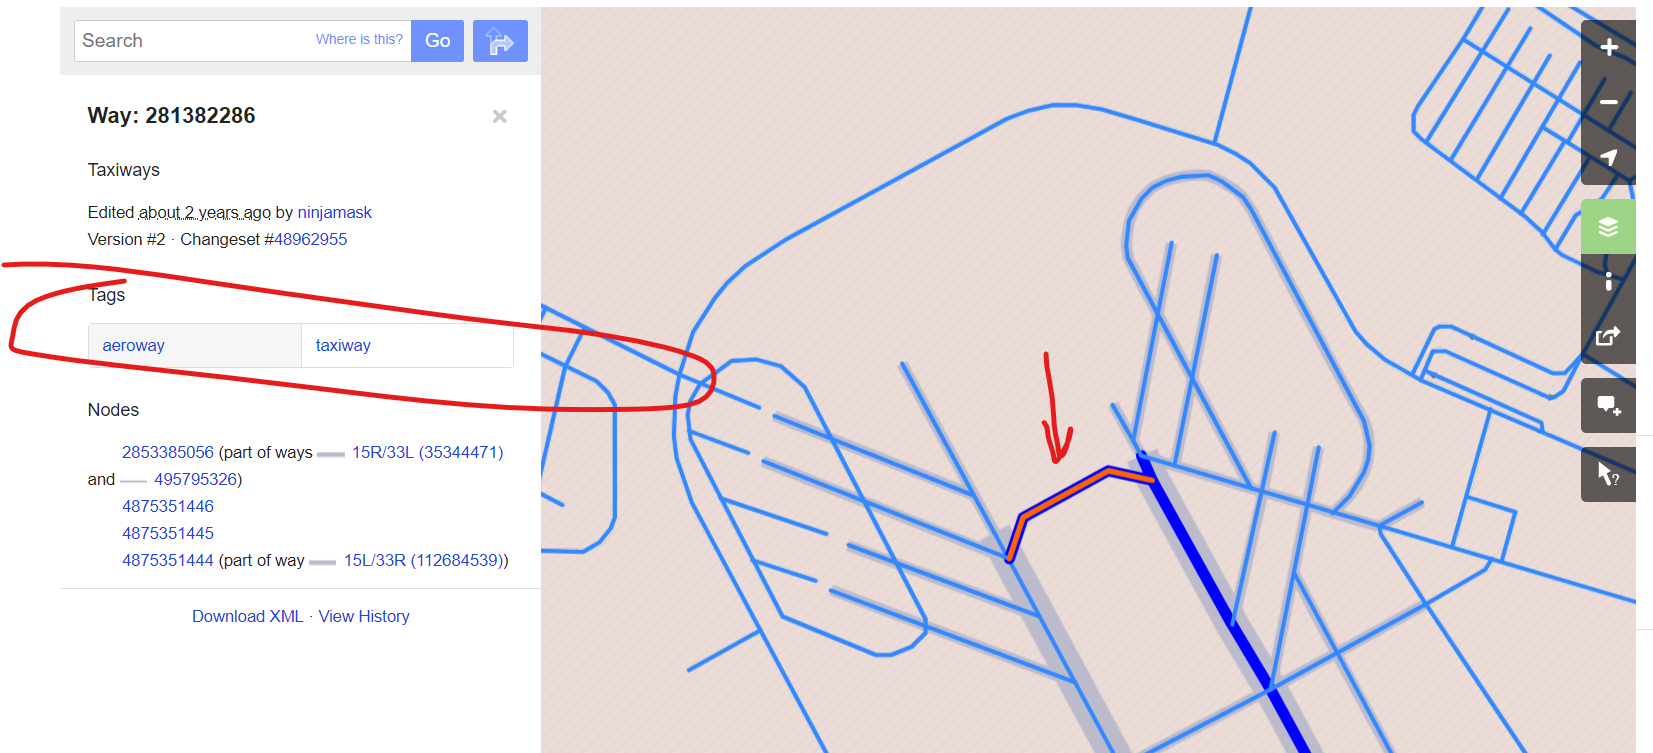
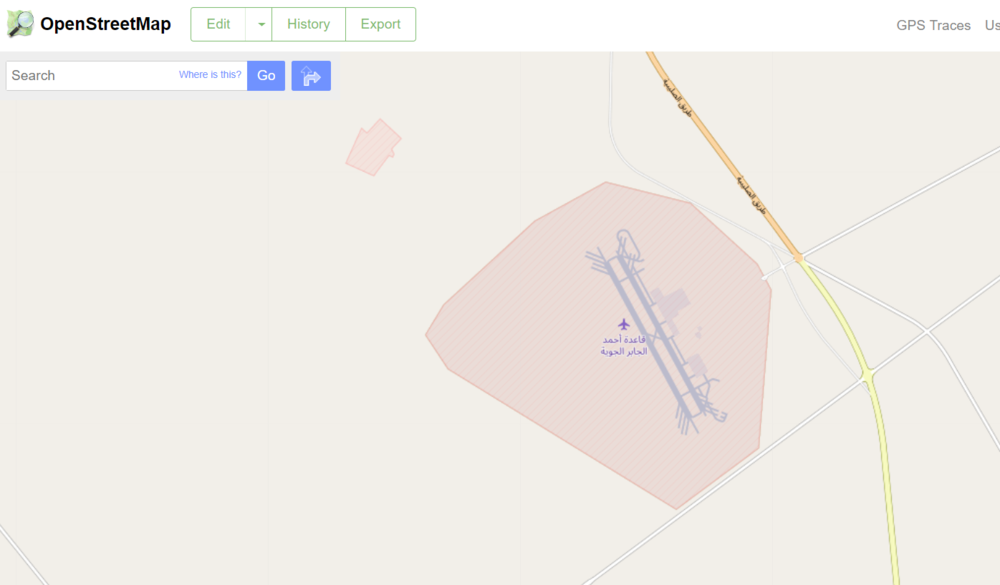
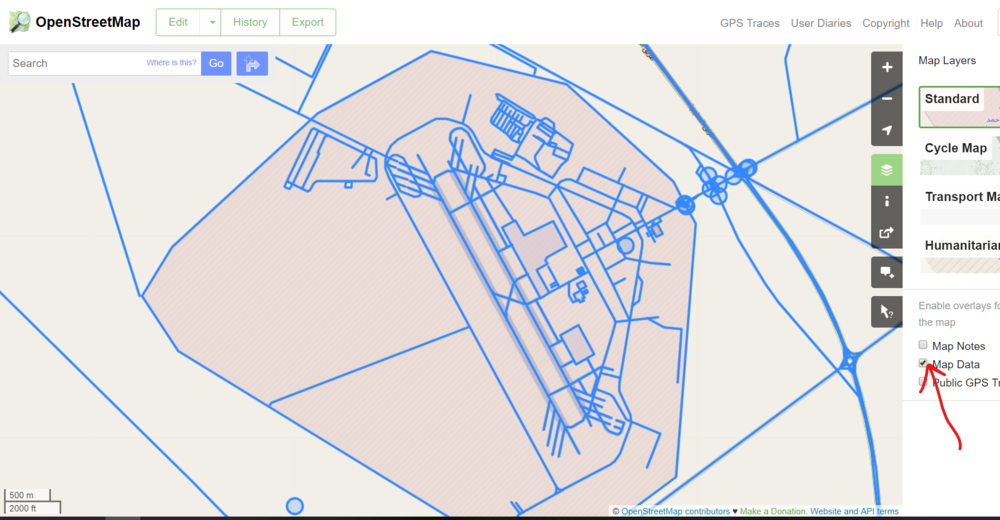
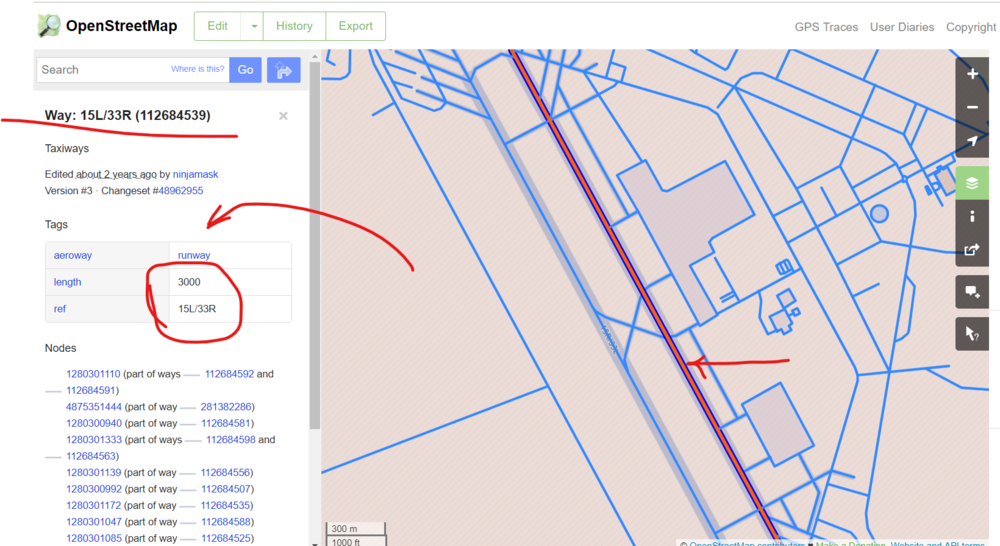
Hello, I would like to share with you what I have been using to make my first airbase, its Open street map. using the OSM you can get all the information anyone needs for any AB it will give you the runway length and name number etc. or the taxiway or building too. I thought this will be something nice to share with you. https://www.openstreetmap.org

-
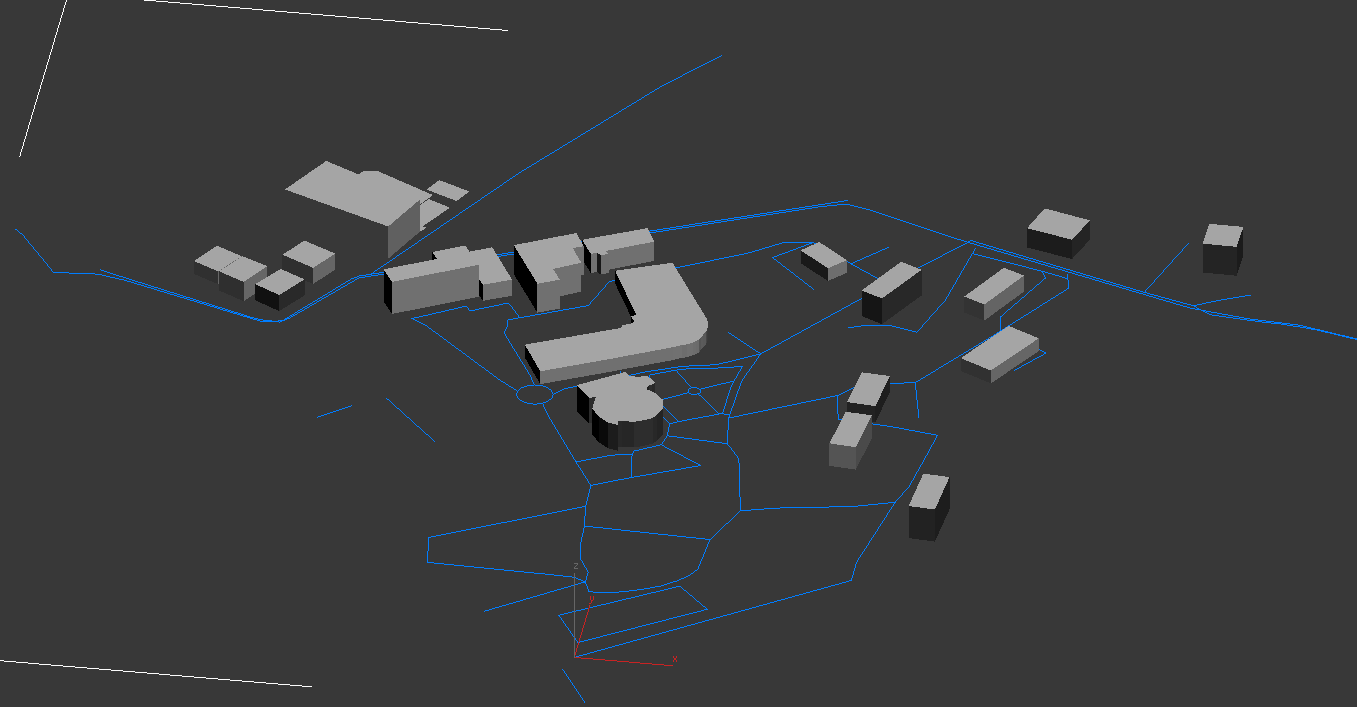
I just completed the civilian airport, I changed it completely as I didn't like the way it looked. so this is how it is going to look next I need to work on the terminal and the mics for the airport.
-
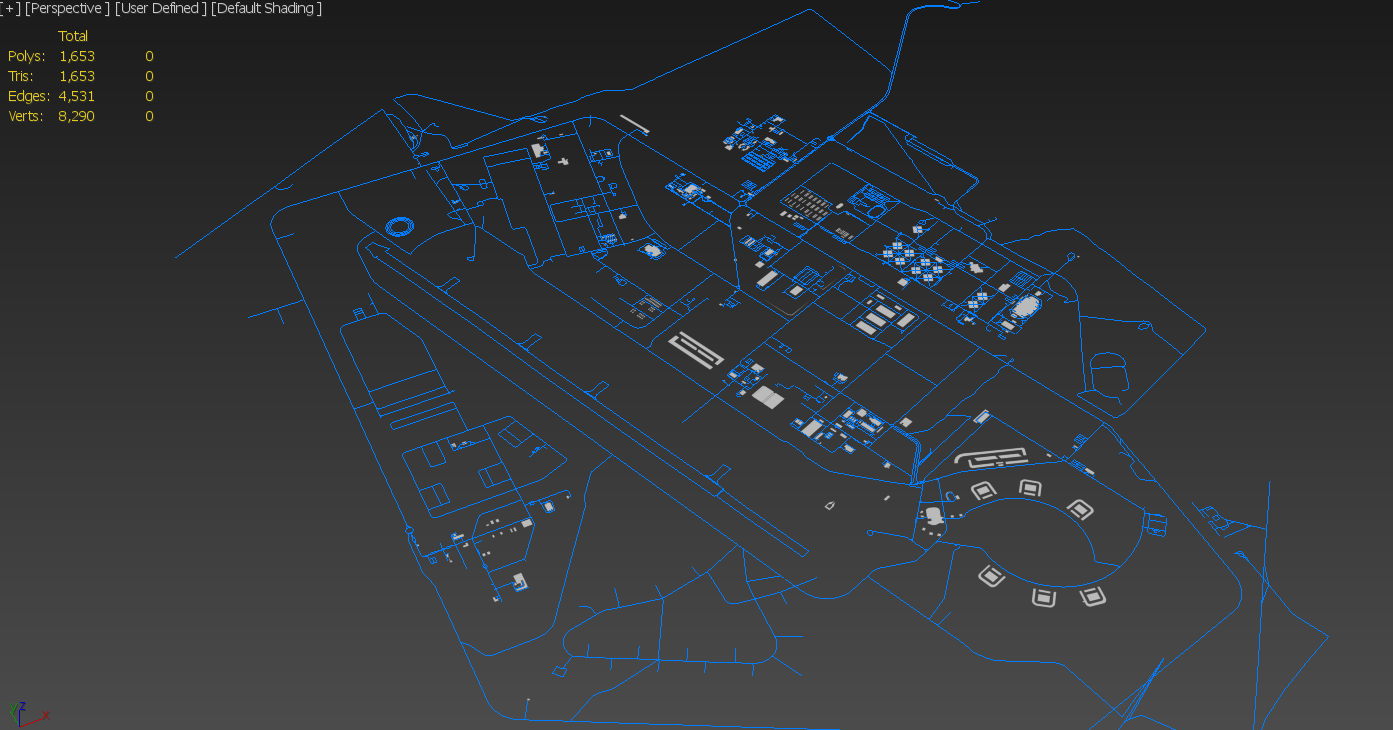
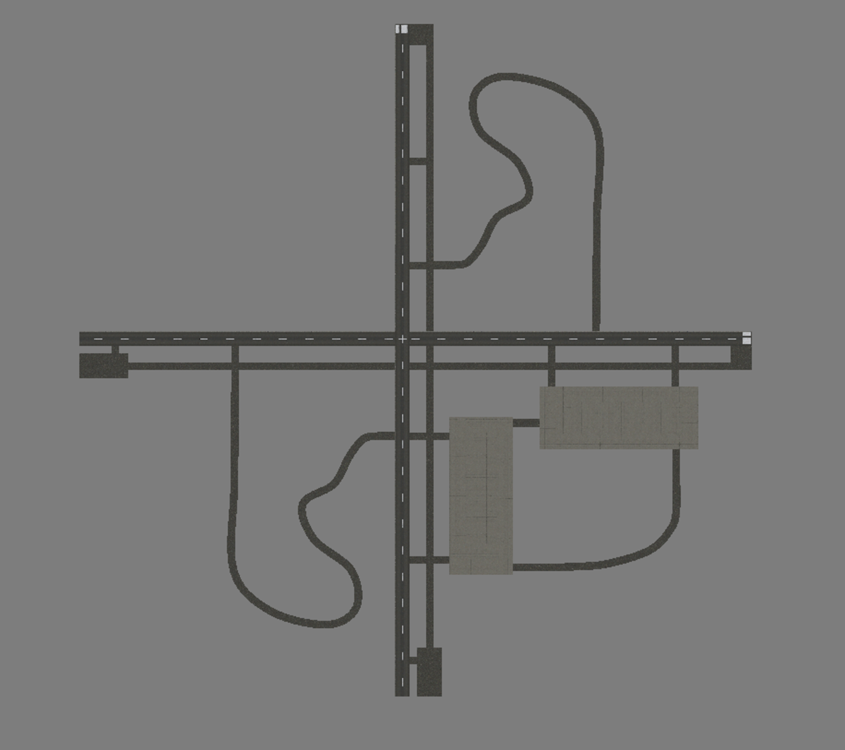
Another update, this is showing the civilian airport location to the entire model, as well as the military airbase and the location of the hangars. I hope you will like the layout and if you need any changes please let me now.
-
skin fixed for the runway
-
I would like to get your help and ideas on how to place the hangars. Please if you don't mind find attached the airbase layout you can mark the hangars and any extra taxiway you think will make the airbase look nicer. just edit the layout and post it back to this thread.
-
I didn't say the model from X-Plane. only the texture. The model is my making. but really thank you for your comment.
-
Last update for tonight. sorry for all these posts
-
small update for the hangars taxiway
-
This is how the new airbase will look like, this is just the baseline I need to add all the extra hangers taxiway and so on. the texture skin is just to show the AB it is not final. it is taken form Xplane game.
-
Hello Coupi and PeacePuma I have combined your two requests as one model so from the main hangar I made the second one as they are almost identical. I need to work on the skin for the top of the 4 hangars. and more details need to be added.
-
That look nice and I would like to make it too . added to the list
-
I will add it to the hangars list, I will work on it as soon as I can.
-
Great choice, well done. Thanks for the heads-up.
-
This is the other two hangars which I have been working on for a while on and off. I would like to make these as well. If you have something in mine for a hangar please tell me and include good photos of it I will be more than happy to make it.
-
Looking great
-
We'll do
-
This is going to be one of 3 to 4 new hangars I would like to make for the new airport that I am thinking of making soon. plus a civilian airport
- 15 replies
-
- 17
-