-
Posts
3,749 -
Joined
-
Last visited
-
Days Won
7
Content Type
Profiles
Forums
Gallery
Downloads
Store
Everything posted by 33LIMA
-
Thanks Stephen - got it already! Edit - works fine in FE2 if I drop it into my [username]/Saved Games/ThirdWire/FirstEagles2/Terrains/ww1Cambrai folder. I don't have that terrain's files extracted so the sim just reads the new file as it would with an extracted file. Didn't need to back up anything. The Farman F40 is now fine from flight-line onwards... ...and smaller planes also look and take off just fine, spaced out...
-
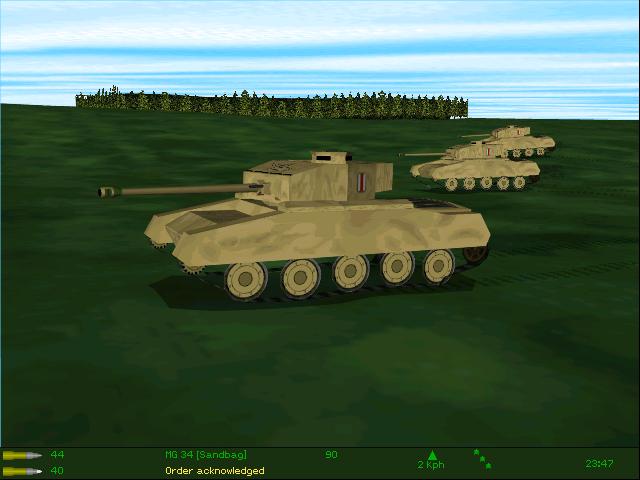
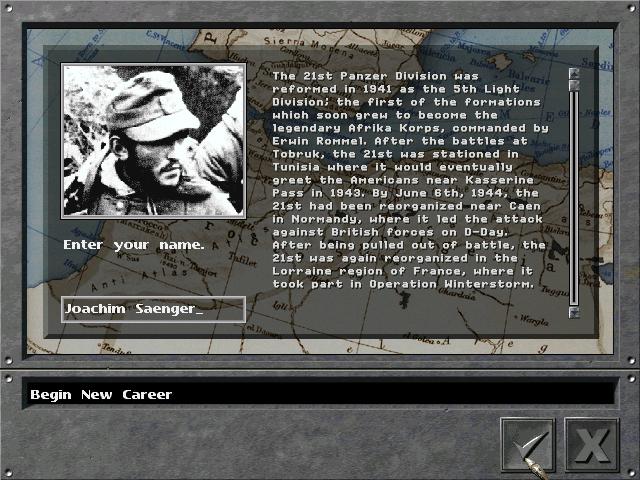
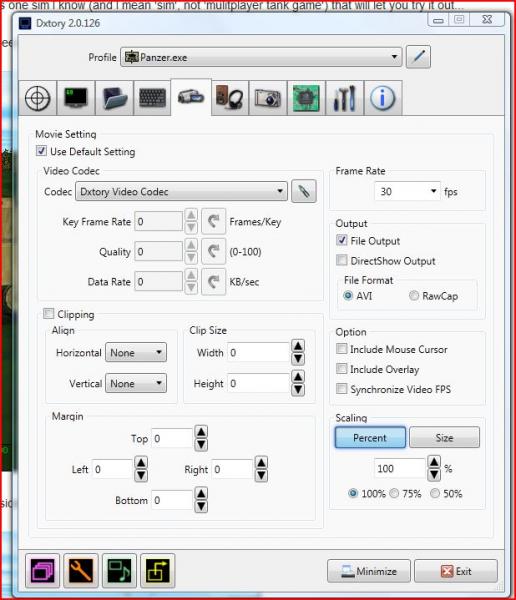
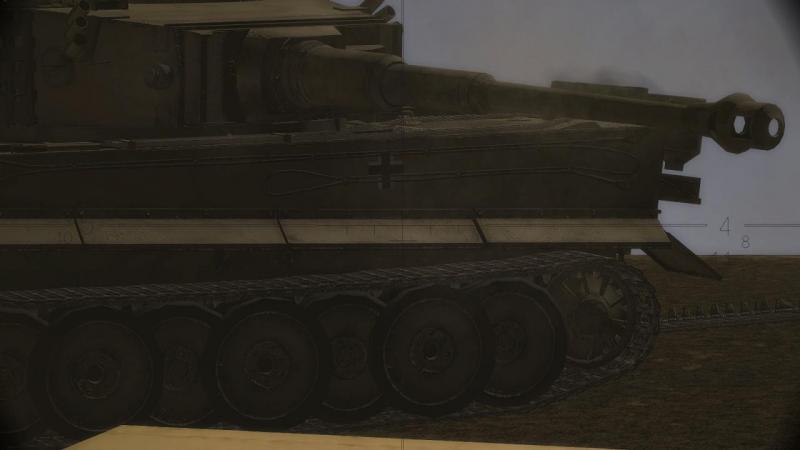
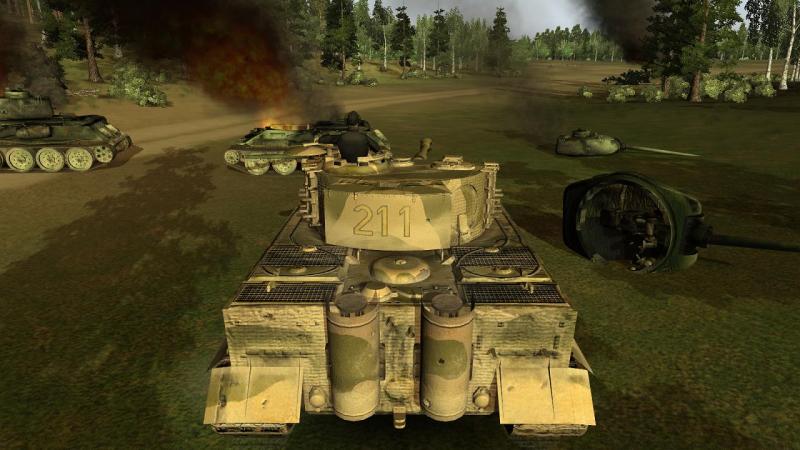
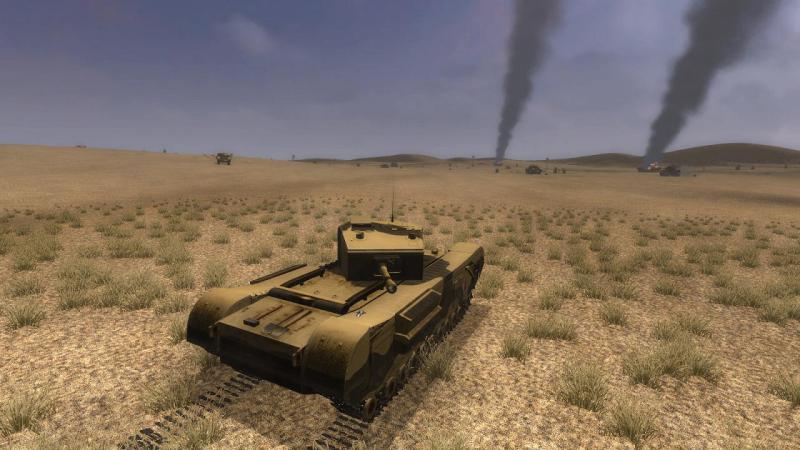
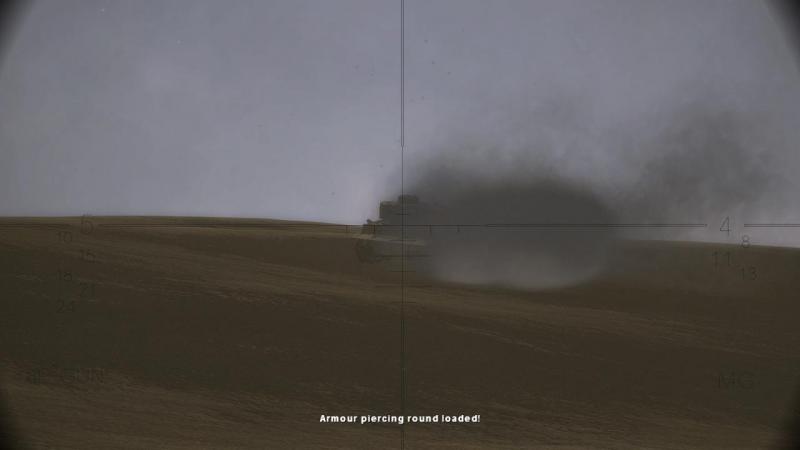
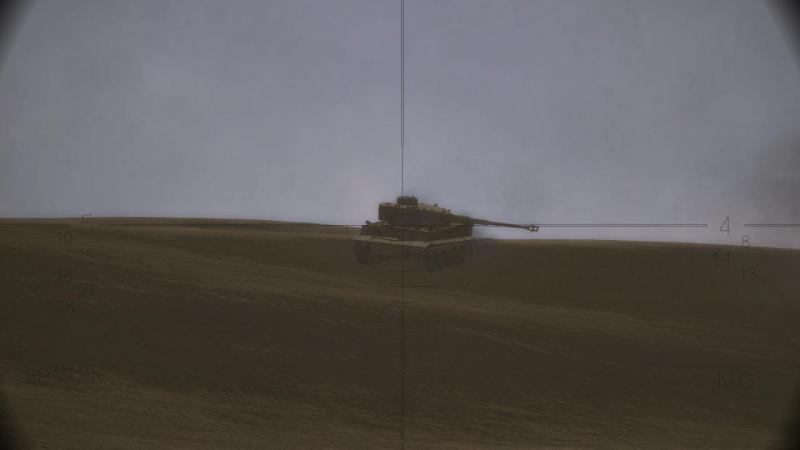
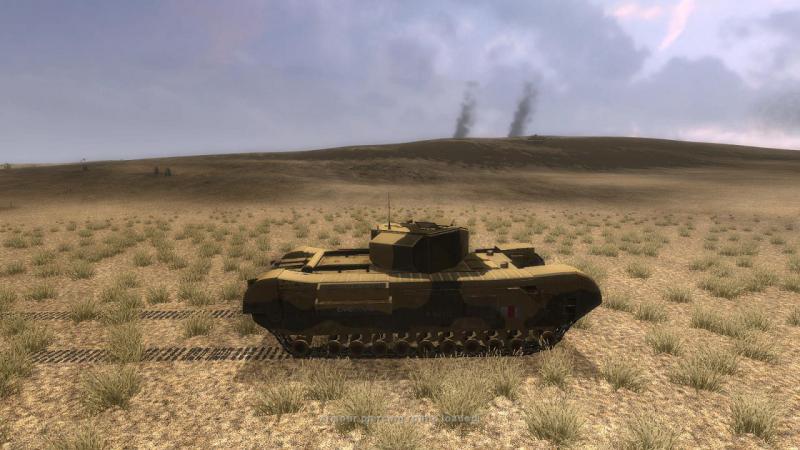
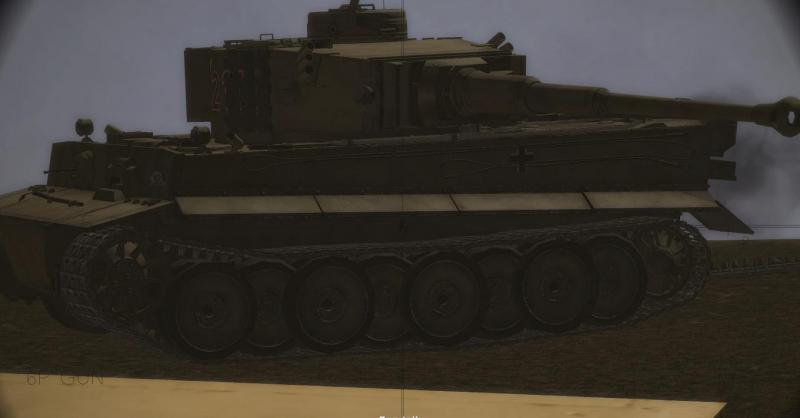
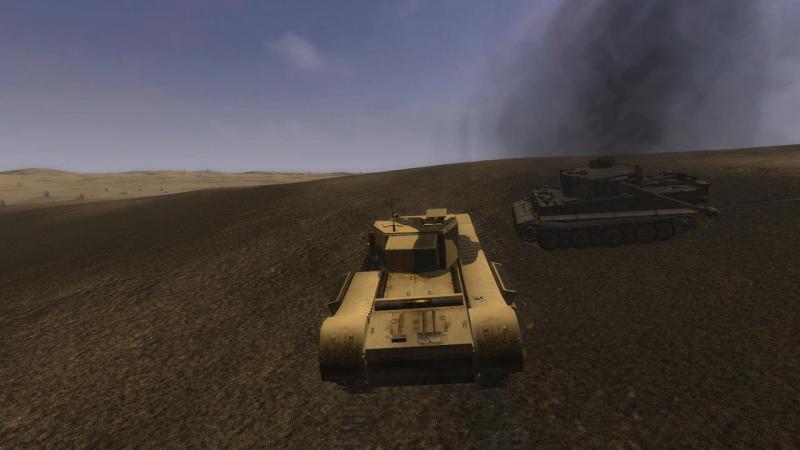
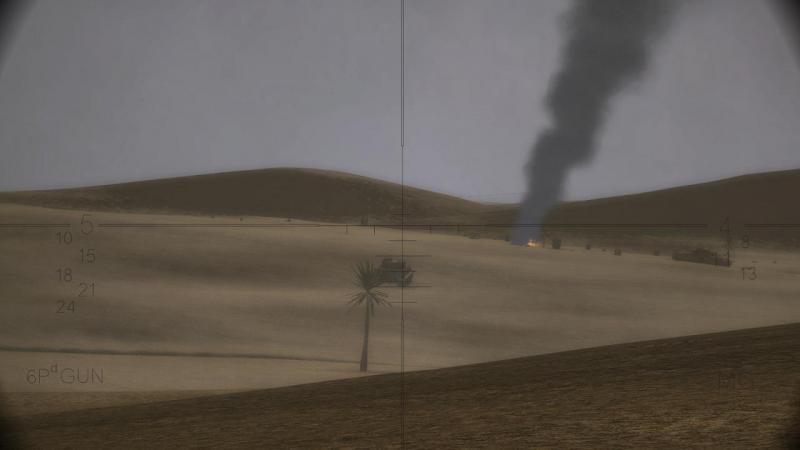
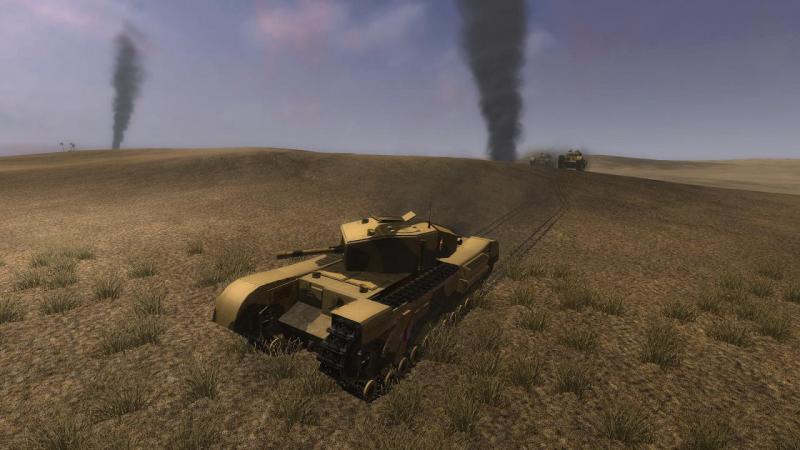
Well Rusty, if you want to find out for yourself, there's one sim I know (and I mean 'sim', not 'mulitplayer tank game') that will let you try it out... ...namely, Panzer Commander, which has a Comet, seen here in the user-made mission 'Harz Werewolves I'; ...as well as a Tiger I of course, seen here in the mission 'Wittman's Stand': Being one of the first tanksims I played - along with Armored Fist 2 and M1 Tank Platoon II - I still have a soft spot for 'PzC' as its fans called it. I'm not sure if it had a mission which pitted Tigers against Comets but the missions could be hand-edited with a text editor like Wordpad so it would be easy enough to place a Tiger in 'Harz Werewolves', which were two British missions featuring 'alternate universe' actions in June 1945, mopping up fanatical hold-outs making a final stand. Basic, but STILL fun, and the historical careers were rather well presented, in some ways as good or better than Panzer Elite's, with British, German US and Soviet forces, from North Africa to the Western and Eastern Fronts in Europe. It looks and sounds better in motion, than in the screenshots: ...and it had a great musical theme and intro: https://www.youtube.com/watch?v=rEuDDZOR8B0 In case anyone is interested, I think these are the settings in the Dxtory background program which, launched before playing PzC, made it playable for me, including eliminating both image judder and the 'turret floating behind the hull in external view' issues. Dxtory doesn't fix PzC for all but is absolutely fine for me (Vista 64, GTS 250) apart from a little flicker (affecting some read-outs) in the sim's status bar along the bottom of the screen.
-
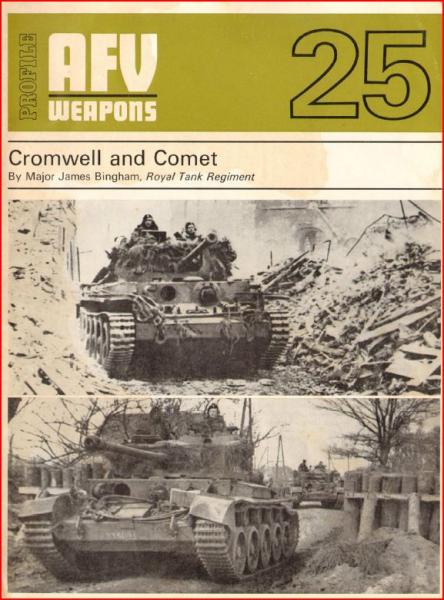
I have some divisional histories which partly cover the Comet period but they're in the loft and I haven't read them for a long time! During the time I was interested in warganing with 1/300 miniatures, the best WW2-era rules I ever came across were the Wargames Research Group's 1925-50 set, dating from June 1988. I tended to value such things not only for what they were, but also because they represented a lot of research and distilled the results in such a way that it gave you a relatively decent comparison of various tanks, in terms of their firepower, protection and mobility. The rated the Tiger 1 and the Comet as follows: Gun* Front armour Side armour Mobility Tiger 1 } 5 4 Medium Comet } same 5 3 Fast * firing non-tungsten-cored AP So it looks like a close match, on paper! You might find this link of interest; the 1960s-1970s AFV Profiles there can be downloaded and include one on the Cromwell and Comet: http://ciar.org/ttk/mbt/afv_weapons_profile_pack/
-
So would I! But if I had to go to war in a British WW2 tank it would be the Churchill, preferably the very heavily-armoured VII (or an uparmoured IV or VI). The only book I ever read by a Crusader tankie was 'From Alamein to Zem Zem' by Keith Douglas. I don't think he mentions meeting a Tiger or a 'Crusader Charge'. Perhaps the phrase was a wry description of the experience of the way Eighth Army tankies would find themselves running, at Cruiser tank speed, onto the AT gun screens typically deployed by the DAK, while trying to get at the Panzers. By the time the Tigers appeared, Eighth Army tactics had progressed beyond such tactics in the face of superior firepower. For example, Shermans would deal with 88s not by charging them but by employing 'semi-indirect fire', firing from a turret-down dip in the ground and lobbing HE from long range and basically out of sight. Another decent North Africa tankie book I'd recommend is 'Take These Men' by Cyril Jolly. Though supposedly 'written as fiction' - likely to avoid controversy or lawsuits - it's probably an accurate description of his experiences in Cruisers, Honeys and Grants from Operation Compass till the end.
-
Hi Sixstrings! By the look of it, we have very similar tastes as far as combat flight sims go! Acronyms: CUP - Combined User Patch - the new mod for Il-3 1946. Includes 3 separate modules, which are activated or enabled one at a time, as alternatives: WAW - World At War, the WW2 module of CUP DOF - Dawn of Flight, the WW1 module TJA - The Jet Age - the post-WW2 module Modact - Mod Activator, used by large-scale mods like CUP to 'do what it says on the tin' TD - Team Daedalos, the group who have produced a succession of updates to the basic sim, the current one being numbered 4.12.2, which improve the Artificial Intelligence. DBW - Dark Blue World, a major mod for pre-TD versions of IL-2 '46 (up to patch number 4.10). CUP uses the TD patch, DBW doesn't. DBW 1916 - the WW1 module for Dark Blue World (activated as an alternative to the post-WW1 main mod) HSFX - a major mod for IL-2, with less content that DBW or CUP I think, but more geared to providing a solid basis for Multi-Player Until more campaigns are made for CUP - or until existing campaigns are converted - DBW is possibly still the premier mod for IL-2 single player action. I have separate installs for each. having installed IL-2 '46 and patched it to 4.10 you just copy and paste the complete IL-2 installation to a new folder of its own. You can then apply DBW to one, and CUP to the other. The non-WW2 mods for IL2 are interesting but in many respects will not be a match for dedicated WW1 or jet sims like FE2 or SF2. The SAS ('Special Aircraft Service') website is the best place for info and queries on anything IL-2, tho the many real IL-2 grongards who hang out over there tend to speak sometimes in a language the rest of us can struggle with! My advice would be to make a copy of a clean IL-2 '46, patched to 4.10. Then install DBW first, in one of these, using the guide here: http://www.sas1946.com/main/index.php/topic,21514.0.html ...then into the other clean IL-2 '46 (4.10) install, install CUP, as described here: http://www.sas1946.com/main/index.php/topic,45222.0.html
-
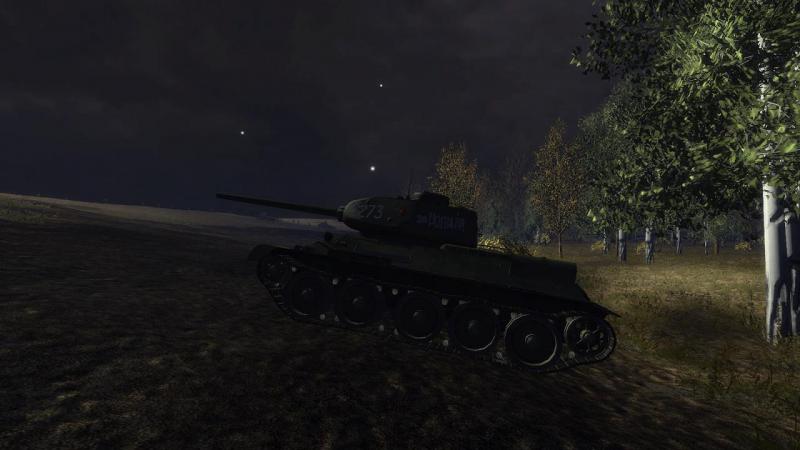
I would highly recommend Steel Fury! Panzer Elite is better at campaigning, platoon command and communications. And SF's AI, unless closely monitored by the player with the limited tools he has, can be over-enthusiastic, if I can put it that way. But in many other respects it's really a great experience. with the modders having added a huge range of 'playables', maps and missions. My next mission was the last one in a T-34 mission-set campaign, and it was incredible - a compact mass of T-34s, IS-2s and dismounted infantry in a night attack on German hiltop positions followed by an assault on a village. Illumination rounds falling from the sky, turning night into day; red and green tracers flying; finally a tense prowl round the village to locate and destroy the enemy hold-outs with the lurking threat of sudden death around every corner. Crazy, exhillarating stuff!
-
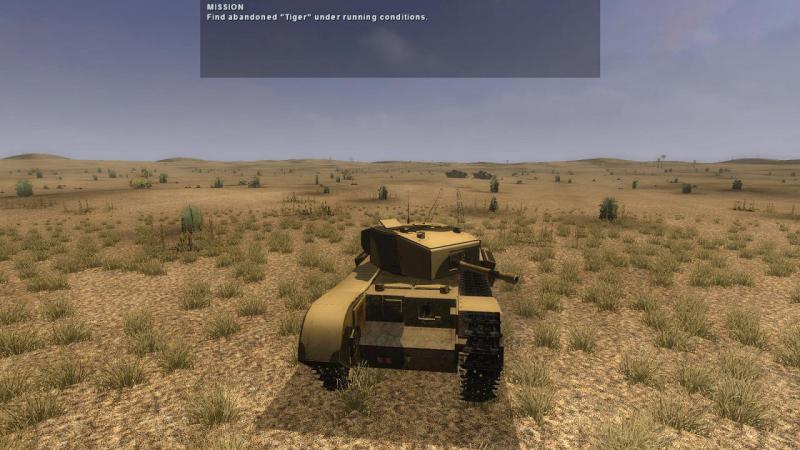
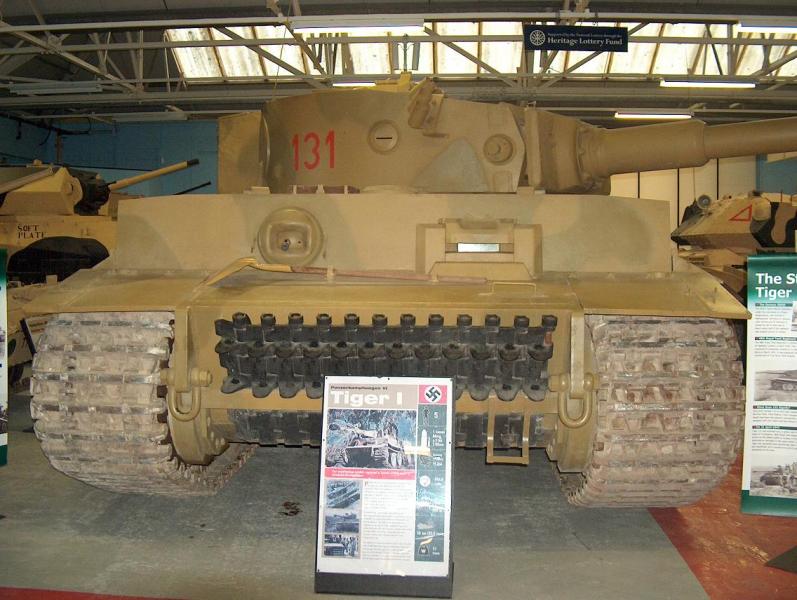
Even before it got APDS ammo in 1944, the 6 Pdr was an excellent weapon, with better AP capability than the US/British 75mm if I recall right. If like me you ever had the old Airfix 1/76 Tiger kit, you may remember that the bagged version's potted history on the reverse of the header explained that the first Tigers met by the British in Tunisia were knocked out (from a flank, which is ideally how you want to tackle any target, ie from defilade) by towed 6-Pounders - at Pont du Fahs, I remember well - which I believe is correct. And Tiger 131 is where I saw it last, as pictured above - Bovington Camp, Dorset - because a 6-Pounder-armed Churchill got him. Not every kill is a brew-up or even a penetration, but every one counts! This is a closer view of the last Tiger I engaged. I had fired at least one round at his hull above the tracks - this failed to penetrate as you can see from the gouge. Before driving past him I put another round into the same area and this penetrated, as you can see from the clean hole to the right of the gouge. I think Lockie may have tinkered with the SF 6-Pounder's AP capabilities during testing this mission - but bear in mind of the 12 Churchills which started, Tigers got most of them. There's a bit of testing going on amongst the modders, checking the sim-vs-actual reported power of various weapons. But from the right aspect and with a bit of luck, 6-Pounders have killed Tigers in real life. I meant to reduce the force balance setting before playing this mission, which I think means you don't meet Tigers, except the abandoned one! All sims have their particular points or oddities. In 'WW2 Battle Tanks - T34 -vs- Tiger', to my mind, the Soviet tanks seem frustratingly resistant to 88mm AP rounds...although they will die eventually.
-
Hear, hear! In what other sim do you get not only great WW1 air-to-air combat but thanks to the modders, can experience it in such a variety of aircraft in so many campaigns in so many different theatres?
-
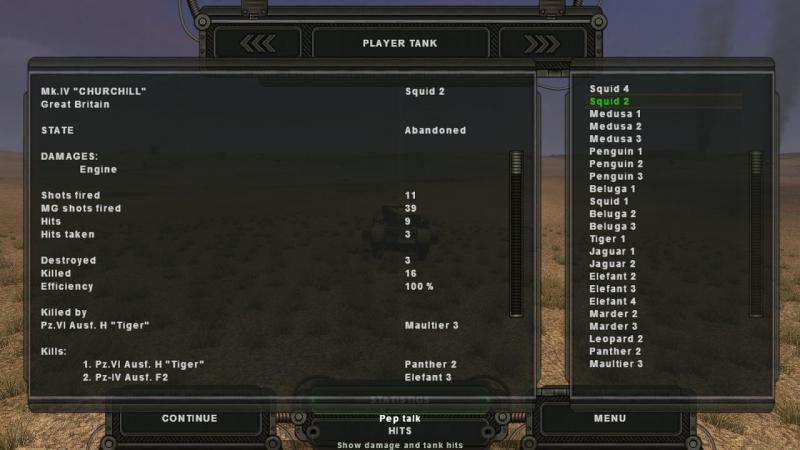
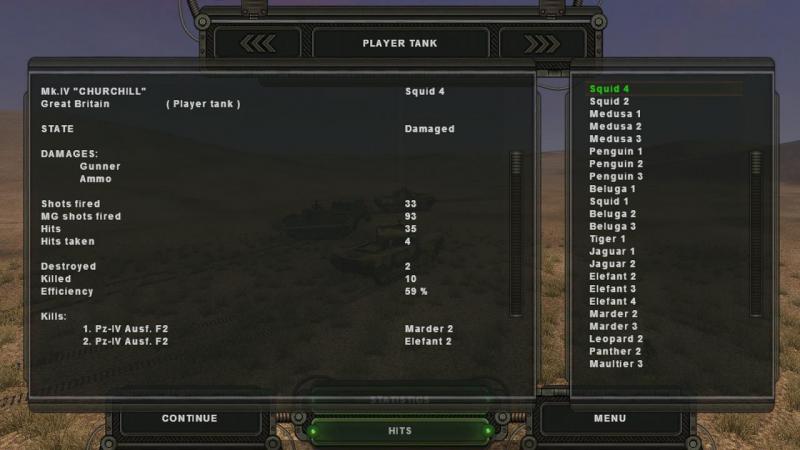
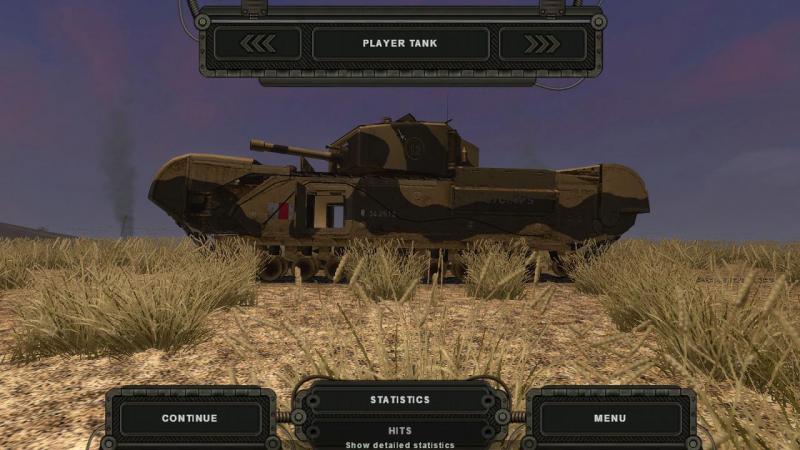
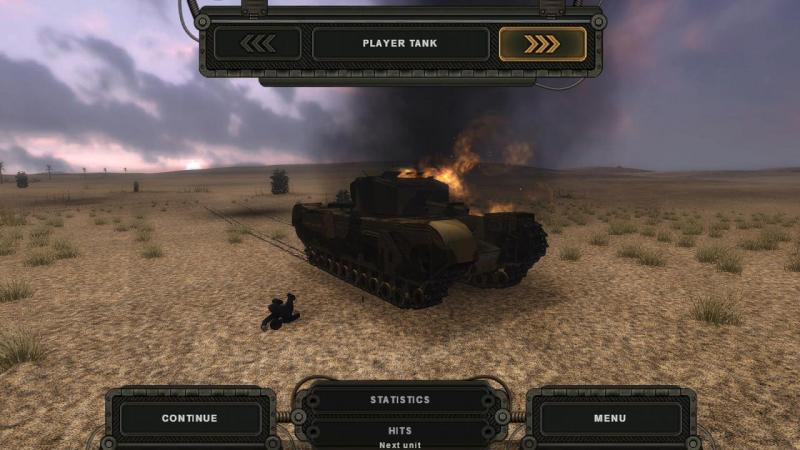
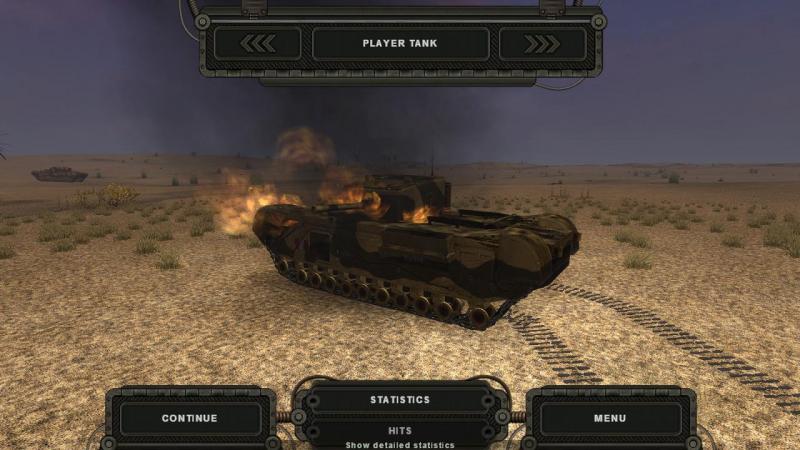
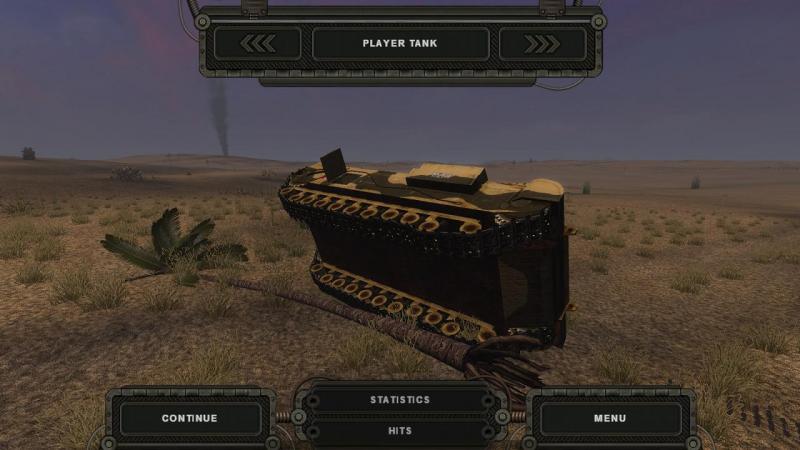
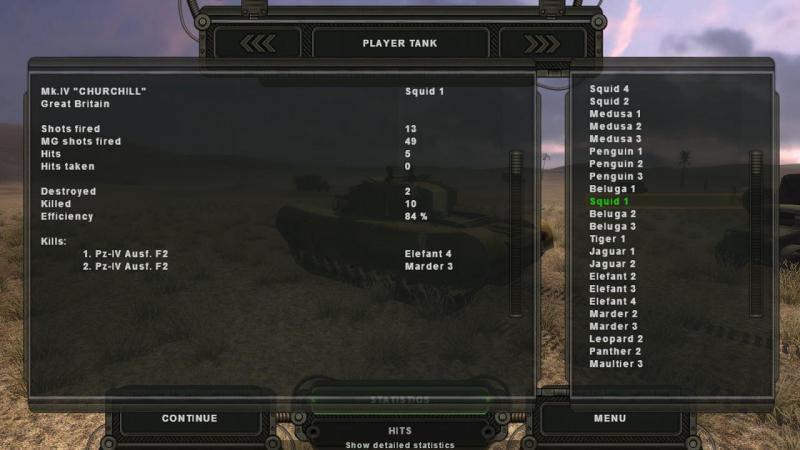
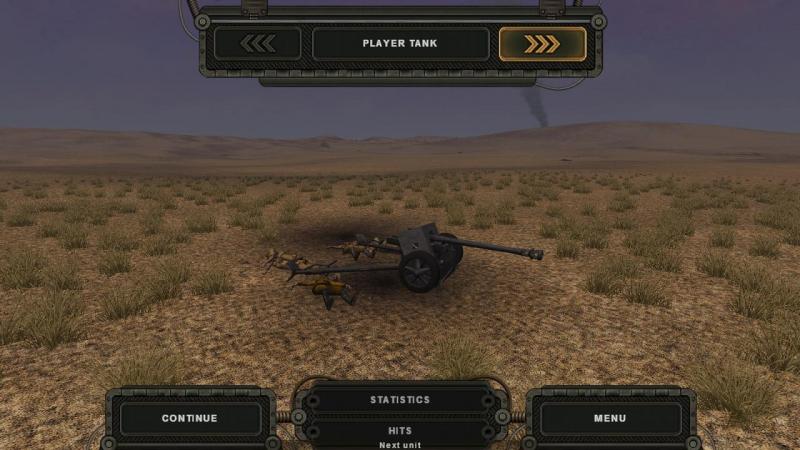
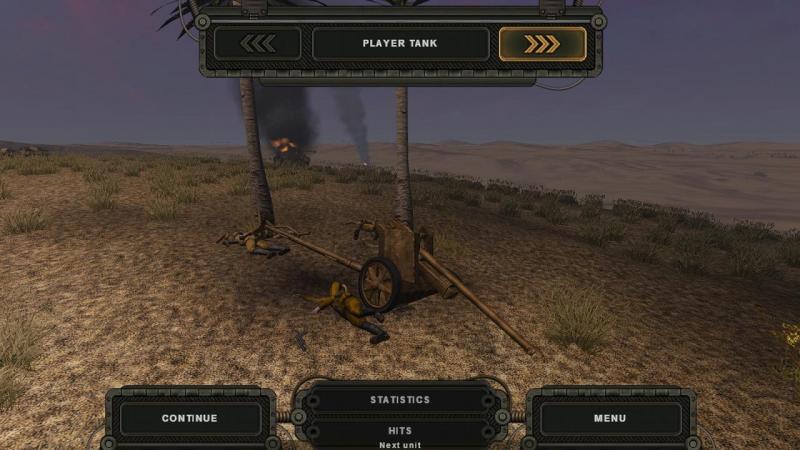
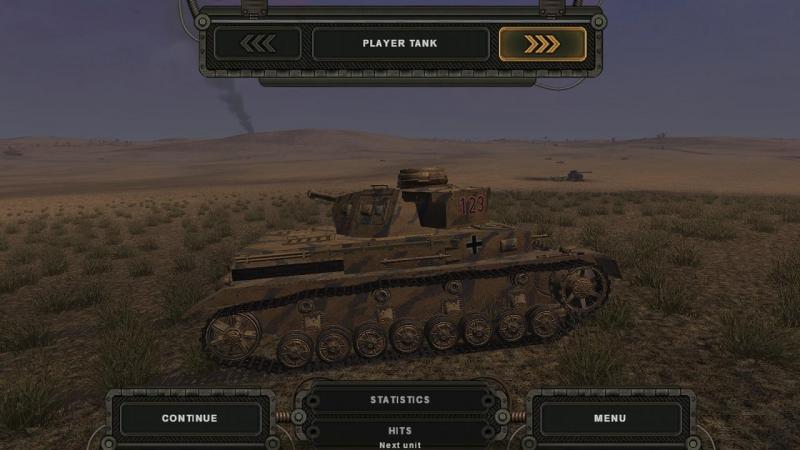
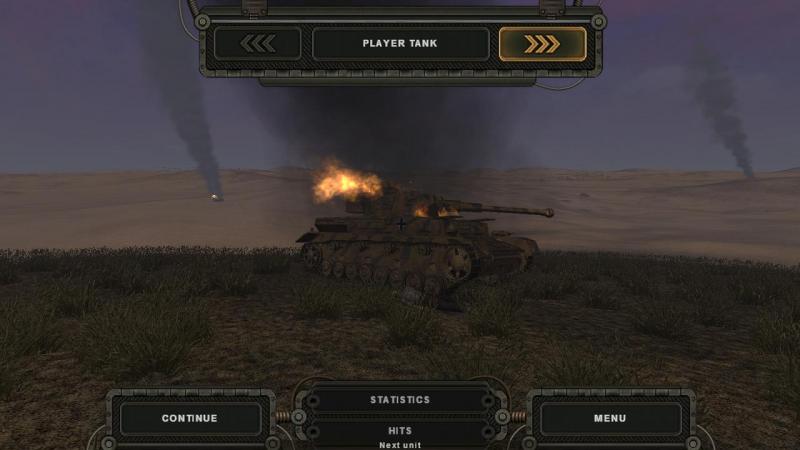
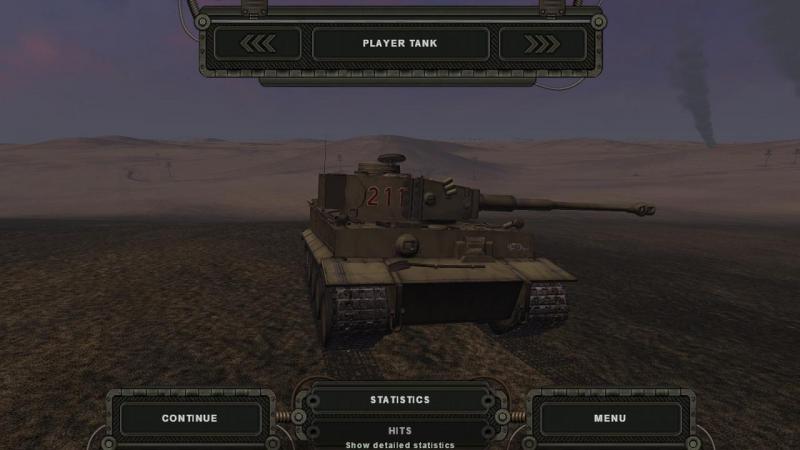
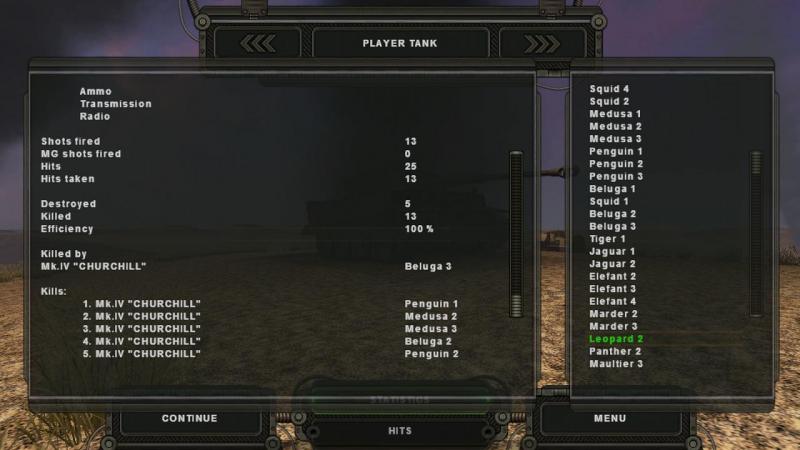
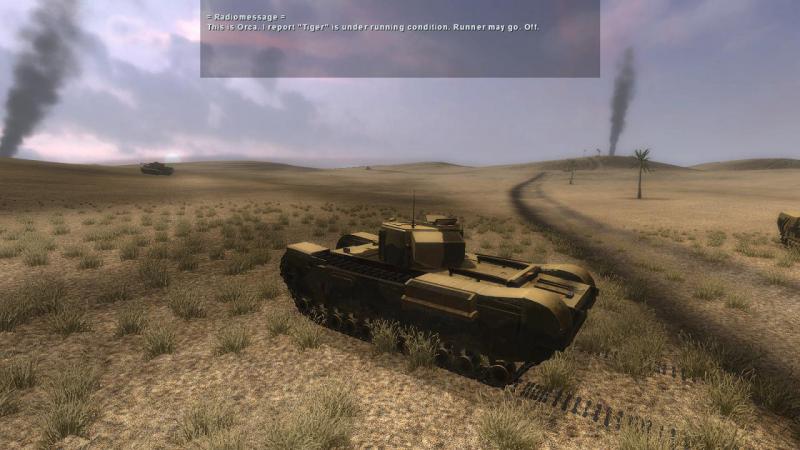
The butcher's bill Having completed the mission and brought two of my three Chruchill tanks back to base, it was time to review the 'Statistics'. My own tank had done quite well, despite the commander having to take over as gunner quite early on. We were credited with two Panzer IVs destroyed. Unfortunately I don't believe there's a way of causing SF to use the same vehicle names you see in the 'Statistics' phase, as a mission designer may use in the mission itself. So here, instead of a Killer Whale (callsign 'Orca') I am a mere squid. At least the aquatic theme had been preserved! The other surviving Churchill in my own troop had got very similar results. It was some compensation that my knocked-out troop mate had also done well, in fact being credited with one of the Tigers. It was some consolation that the Churchill hadn't burned and looked readily recoverable, apart from the reported engine damage. Better still, although the open hatches showed they had been obliged to bail out, none of the crew were reported to be casualties. Excellent! In any sim, I always want to bring my boys back alive, not just win at all costs. Unfortunately, many other Churchills, from Peter Gudgin's leading wave, had borne the brunt of the fighting and had come off badly, in consequence. This tank had evidently got into a serious, close-range fight with a palm tree. Neither party seemed to have done terribly well out of the affair, but at least the Churchill looked easily recoverable. The crew would have a harder time, though, living that one down. I mean, what can you say? 'The bl**dy tree pulled out right in front of us!' doesn't really carry much conviction, does it? The Afrika Korps had taken a bit of a battering, too. Their losses included both 50mm and 75mm anti-tank guns. Our numbers and our 6-pounders had proved too much for the counterattacking Panzer IVs. Their carcasses were scattered across the battlefield, some on fire. Although not seen here, you can of course both call up their own statistics (to see what got them, as well as their own results) and using the 'Hits' tab, see what rounds hit them and which one did them in. The Tigers had also been well tamed, but the cost had been high. This particular Tiger had racked up a long list of victims. However, their intervention had not prevented us in recovering one of their number. And if the German recovery crews were not a bit quicker off the mark next time, there was at least one other immobilised and largely intact Tiger now lying out there, a prize for whoever got there first! This was one of the most interesting and enjoyable tank sim missions I have played in a long time - a credit to Lockie (and the others involved in its content) and highly recommended! 'Capture the Tiger', to give the mission its correct name, is part of the current version of 'Game Mission Pack' (GMP) 3, designed for the Steel Tank Add-on (STA) mod, which you can find out about and get download links for, here.
-
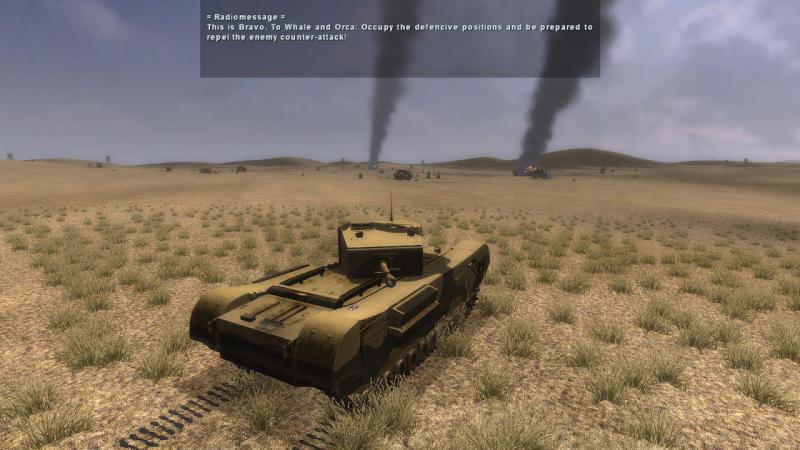
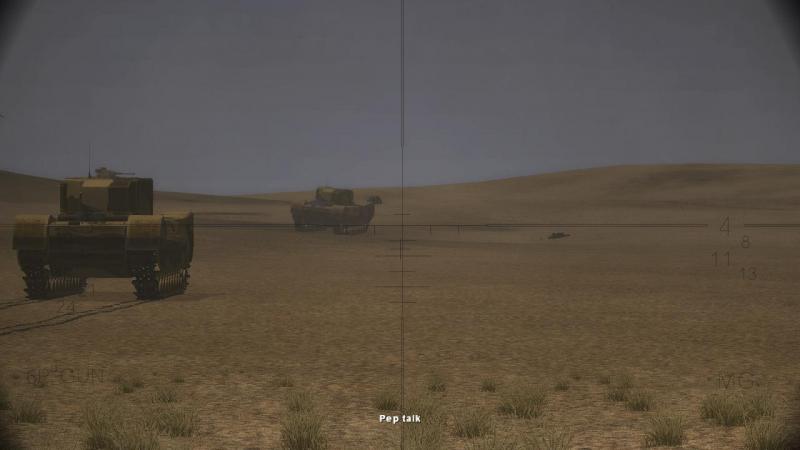
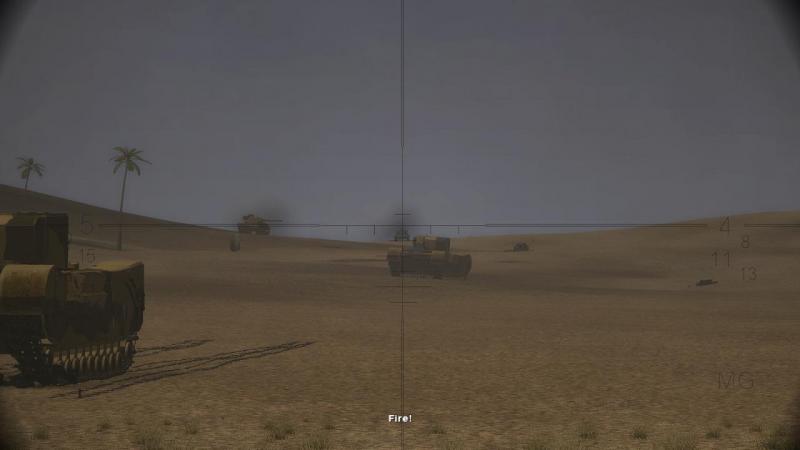
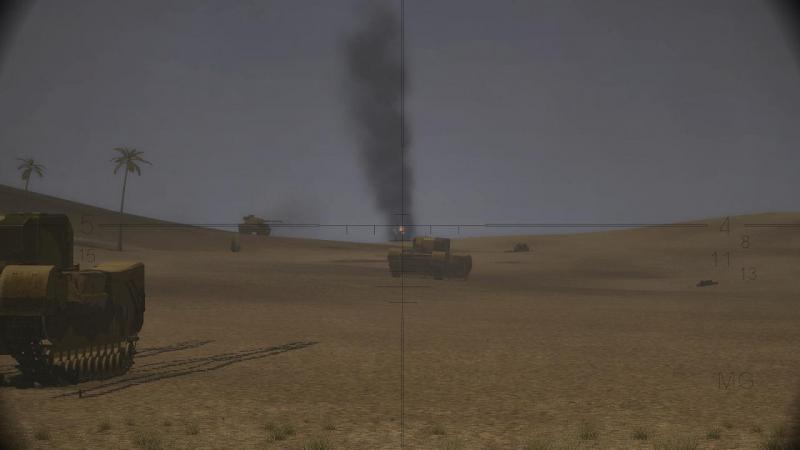
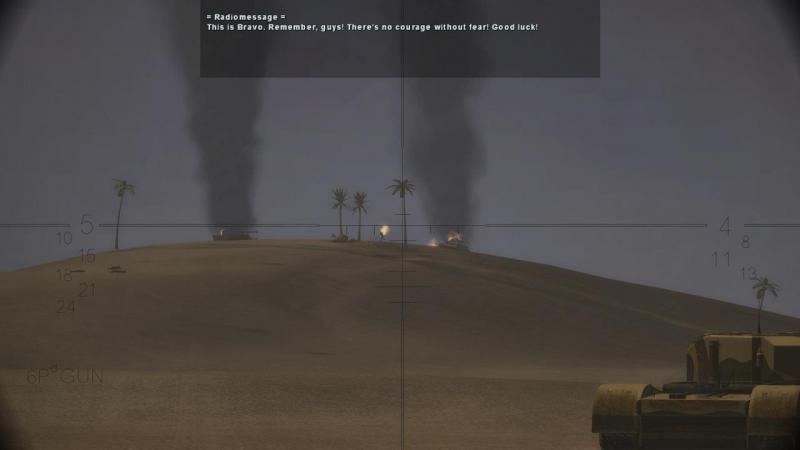
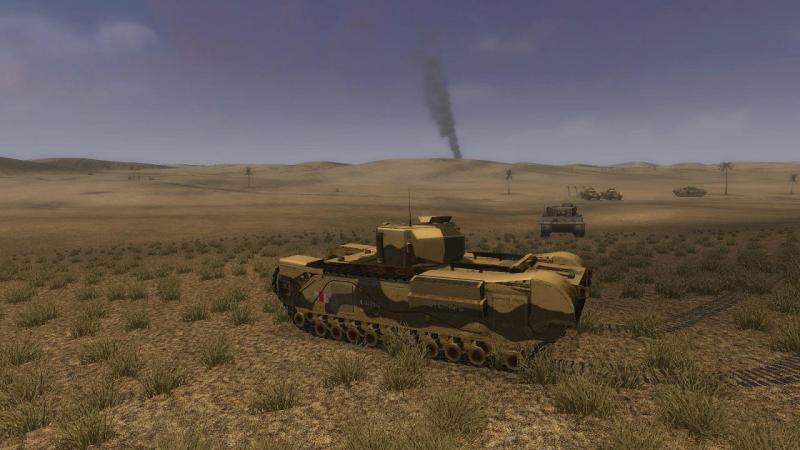
'It ain't over till the fat lady sings!' We hadn't gone very far on our way back when the order came through to go firm and defend against an incoming counterattack. Evidently, the Germans were not terribly pleased that we had pinched their big tank and wanted it back! So I spun around and rolled back towards the enemy, moving far enough to ensure my other two Churchills would do likewise. Looking back at them, it was hard to tell the living from the dead, as the area was littered with knocked-out infantry tanks. At this point I had a look at the map, to see what could be seen of the enemy's reported movements. I gather that there is a 'show all units' option somewhere. I may have had this turned on, or perhaps there were other 'friendlies' doing the spotting. But there they were - two big blue enemy arrows on the map, coming our way. Near them were two blue diamonds, enemy tanks, on the move. It wasn't long before I spotted the first Panzer, a 'Mark Four Special' as the British called the Panzer IV with the long-barreled 75mm gun. I over-estimated the range and my first shot went over the top of him, just as he slipped into a hull-down position. In fact he seemed to go turret down, so that all I could see was the commander's cupola. Relying on the slight dip in the trajectory of my 6-Pounder at that range, I tried lobbing a couple of rounds onto him. Happily, this had the desired effect. For the second time in this battle, my troop-mates seemed to be able to see or hear something I had missed. They had turned left and faced a knocked-out 75 mm anti-tank gun. What was the problem? It couldn't be the killed Panzer IV on the skyline to the left; he'd been there long before. The threat was in fact another Panzer IV which hove into view, coming at us head on, beyond the furthest Churchill. Fortunately the enemy tank drove pretty well right into the centre of my gunsight. The only problem was that one of my own troop was in my line of fire. Oh, what the heck! I let rip. My round zipped right over the left rear of the other Churchill and smacked into the Panzer. A second round followed. I'm not sure if my troop-mates joined in, but the German tank was soon blazing merrily. The ensuing silence didn't last long. The Churchill just to my left suddenly cut loose with his 6-Pounder. Traversing left I saw that he had destroyed another Mark Four who was also alight, as was one of the unfortunate crewmen, who blazed as he ran. As if prompted by this rather nasty sight, enough to put the wind up any tankie, God-fearing or otherwise, the boss came up on the air, with some words of encouragement. At this point I got the 'Mission complete' screen, doubtless indicating that the stolen Tiger had reached safety. I opted to play on and turned the troop around to make our own way back. As I did so, I gave myself a bit of a fright when I suddenly spotted another Panzer, on the same skyline. I quickly realised he was dead but for scaring me quite needlessly, I decided he must burn. Unfortunately, the previous exchange of fire had resulted in one of my troop being knocked out, which I realised only when he didn't conform to my turn for home. My elation tinged with sadness at this loss so late in the day, I led my surviving troop mate back to our lines, with my gun once again laid over my rear deck. It wasn't far, but it seemed to take longer coming back, than it did, going out. Lockie tells me the SF Churchill - which isn't a stock tank made playable, as I had thought, but came with an early version of the NTA mod - is rather faster than it should be but I didn't much notice. Finally, we were back where we'd started. The recovery crew had parked up their prize and seemed rather happy with themselves, standing in the captured Tiger's turret. All that remained was to use SF's neat post-mission 'Statistics' facility to have a little 'nosey' around the battlefield. ...to be continued!
-
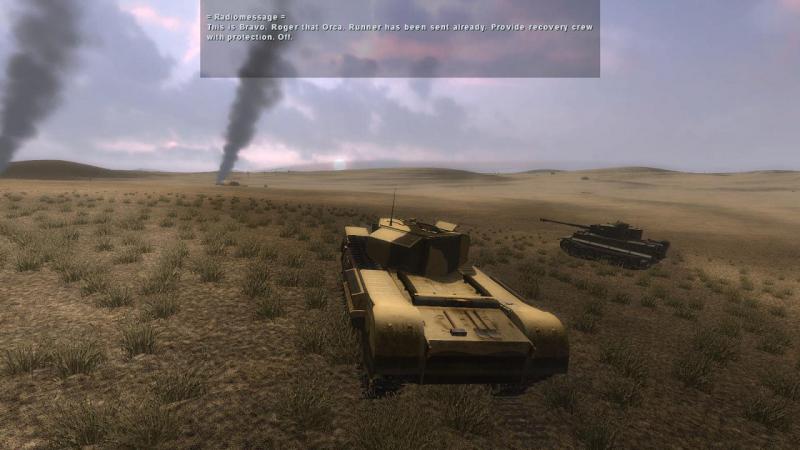
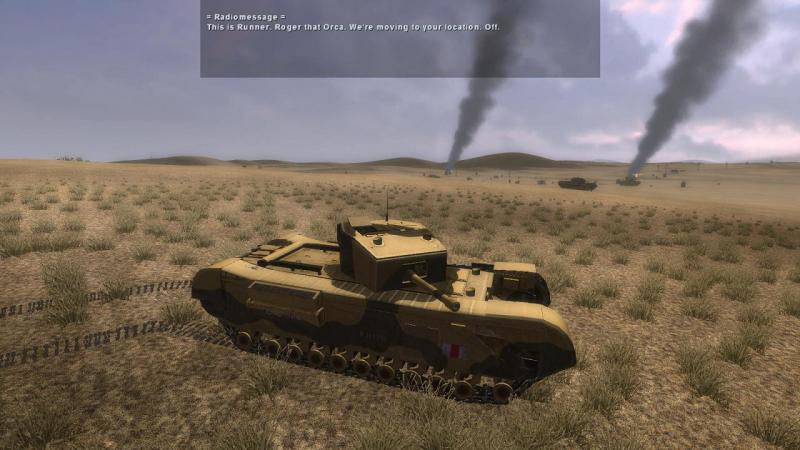
'Off went the band, with me ol' man in it...' As I drove up to the abandoned Tiger whose capture was our mission's aim, I got another radio message. This time, it was from me, the player, callsign 'Orca', reporting that I had confirmed the Tiger was a runner! Next second, our rear party, callsign Bravo, acknowledged my message and reminded me that I should now protect the recovery crew, whose lorry was reported to be already en route. Reaching the Tiger, I halted, then spun my tank around so as to face the direction from which I thought any attack would most likely come. At this point, the recovery crew, callsign Runner, also came on the air and informed me that they were headed my way. There were several stationary Churchills nearby, but they seemed dead. Behind me, my two troop mates were very much alive and were closing up. I gave the order to assume defensive positions, telling my own driver to stay where he was. There was really no cover worth the name in the vicinity. All we could do was face outwards and watch our arcs. It wasn't long before the recovery crew's 3-tonner appeared. It drove up and halted about 50 yards away. The recovery boys bailed out the back of the vehicle and ran across to the Tiger. As they did so, a pop-up message reminded me that my job now was to cover the Tiger's return. The recovery crew was soon aboard the Tiger and 'off went the band', as the song goes. By what mission-making magic Lockie had been able to create this little drama I have no idea, but it was a joy to behold! I spun around and set off after the captured Tiger. As I did so, I traversed my turret and laid my gun over the rear deck towards the enemy, in the approved fashion for a withdrawing tank. So far, so good! ...to be continued!
-
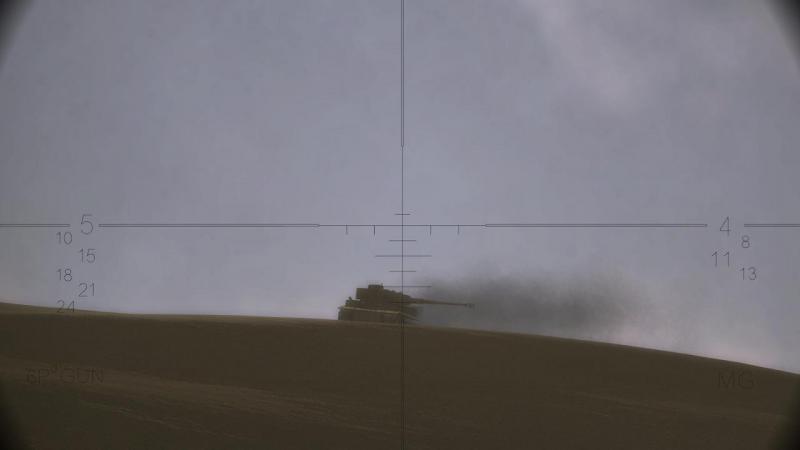
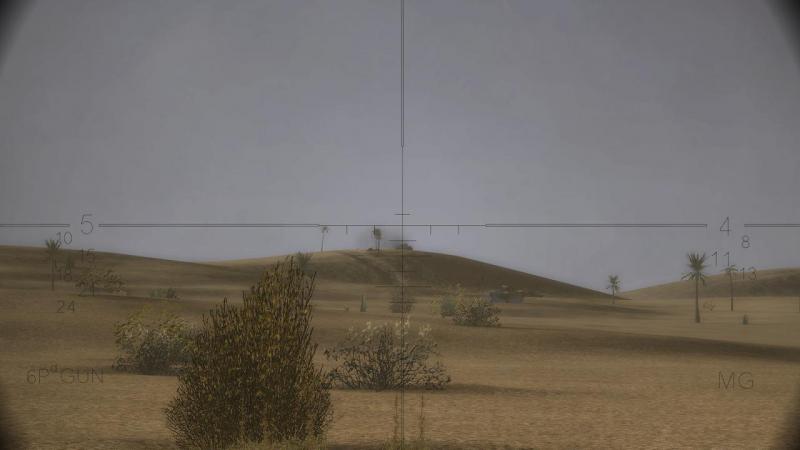
'Tyger, tyger, burning bright...' There was I, and there was the Tiger. Not the Tiger, the abandoned one we were suppsed to steal. But another Tiger, very much in action, driving over the crest to my front and exchanging fire with our leading Churchills, over to the right. By now I had swapped the tank commander into the seat of the dead gunner. I banged off AP rounds into the Tiger, as fast as the loader could chamber them. One of my first rounds severed a track and the Tiger rumbled to a halt as his right-hand tracks came off the sprocket and rolled out flat behind him. He was largely front-on, presenting his thickest armour, but he was now tilted down towards us and I aimed at his exposed turret ring. Rounds from other Churchills crashed into him and beside him. Suddenly, miraculously, it was over. The Tiger lay still. Nobody bailed out but he stopped shooting and his turret moved no more. Somehow, we had got him! Fearing he might spring back into life, I turned left and closed the range right down, steering so as to put myself on his more vulnerable flank. In my gunsight, he looked every bit as huge and dangerous a tank as he really was. I could see some of his scars, a couple of rounds having penetrated the track links stowed on his turret side and a non-penetrating hit on the lower hull above the tracks. At point-blank range, I put another round into him, just above the tracks, which left a neat round hole. No doubt about that one.Much relieved I steered left, past the front of the Tiger and on course for where I judged the abandoned one must lie. As I came up to him, our victim began to burn. As you can see, these Tigers are fantastic models, much improved on the original one made for SF. As the crouching tiger marking on the front plate shows, the ones in this mission are from Sch. Pz. Abt. 501, not Tiger 131's batallion, Sch. Pz. Abt. 504, although both units did service in Tunisia. By now I was in a hurry, if not also slightly punch drunk, so instead of 'contouring' I just drove straight ahead and over the side of the crest. I was quickly rewarded with the sight of our prey, at last. Looking through the gunsight, there could be no doubt - the right location and the right tank, a single, solitary, stationary Tiger, amongst the killed Churchills. Leaving the other, now-well-alight Tiger behind us, our troop clattered over the crest and down the other side, towards our objective. We had got this far, much to my surprise. Now, it looked like there was a fighting chance that we would actually succeed! ...to be continued!
-
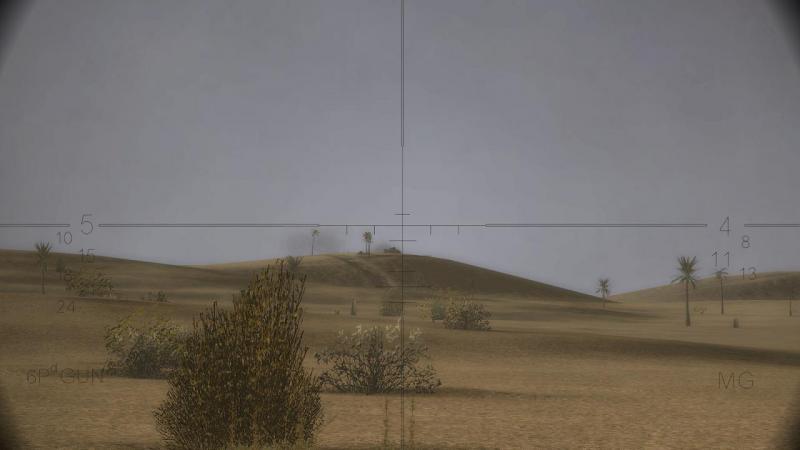
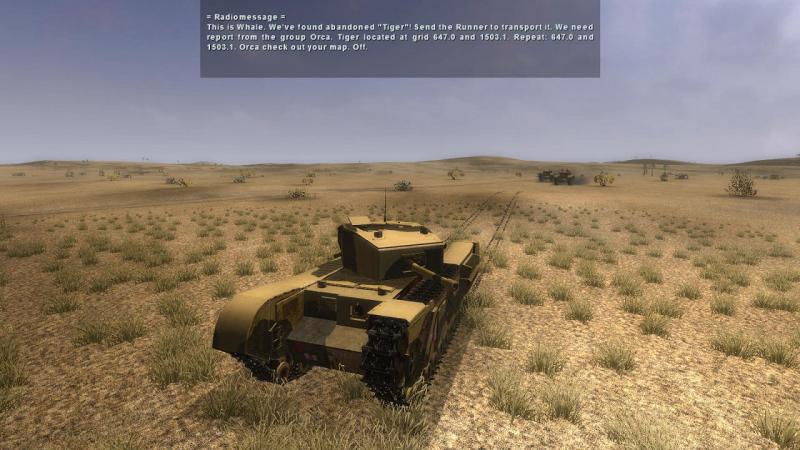
No, not that Tiger...this one! Right, so the lead tanks had reported locating the abandoned Tiger tank. My task now was to get over there ASAP and confirm it was a runner. Then, the recovery crew would come forward and off we would go, with our prize secure. And every chance of being stood a good few drinks in the mess, at least until people started to tire of our re-telling of the day's exploits. I looked up the map and realised that the gridlines in SF maps are not anotated with Eastings or Northings. And I didn't check if mouseclicking (or whatever) would show a given spot's co-ordinates. I didn't need to. 'X' marked the spot...or rather a nice big red flag did. This had appeared on the map, just north of Point 153, over to my left. What else could this indicate, but the location of our prey? I turned left and moved off, conscious that we might be driving back into the field of fire of that other Tiger...the one who, very much un-abandoned, had very nearly killed me, minutes earlier. But the coast seemed clear. I moved on, prodded by another message from callsign 'Whale', urging me to get on with the job. As I received yet another reminder, I noticed that my troop mates were still halted behind me and had turned half left. Why might they do that, I wondered. Didn't they know we had to get to that static Tiger, that the success of the whole mission now lay in our hands? Looking left to see what it could be that had attracted their attention, I saw a sudden blaze of light erupt on a tank on a crest over there. Oh-oh.... I halted and jump to the gunsight. As I watched, the top of a tank's turret began to appear. It was close enough for me to see quite a bit of detail. 'Dustbin' cupola, turret top sloping away gently to triple smoke dischargers...yes, it was a Tiger, possibly the one who'd nearly settled my hash a short time ago. The only good news was that his turret was turned well to my right. Evidently, he was stalking the leading tanks, further north. Maybe, just maybe, I might get away with this... ...to be continued!
-
'Here, kitty, kitty...' I checked my position against the map again. SF keeps your map marked with the position of all spotted units in real time. I have never bothered finding out if I can turn this off (as in Panzer Elite) - map reading and navigation can be a fun challenge but many SF missions leave little time for it. I decided I had best continue edging back to the left. Back in the gunsight and scanning again, I suddenly saw a tank foolishly skyline itself, driving onto a crest towards our force, just right of the knocked-out anti-tank gun. Not just a tank - but a Tiger! Our target was evidently not the only big cat in the neighbourhood! I halted and started shooting, hoping my other two tanks, close behind, would do the same. Controlling your platoon's fire isn't something SF enables you to do, though perhaps ordering 'Do as I do' would have helped in this situation. If I had turned to face the threat, they might in turning with me have been more likely to engage. But I knew that my frontal armour gave little more protection than my sides, to an 88, so stayed put and concentrated on putting as many rounds into him as I could, before he blew me to eternity. Perhaps, lying at an oblique angle to him might actually protect me. The Tiger stopped on the forward slope and started shooting…sensibly, not at me, taking other, closer Churchills first. He came under a good old hail of return fire, not least my own. He was maybe 400 yards off and I tried to place my shots, aiming for the turret ring, the lower hull sides just above the track run and the commander's 'dustbin' cupola. A miracle happened. The Tiger sat still. His turret stopped turning and his gun stopped belching fire. We'd got him! How many of us he had taken with him, I was to find out later. I checked my position against the map again. SF keeps your map marked with the position of all spotted units in real time. I have never bothered finding out if I can turn this off (as in Panzer Elite) - map reading and navigation can be a fun challenge but many SF missions leave little time for it. I decided I had gone far enough to the right and started edging back to the left. Off we went again, my two troop-mates tagging close behind me, as if they had just received a good fright - which might very well have been the case. Happily, both were still in the land of the Living. But it wasn't long before another Tiger appeared on the skyline, maybe 500 yards away. This time, sensibly, he stayed hull down, exposing only his turret. I knew I was done for - no chance of two miracles in a row. At top speed - which in a Churchill, even on the level and in good going, isn't terribly 'top' - I just bored on, heading for some dead ground about a hundred yards off. I was a crossing target and had been reduced to relying on that, to keep me alive long enough to get into cover. That, and the fact he might choose to kill somebody else, first! Despair set in as I watched the Tiger's turret swing slowly around, till it was pointing right at me. The tracer from his first round flashed out and arced towards me, slipping past just ahead. Another 50 yards was all I needed, to get to that dead ground! But I didn't get it. Another 88mm round crashed into my tank, killing the gunner. Somehow, she kept on going. Twenty-five yards! Another tracer zipped towards us and hit us noisily, somewhere. But still we kept on going! Then we we in hard cover, with a low hill - no more than a slight fold in the ground really, just high enough to conceal our tanks - between us and the Tiger. Preoccupied with me, he didn't get my other two Churchills, either. The icing on this particular cake was that 'Whale' now announced that the leading tanks - those still left! - had located the abandoned Tiger! Inspecting my tank, there was a neat shot hole in the middle of the left-hand track sponson, evidently the one which had got my gunner. I could see from a silver spash of bare metal where the second shot had struck - a glancing blow across the top of the right-hand track guard, with no real damage done. I'd got my second miracle, after all! A reward not earned by my poor tactics. I should have turned us into the Tiger instantly, returning fire while popping smoke (assuming you can do that in an SF Churchill) and making a plan…but I had been lucky, for doing 'the right thing' would likely have ended up worse for us. As it happened, my requirement for an extra dose of sheer good fortune had not quite reached its limit...as I was soon to find out. ...to be continued!
-
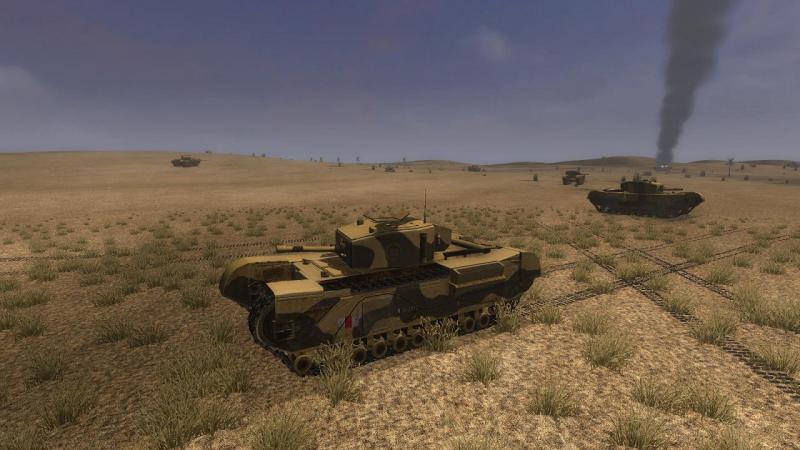
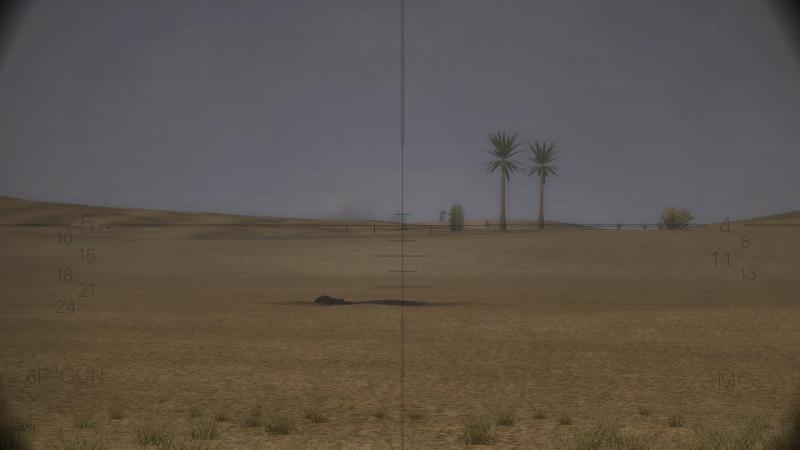
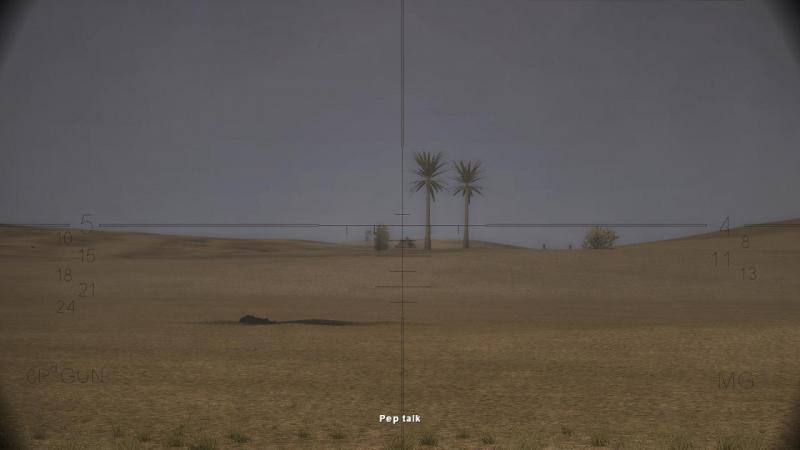
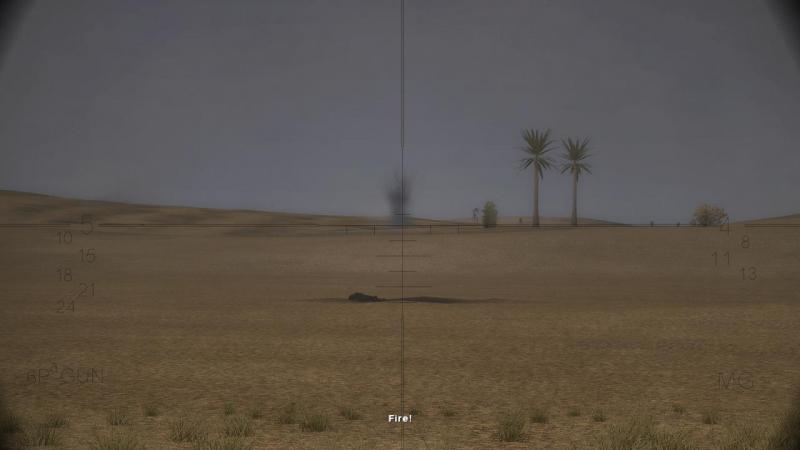
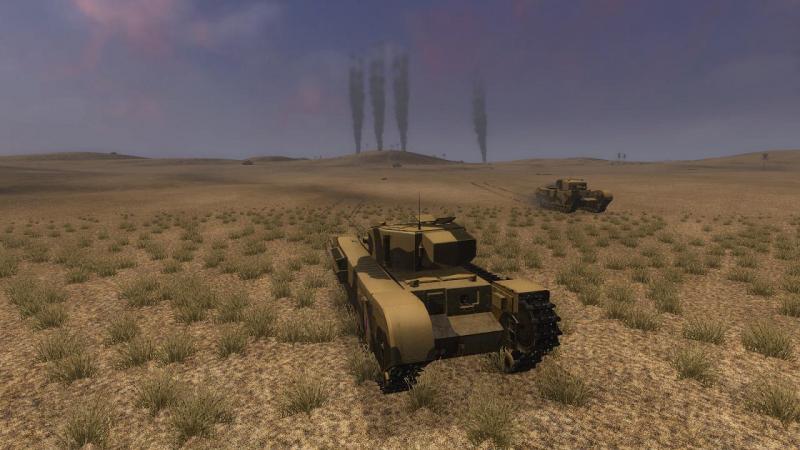
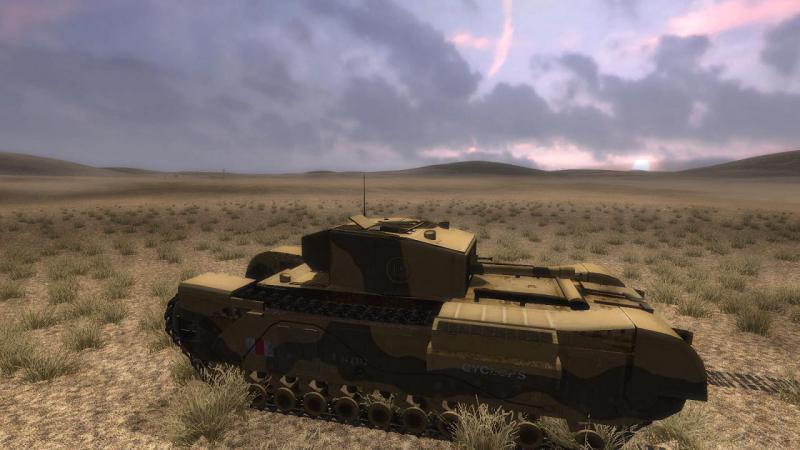
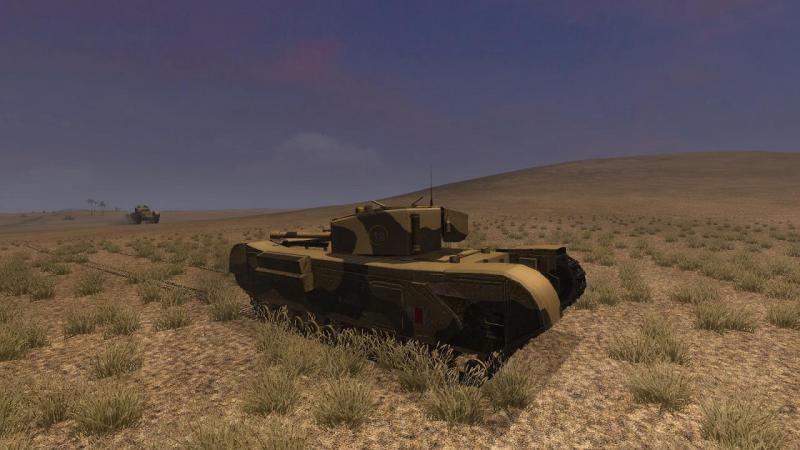
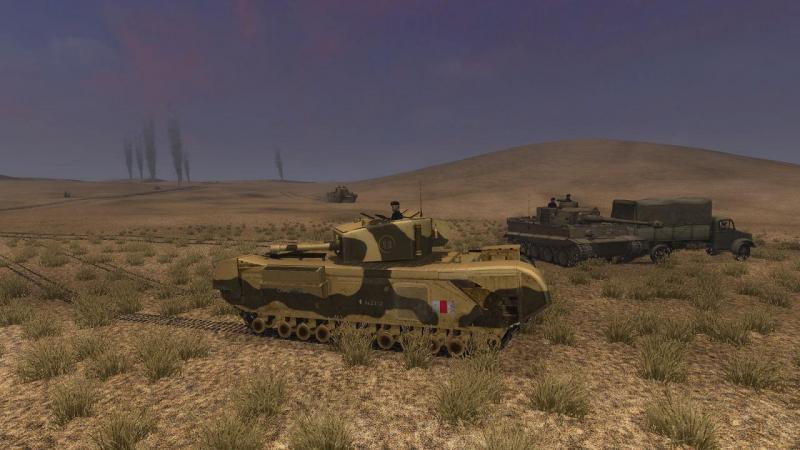
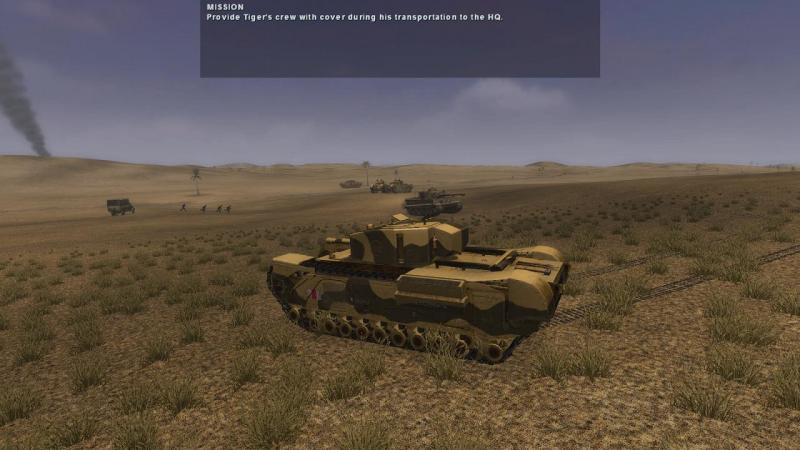
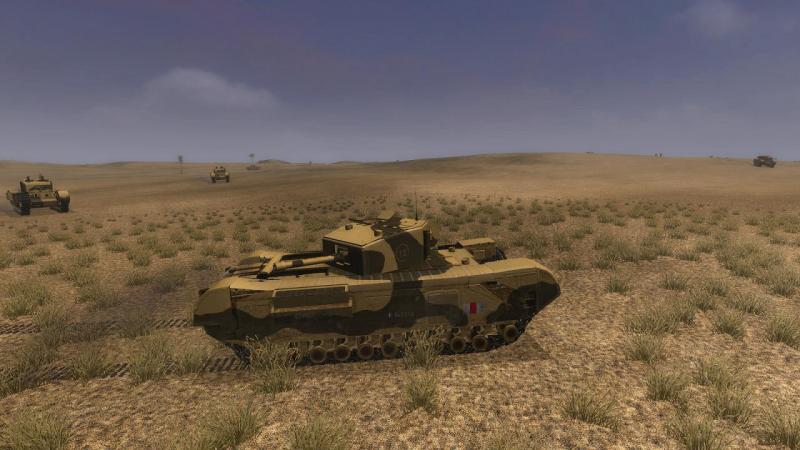
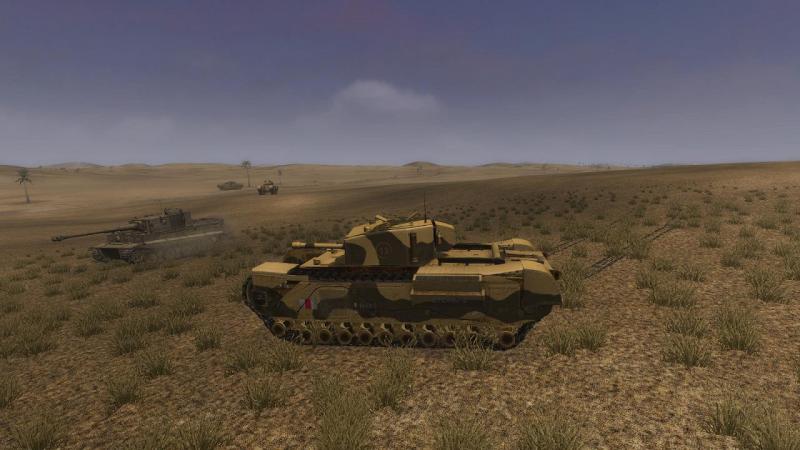
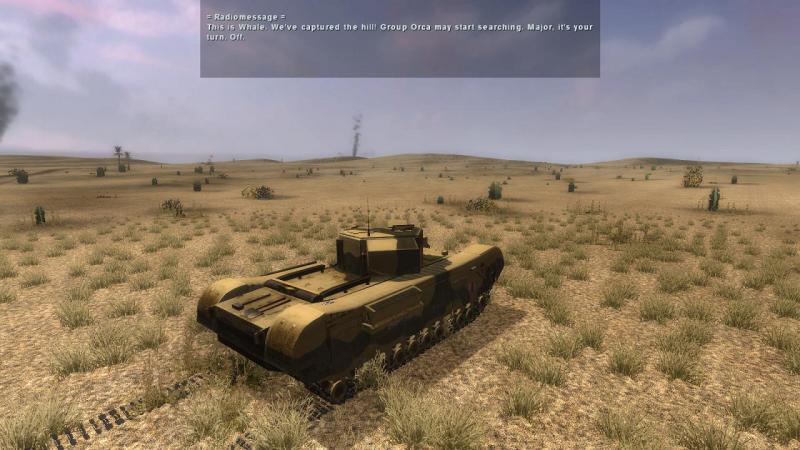
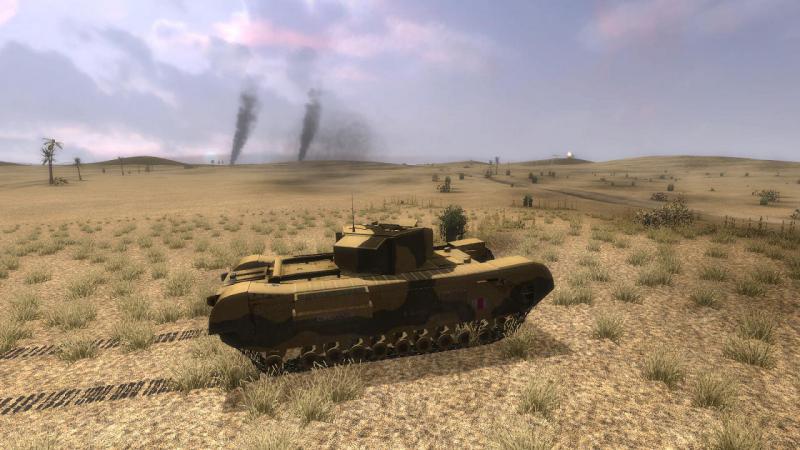
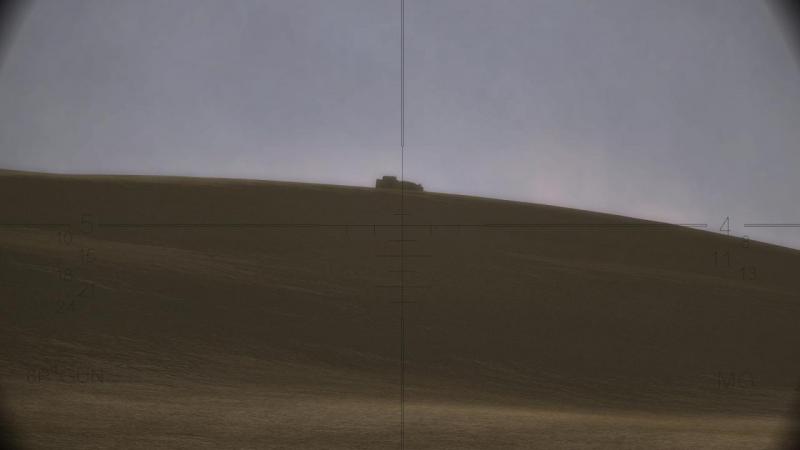
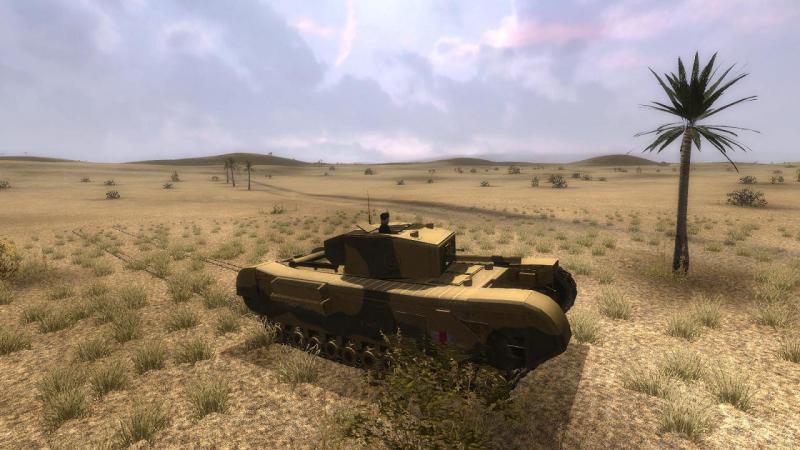
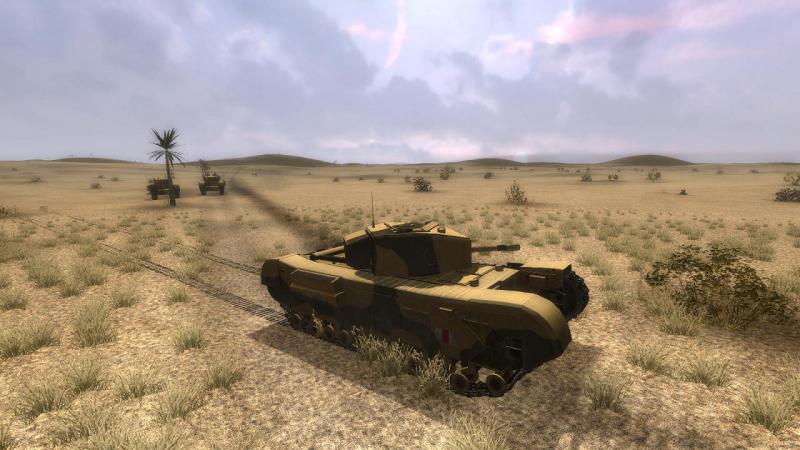
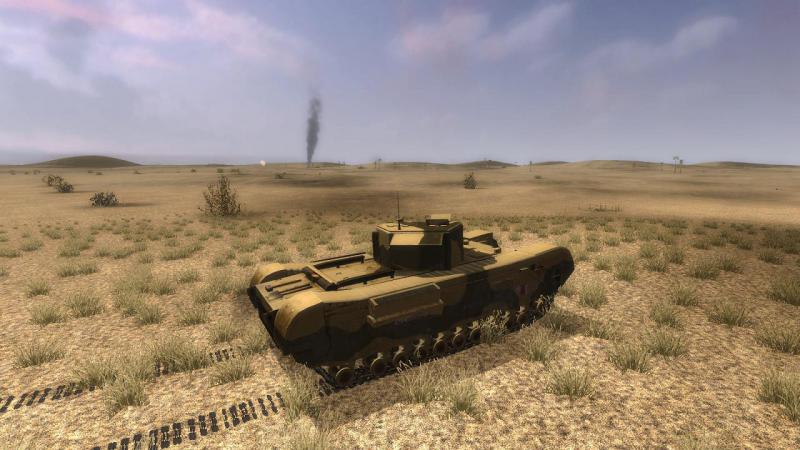
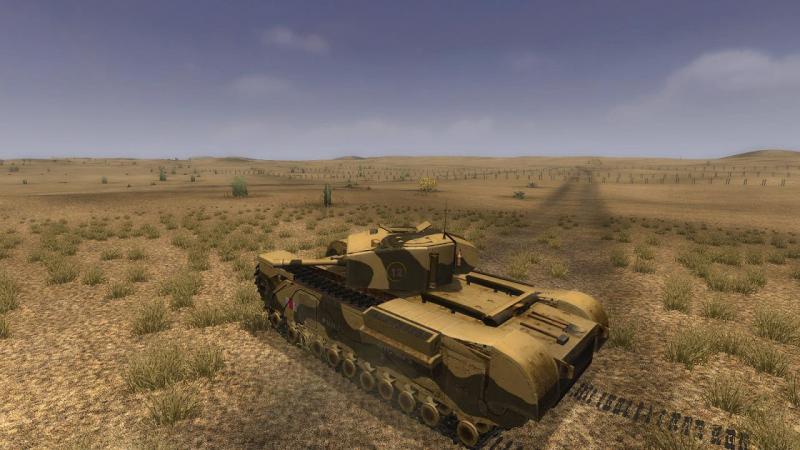
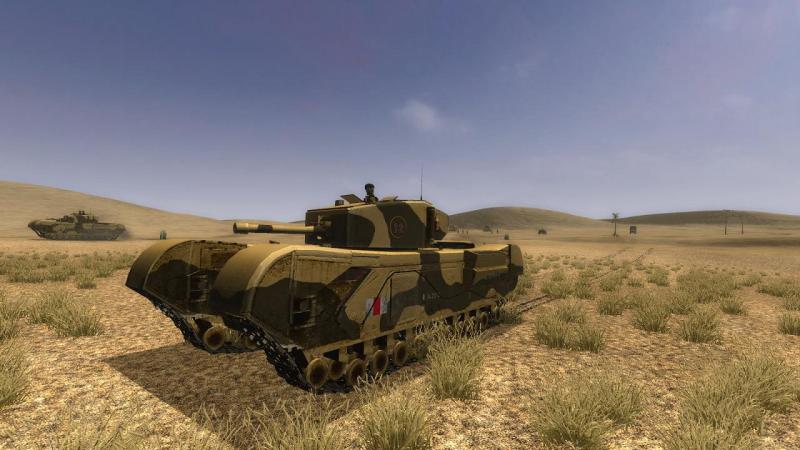
The fun begins! Steel Fury missions generally launch with you as the tank commander, 'buttoned up' inside the turret. The SF Churchill is I believe a stock tank, made playable. While you do get gunsight and visor views - perfectly adequate for all gameplay purposes - there's no 3D interior. So after ordering the main gun loaded - being a 6-Pounder, I have AP rounds only, no HE - I exited the blank interior view by opening the virtual hatch. And I had a good look around. Close to to me, were the other two tanks of my own troop, getting into the line abreast formation I had ordered, before leaving the map view. A little further away, were our base units - a Universal (aka 'Bren') Carrier and a couple of lorries, two Bedford 'three tonners' and a US lend-lease 'deuce and a half' (one of which I knew will be 'Runner', the recovery crew), covered by some dispersed infantry. Ahead of me, the other Churchills were already advancing across the gently-undulating desert terrain (perhaps a little too 'desert' for Tunisia in the spring, but never mind). Some of the other tanks had already disappeared out of sight, hidden in folds in the ground. Being Infantry Tanks, Churchills are well-protected but slow, so I wasted no time and set off after the others. Studying the map, I decided to go wide, out to the right, rather than just rattle along behind the rest. Ahead and slightly right was a low hill. I wanted us all to stay well off the crest of this so I called my troop into column formation, intending that I would lead them around the left-hand extremity of this hill. Perhaps because I had not enabled 'Always obey orders' in the SF options menus, my boys seemed not to understand and though they adopted the close formation I had also ordered, they stayed resolutely either side of me. Meanwhile, the other Churchills rattled on ahead. I was beginning to feel like Gilbert and Sullivan's Duke of Plaza-Toro: 'In enterprise of martial kind, When there was any fighting, He led his regiment from behind - He found it less exciting.' Oh, to heck with it! If my troop mates wanted to drive over that crest, it was their funeral! Off I went again, steering around the hill, 'driving as the water flows' like they say tanks should. Eventually my mates got the idea and fell in behind me. Meanwhile, battle had been joined, indicated by the sound of cannon fire from somewhere up ahead. The undulations in the ground limited my line of sight in all directions. I could still see some other Churchills, but others were still out of sight and evidently engaged with unseen assailants. What these might be, I didn't know. The briefing had given us little idea of what enemy forces were in the area; useful intelligence was evidently in short supply (by the way, in the British Army, the spoken abbrevaited form of 'intelligence' is 'int', NOT 'intel'). On we rattled. I keep saying 'rattled' but it's actually a good description for this tank in particular, with its long track runs and centiplede-like rows of little road wheels. The SF Churchill looks good (apart from a rather thick barrel) and the Mark III we have now is just right for 1943 Tunisia, complete with an appropriate camouflage scheme and tactical markings. The latter include the names the British generally gave their tanks, using the squadron (US company) letter - for example, all the tanks in 'A' Squadron would have names beginning in - you guessed it - 'A'. Unfortunately for now, all the tanks seem to have the same tactical markings. Here's a real Churchill III, said to be in just the right time and place for this mission - Medjez al Bab, April 1943. I changed from commander's to gunner's station and traversed the turret half-left - I always try to make a habit of keeping my main gun towards where the main threat might be, instead of just motoring about with the turret straight ahead. I halted breifly for observation, went to the gunsight, zoomed in, and started scanning for targets, left to right. It wasn't long before I found one, though he wasn't easy to spot. Just a very small, dark blob against a low hillside, maybe 500 yards off. The only thing that caught my eye was that the blob looked quite angular, even at that range. What did I know, I asked myself, that was very small and angular? Realising quickly that the answer was 'The gunshield of a German 50mm or 75mm anti-tank gun', I laid my sights onto him, adjusted for the estimated range and started hosing him with tracer from the co-ax. Nothing much seemed to happen. No return fire was a good sign, to be sure. But was he dead, or alive and just keeping his head down and his powder dry? Taking no chances and cursing the lack of an HE round, I dropped my aim slightly to allow for the main gun's flatter trajectory and let him have an AP round from the 6-Pounder. Another round from somebody else whacked into the hillside to his left. Encouraged that I was not alone in thinking him worth shooting, I fired again. This time, there was a gout of earth and dirt that looked to be pretty well on target. Still no return fire. That would do, I decided and moved on, though I kept a wary eye on him...just in case. Where are the screenshots of all this, you may ask? In the excitement, I didn't take any. Getting caught in the open by a virtual anti-tank gun does that sort of thing to you. Moving on again, I checked the map and decided I had gone far enough to the right. I nosed back in towards the axis of our advance, over to the left. ...to be continued!
-
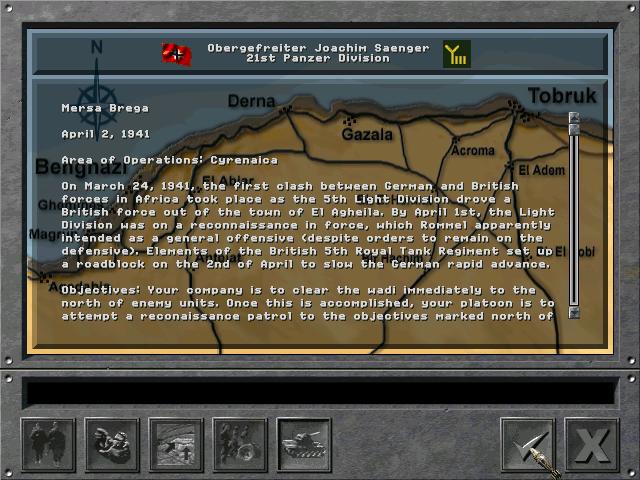
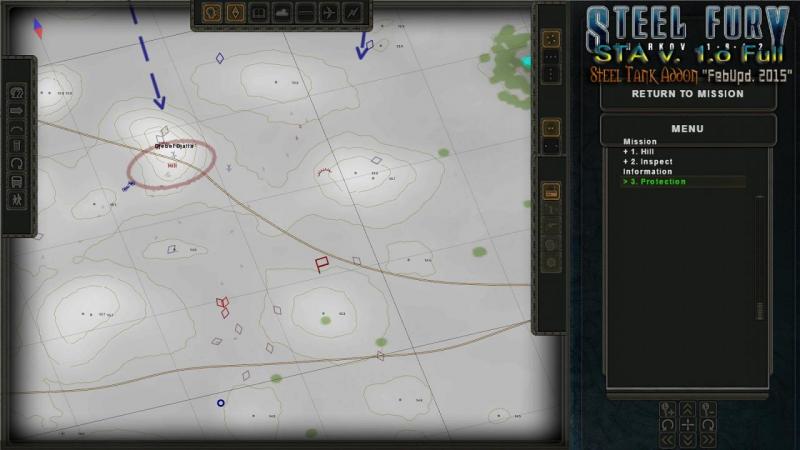
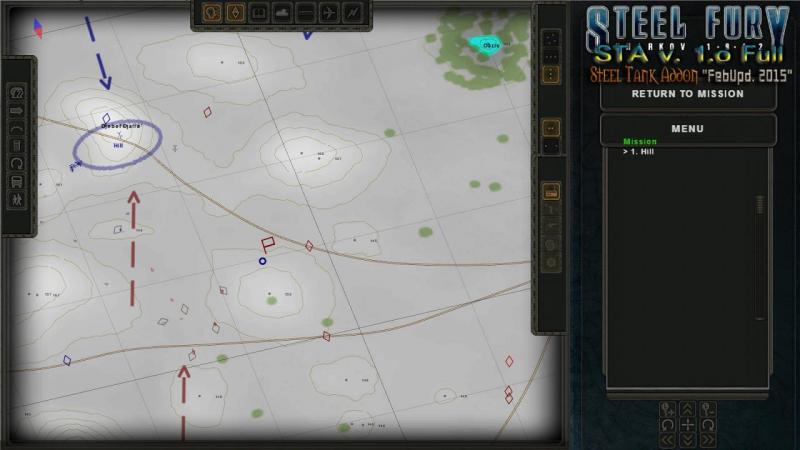
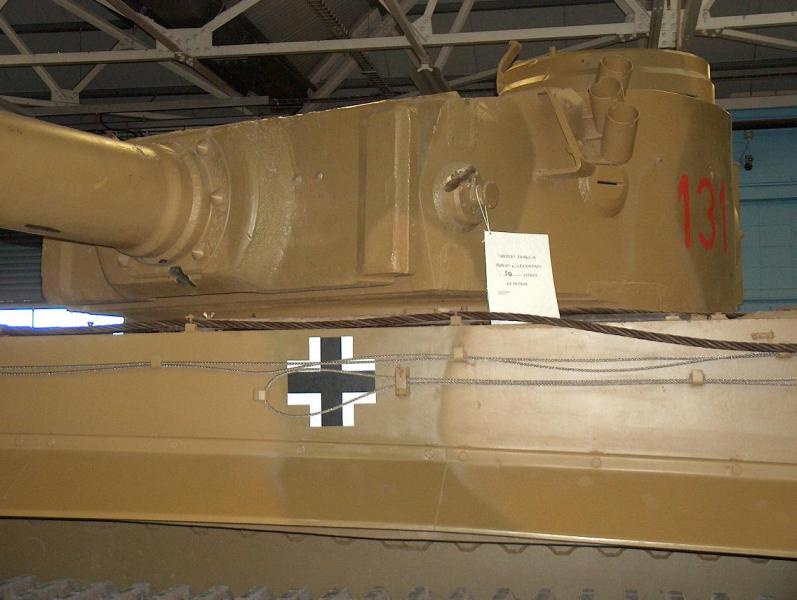
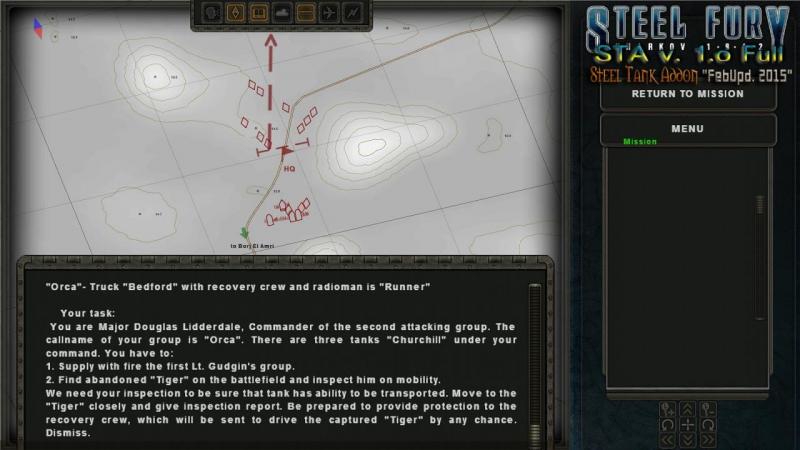
An unusual new mission for WW2 tank sim Steel Fury! You may have seen the Royal Armoured Corps Tank Museum's superb Tiger, tactical number 131, in the recent movie 'Fury'. Here, the Tiger comes to grief after unwisely closing the range with a group of advancing US Shermans, one of which puts a 76mm round into its rear (after a rather silly-looking 'tank dance'). Rather more interesting than the tank-laden but melodramatic, macho Holywood hokum of 'Fury' is what is known of the real story of Tiger 131's last battle, which you can read about in this credible account, here. In short, the real tank came to grief during a shoot-out in Tunisia with British Churchill Infantry Tanks of 48 Royal Tank Regiment. The Tank Museum did a superb job restoring 131 but they deliberately left the scars from the battle, which you can see to this day, as I did when I visited the Museum in 2008 - note the strike under the gun tube onto the lower mantlet and one on the gun trunnion (carrying a fuel warning tag): About a year ago, browsing the shelves, I saw a book about the tank's capture, called 'Catch that Tiger!' This would have been an automatic purchase but a quick scan showed that the book was written in a rather 'Boy's Own Adventure Story' fashion. And - despite being presented as fact - the story it told was fictional. The authors attributed the capture to a Major Douglas Lidderdale who was - supposedly - personally tasked by Winston Churchill. There really was a Major Lidderdale, but he simply helped recover the Tiger after the battle and was not involved in the capture. At least one UK national newspaper fell for this and reported the story as a wartime tale of derring-do. What any combat veteran of 48 RTR - or of Heeres Schwere Panzer Abteilung 504 for that matter - would make of this, can best be left to the imagination. For we tanksimmers, however, something good has come of this. Elements of the story have been wrapped into a very unusual new mission for Steel Fury, made by prolific Ukrainian SF modder Lockie and dramatising Tiger 131's capture. Of course, this isn't like Operation Flashpoint's 'Capture the car' mission; SF is a tanksim, not a first person shooter. So how on earth do you go about capturing an enemy tank, in Steel Fury? Well, Lockie found a way, like they did for real, back in April 1943! The mission The mission loading screen carries alternating excerpts from real accounts and from 'Catch that Tiger!' The latter adds a bit of fun, although military history nuts like me would have found sticking to the real events dramatic enough. Here's the mission briefing. The text element comprises an opening narrative followed by a more military description of the mission; you can only see the end of it, below. To sum up - the player is no less than Major Lidderdale! For this mission, despite being a Royal Engineer officer, he's commanding a troop of three Churchill Mk IIIs, callsign 'Orca'. Ahead are another nine Churchills, callsign 'Whale', led by Lt Peter Gudgin, who really did fight in this battle and later wrote about it and tank warfare, more widely. You can't see much of the map with the text briefing displayed. What you can see is our attacking force, marked in red unit symbols. My platoon is the three red diamonds at the bottom, amongst the other symbols which denote some soft-skinned or light-armoured vehicles. To the north (blue compass point, in SF) are the leading tanks, spread out and good to go, towards the objective, off the top of the screen. As the full briefing explains, the leading tanks will clear the way to the abandoned Tiger's reported position. Once they have located it and reported its position, the player is to move up to the Tiger and confirm that it is a runner (getting close to the Tiger will achieve this). A lorry-borne recovery crew - callsign 'Runner' - is waiting behind at our base or 'leaguer' location (callsign Bravo, with the soft-skinned vehicles). When Bravo gets word that the Tiger is driveable, they will send the recovery crew forward. The crew will de-bus, take over the abandoned enemy tank and then drive the Tiger back to British-held territory. Meanwhile, the player must protect the recovery operation. It must be assumed that the Germans are also keen to recover their valuable heavy tank and are not just going to sit about watching, while the British attempt to do so instead! The callsigns matter, not just because hearing them on the radio is realistic (and during WW2, the British used words or names like the ones used here, not the alphanumeric callsigns employed later). During the mission, you will hear radio appropriate messages (actually, appearing as text, so you'll see rather than hear them) which will help you understand what's happening and what you are supposed to do. 'Just Like the Real Thing', in the words of the old Airfix slogan! I tend to break these things down into phases, as they do in real life. Broken thus into phases, the mission might look like this: Phase 1 - advance to contact & locate the Tiger (player to the rear) Phase 2 - secure the Tiger's location & protect the take-over (player closes with & covers Tiger) Phase 3 - cover the withdrawal (all) Questions? None? All right, mount up chaps! Let's get cracking! It's worth noting that there is a recommended balance for this mission, which you select in SF's options menus. anything below this setting, you get fewer or less powerful enemies; above it, the reverse. I neglected to alter this, leaving it at 5 if I recall right. This was to give me some scary moments, later on! ...to be continued!
-
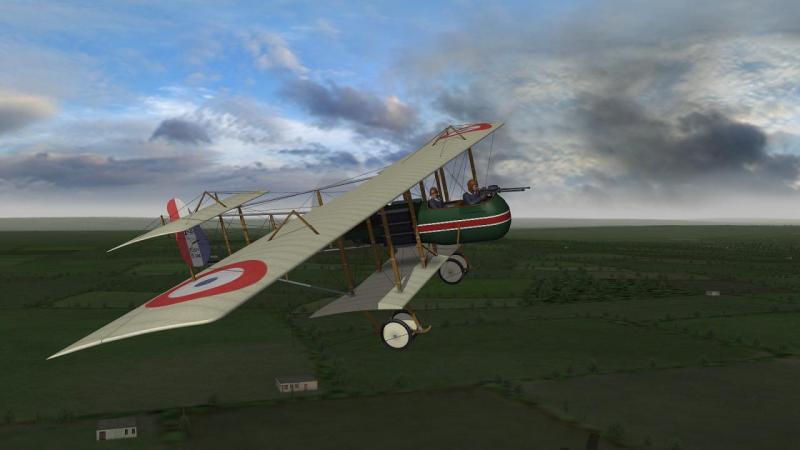
Thanks guys! I had tried lifting the tail once, but it didn't work. Tried it again just now and crashed again the first time - but with a bit more practice, I can now get airborne that way, with no fuss. I think if I wait too long to raise the tail, I get the pirouette, so pushing the stick forward as soon as she starts to roll seems to be a safe bet! Thanks for another great WW1 plane, which fills one of the few remaining gaps in the FE 1915-18 planeset!
-
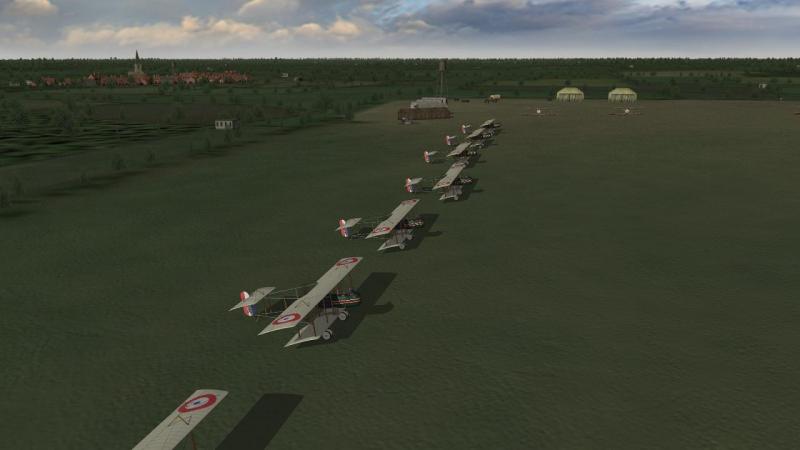
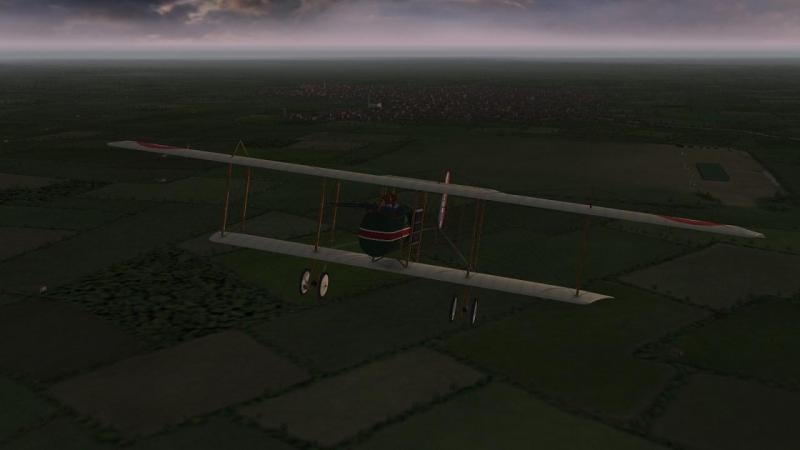
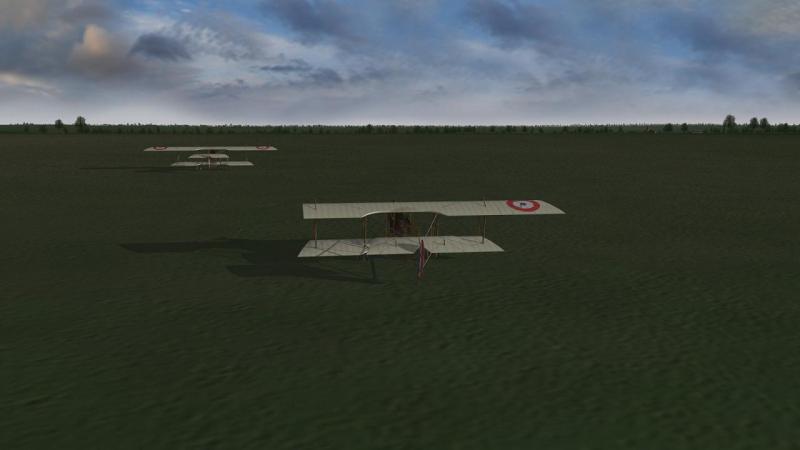
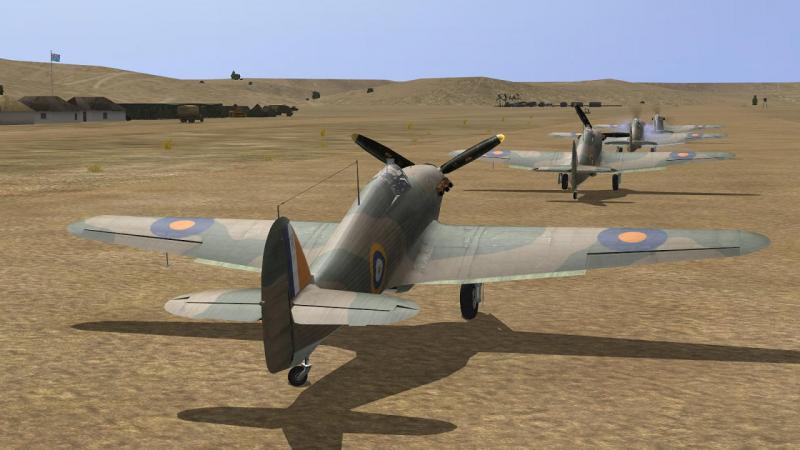
Anyone else having troubles with this bird in FE2? First issue I hit is that if there is more than one F.40 lined up for takeoff, our wings seem to clash instantly, with this result (I'm the one sitting static nearest the 'camera'): IIRC there is a mod intended for big aircraft like Gothas, which spaces things out a bit, but I have had no such problems with planes like the Voisin or FE2b. Second, if I take off with just one plane, I can't - take off, that is. As the plane approaches flying speed, she yaws wildly left (controls central). Attempts to correct just reverse the yaw. Feeding in rudder during the takeoff roll doesn't seem to help. After some wild zig-zags I can sometimes get airborne, but by then I am well off the airfield and 'ghosting' through trees, so I don't count that as a successful takeoff. Joystick calibration seems fine. Third, wing breaks are very clean. The screenie below was after getting airborne after one such run through the trees. But before running off the airfield I had clipped a parked plane. The latter fireballed but I didn't, - which was good. But I then managed to lift off, with the loss of a large section of my lower wing not making things any harder - plus there was that very clean break, complete with wires still running out to the now-missing (?) wingtip, which actually seems to have become squared off where before, it was swept back. Is there a technique for getting these birds off the gound, within the airfield boundaries and without zig-zagging more than a thing that zig-zags a lot?
-
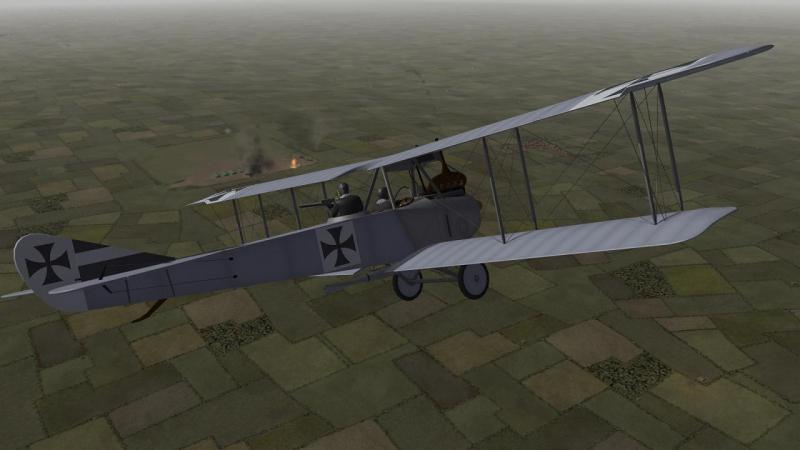
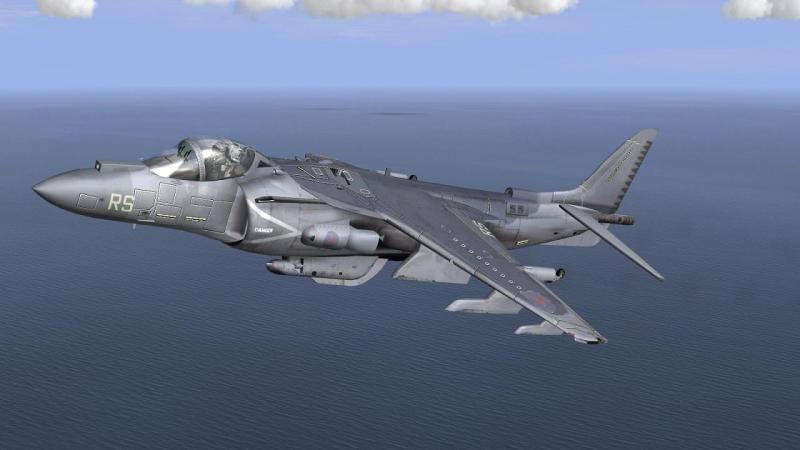
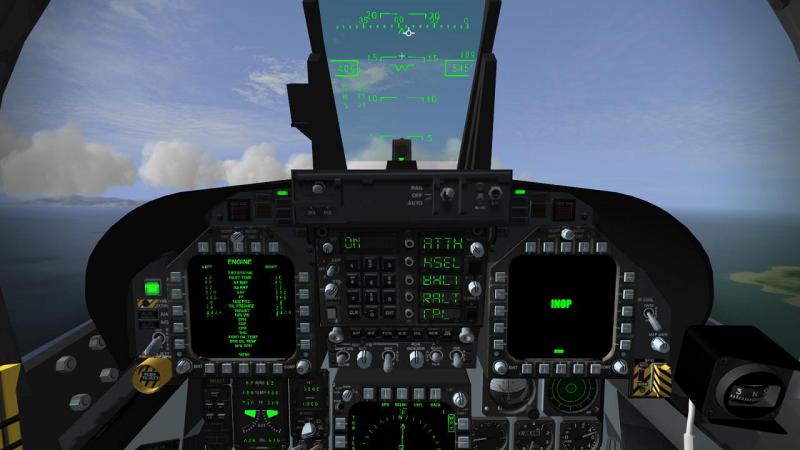
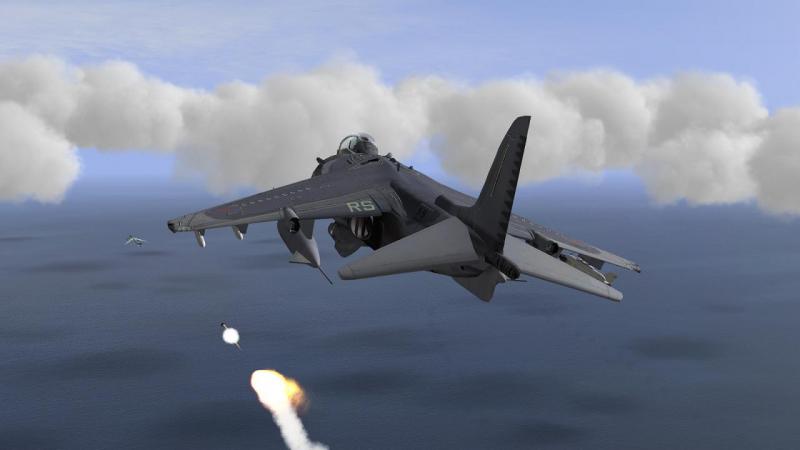
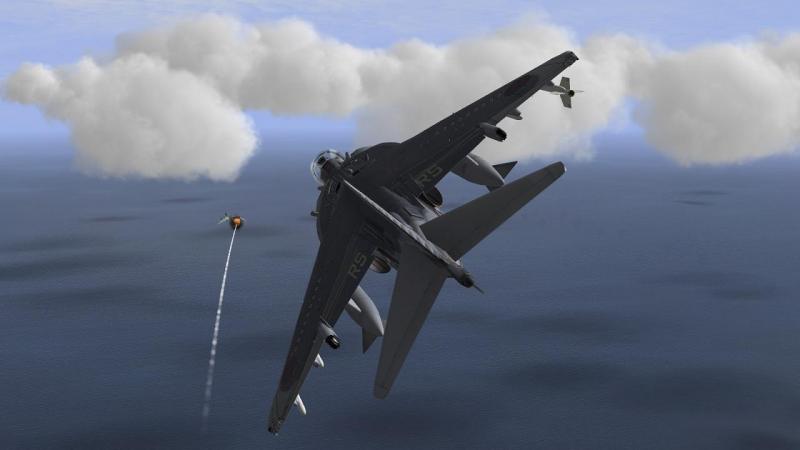
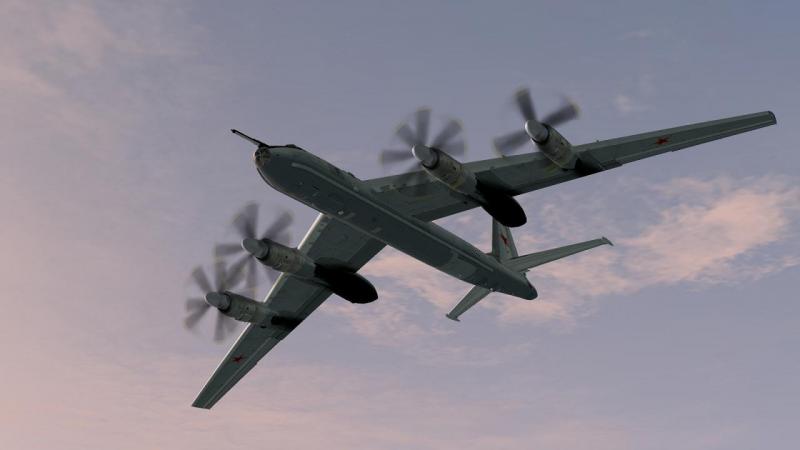
Dunno what went wrong there but as you say not critical. Dawn of Flight also has a unique menu backdrop, a painting of what looks like a DFW C.V, not the DBW 1916 collage. As for The Jet Age, I'm not sure how much of this (if any) is new to CUP but as far as missiles go, the heat-seeking variety seem to work ok. I took up a Harrier II in a QMB mission, loaded up with Sidewinders, against some Tu-95 Bears. I know nothing of the modern Harrier's glass cockpit and the right-hand MFD was showing as inoperable, but the HUD display worked. Closing the range, even before I could see the enemy, I got a tone. I cut loose a couple of 'winders to see what would happen, and the results were quite satisfactory. Not bad, for a 14-year-old WW2 Eastern Front propsim!
-
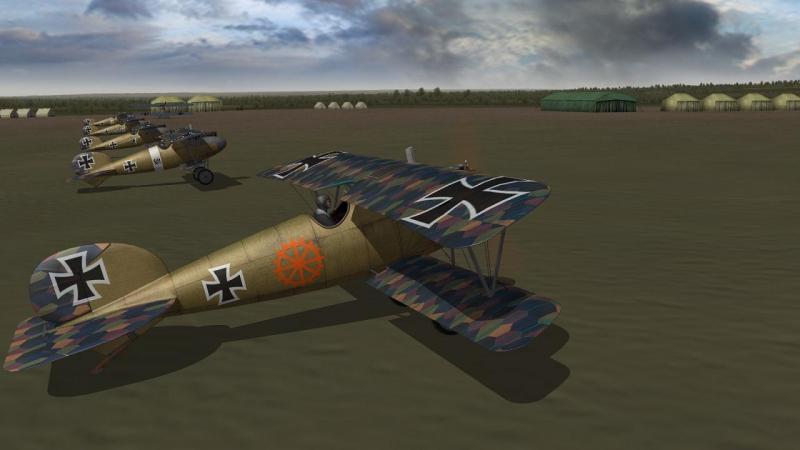
In addition to the different screens (aviation art style) when the sim is first loading, I get different menu screens. I just loaded The Jet Age and the main menu has a Korean-era F-86 as the background. Still get the dire Il-2 menu 'circus music' with all three modules but that's easily replaced.
-
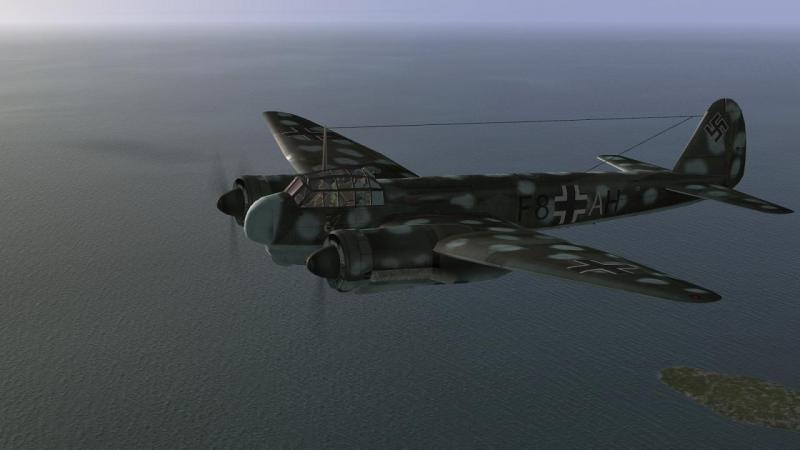
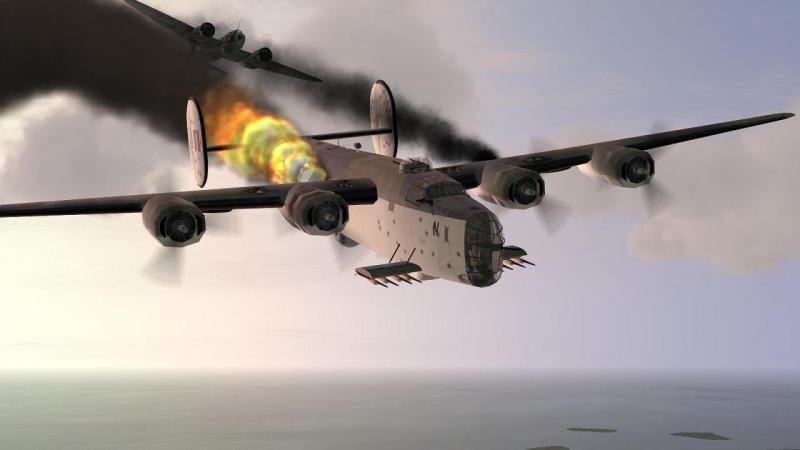
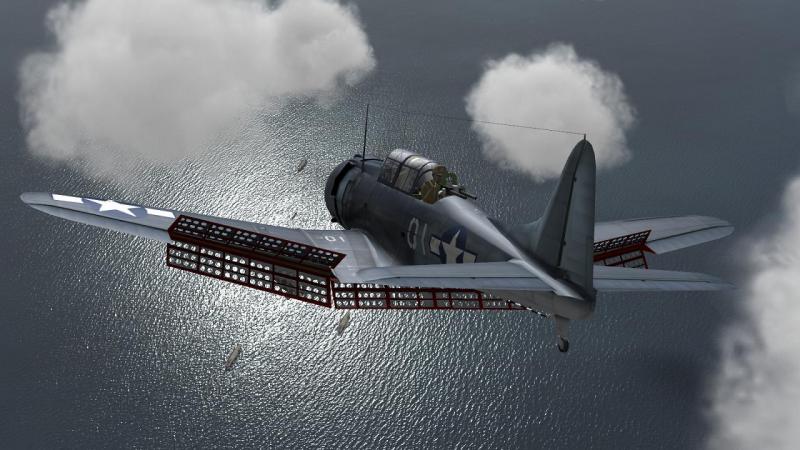
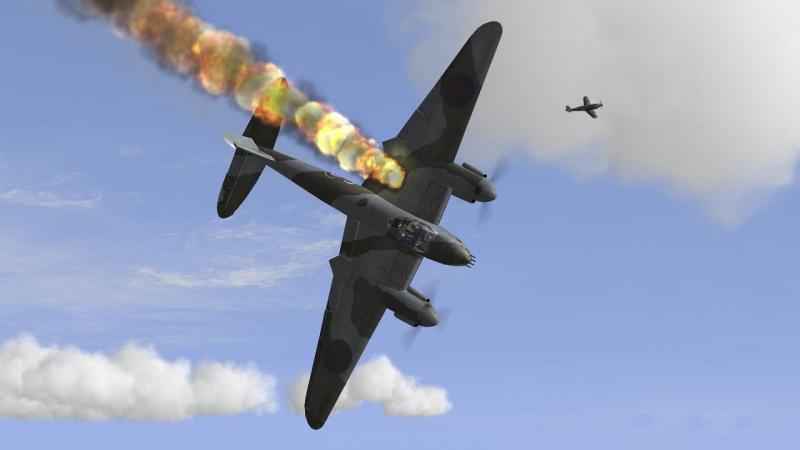
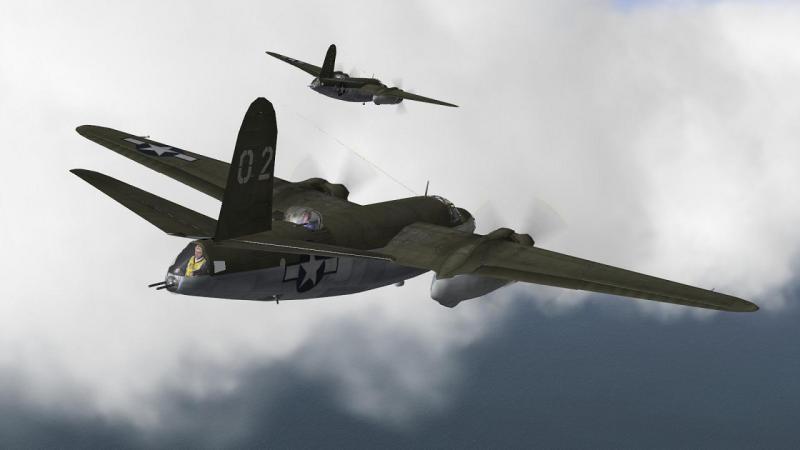
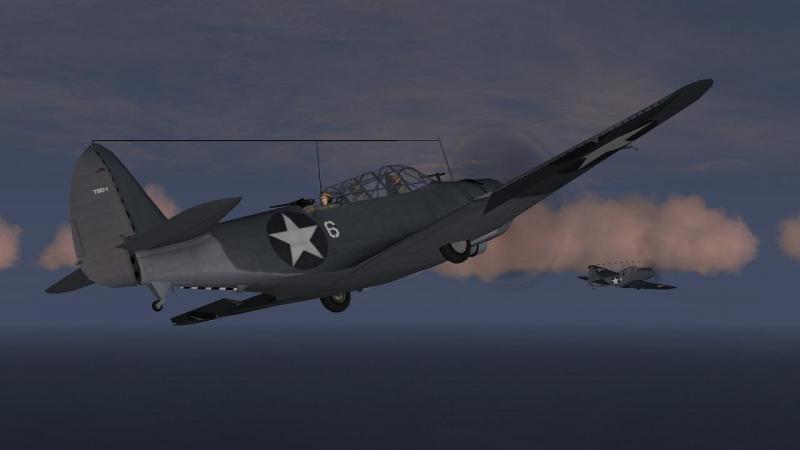
That should be useful! The version initially on release seems intended for campaign builders who can hopefully use it to check that their work is compatible with CUP and identify easily what needs fixed. I had another problem, with the base of the prop spinners invisible on the Ju-88C-6 heavy fighter. Installing the new version of Mapmod #7 is supposed to fix this but didn't. So I tried the method suggested today on the SAS CUP thread - installing into my #WAW\!000_Classfiles\3do\plane folder the Ju-88C-6 subfolder (NOT the nightfighter one, renamed!) from another small mod from 'Jeronimo' aka Epervier: http://www.sas1946.com/main/index.php/topic,27820.0.html . All is now well with my Ju-88C-6's spinners... ...unfortunately for this Coastal Command Liberator, caught by three of us, off the coast of the CUP 'Norway' map...
-

Goering should not have been executed
33LIMA replied to jeanba's topic in Military and General Aviation
No intention to be an apologist for Der Dicke or any of that bunch, but didn't the Luftwaffe achieve equally good results to the IDF, on 22 June 1941? Not sure any of the three operations are really comparable. -
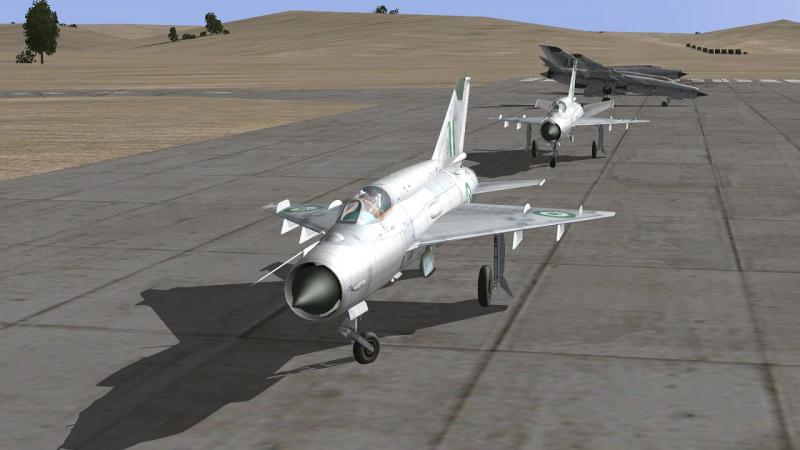
I had an existing 4.12.2 install - created for Greybeard's campaigns - otherwise un-modded. So I took a chance and installed into that - following the usual instructions to get a 4.12 install up and running. Naturally this had been installed outside of the Program Files (x86) folder to avoid Windows issues. Then I installed the mod activator - ModAct 5.3 IIRC - into that install. Then - using the original torrents - I unzipped each of the CUP .rar files into the above install, in order within each module, starting with the maps, then WAW/WW2, then DoF, then TJA. I launched CUP using the IL-2 selector proggie, same as DBW, having set RAM to 1 gig and selected WAW. Il-2 locked up hard showing 70% loaded so I checked the SAS CUP thread and found the fix for that - IIRC there are two and I can't recall which I used. WAW then worked. Enabling JTA and DoF I got lock-ups when clicking on the QMB. again searching the SAS CUP thread I found the fix was to use the included JSGME mod enabler to enable the included Combi Mod Pro. Result, all three eras functioning, tho I have only briefly checked out JTA and DoF. In the latter flying a Fokker DVII, the plane started visibly oddly, juddering if I opened the throttle full (but I also had different throttle diffs with the Albatrosses in DBW 1916 - the magnetos seemed to control power not throtle, like the engine was an early rotary not an inline - so maybe that's nothing new to CUP. In TJA a congo line of four Mig 21s on the runway resulted in the last 2 jets seemingly up-ended by the thrust of #2 on takeoff. So I have seen some strangeness but am into IL-2/CUP for WW2 so I'm not worried about troubleshooting or working around issues in DoF or TJA. Maybe later. Stock campaigns seem to work fine, tho I haven't tried many. Other campaigns seem to work so far are Beaufighter Oddysey and FlatSpinMan's Defence of the Reich. so that's a small selection of stock, pre-4.12 and 4.12 campaigns, working so far. Obviously they don't take full advantage of CUP eg FSM's RVD campaign still uses the Eastern Baltic map to represent the German Bight and takeoffs are still conga line. It may be that campaigns built for 4.12 are most likely to play out as designed, with CUP. I have Water set to 3, not 4, in conf.ini, which looks fine to me. Screenshots created a very slight hesitation before CUP, now it's longer; that's the only issue I've noticed with WW2 stuff. Tracks saved after a mission play back differently to what actually happened, but that was an issue before.
-
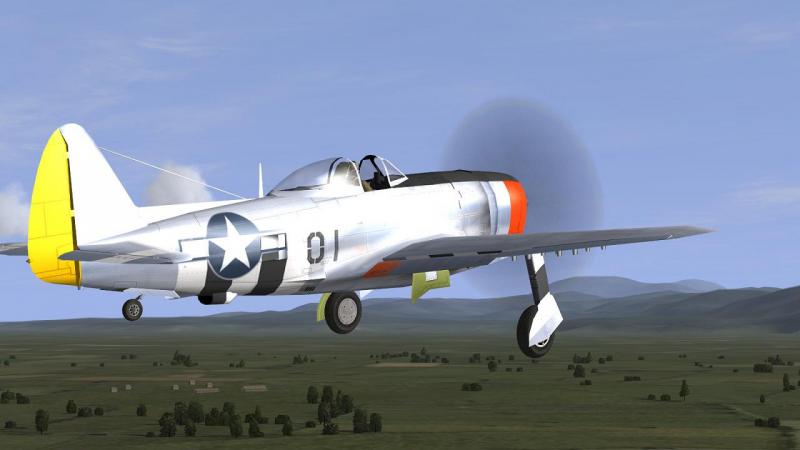
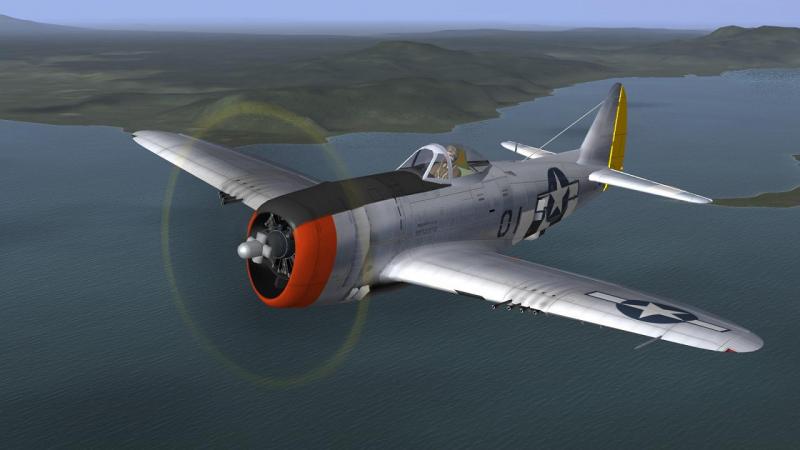
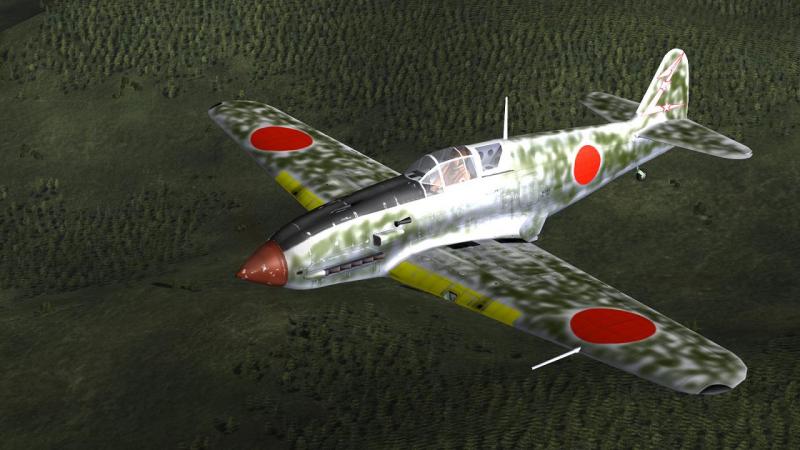
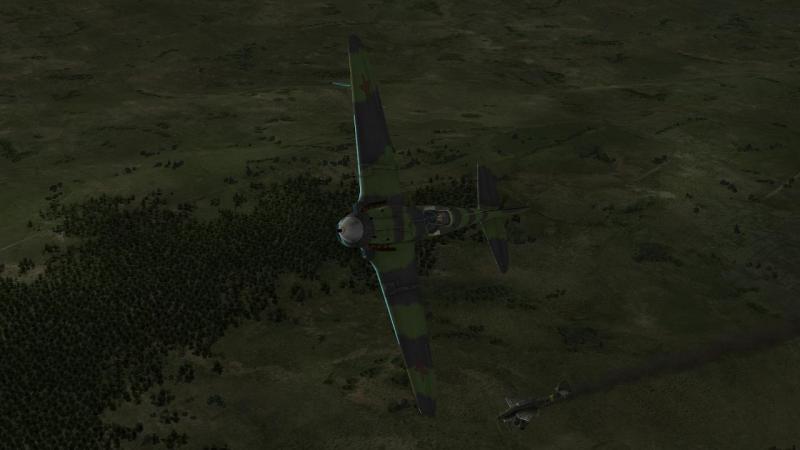
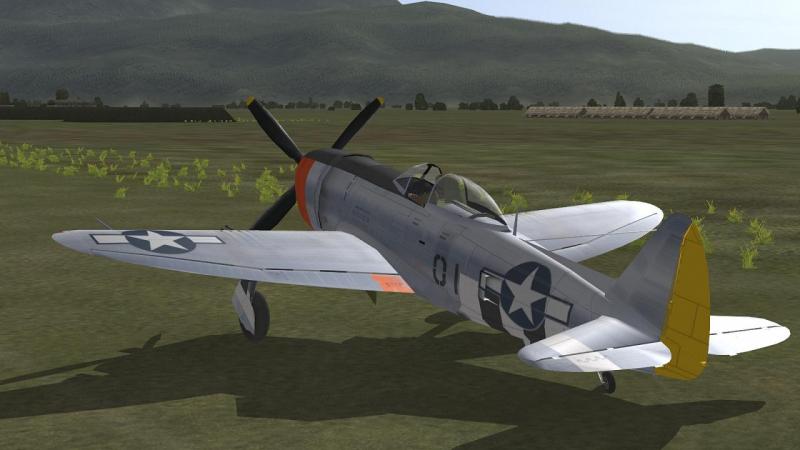
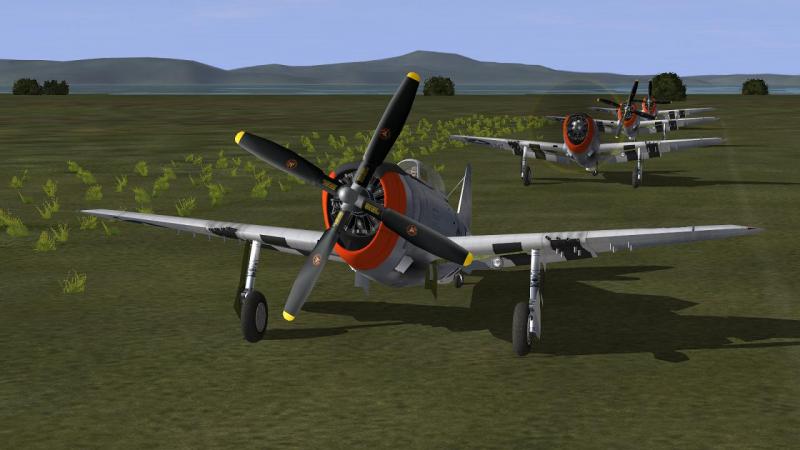
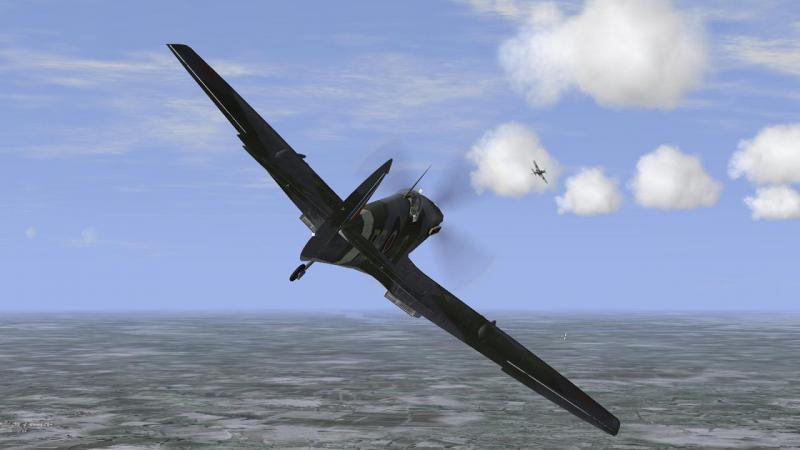
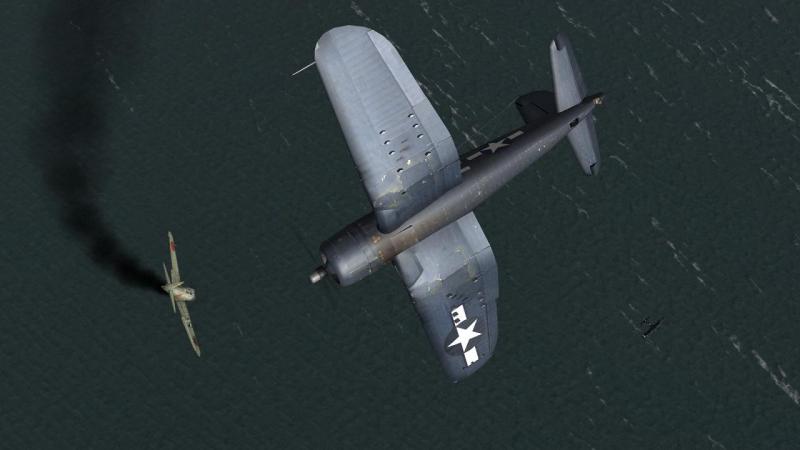
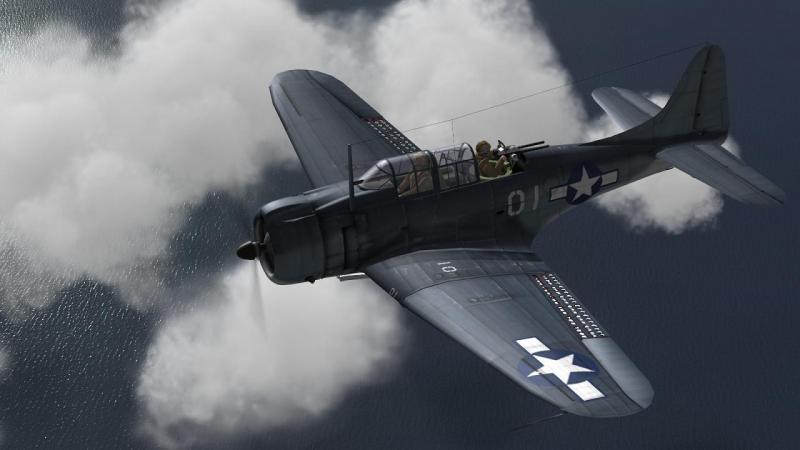
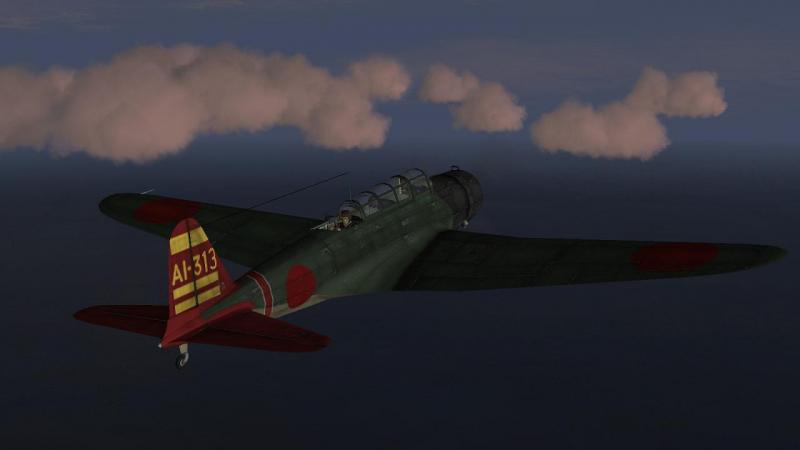
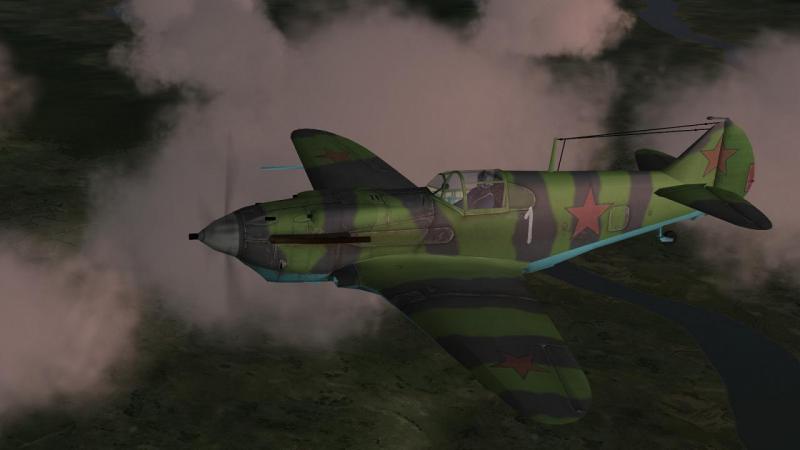
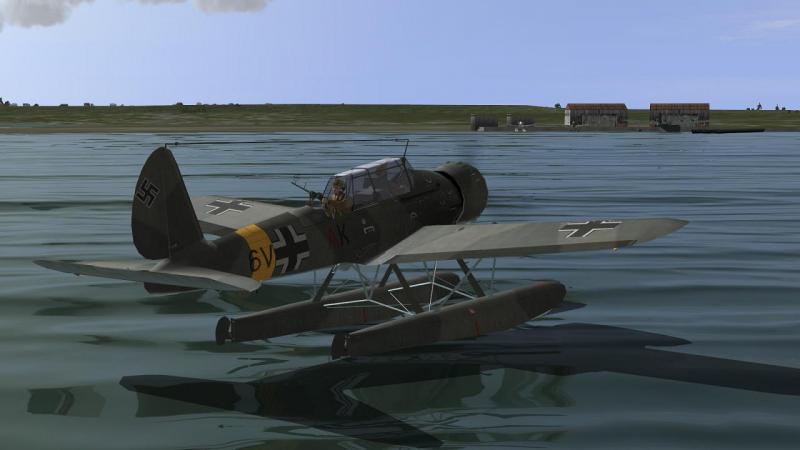
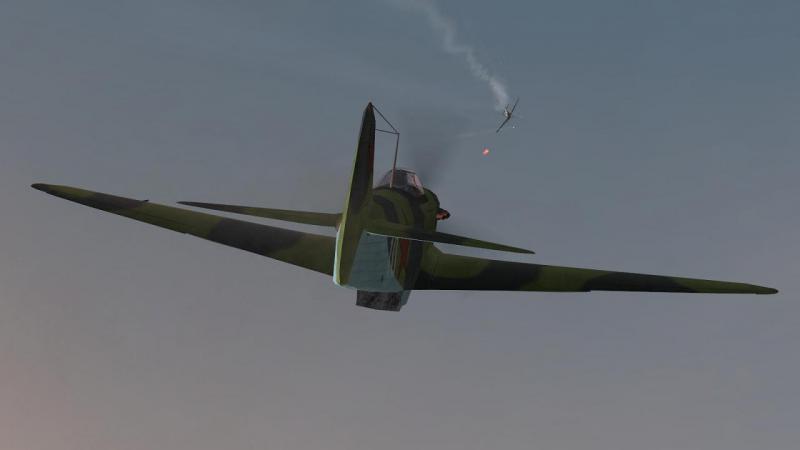
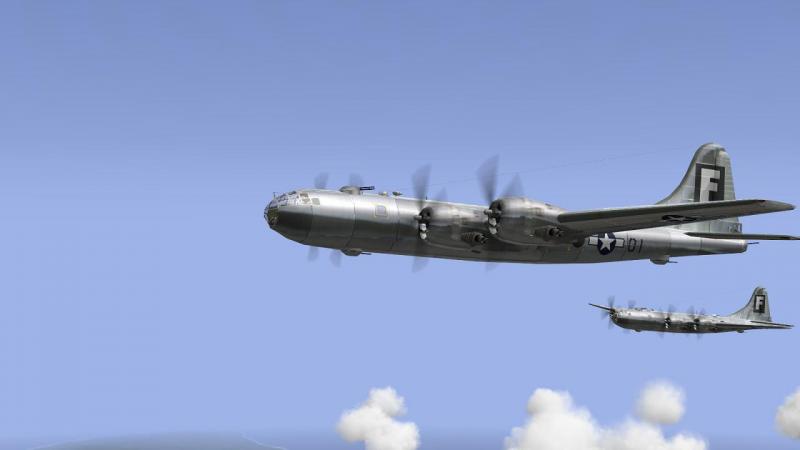
Sorry, dunno about sams, but Uncle Sam's finest seem...well, fine... ...in this case, a P-47 over the CUP Phillipines map (albeit wearing D-Day invasion stripes,thanks to a bad choice of skin on my part)... ...as are the enemy, rather more appropriately marked.. The stock campaigns seem to work fine in CUP, if the Soviet fighter one is anything to go by... ...as seems to be FlatSpinMan's Defence of the Reich campaign for Willi Jedermann, even tho not I think built for 4.12... Only thing I really don't like is that at least some grass airfields have these odd-looking rows of bright green cabbage-like plants either side. They look odd and are still bright green even in dull light and conspicuously pop out of view as the range increases. Haven't seen that before. Despite that, so far, still so good, for me.
-
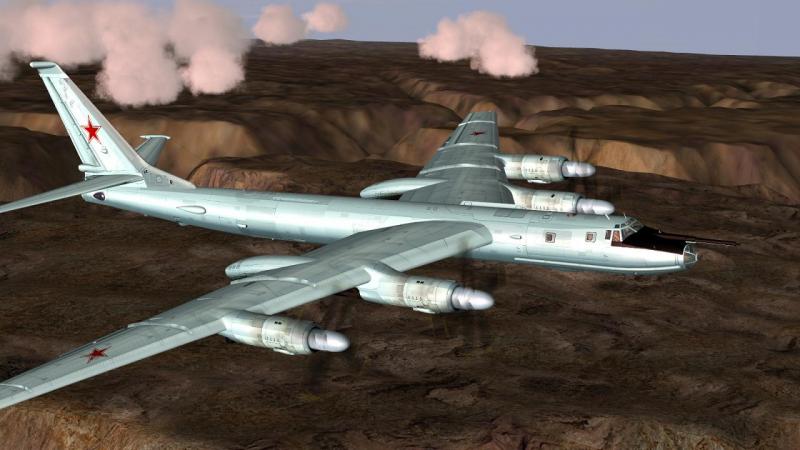
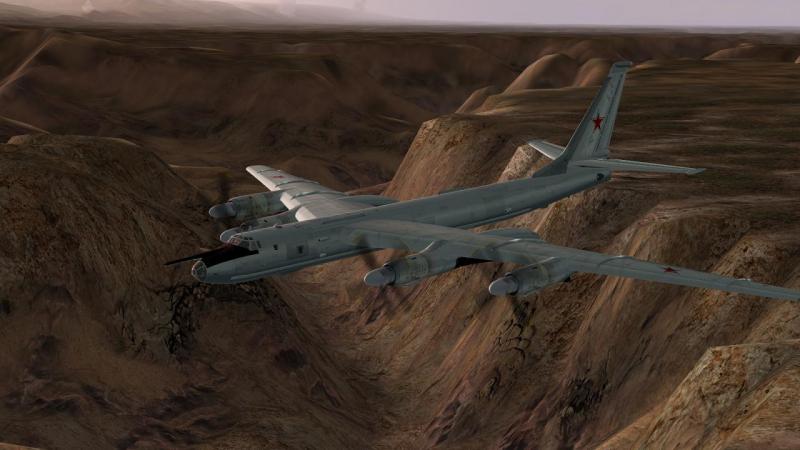
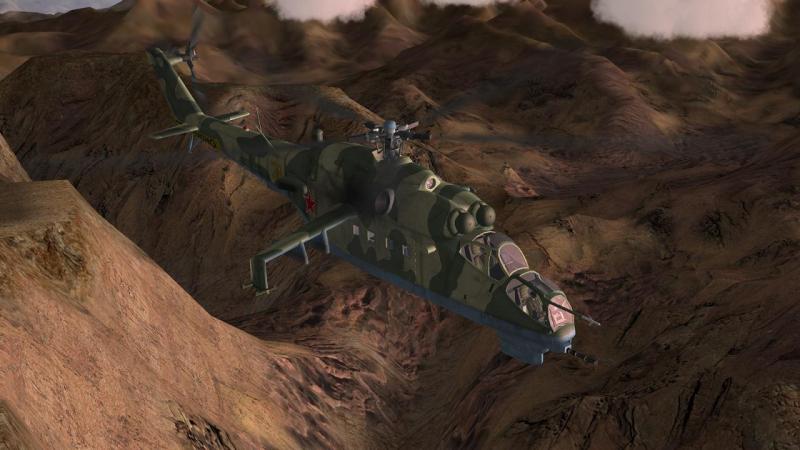
Jeeps in Moscow...next thing you know, there'll be Bears in Arizona... ...over the Grand Canyon, no less... ...and there's deer on the loose up there, too. Hinds, to be specific... Screenies from CUP's 'The Jet Age' module.


