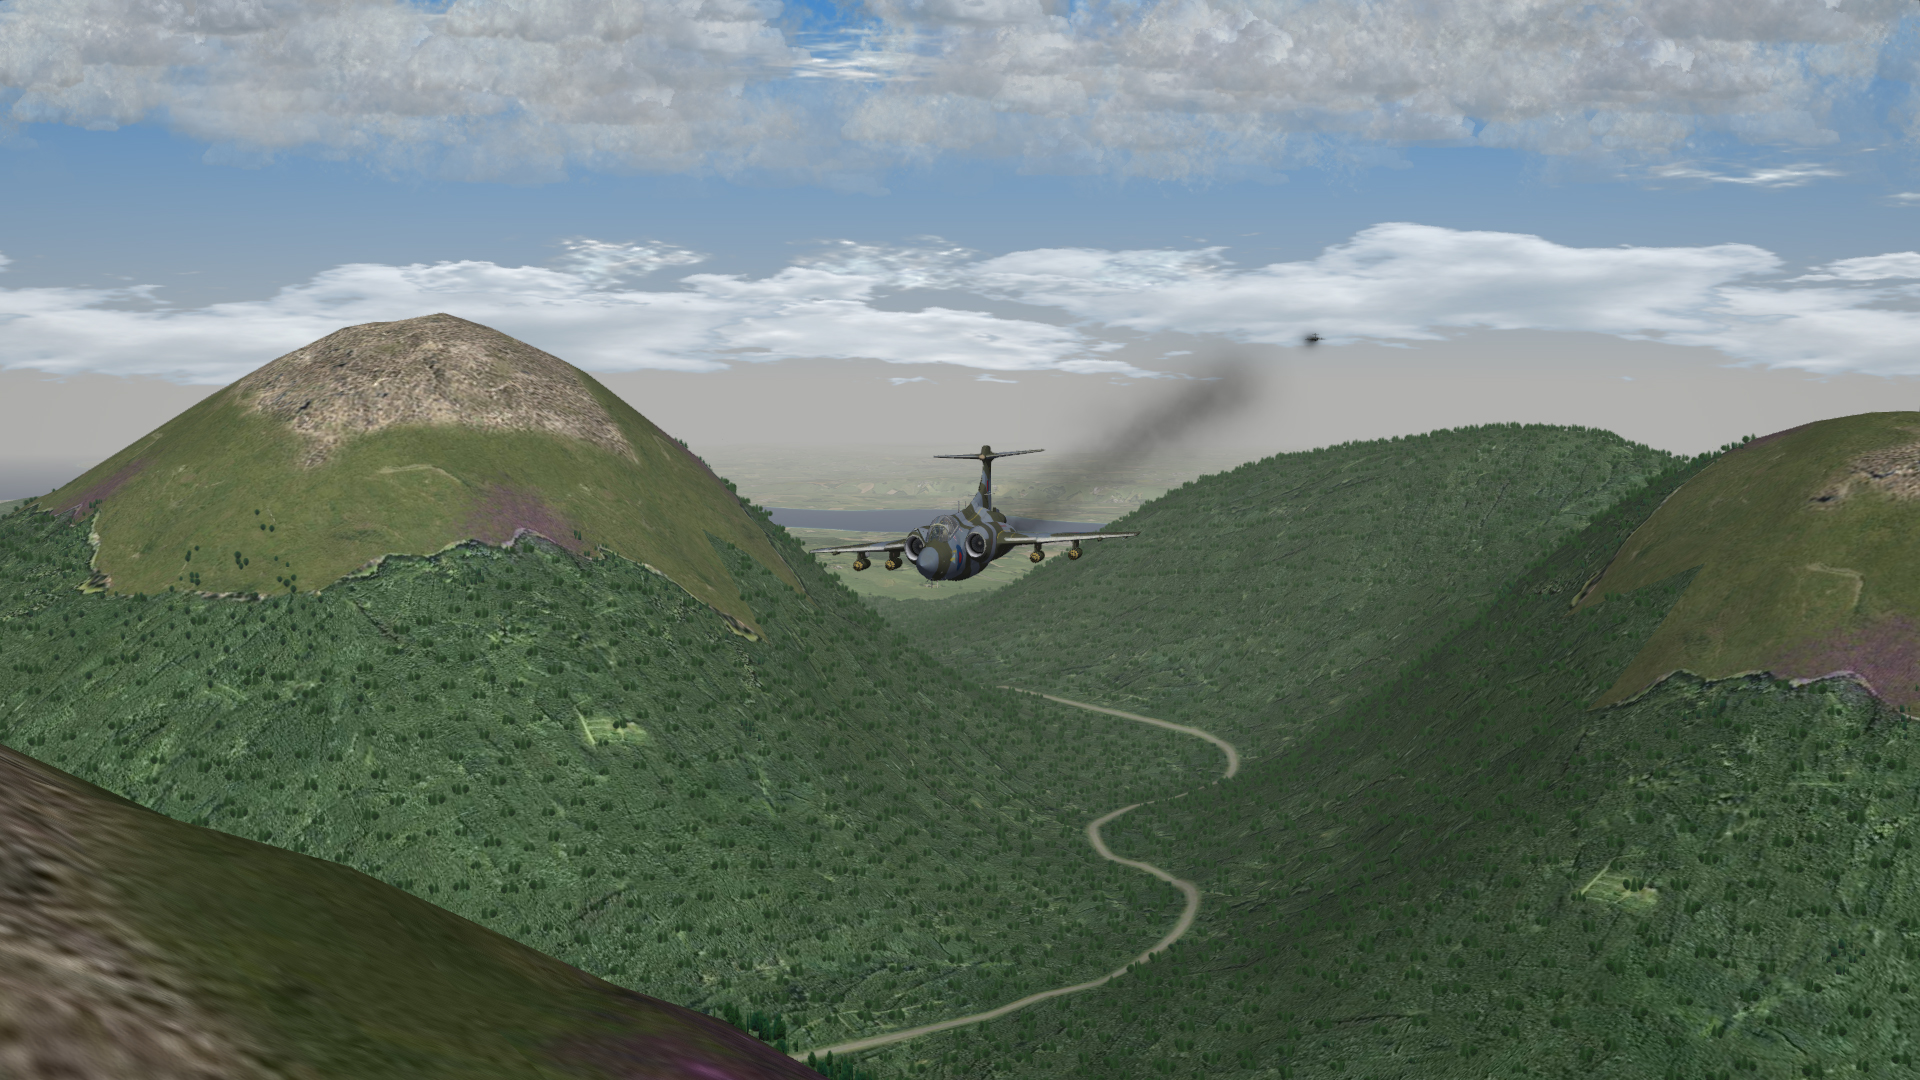
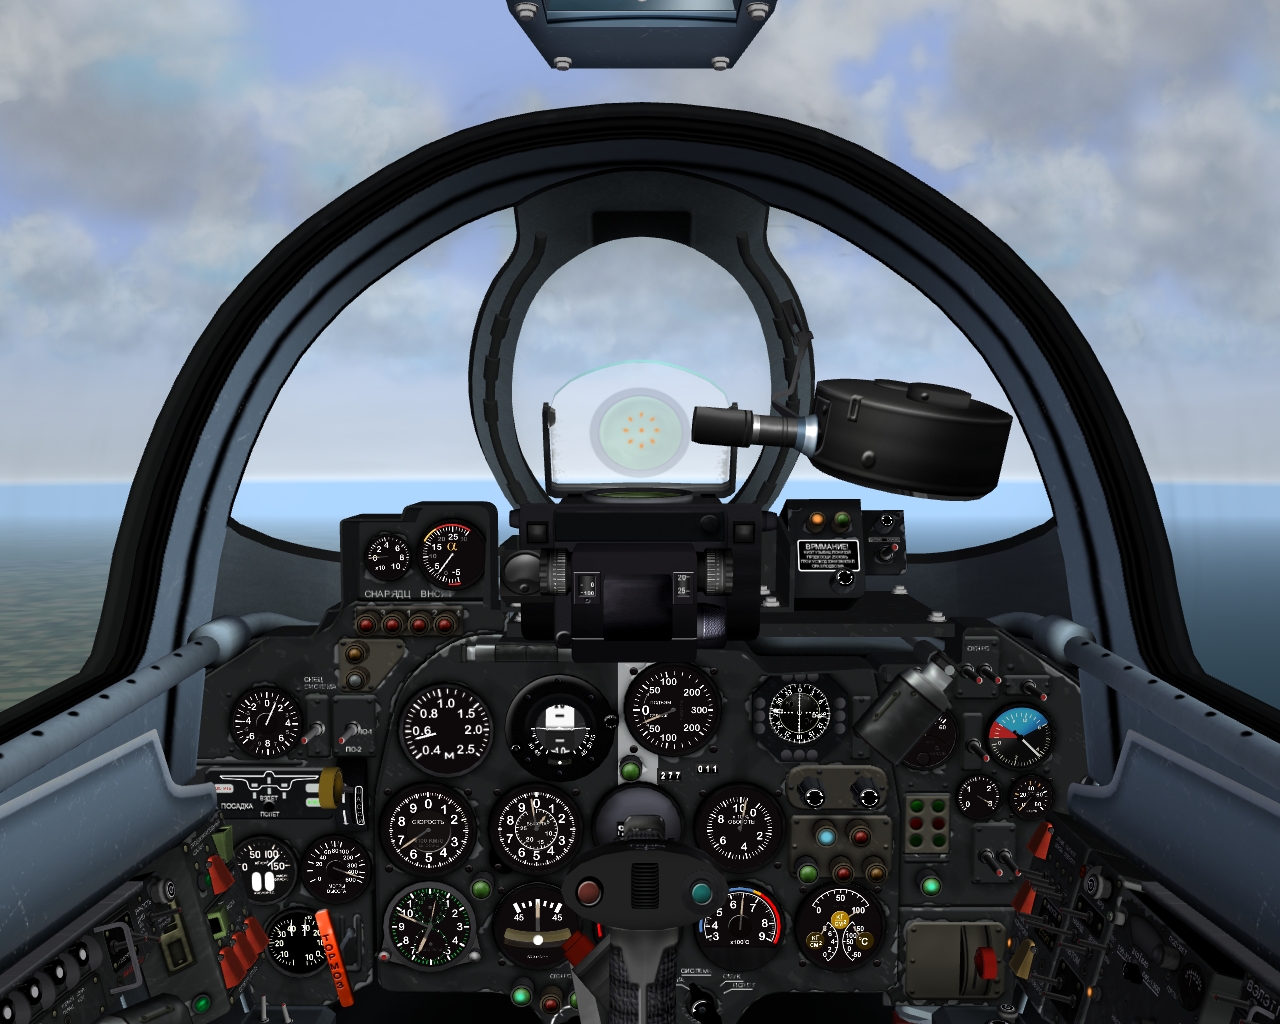
I occasionally tinker with lighting and textures to make the TW gameworld look more realistic. This small pack was developed to improve Gterl's WW1 Italy game map, but should also work with most any other SF or FE game map.
Most of the changes are located in the FLIGHT folder, whose contents are largely the work of Quack74. All I did was alter the light levels to better simulate "high noon" - the standard game settings are too dark and murky for bright sunshine.
I also lightened and dulled Jan Tuma's tree art so forests don't look like dark green blobs. The new art files Stromy, Stromy2, Stromy3, and TEROBJECT_TREE S1 replace the equivalents in the WW1 Italy folder.
Finally, the increased light levels can make some aircraft appear too shiny. A sample texture set ini file is included with reduced glossyness settings - see first shot of Sea Gladiator (facing away from camera). 0.000 equals no gloss whatsoever.
Specular=0.200
Glossiness=0.200
Reflection=0.100
The SPAD 16 was essentially a SPAD 11 with a more powerful Lorraine-Dietrich 240 hp engine. Although it was faster, the heavier engine made the SPAD 16 harder to handle and performance was slightly worse than the SPAD 11. Like the SPAD 11, it was armed with a forward firing Vickers gun and a Lewis gun on a ring mount for the observer. It could also carry a small bomb load under the wings.
The SPAD 16 entered service early in 1918. Several French squadrons were equipped with the SPAD 16 and a few were purchased by the US. It continued in service until the end of the war.
I have made two skins for the SPAD 16 - a French camo, and a USAS camo - each with appropriate squadron insignia. Most of the skins are identical to the SPAD 11 skins, only the Fuselage and Upper Right Wing skins are changed. My skinning templates are included in the download for those who want to make their own skins.
I did not have a sound file for the Lorraine-Dietrich engine, so I used the same sound as the SPAD 11.
Credits
Thanks to Ojcar for making the data file for the SPAD 16.
Thanks also to Nix for making the sound file for the Hispano-Suiza engine.
Installation Instructions
For FE1 - Unzip the file and move the folder named "SPAD16" into the FirstEagles/Objects/Aircraft folder. If you don't already have it installed, you also need to move the sound file "hispsuiz4M220.wav" into the FirstEagles/Sounds folder.
For FE2 - Unzip the file and move the folder named "SPAD16" into the FirstEagles/Objects/Aircraft folder. Then in the FirstEagles/Objects/Decals folder, create new folder named "SPAD16". Move the folder named "D" from the Aircraft/SPAD16 folder into the Decals/SPAD16 folder you just made. If you don't already have it installed, you also need to move the sound file "hispsuiz4M220.wav" into the FirstEagles/Sounds folder.
The SPAD 11 was originally designed as a two seat fighter, but was not agile enough to meet the requirements; so it used as a replacement for the Sopwith 1 1/2 Strutter and Dorand AR reconnaissance planes. It was armed with a forward firing Vickers gun and a Lewis gun on a ring mount for the observer. It could also carry a small bomb load. The SPAD 11 entered service in late 1917, was flown by several French and Belgian squadrons, and continued in service until nearly the end of the war.
I have made three skins for the SPAD 11 - a French linen, a French camo, and a Belgian camo - each with appropriate squadron insignia. My skinning templates are included in the download for those who want to make their own skins. I have also included a loadout for a light bomb load carried under the wings.
Credits
Thanks to Ojcar for making the data file for the SPAD 11 and for suggesting some improvements.
Thanks also to Nix for making the sound file for the Hispano-Suiza engine.
Installation Instructions
For FE1 - Unzip the file and move the folder named "SPAD11" into the FirstEagles/Objects/Aircraft folder. You also need to move the sound file "hispsuiz4M220.wav" into the FirstEagles/Sounds folder.
For FE2 - Unzip the file and move the folder named "SPAD11" into the FirstEagles/Objects/Aircraft folder. Then in the FirstEagles/Objects/Decals folder, create new folder named "SPAD11". Move the folder named "D" from the Aircraft/SPAD11 folder into the Decals/SPAD11 folder you just made. You also need to move the sound file "hispsuiz4M220.wav" into the FirstEagles/Sounds folder.
The Roland D.II was a German fighter introduced in early 1917. It featured an unusual fuselage, with the upper wings attached to a pylon in front of the pilot. Although the plane had a strong structure and performed reasonably well, the poor forward view limited its effectiveness as a fighter. On the Western Front, it was soon replaced by other planes, but continued in service on the Eastern and Macedonian Fronts until the end of the war.
I have included two skins, a green and lilac camo, and a green and brown camo. I have also included a full set of number decals. My skinning templates are included in the download.
Credits
Thanks to Ojcar for making the data file for the Roland D.II.
Thanks also to Nix, who made the sound file for the Mercedes 160hp engine.
Thanks also to Crowford who offered many suggestions and beta-tested version 3.
Installation Instructions
Note - The engine sound file has been used in several other planes. If you already have a file with the same name in your Sounds folder, then you don't need to install mine.
For FE1 - Unzip the file and move the folder named "RolandD2" into your FirstEagles/Objects/Aircraft folder. If you don't already have it, you will also need to move the sound file "mercedes160m2.wav" into the FirstEagles/Sounds folder.
For FE2 - Unzip the file and move the folder named "RolandD2" into the FirstEagles/Objects/Aircraft folder. Then in the FirstEagles/Objects/Decals folder, create new folder named "RolandD2". Move the folder named "D" from the Aircraft/RolandD2 folder into the Decals/RolandD2 folder you just made. If you don't already have it, you will also need to move the sound file "mercedes160m2.wav" into the FirstEagles/Sounds folder.
The Roland D.IIa was nearly identical to the D.II, but had a more powerful engine. The 180HP Argus As.III engine increased the plane's speed and maneuverability, but because it was a low compression engine, it started to lose power at higher altitudes. Like the D.II, the D.IIa was quickly replaced on the Western Front, but served until the end of the war on the Eastern and Macedonian Fronts.
The skins for the Roland D.IIa are nearly identical to the skins for the D.II, but there are some changes to the engine. If you swap skins, you may see some minor stretching on some of the engine components and around the nose of the plane. I have included two new skins, a light green and brown camo, and a dark green and brown camo. I have also included a full set of number decals appropriate for the D.IIa. My skinning templates are included in the download.
I didn't have a sound file for the Argus 180hp engine, so I used the sound for the Mercedes 180hp instead.
Credits
Thanks to Ojcar for making the data file for the Roland D.IIa.
Thanks also to Nix, who made the sound file for the Mercedes 180hp engine.
Installation Instructions
Note - The engine sound file has been used in several other planes. If you already have a file with the same name in your Sounds folder, then you don't need to install mine.
For FE1 - Unzip the file and move the folder named "RolandD2a" into your FirstEagles/Objects/Aircraft folder. If you don't already have it, you will also need to move the sound file "mercedes180m1.wav" into the FirstEagles/Sounds folder.
For FE2 - Unzip the file and move the folder named "RolandD2a" into the FirstEagles/Objects/Aircraft folder. Then in the FirstEagles/Objects/Decals folder, create a new folder named "RolandD2a". Move the folder named "D" from the Aircraft/RolandD2a folder into the Decals/RolandD2a folder you just made. If you don't already have it, you will also need to move the sound file "mercedes180m1.wav" into the FirstEagles/Sounds folder.
If you downloaded the LFG Roland D.II or the LFG Roland D.IIa before October 18, 2015, these skins and decals are more accurate. If you downloaded the planes after October 18, 2015, these were included in the download.
Improvements:
- Removed the steps on the starboard side of the fueslage for both planes.
- Corrected the weight table decal for both planes.
- On the serial numbers, I used a different font and changed the size and spacing for both planes; and I added the "a" to the DIIa numbers.
Installation Instructions
New decal.ini's are included so you must delete the entire old skin folder and "D" folder and replace them with the new ones.
The Anatra D was a predecessor to the Anatra DS. It was powered by a Gnome rotary engine and armed with a single machine gun for the observer. The Anatra D was used mostly for reconnaissance, but also as a fighter and light bomber. After overcoming some initial design problems, it entered service in May, 1916 and was produced in relatively large numbers. Many of them survived the war and were used in the fighting in Eastern Europe after the end of World War I.
I have included two skins, a plain linen and a grey paint. A full set of number decals and a loadout for light bombs are included. I have also included my skinning templates for those who wish to make their own skins.
Credits:
My thanks to Ojcar once again for making the excellent data.ini for this plane.
My thanks also to Crowford who provided valuable reference material for the Anatra D.
Installation instructions:
For FE1: Unzip the file and move the folder named "AnatraD" into the FirstEagles/Objects/Aircraft folder.
For FE2: Unzip the file and move the folder named "AnatraD" into the FirstEagles/Objects/Aircraft folder. Then in the FirstEagles/Objects/Decals folder, create a new folder named "AnatraD". Move the folder named "D" from the Aircraft/AnatraD folder into the Decals/AnatraD folder you just made.
The Albatros D.I was the first in a long line of successful Albatros fighters. It had a molded plywood fuselage, which made it lightweight but strong. With its powerful engine and dual machine guns it outclassed any Entente fighters in the air at the time.
The biggest drawback to the D.I was the position of the upper wing, which obscured the pilot's view. Production quickly switched to the D.II which was basically the same plane but with the upper wing mounted lower.
The download includes three skins, a basic linen, a grey paint, and a 2 color camo. There is also a full a full set of serial number decals. The skinning templates are identical to the Albatros D.II templates, I have included them in this download for the sake of convenience.
This plane uses the same engine sound as the Albatros D.II, which you probably already have. I have placed an alternate line in the data file to change the sound to the default "PropLoop" sound if you prefer.
Credits
My thanks to Ojcar for making the data file for the Albatros D.I.
Installation Instructions
For FE1 - Unzip the file and move the folder named "AlbatrosD1" into your FirstEagles/Objects/Aircraft folder.
For FE2 - Unzip the file and move the folder named "AlbatrosD1" into your FirstEagles/Objects/Aircraft folder. Then in the FirstEagles/Objects/Decals folder, create a new folder named "AlbatrosD1." Move the folder named "D" from the Aircraft/AlbatrosD1 folder into the Decals/AlbatrosD1 folder you just made.