Stephen1918
-
Posts
1,199 -
Joined
-
Last visited
-
Days Won
19
Content Type
Profiles
Forums
Gallery
Downloads
Store
Everything posted by Stephen1918
-
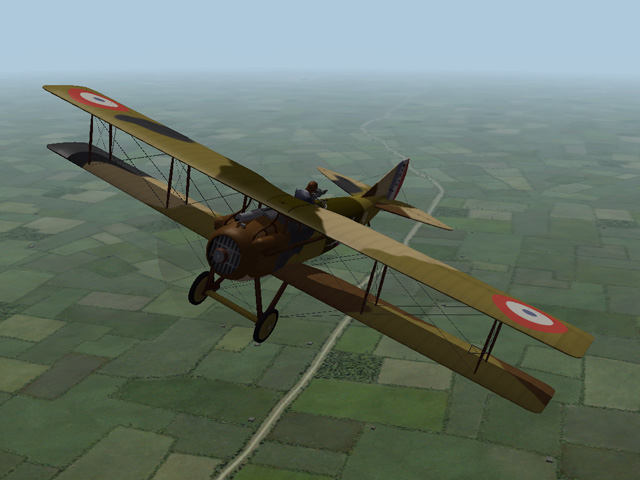
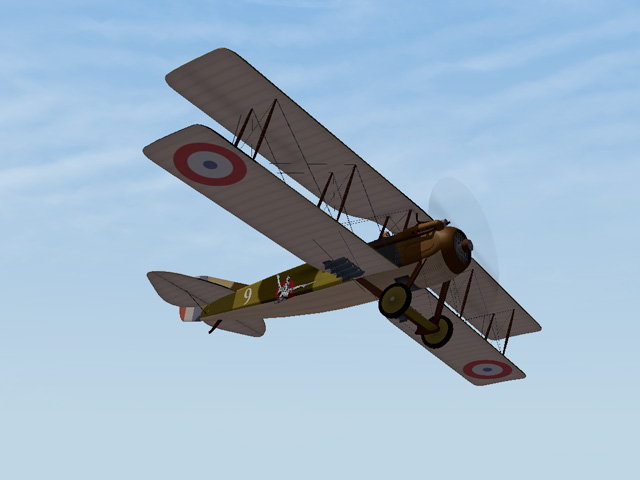
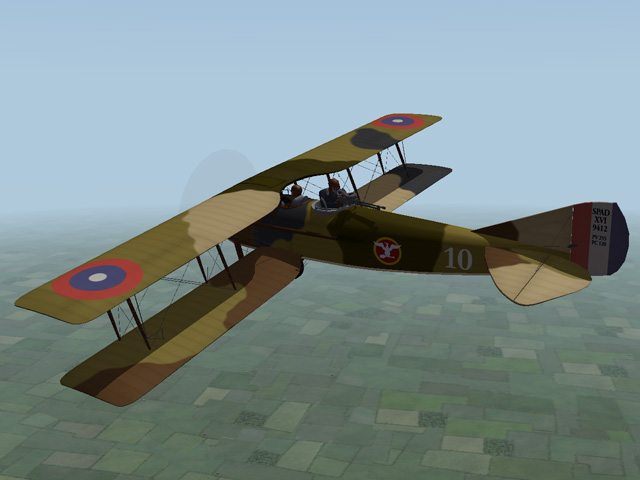
I have uploaded the SPAD 16. It's nearly identical to the SPAD 11, but with slight changes around the nose to represent the larger engine. Ojcar has made a new FM for the SPAD 16 which makes it harder to fly because of the heavier engine. The aileron controls are still not animated in this plane, but I am working on it. I have included two skins, one French and one American. My templates are included in the download. My thanks again to Ojcar for making another excellent FM for the plane.
-
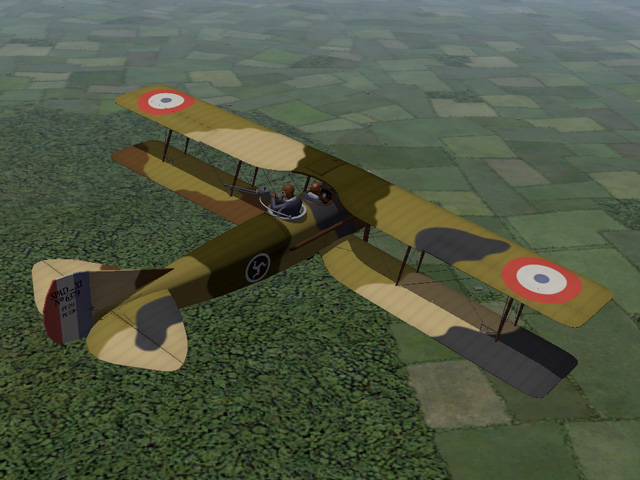
View File SPAD 16 The SPAD 16 was essentially a SPAD 11 with a more powerful Lorraine-Dietrich 240 hp engine. Although it was faster, the heavier engine made the SPAD 16 harder to handle and performance was slightly worse than the SPAD 11. Like the SPAD 11, it was armed with a forward firing Vickers gun and a Lewis gun on a ring mount for the observer. It could also carry a small bomb load under the wings. The SPAD 16 entered service early in 1918. Several French squadrons were equipped with the SPAD 16 and a few were purchased by the US. It continued in service until the end of the war. I have made two skins for the SPAD 16 - a French camo, and a USAS camo - each with appropriate squadron insignia. Most of the skins are identical to the SPAD 11 skins, only the Fuselage and Upper Right Wing skins are changed. My skinning templates are included in the download for those who want to make their own skins. I did not have a sound file for the Lorraine-Dietrich engine, so I used the same sound as the SPAD 11. Credits Thanks to Ojcar for making the data file for the SPAD 16. Thanks also to Nix for making the sound file for the Hispano-Suiza engine. Installation Instructions For FE1 - Unzip the file and move the folder named "SPAD16" into the FirstEagles/Objects/Aircraft folder. If you don't already have it installed, you also need to move the sound file "hispsuiz4M220.wav" into the FirstEagles/Sounds folder. For FE2 - Unzip the file and move the folder named "SPAD16" into the FirstEagles/Objects/Aircraft folder. Then in the FirstEagles/Objects/Decals folder, create new folder named "SPAD16". Move the folder named "D" from the Aircraft/SPAD16 folder into the Decals/SPAD16 folder you just made. If you don't already have it installed, you also need to move the sound file "hispsuiz4M220.wav" into the FirstEagles/Sounds folder. Submitter Stephen1918 Submitted 11/02/2015 Category Spad
-

252 downloads
The SPAD 16 was essentially a SPAD 11 with a more powerful Lorraine-Dietrich 240 hp engine. Although it was faster, the heavier engine made the SPAD 16 harder to handle and performance was slightly worse than the SPAD 11. Like the SPAD 11, it was armed with a forward firing Vickers gun and a Lewis gun on a ring mount for the observer. It could also carry a small bomb load under the wings. The SPAD 16 entered service early in 1918. Several French squadrons were equipped with the SPAD 16 and a few were purchased by the US. It continued in service until the end of the war. I have made two skins for the SPAD 16 - a French camo, and a USAS camo - each with appropriate squadron insignia. Most of the skins are identical to the SPAD 11 skins, only the Fuselage and Upper Right Wing skins are changed. My skinning templates are included in the download for those who want to make their own skins. I did not have a sound file for the Lorraine-Dietrich engine, so I used the same sound as the SPAD 11. Credits Thanks to Ojcar for making the data file for the SPAD 16. Thanks also to Nix for making the sound file for the Hispano-Suiza engine. Installation Instructions For FE1 - Unzip the file and move the folder named "SPAD16" into the FirstEagles/Objects/Aircraft folder. If you don't already have it installed, you also need to move the sound file "hispsuiz4M220.wav" into the FirstEagles/Sounds folder. For FE2 - Unzip the file and move the folder named "SPAD16" into the FirstEagles/Objects/Aircraft folder. Then in the FirstEagles/Objects/Decals folder, create new folder named "SPAD16". Move the folder named "D" from the Aircraft/SPAD16 folder into the Decals/SPAD16 folder you just made. If you don't already have it installed, you also need to move the sound file "hispsuiz4M220.wav" into the FirstEagles/Sounds folder. -
Yeah, I'm still playing with the aileron push rods. There are three pieces on each wing that have to move together. I'm having trouble keeping them synchronized so they don't come apart when they move. (In the game, the parts are not really attached together, so they tend to separate in the middle of the animation.) I will upload a new version when I get it figured out.
-
Nicely done. Thanks Geezer.
-
Hey Quack74, that was a few planes ago, wasn't it? Thanks for inviting me in, everyone here has been great.
-
Crowford, Thanks for the pictures. I have downloaded the ones that will be most helpful and I will use them when I do an upgrade for the Rolands. But, I want to move forward with new planes, so I won't be working on the Roland again for some time. Heck, I appreciate your support. But I do want to know if there are any problems with my planes. I hate to think that I have planes out there with mistakes that everyone except me knows about. So if you find anything with my planes that you would like to see fixed please let me know. That goes for everyone. If you find something wrong, or if you would like to see something changed, or if you want a particular plane, please post it. However, I will set the priorities. I may not do it right away, but if I think it's critical, I will do it. It does get frustrating to make change after change, so please try to let me know everything all at one. And be aware that what seems like a small change to you, may actually require hours and hours of work. My planes actually have four individual 3D models in them (the LODs) A change on one may require changes in all of them. And the 3D model has to be attached to the skins, changing the model, even a little, may mean reattaching the skins to all the LODs. So I am willing t improve my planes, but I may not be willing to do it right now. And and I don't like doing it again and again.
-
I love your screenshots, 33Lima! When I started with FE a few years ago, I only flew single missions. But lately I've been flying ojcar's campaigns most of the time. They really improve the experience for me. I hear your hints, all the planes you mentioned are near the top of my list. But not at the very top yet, I'm doing the SPAD 16 now, then another plane for the Eastern Front, then... By the way, I see you're flying the old Caudron. I uploaded a version with better wing tips back in June.
-
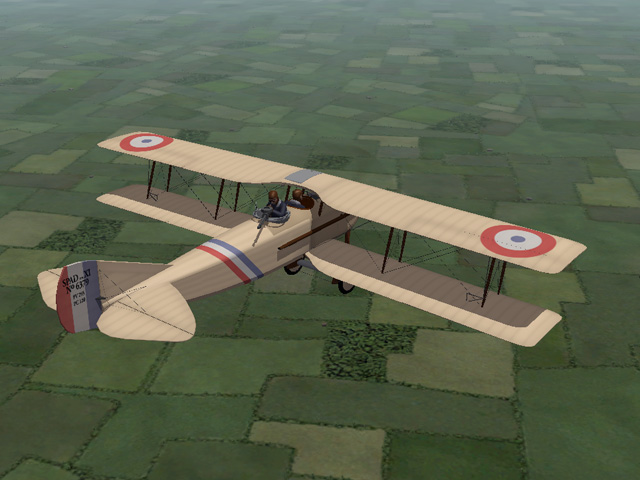
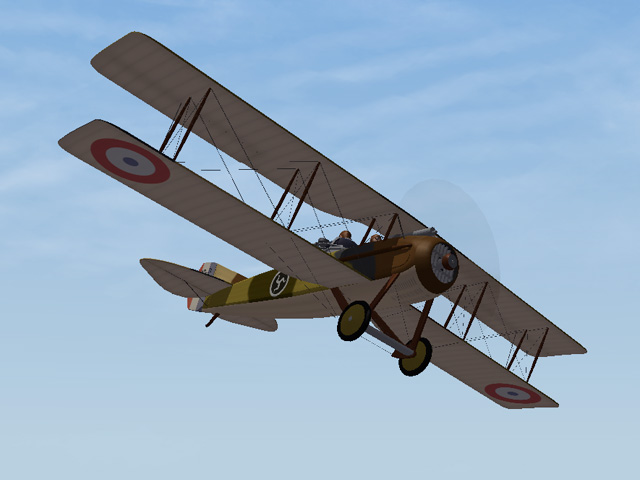
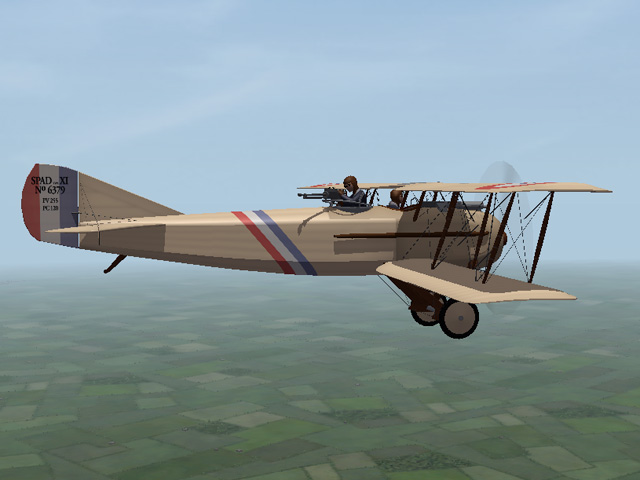
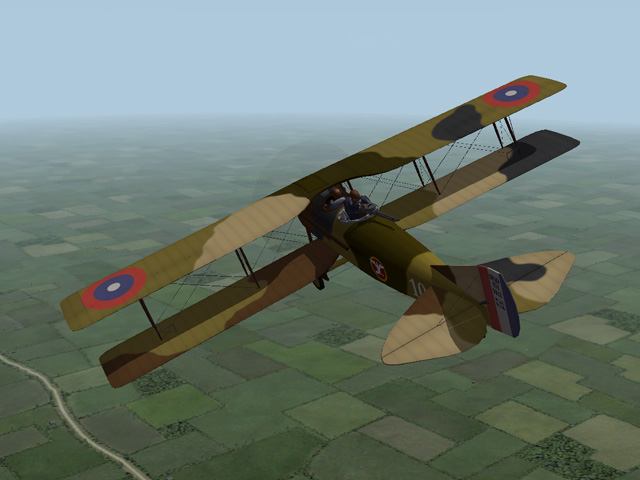
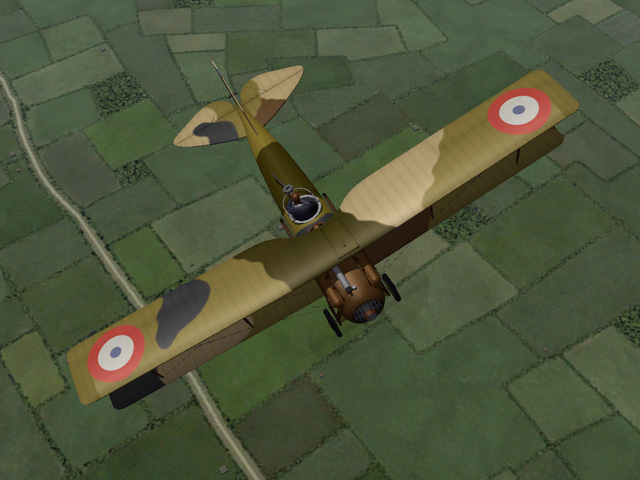
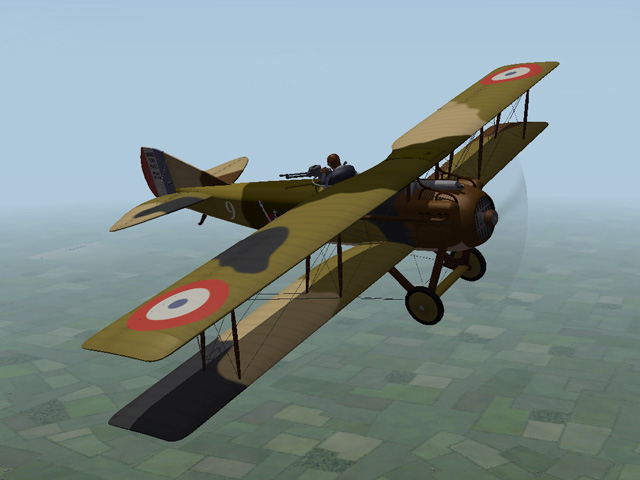
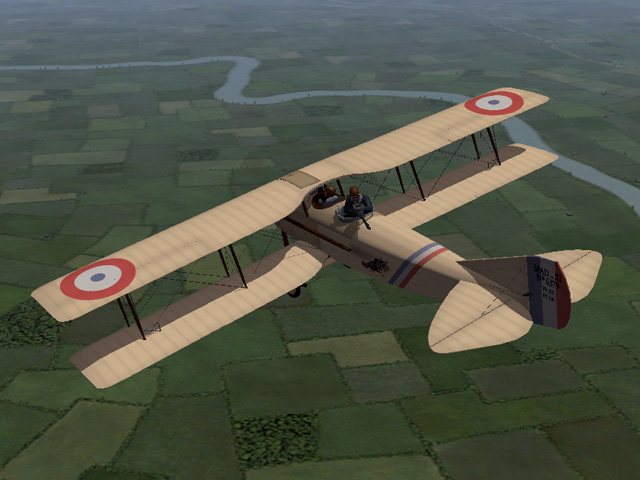
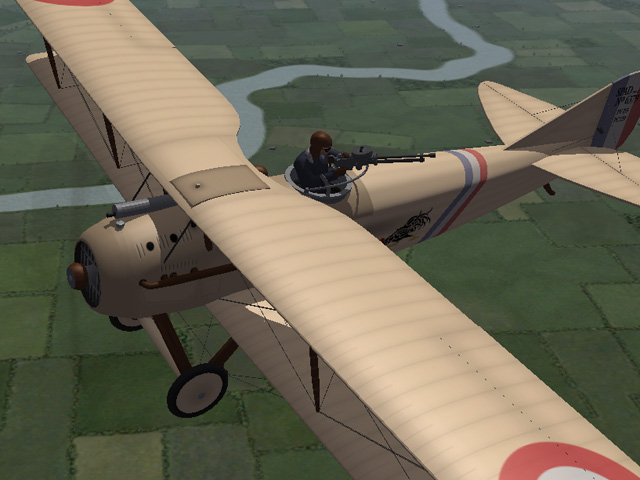
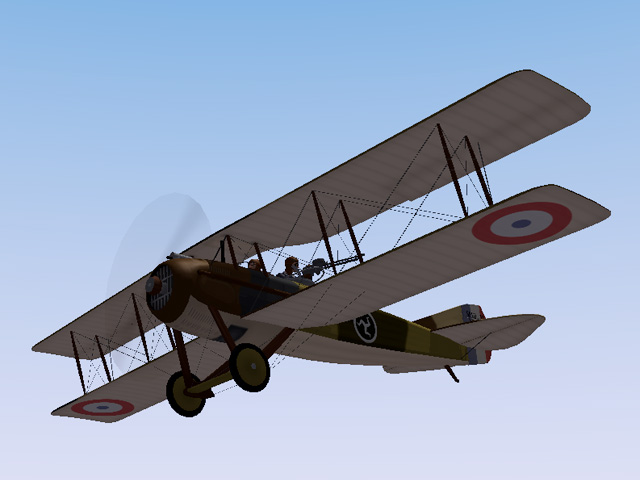
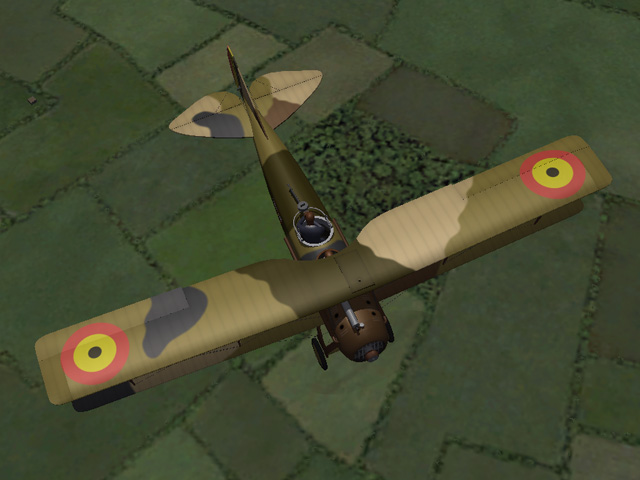
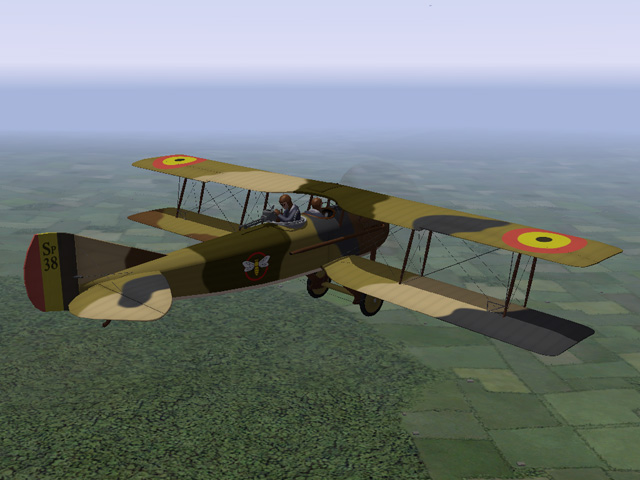
View File SPAD 11 The SPAD 11 was originally designed as a two seat fighter, but was not agile enough to meet the requirements; so it used as a replacement for the Sopwith 1 1/2 Strutter and Dorand AR reconnaissance planes. It was armed with a forward firing Vickers gun and a Lewis gun on a ring mount for the observer. It could also carry a small bomb load. The SPAD 11 entered service in late 1917, was flown by several French and Belgian squadrons, and continued in service until nearly the end of the war. I have made three skins for the SPAD 11 - a French linen, a French camo, and a Belgian camo - each with appropriate squadron insignia. My skinning templates are included in the download for those who want to make their own skins. I have also included a loadout for a light bomb load carried under the wings. Credits Thanks to Ojcar for making the data file for the SPAD 11 and for suggesting some improvements. Thanks also to Nix for making the sound file for the Hispano-Suiza engine. Installation Instructions For FE1 - Unzip the file and move the folder named "SPAD11" into the FirstEagles/Objects/Aircraft folder. You also need to move the sound file "hispsuiz4M220.wav" into the FirstEagles/Sounds folder. For FE2 - Unzip the file and move the folder named "SPAD11" into the FirstEagles/Objects/Aircraft folder. Then in the FirstEagles/Objects/Decals folder, create new folder named "SPAD11". Move the folder named "D" from the Aircraft/SPAD11 folder into the Decals/SPAD11 folder you just made. You also need to move the sound file "hispsuiz4M220.wav" into the FirstEagles/Sounds folder. Submitter Stephen1918 Submitted 10/27/2015 Category Spad
-
I uploaded the SPAD 11 this afternoon. It's waiting for administrator approval. The plane has three skins - a French linen, a French camo, and a Belgian camo - with appropriate squadron decals. It also has a loadout for eight 115mm bombs carried under the wings. My thanks to ojcar for the FM and for making constructive suggestions. The SPAD 16 is coming soon.
-

236 downloads
The SPAD 11 was originally designed as a two seat fighter, but was not agile enough to meet the requirements; so it used as a replacement for the Sopwith 1 1/2 Strutter and Dorand AR reconnaissance planes. It was armed with a forward firing Vickers gun and a Lewis gun on a ring mount for the observer. It could also carry a small bomb load. The SPAD 11 entered service in late 1917, was flown by several French and Belgian squadrons, and continued in service until nearly the end of the war. I have made three skins for the SPAD 11 - a French linen, a French camo, and a Belgian camo - each with appropriate squadron insignia. My skinning templates are included in the download for those who want to make their own skins. I have also included a loadout for a light bomb load carried under the wings. Credits Thanks to Ojcar for making the data file for the SPAD 11 and for suggesting some improvements. Thanks also to Nix for making the sound file for the Hispano-Suiza engine. Installation Instructions For FE1 - Unzip the file and move the folder named "SPAD11" into the FirstEagles/Objects/Aircraft folder. You also need to move the sound file "hispsuiz4M220.wav" into the FirstEagles/Sounds folder. For FE2 - Unzip the file and move the folder named "SPAD11" into the FirstEagles/Objects/Aircraft folder. Then in the FirstEagles/Objects/Decals folder, create new folder named "SPAD11". Move the folder named "D" from the Aircraft/SPAD11 folder into the Decals/SPAD11 folder you just made. You also need to move the sound file "hispsuiz4M220.wav" into the FirstEagles/Sounds folder. -
First Eagles is an aerial combat sim, the mission is over when you touch the ground (you either completed your mission or you didn't.) The game is very realistic in the air, most of the things on the ground are just decoration, or targets. Most of the things on the airfields will cause damage if you collide with them. But out in the countryside only objects meant to be targets will cause damage if you hit them. So taking off and landing are realistic. In Normal and Hard mode you almost always crash if try to land with any kind of severe damage, so rolling through trees doesn't happen too often. In Easy mode the game is more forgiving and you can run into all kinds of things without damage. Ojcar can't do anything about the game engine. His campaigns are great for what we have, (better than the stock campaigns, in my opinion) and each version is better than the last.
-
I am finished with the Roland. All my time is going into the SPAD 11 now.
-
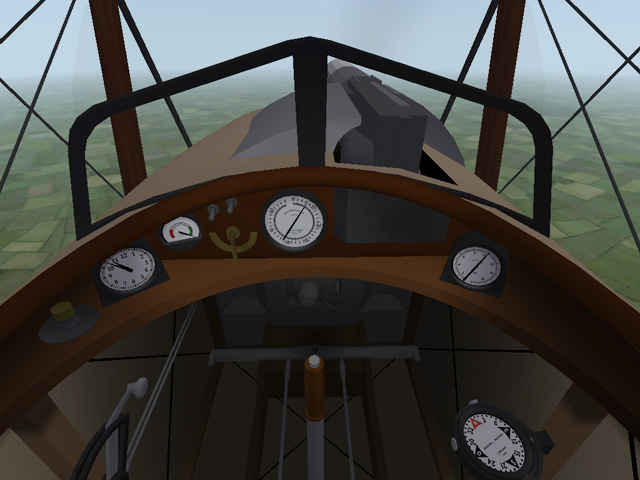
I'm making progress on the SPAD 11. The model and cockpit are done, the skins are done, I've made some decals for French and Belgian planes. I still have to make the LODs, get the node names, dimensions, etc. into the data file, and handle all the tedious details to make it ready for First Eagles.
-
Maybe I'll come back to the Roland later. Right now I want to work on other things.
-
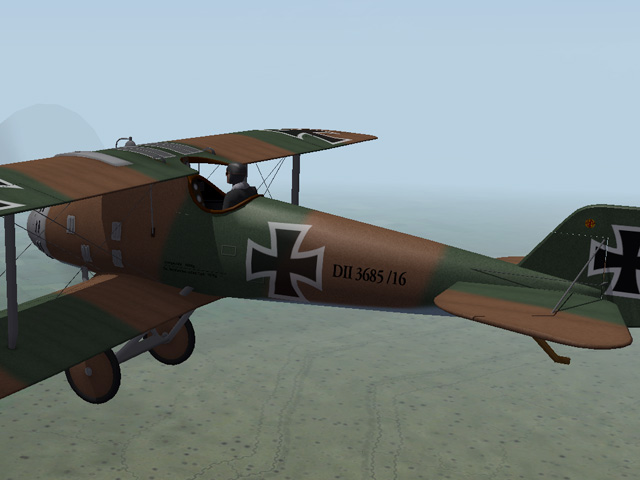
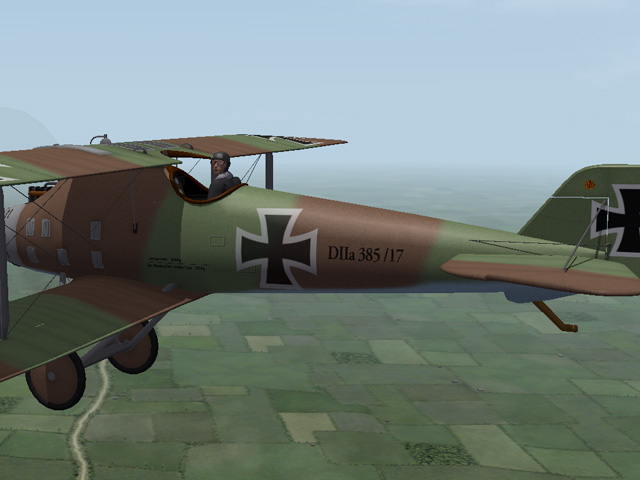
I have uploaded more accurate skins and decals for the Roland D.II and the Roland D.IIa. If you have already downloaded the planes, you can get the new skins and decals in the skins section. I have also uploaded new versions of the planes which include the new skins and decals for those who haven't downloaded the planes yet. The serial number decals use a different font, and I've improved the size and spacing. And, of course, I added the "a" to the D.IIa numbers.
-
View File Skins and Decals for the Roland D.II and D.IIa If you downloaded the LFG Roland D.II or the LFG Roland D.IIa before October 18, 2015, these skins and decals are more accurate. If you downloaded the planes after October 18, 2015, these were included in the download. Improvements: - Removed the steps on the starboard side of the fueslage for both planes. - Corrected the weight table decal for both planes. - On the serial numbers, I used a different font and changed the size and spacing for both planes; and I added the "a" to the DIIa numbers. Installation Instructions New decal.ini's are included so you must delete the entire old skin folder and "D" folder and replace them with the new ones. Submitter Stephen1918 Submitted 10/18/2015 Category Other Central Powers Aircraft Skins
-
- 1
-

-

42 downloads
If you downloaded the LFG Roland D.II or the LFG Roland D.IIa before October 18, 2015, these skins and decals are more accurate. If you downloaded the planes after October 18, 2015, these were included in the download. Improvements: - Removed the steps on the starboard side of the fueslage for both planes. - Corrected the weight table decal for both planes. - On the serial numbers, I used a different font and changed the size and spacing for both planes; and I added the "a" to the DIIa numbers. Installation Instructions New decal.ini's are included so you must delete the entire old skin folder and "D" folder and replace them with the new ones. -
I have noticed that the exhaust pipes on the SPAD 7 and SPAD 13 vibrate when the engine is running. But it seems to me that if they vibrated that much, they would eventually break. It's a nice effect, but not very realistic, so no, my exhaust pipes won't be animated.
-
zu schade...
-
I agree with everything ojcar said. I would also point out that if there was an all inclusive download, it would be so big that you would spend a long time downloading, and then you would still have to install all the parts in the correct folders, so it wouldn't be very much easier. Also, if you don't have all the skins, the game will substitute the default skin. So concentrate on getting the planes installed first. You don't have to wait until everything is installed, you can start flying campaign missions as soon as you get most of the planes. I does take some practice, but like ojcar said, it gets easier as you do it.
-
Excellent! Thank you for this Ojcar!
-
I will do the SPAD 16 after this one is finished. The planes are so similar it seems like the logical thing to do. It will take some time because the real world is very busy for me lately.
-
Certainly. I'd like to see what you make. I don't really like doing the skins, I always include my templates in the hope that someone will make better ones.
-
Back in July, Capitaine Vengeur asked for a SPAD two seater. I've been working on a SPAD 11, off and on, for about six weeks. The model is pretty much done, I'm working on the skins and decals now. The cockpit is coming together, but still needs a lot of work.