-
New Downloads
-
New Topics
-
- 0 replies
- 102 views
-
- 3 replies
- 129 views
-
- 3 replies
- 157 views
-
- 2 replies
- 132 views
-
- 3 replies
- 171 views
-
![More information about "[Fictional] Dassault Mirage F-1CJ for STRIKE FIGHTERS 2"](https://combatace.com/applications/downloads/interface/legacy/screenshot.php?path=/monthly_2026_04/img00013.thumb.png.5f024a56dd1dcdbe9360129e6571d62d.png)


![More information about "[Fictional] Panavia Tornado GR.1E (CB.15) for STRIKE FIGHTERS 2"](https://combatace.com/applications/downloads/interface/legacy/screenshot.php?path=/monthly_2026_04/img00006.thumb.JPG.b7f506a5682355937b12df8e8c5cff13.JPG)


News Releases
- 0 replies
- 2,278 views
- Add Reply
- 1 reply
- 2,270 views
- Add Reply
- 2 replies
- 5,877 views
- Add Reply
- 3 replies
- 2,333 views
- Add Reply
- 1 reply
- 2,244 views
- Add Reply
- 2 replies
- 3,415 views
- Add Reply
- 1 reply
- 2,742 views
- Add Reply

By Dave,
A-10A and Su-25 for DCS Flaming Cliffs Now Available Today, A-10A and Su-25 for DCS Flaming Cliffs went on sale for $14.99 on our online store: http://www.digitalcombatsimulator.co...r=shop&lang=en These modules feature: 1- Detailed 3D model (high polygon / high res textures) 2- 6 DOF cockpit 3- Advanced Flight Model (AFM) 4- Same level of cockpit system detail as the Lock On: Flaming Cliffs aircraft We are releasing these modules for the following reasons: 1- It allows users access to
By Dave,
DCS Change Log 1.2.5 Please use the Auto Updater. To force an auto update, from the Start menu, select Eagle Dynamics - DCS World - Update DCS world. DCS World • Anti-radiation missiles: Added proximity fuses and adjusted accuracy. • Further improvements to game stability. • Improved MS Sidewinder FFB2 joystick support. • Corrected module installation issues. • Resource manager: Corrected logistic links. • Resource manager: The value, speed and periodicity have been adjusted. Default supply sp
By Dave,
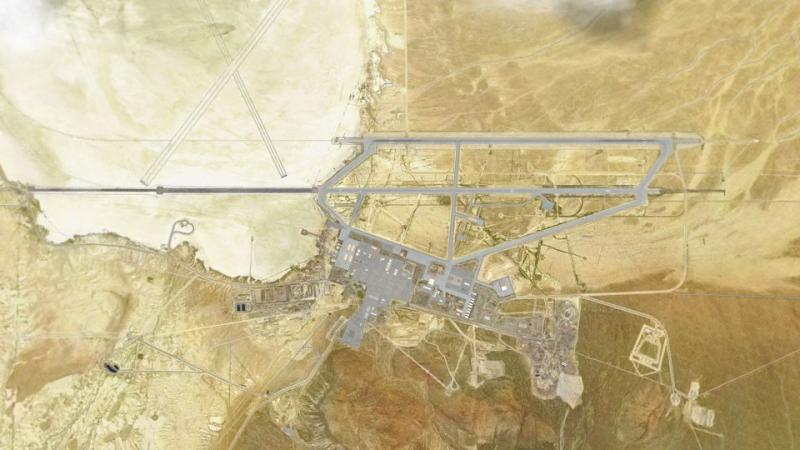
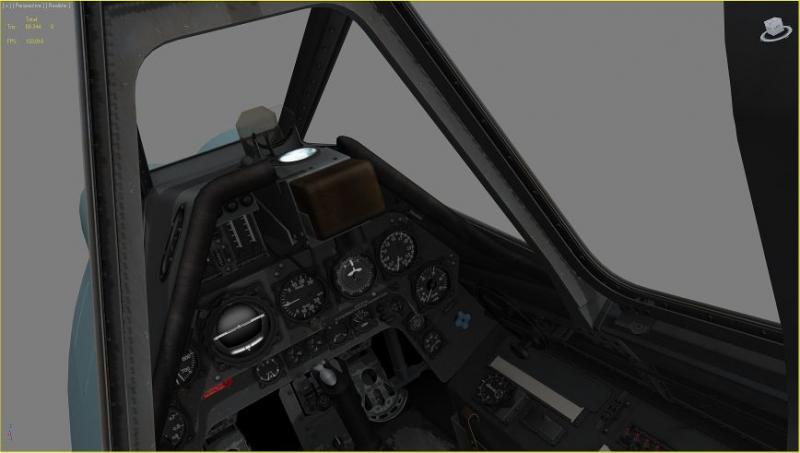
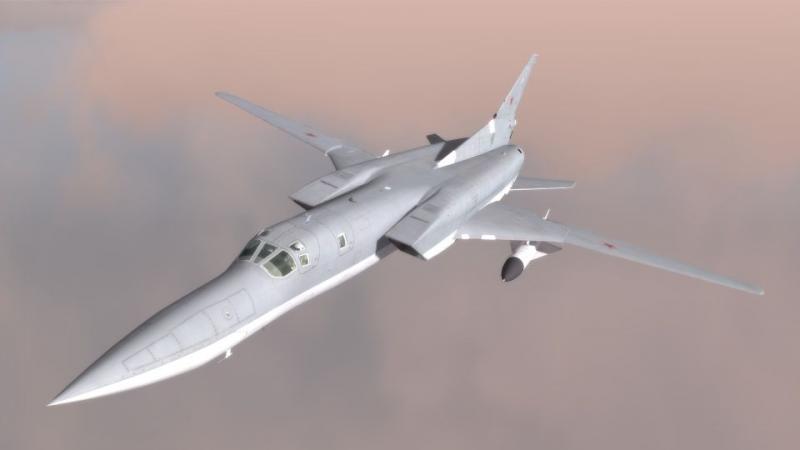
19 July 2013 - DCS News Update For today's news update, I've gone pretty heavy on the pretty pictures. I've attached new images of: 1- DCS: Fw 190D-9 that includes updated cockpit art. 2- New images of the Su-33. 3- Textured images of the new MQ-9 "Reaper" model. 4- Updated images of the new Tu-22M3 "Backfire" along with a new Kh-22 model. 5- New images of the Nevada map. This past week we started rebuilding the Nevada map with the new map tools, but it is still early and very rough... a l
By Dave,
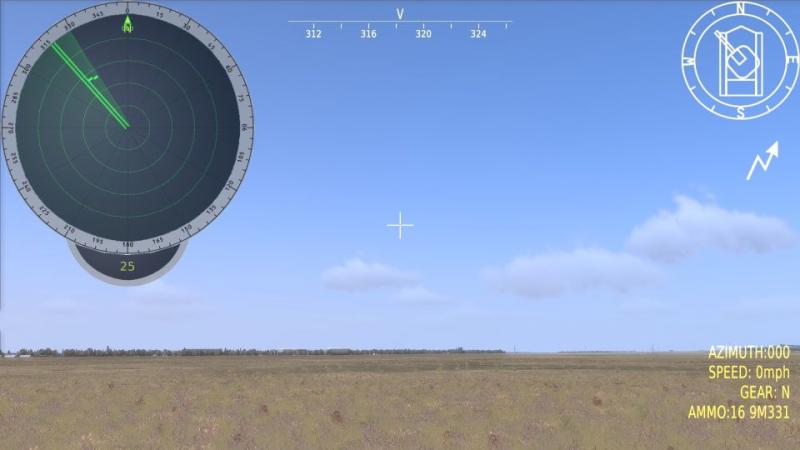
12 July 2013 - DCS News Update This past week we have primarily been debugging DCS ver. 1.2.5. Progress is being made and it is still our hope to have it released before the end of this month. This is quite a large update, so naturally it is taking longer to debug than the earlier, smaller updates. Other parts of our team are working on new elements for Combined Arms. Two of many new features includes a radar display for radar-guided air defense systems and more realistic fire control systems
By Dave,
28 June 2013 - DCS News Update Work continues on DCS version 1.2.5. You can read the list of planned changes here: http://forums.eagle.ru/showthread.php?t=108764 Kinney Interactive dropped their press release about their DCS: F-35A project this week. A Kickstarter program for this project has also started. You can read more about it from their official page here: http://www.kinneyinteractive.com/#!d...tning-ii/c1bom As a companion to the DCS: P-51D Mustang, and further our goal to broaden the
By Dave,
Next Stop... DCS Version 1.2.5 After the release of DCS version 1.2.4, we released multiple updates using our automatic updater. We are now moving towards the next major update, version 1.2.5. Our primary focus will be on improving game performance, addressing game play issues, and setting the stage for further modules. Key features planned for version 1.2.5 include: DCS World
Improvements to the ATC system.
New Tu-22M3 model. Images attached.
Further improvements to game stability.
Cor
By Dave,
DCS News Update - 14 June 2013 DCS Summer Sale - Next Week Starting the 20th of June, we will offer massive 60% off sale of DCS products. The exception will be Lock On: Flaming Cliffs 3 having a 40% off sale. The sale will last until the 30th of June: DCS: UH-1H Huey - $19.99 DCS: Combined Arms – $11.99 DCS: P-51D Mustang – $15.99 DCS: Black Shark 2 - $15.99 DCS: Black Shark 2 Upgrade – $11.99 DCS: A-10C Warthog – $15.99 DCS: A-10C Warthog 1.1.0.7 (English DVD box) – $15.99 DCS: Black Shark (
-
Popular Destinations
-
New Topics
-
Our Picks