-
New Downloads
-
New Topics
-
- 0 replies
- 106 views
-
- 3 replies
- 132 views
-
- 3 replies
- 157 views
-
- 2 replies
- 132 views
-
- 3 replies
- 171 views
-
![More information about "[Fictional] Dassault Mirage F-1CJ for STRIKE FIGHTERS 2"](https://combatace.com/applications/downloads/interface/legacy/screenshot.php?path=/monthly_2026_04/img00013.thumb.png.5f024a56dd1dcdbe9360129e6571d62d.png)


![More information about "[Fictional] Panavia Tornado GR.1E (CB.15) for STRIKE FIGHTERS 2"](https://combatace.com/applications/downloads/interface/legacy/screenshot.php?path=/monthly_2026_04/img00006.thumb.JPG.b7f506a5682355937b12df8e8c5cff13.JPG)


News Releases
- 1 reply
- 3,328 views
- Add Reply
- 7 replies
- 10,665 views
- Add Reply
- 0 replies
- 2,283 views
- Add Reply
- 0 replies
- 5,236 views
- Add Reply
- 0 replies
- 3,335 views
- Add Reply
- 0 replies
- 1,945 views
- Add Reply
- 2 replies
- 2,787 views
- Add Reply

By Dave,
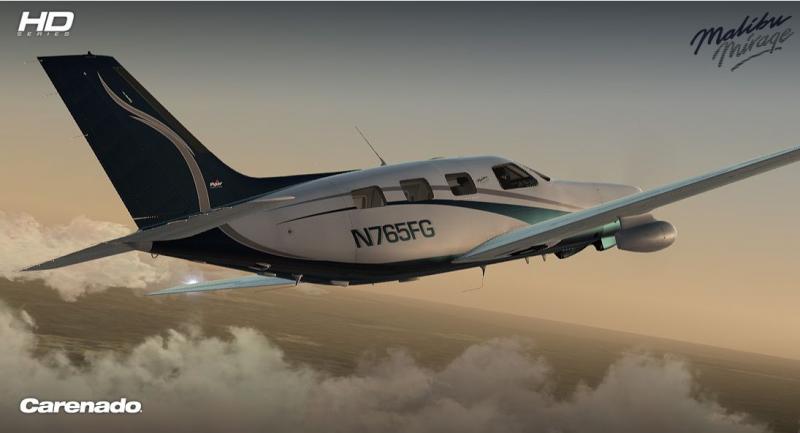
Carenado has releases their PA46 Malibu Mirage as part of their High Definition Series. The feature list is below. I do not think you're going to find another general aviation aircraft with this much detail put into it. It really is a work of art.
Features: HD quality textures (2048 x2048) 3D gauges Original HQ digital stereo sounds recorded directly from the real aircraft Cold and Dark or ready to taxi options for start the simulation. Customizable panel for controlling windows transparency
By Dave,

Avionics Upgrade for the Iris F-15E Mudhen Driver in FSX:
The F-15E Strike Eagle is a dual-role fighter designed to perform air-to-air and air-to-ground missions. An array of avionics and electronics systems gives the F-15E the capability to fight at low altitude, day or night, and in all weather.
This is an UPGRADE to the Iris F-15E Mudhen that will turn your outdated Iris F-15E into a brand new Metal2Mesh F-15E Mudhen
* New Hi-Resolution Textures. * New Custom Sounds by MSS. * New H
By Dave,
...someone proficient in CS4 and Max 2012 for a position at RAZBAM as a texturer. If you are interested please email him at radzabm (at) hotmail (dot) com. You may also get a hold of him on his Facebook page, RAZBAMsims. There are plenty of perks with this job as well.
By Dave,
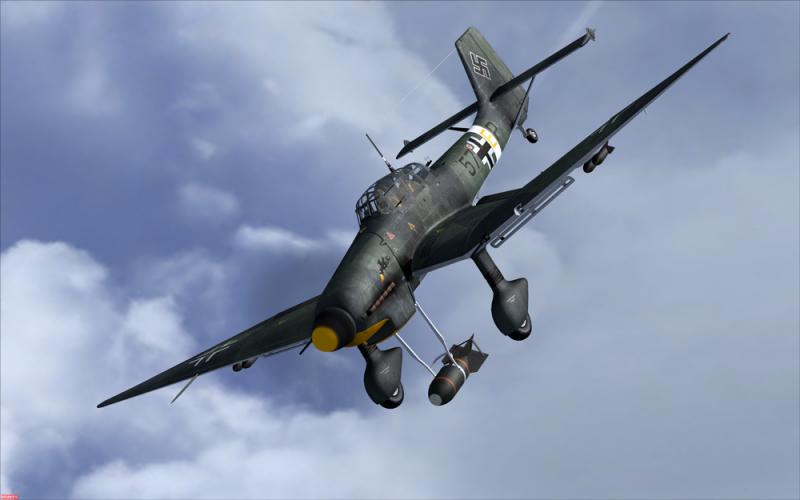
The Junkers Ju-87 D.5/G.2 Stuka
The Junkers Ju 87 or Stuka (from Sturzkampfflugzeug, "dive bomber") was a two-man (pilot and rear gunner) Geman dive bomber and ground-attack aircraft. Designed by Hermann Pohlmann, the Stuka first flew in 1935 and made its combat debut in 1936 as part of the Luftwaffe's Condor Legion during the Spanish Civil War.
The aircraft was easily recognisable by its inverted gull wings, fixed spatted undercarriage and its infamous Jericho-Trompete ("Jericho Trumpet") wa
By Dave,
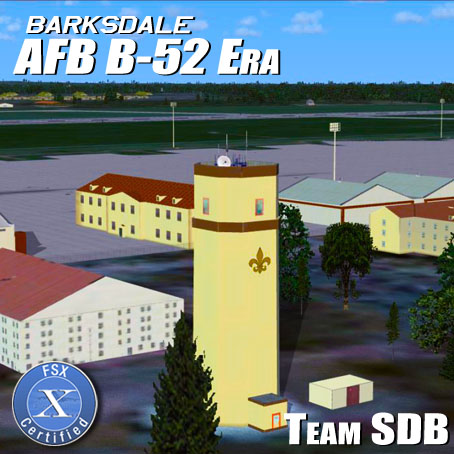
Barksdale is home to the 2nd Bomb Wing (BW), the oldest Bomb Wing in the USAF. The 2nd BW is assigned to the Air Force Global Strike Command's"Mighty Eighth" Air Force, of World War II fame. The 2nd BW is equipped with about 44 B-52H Stratofortress bombers among three squadrons - the 11th Bomb Squadron with a gold tail stripe; the 20th Bomb Squadron with a blue tail stripe; and the 96th Bomb Squadron with a red tail stripe. Each unit is represented in this scenery package.
Other aircraft st
By Dave,
Due to the summer holidays and Gamescon, not much new news to pass along this week. The team is mostly focused on getting the 1.2.6 open beta ready (it is basically in alpha testing now internally). For those that wish to participate in the open beta, we hope these open betas will benefit checking bug fixes in 1.2.6 like more stable network play in particular. The team has also been busy supporting BST with the upcoming beta release DCS: Mi-8MTV2, working on the new flight dynamics for the Su-27
By Dave,

Fly the entire state - BORDER to BORDER - of California in photoreal detail. The third largest state in the USA, California is massive at over 163,695 square miles in size and has 600 airports.
You'll see everything that you see in California in real life in the scenery. Imagery is clear and crisp 50 cm source throughout for a stunningly realistic scenery.
As an added bonus, we now provide all the VFR and IFR charts in digital PDF format to enable you to get the most out of your scenery. This
-
Popular Destinations
-
New Topics
-
Our Picks
-