Mr_Tayto
-
Posts
164 -
Joined
-
Last visited
Content Type
Profiles
Forums
Gallery
Downloads
Store
Everything posted by Mr_Tayto
-
Operation Desert Storm: 30th Anniversary Edition
Mr_Tayto replied to Menrva's topic in File Announcements
Hi, just installed the mod and looking forward to flying, I just had a hopefully easy question: Is the control scheme different for this game compared to others in the SF2 family? Can I use my SF2:V controls.ini to overwrite the created one in the mod folder? Thanks! -
Turns out I'm still rubbish In anything that's not a 105 doing Hi-lo-lo-hi profiles like my F-4C (1 mission with mk82s) and A-4C (2 with mk82s), I'm really struggling. I need to hit the range in those aircraft I think.
-
SF2 Series DACT Reports And Related A2A Discussions (Game only)
Mr_Tayto replied to Flanker562's topic in General Discussion
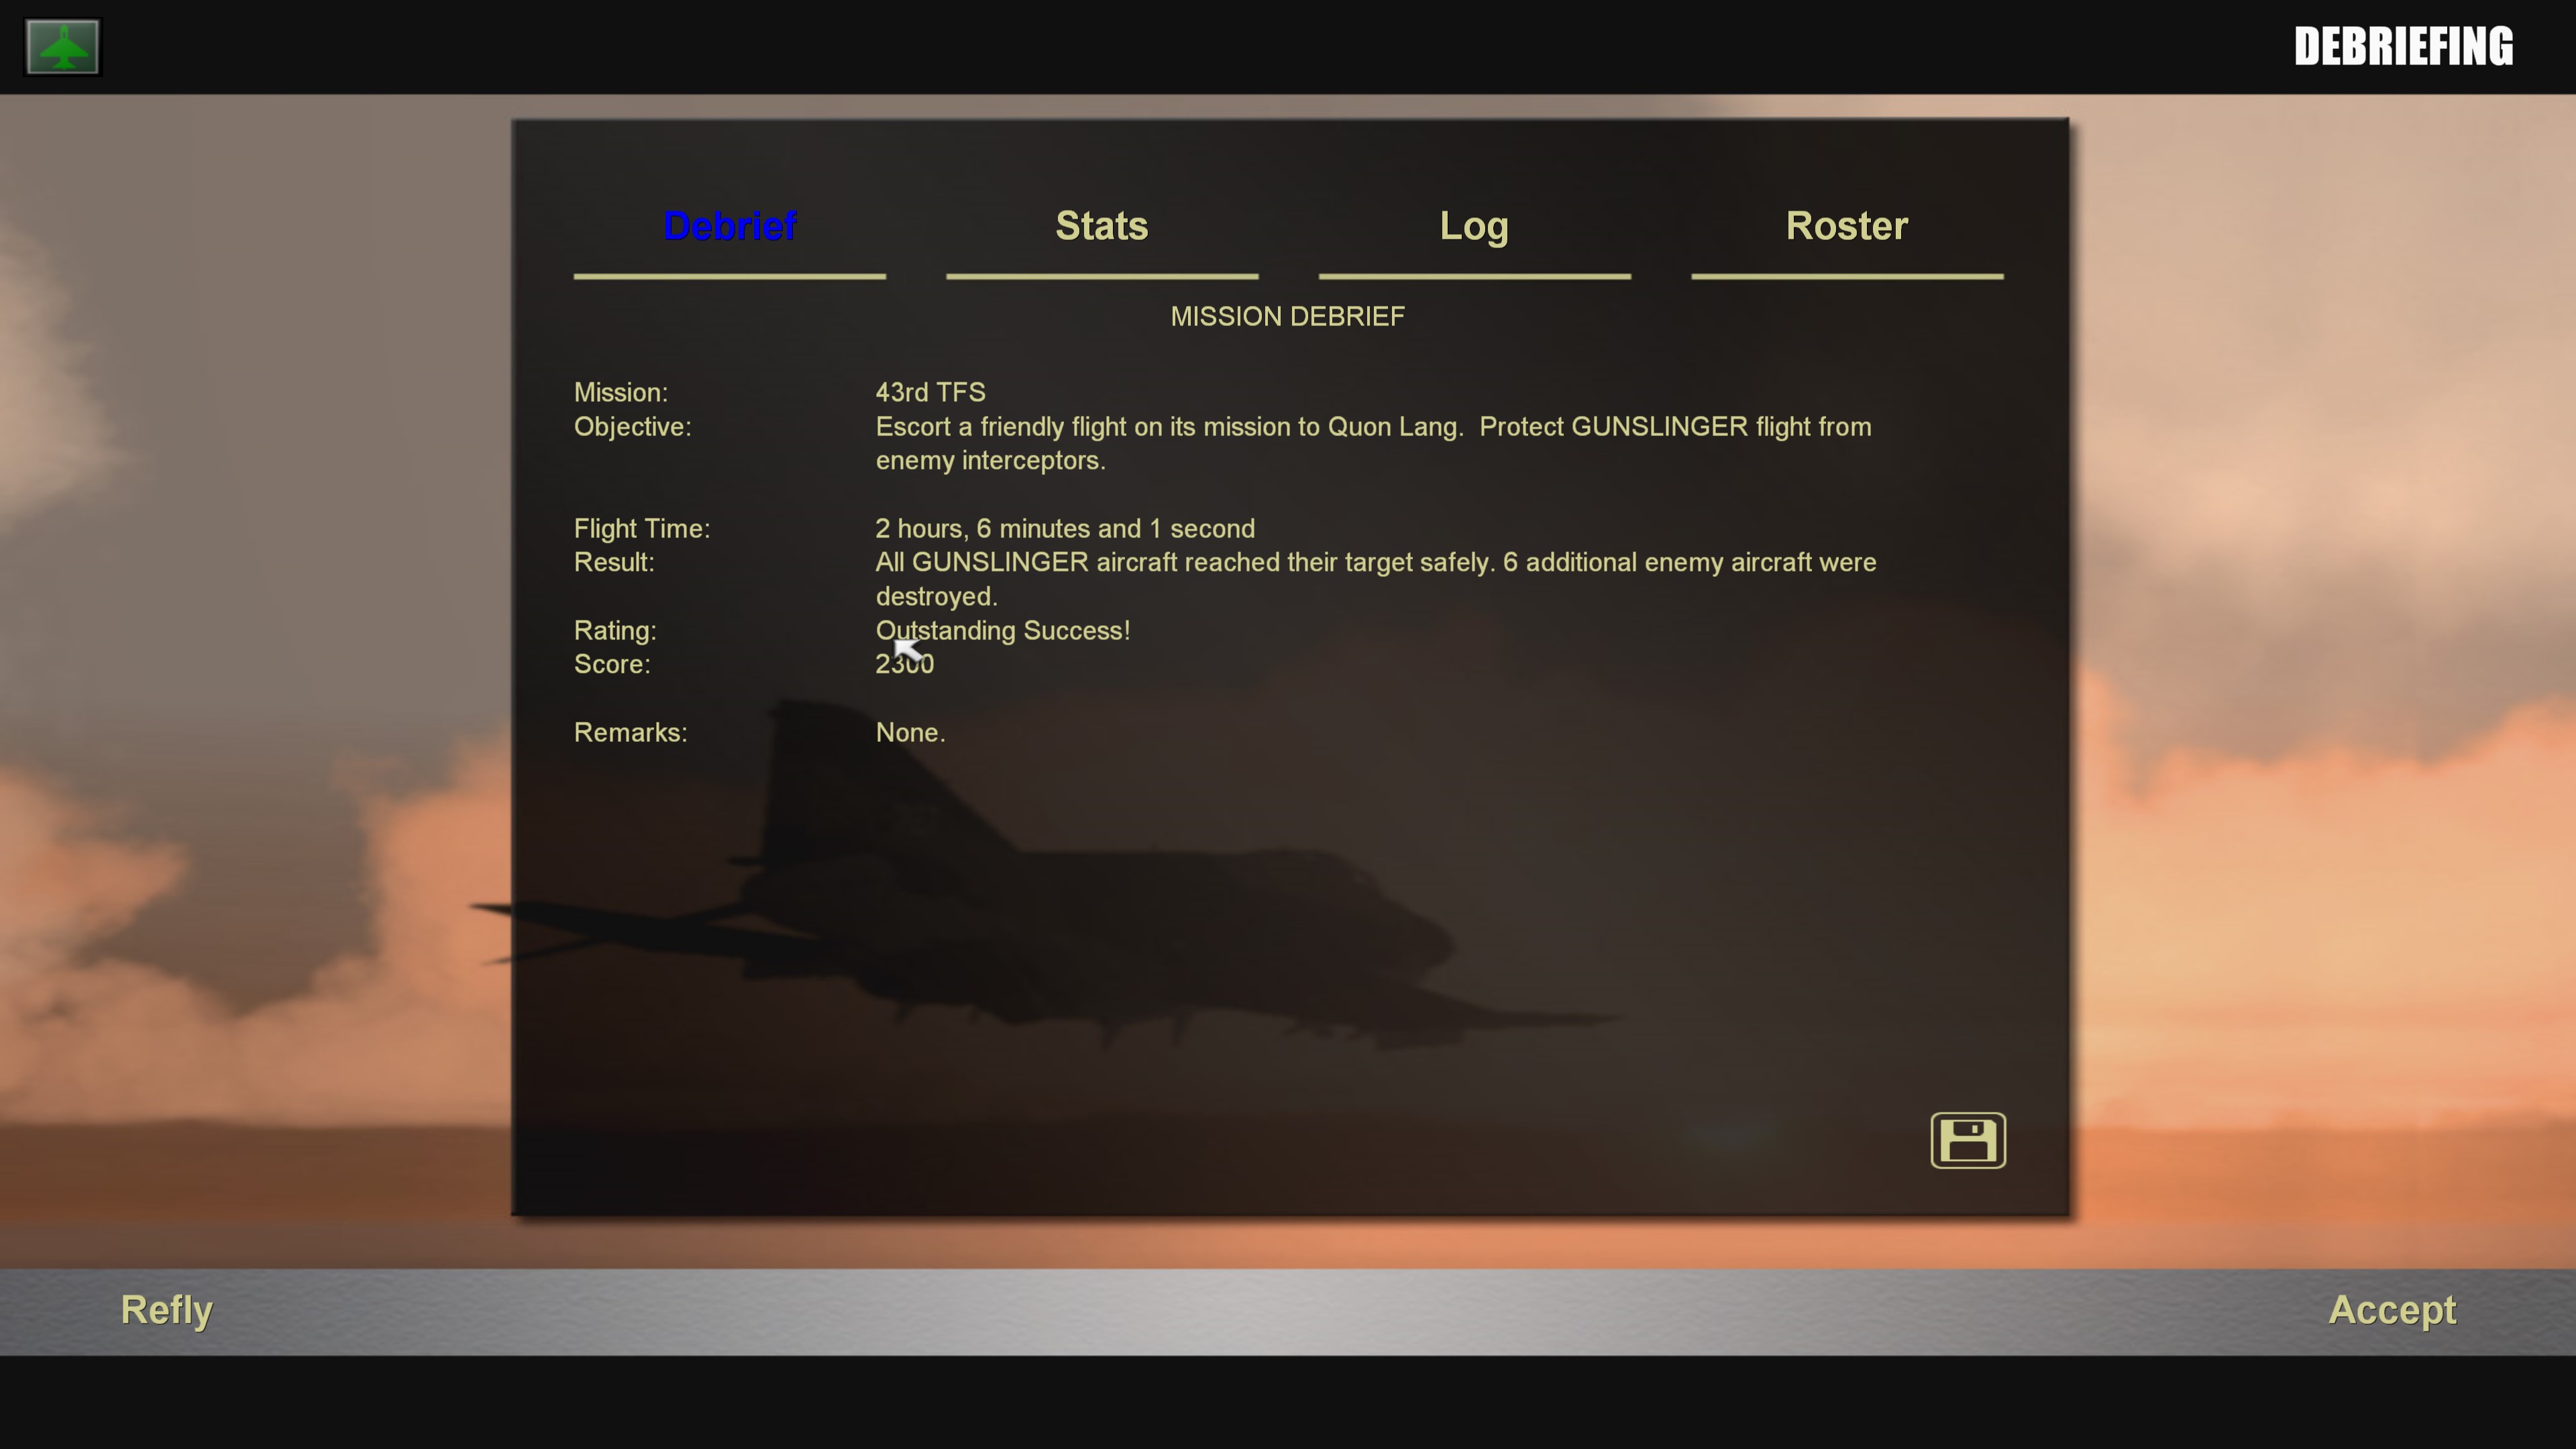
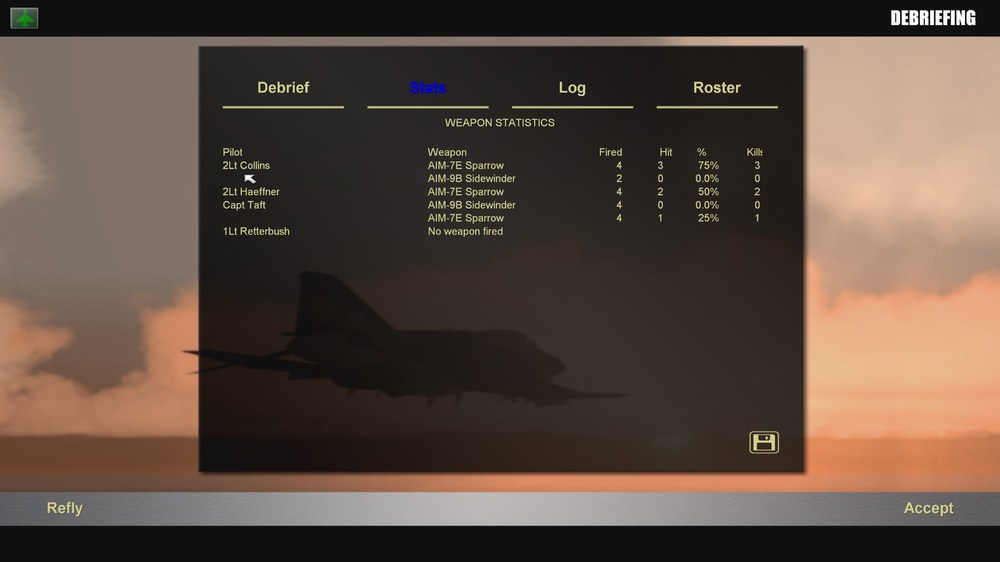
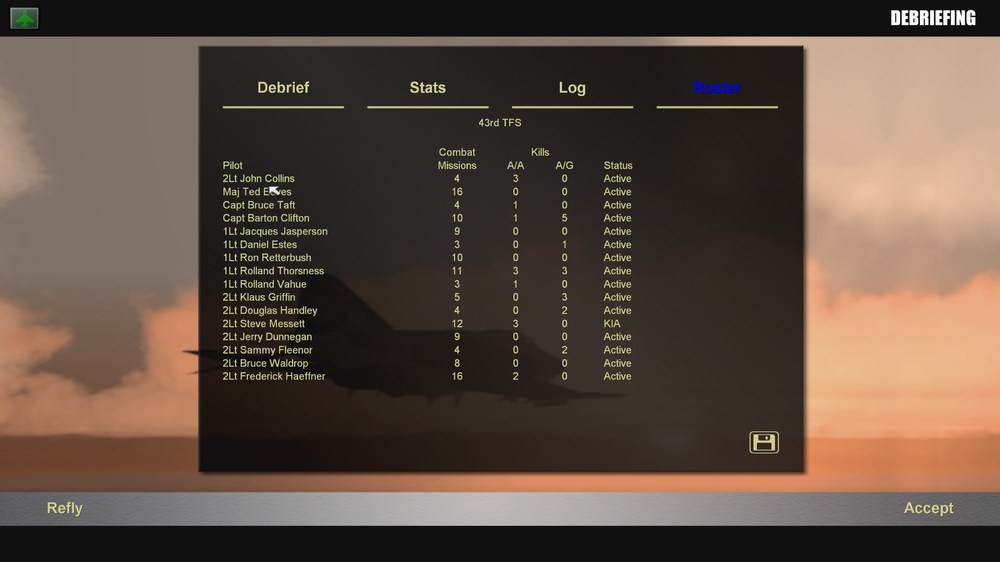
In two years of playing this game, on and off, I've focused totally on mud moving, all within the Vietnam War campaigns. I'm not very good (as my constant requests for help in other threads prove!) but it's fair to say I've watched Devin Horner play more full missions than I've played myself. I generally change aircraft, to learn a new one, upon a campaign ending; up to now this has always been due to KIA/POW, and always shot down attacking well defended targets. At the start of this week I decided I'd play my first ever F-4 campaign, Rolling Thunder, 43rd TFS. My first mission was a very long overflight of Thailand and Laos to rendezvous with some B-52s plastering a target in RP1. Red Crown called out contacts but they were, as to be expected, far to the north and didn't bother us. A nice milk run which allowed me to learn flight parameters and cockpit dials for myself. Mission 2 was going to be a strike mission in RP6A, but upon loading in, my HOTAS wasn't recognised. A further attempt (and a restart) and still it didn't work. Luckily I had recently backed up my mod folder so copied over my previous controls.ini and tried again. Briefing this time was for another escort, this time a flight of Thuds from a western Thai base. Shame, I thought, I'm a mud mover at heart, and I was looking forward to bombing a bridge. Anyway, I suited up and headed for the flight line, and this time everything worked. The mission was to RP2, and my flight of 4 F-4 in standard A2A configuration made the rendezvous bang on time after a very long flight from the southern coast. At the IP we started to extend on the bombers (as a Thud driver at heart I was disappointed they were so high and slow), but while I was deciding whether or not to circle back to them the scope started to get busy; a flight of Scooters from Yankee was inbound to the target area, but there was a definite separation with a gaggle left of the nose at 30 miles. With switchology complete for a Sparrow shot, I waited until the IN RANGE light came on and bagged my first Fresco (it worked off the rail!) As our flights merged I realised we were facing two flights, seven bogeys left. My flight was instructed to engage and we got into it. The furball was glorious, and boy, did I put into practice what I'd learned from watching Devin. I chose a Fresco, and went in close, following him as best I could with this pig of a "dogfighter". These bad guys were good, and after two pretty perfect trail shots - and lots of high yo-yos and throttle control - with heaters were defeated with high G turns, I realised I'd have to try something else. My wingman was instructed to pin him and I extended about 5 miles, before setting up another Sparrow for kill number two. Red Crown reported mission complete as my wingman bagged his second shortly after, and I gathered the boys for the long trip home. I called Red Crown one final time for a picture of the battle space, expecting to hear that the remaining MiGs were heading north with their tails between their legs, only to hear that at least one was close. I looked at the maps and saw one turning with a straggler A4, and broke off to engage him, while telling the flight to mop up. I picked kill number three out of the clutter, and sent him home by truck. The A-4 departed back to Yankee and one of my guys got our 6th of the morning. These are my first air-to-air kills in the game, and I was (and am) totally buzzing with the adrenaline. The F-4 is not an easy plane to fly at 6kft, 325 knots, in a turn with a MiG-17 while AA explodes all around, but I managed to come out on top. Wish I had a gun - at one point I could read one of their tail numbers!
-
ANTI_RDR_OBJ missions (e.g. Iron Hand) SF2V
Mr_Tayto replied to Mr_Tayto's topic in General Discussion
Thanks both, really good advice for mission execution. I wonder if there's a way to edit the mission success/failure parameters so that SEAD works the same way as "Escort", where success is defined by how many strike aircraft survive to attack the target and egress? This way, just the presence of the Iron Hand flight would be helping to achieve missions success, and it wouldn't be purely based on destruction of enemy units, which is unclear. In every example I've seen on video, there has never been a "Mission Accomplished", even where the strike flight has destroyed its target and the IH flight has egressed safely. You would of course have to have mid-late war Wild Weasel with completely different goals, as those flights were about destroying suspected SAM sites regardless of friendly air activity in the vicinity. -
I love it Would make a great nuke bombing target for early 90's Moscow
-
Yeah, agreed. And generally I have good results with CCIP equipped platforms like the A-6 (I should, I've been practicing since the 90's with Microprose sims!) The issue I have is with my own behaviour with the aircraft in high threat environments, not the mechanics of the bombing itself. I guess I'm also trying to be good with TLAR aircraft. Dive/toss/level bombing without a bombing computer is more art than science in SF2, and it's all I have in the 105, but I can do it. Again, it's about how I approach targets (both psychologically and in physical terms) in SEAD environments, regardless of the method of bombing.
-
So, also in the mud-moving context... is speed life? I mentioned liking the hi-lo-lo-hi mission profile of strike missions in the Thud because I think its speed affords a certain security at low level, and I've read that drivers (at least, WW drivers) preferred to stay above 400KIAS striking targets. In the A-6 I was undone by trying to turn and burn between 1-3kft and always catching a stray 57mm round, desperate to just hit my targets and leave at 300ft! Maybe I should just be doing long racetracks and maintaining speed? Obviously SA-2s muddy these waters, but I'm yet to be hit by one I guess.
-
I looked back over Devin Horner's "The 100" and watch the first three videos again. Ep.3 covers three missions (3-6) and as it turns out, mission four is indeed an Iron Hand. Unfortunately, it's a truncated mission as at this stage he was talking about squeezing 3-4 missions into one ~1hr video, so we don't get to see the "result"; he doesn't get a "Mission complete" from Red Crown, for example. However, I did get to see how how does it, and that will help. The problem he (and I) had seems to be a lack of ordnance to compete the mission. Enough CBUs and rockets to account for 4-5 AAA sites, but when you're dry, you're dry - and you don't want to push your luck.
-
I have watched every Devin video related to Vietnam (and about half his VNAF videos), and I swear his luck with not pulling Iron Hand is better than mine! Unless he edited his campaign data .ini! I'll trawl through them again in case I missed some. Unfortunately his F-105 campaign seems to be on hold at the minute, which is a shame because I love those videos.
-
Hi all, I don't know if this counts as resurrecting a dead thread (it being eight and a half years old and all), but I'm looking for some specific advice in dealing with Iron Hand missions in Vietnam. Specifically, Rolling Thunder as I've never had a pilot survive more than 5 missions, and it's almost always down to an Iron Hand mission. At this point I'm pretty comfortable doing Thud and Intruder strike missions, and have a good hit rate with and without CCIP using pop-up profiles. Iron hand seems like anathema to me, being used to unloading and GingTFO; I have to loiter in some pretty awful flak environments, ususally low and slow having hit my first target, and I usually get bagged by a 57mm I can't evade. I usually suffer losses to the flight, too. So I'm looking for advice, maybe even a successful mission video, to give me some tips for surviving. ARM employment, dumb bombing, ground fire evasion, flight orders, all that stuff. Thanks in advance.
-
Hey OP, a quick Q before I install. Does this cancel the CCIP mod I already have in my FOTI Intruders? Does it include CCIP (is this the "bombing system" you mean)?
-
Occasionally I get a mission "description" of the type in the title. Not even a description like "air defence suppression" or indication of the area - of course there is a flight plan with an IP and target waypoint. It's not a big deal, I think I understand that these are Weasel/Iron Hand missions, and approach them as such. The main issue is that the game doesn't give you any idea of how to complete these missions, unlike strike and escort, which are self-explanatory; destroy such-and-such target, protect this flight from interception. It's just as well I am extensively read on Vietnam war aircraft, missions and tactics, or I might not have the first clue, but it's still confusing at times and I want to be good at these missions (and of course, safe to RTB). So, a first question: When do "Primary targets" show themselves in these missions, and what's the best way to find them? I understand the theory behind Shrike/Standard ARM employment, but struggle to know when is best to shoot. Even with maximum settings, I find draw-in for ground targets, especially at medium level and above, means I often don't see targets on the ground unless they're big and obvious like buildings. Radar vans, launchers and individual AA guns are difficult to pick out without using the visual targeting HUD markers. Add to this early Rolling Thunder aircraft don't have a RHAW scope, often only audio warnings. To my second question: How do you combat SAM tracking radars (especially without knowing range and, in early months, bearing)? Does firing toward launched SAMs help, as the radar would be close? Thirdly, I guess I'm just looking for tips. I dread these missions when they appear, not because they're dangerous (although they are), but because they're less "directed" than strike missions, which have an obvious pass/fail point. Can anyone share best practice for 'Nam-era Weaselling? Thanks in advance!
-
Hey, that's a great idea actually, although I've rarely used chaff in the game so far.
-
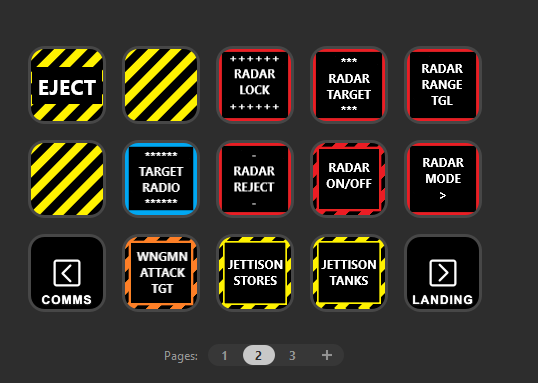
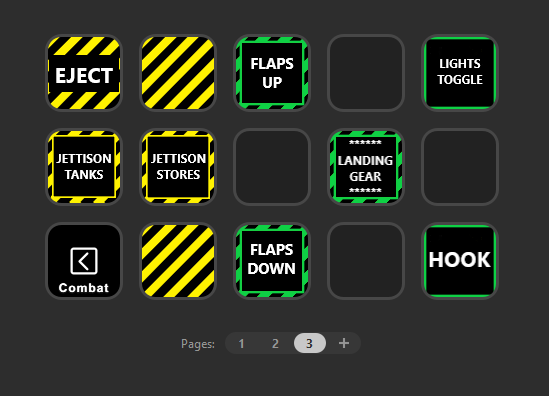
Hi all, I was recently introduced to Stream Deck as a concept and realised it could be used as a remote keyboard/macro enabler for SF2. I had a spare and unused android tablet and installed the software to give me this ability. After an ultimately fruitless search for icons or profiles, I decided to make my own (below). I use desk mounting brackets for my HOTAS because a) I hate having my elbows higher than my lap for flying at my desk and b) if I'm playing historical aircraft I want a centrally mounted stick. Until today I was drawing my keyboard forward on the desk to hit buttons, but this always lead to indecision because I had to make sure it was the correct one. I've take a few pictures of my layout, let me know what you think and whether you have something similar. I'm not done, I intend to program some macros for further flight/squadron behaviour in landing and combat (i.e. attack ground/air)

-
111 squadron based at RAF Leuchars when I was a kid, just across the river from me. I spent many weekends on base as a cadet
-
I am struggling to find The Range in the downloads section, does anyone have a direct link they could share? Also, I'm not overly familiar with the mission editor; I have tried to do a South Vietnam "free flight" mission where I have the option of testing out planes for carrier take off and landing, and ideally bomb delivery, but I don't understand what I'm doing when it comes to placing "targets" (usually in friendly territory so I am avoiding AAA and SAMs). I've watched a video but it didn't make it so clear and didn't detail how to place a "landable" carrier.
-
Awesome Does it have a carrier for landing practice on? I'm fairly proficient with the A-1 and A-4 now, have limited experience with the A-6, but I'm dreading the F-4!
-
Brilliant, thanks. My next mission after this post was in RP2 again, doing armed recon above a city, I wasn't so lucky on this one and got POWed after losing a wing. For now I've switched back to the somewhat easier(!) life of flying A4s in alpha strikes with lots of F8s flying top cover. I'm still struggling to put into practice bombing, but at least now I have buddies to help me out. Iron hand missions remain my kryptonite, there's a lot of "learning on the job" with this sim. WOK is my next campaign when I inevitably get splashed again.
-
Rewatched a few Devin Horner A-1 videos, and the flak sure seems more manageable at 6000ft, so point definitely taken. When flying F-105s downtown, I did Hi-Lo-Hi profile dive bombing, and that worked fine but it's obviously not an option in a Spad, so I'll try to keep it medium level.
-
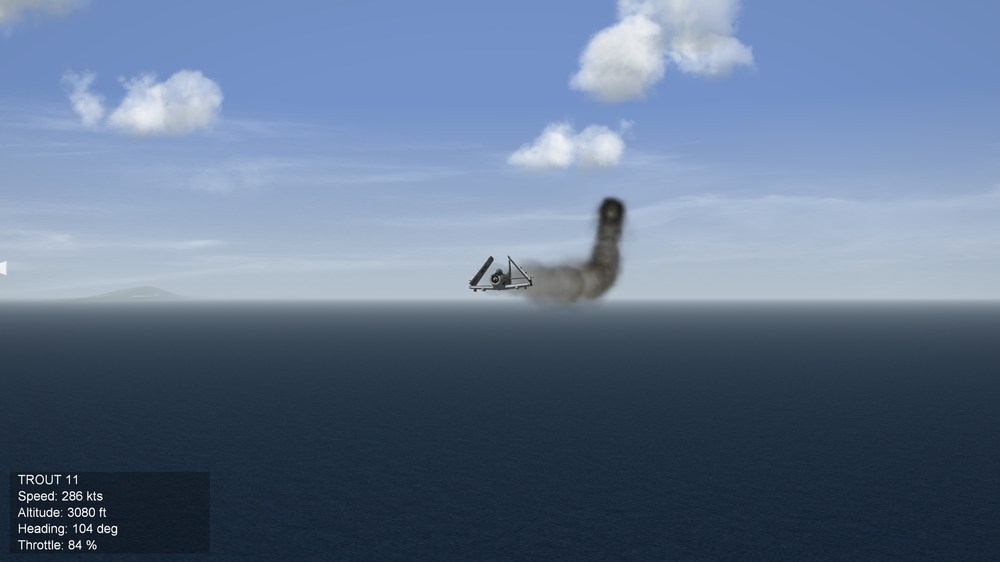
Hi all, My USN Spad Steel Tiger campaign keeps sending me north of the DMZ, which is fine I suppose as when I am it's usually against logistics targets like littoral sampan bases and the like. The problem is the density and accuracy of flak against low-and-slows like the A-1. Out of three missions flown in this campaign, two have had targets in NVN and only one in the Steel Tiger zone, and my last one against a fairly deep base North of Vihn. This mission resulted in me losing the Spad after managing (somehow) to get her back out into the gulf and bailing out in vicinity of the ship: I've played a few fast jet campaigns so far, all of which have resulted in KIA or POW due to flak, but speed and being able to climb makes it feel like less of an issue unless on a bombing run or making an obvious mistake that I've learned from. So my question is, are there any tactics for avoiding flak in slow crates? I'm jinking like mad but took all the fine on the bombing lineup. Also, I took three wingmen to hopefully disperse the flak among us all, but went in first on the target.
-
CMH seems excessive for a few infantry squads on top of a camp. Mind you, they were very well hidden.
-
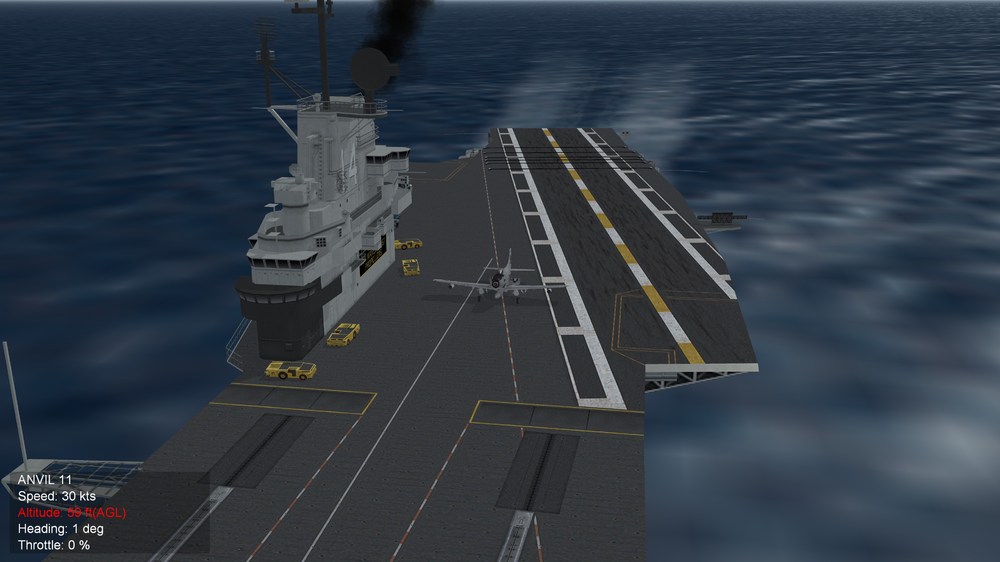
So after some experimentation (and because I've always loved the plane), I decided to start "learning" carrier ops with the A-1, flying Steel Tiger missions - because again, they're pretty cool. My first mission (with a new pilot, following the "Dead is dead" principle) was a milk run to the Vinh PT Boat base, which I dispatched fairly easily by rippling my entire load of M117s all over it. Took some HMG fire from the PTs themselves as I dropped in, but nothing that affected the plane, so I flew home and trapped (first time!). In the de-brief it seems I was "injured", so spent some time in Subic chasing nurses. 5 months, it seems Next mission was a looong flight from Yankee to the SVN/Laos border, (south of Da Nang) to deal with a HCMT camp, which I did with bombs, took fire again from the jungle so circled and rocketed a couple of squads before coming home. On the way back I noticed a right roll, looking out of the cockpit I see that my right flap had been shot off, but nothing major as it was easy enough to counter with light pressure left on the stick. Get all the way back to the ship, and despite her manoeuvring like she was dodging torpedoes I trap again on the first attempt, sans flaps! Now, as pleased as I was with myself for a successful mission and a good trap, I wasn't prepared for what came next: Apparently for my work deleting a camp and a couple of VC squads in what was a fairly permissive environment, I received the Medal of Honour Has anyone else had this before? Was it purely for a good mission, or was the fact I landed the Spad something to do with it? Score for the mission was 3000 I think.
-
I agree wholeheartedly about the civilian casualties, and it's one (of many) reasons that both our countries are better off with professional armed forces. It's also in a weird way why I want to be better at bombing; the way the game works I can order my wingman to hit the target and if he is sufficiently skilled he will complete my mission for me, but I want to hit the target, and if I'm downtown I don't want to hit a civilian centre by mistake. If that makes sense. I've also been taking advantage of the fantastic mod community here, and have downloaded the Falklands '82 and WOK mods. Next is Desert Storm 30AE, because that's the war I grew up with on TV and the one which started the fire of aviation for me (that and the Soviets in Afghanistan).
-
I don't know why, but I'm drawn to them. I'm a historian by education, and the Vietnam war really appeals to me as a subject. In aviation terms it seems like such an inflection point in technology and tactics; for example NFWS being instigated due to experiences in VN, and also things like the first showing of SAMs, and how hard it was to counter even the SA2. Add to that analogue cockpits and tactical nuclear bombers being repurposed as CAS aircraft (two things that couldn't be further apart)... I'm not American, actually I'm Scottish, so no hangups on the war here, just a studied interest in the men and machines.
-
So @EricJ I watched the Devin video on bombing tactics - it was already watched so I must have seen it several years ago, which explains my Hi-Lo-Hi instincts on the 105. Makes a lot more sense with a regular reflex sight now.