


HvitiVikingurrin
-
Posts
82 -
Joined
-
Last visited
Content Type
Profiles
Forums
Gallery
Downloads
Store
Everything posted by HvitiVikingurrin
-
You are probably trying to install a mod designed for the 2nd generation on a 1st-generation game.
-
R.I.P.
-

Issues extracting the ODS zip files?
HvitiVikingurrin replied to Chugster's topic in Mods & Skinning Discussion
I’d like to add to what’s already been said that this only works with the latest versions of operating systems. If you (like me, for example) are still using the wonderful but outdated Windows XP, then the archivers compatible with it won’t be able to handle these archives. -
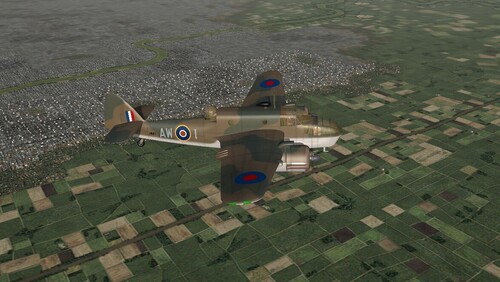
 The skin is good, but a little off. The identification mark (the blue-and-yellow roundel) should also be on the underside of the helicopter.
 -
-
 You made my day! Thank you so much for another great model with amazing detail! This aircraft is a real resource hog on my old computer, but it's worth it.
 -
Hello everyone, new member introductions.
HvitiVikingurrin replied to Erik's topic in Download Subscriptions
-
Downloading from CombatACE - Read This
HvitiVikingurrin replied to Erik's topic in Download Subscriptions
Yay! Everything is working again. And the loading time has been reduced to 20 seconds. Thank you! -
This was posted here, but the upload needs to be re-uploaded. https://combatace.com/forums/topic/93300-da-vincis-flying-machine-for-first-eagles/
-
Downloading from CombatACE - Read This
HvitiVikingurrin replied to Erik's topic in Download Subscriptions
Yeah, I agree. I'm having the same issue now. Only one file is actually available for download, and all other attempts result in a “forbidden” error... -
I didn’t understand a thing, but it’s very interesting.
-
RNoAF F-5A(G)/RF-5A(G) PACK Version
HvitiVikingurrin replied to sophocles's topic in File Announcements
It seems people have completely forgotten that, in addition to page layouts and large icons, there are also lists and tables.- 32 replies
-
- 3
-

-

-
- rnoaf f-5a(g)
- rnoaf rf-5a(g)
- (and 1 more)
-
RNoAF F-5A(G)/RF-5A(G) PACK Version
HvitiVikingurrin replied to sophocles's topic in File Announcements
That's just impossible! As I mentioned before, I have a very old PC that’s still running Windows XP. As a result, it only supports ancient versions of archivers. If even my 7-Zip and WinRAR extractors can handle this package of three downloads without any issues, what can we say about more modern and high-spec PCs? I only received the “files are corrupted” message when I tried to extract the files individually, or when I tried to extract the first two files without the third one.- 32 replies
-
- 1
-
-
- rnoaf f-5a(g)
- rnoaf rf-5a(g)
- (and 1 more)
-
Hello everyone, new member introductions.
HvitiVikingurrin replied to Erik's topic in Download Subscriptions
All of this is very interesting, of course, but there's no download link there. That's definitely not YAP. -
Hello everyone, new member introductions.
HvitiVikingurrin replied to Erik's topic in Download Subscriptions
Ah, “First Flight”... For many years, I searched for a link to this old game so I could download it for my collection of flight simulators - just to understand how the SF and FE series got their start. But I never found this game available for free anywhere - except for offers to buy a used CD. -
RNoAF F-5A(G)/RF-5A(G) PACK Version
HvitiVikingurrin replied to sophocles's topic in File Announcements
I just checked - It works the same way with both WinRAR and 7-Zip. You can either right-click the first file and select “Extract Here” from the context menu, or specify a destination path using “Extract To.” The result is the same either way.- 32 replies
-
- 1
-
-
- rnoaf f-5a(g)
- rnoaf rf-5a(g)
- (and 1 more)
-
RNoAF F-5A(G)/RF-5A(G) PACK Version
HvitiVikingurrin replied to sophocles's topic in File Announcements
The archives are intact and even unzipped on my ancient calculator, which I proudly call a computer! Try selecting the “Extract here” option, provided that all three download files are in the same location.- 32 replies
-
- 1
-
-
- rnoaf f-5a(g)
- rnoaf rf-5a(g)
- (and 1 more)
-
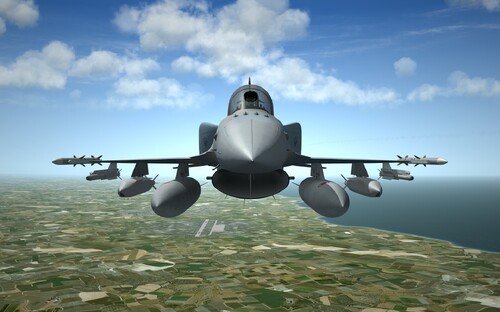 It really is a massive undertaking (I’m referring to the entire package of three downloads, not just this part). It’s wonderful to see when a love for your country’s aviation is combined with unmatched modding skills! Once again, I’d like to sincerely thank you!
- 4 comments
-
- 4
-
-

-
- f-16c block 70
- f-16c block 72
- (and 3 more)
-
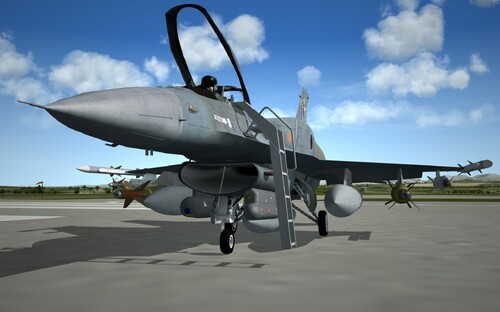 Thanks again! I still haven't recovered from yesterday's shock after the release of Part One, and you decided to finish me off by posting Part Two right away! Thank you for your work -- thank you so much!
 -
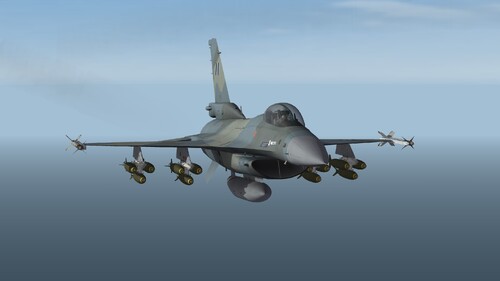 I could hardly wait for this expansion to come out. That's just amazing! Thank you!
 -
Thanks for finally resolving the issue! That approach would definitely work, too. I didn't have access to the F-16 cockpit files, so I just described a general approach that could have worked as well — if I, being a bit of a scatterbrain, hadn't forgotten (twice! ) to include the square brackets in the [Move1] line... But you really tied up all the loose ends.
-
Yeah, if I'd noticed the mistake right away, I would have edited the post. As far as I remember, we're allowed to edit a post within half an hour here. But I didn't notice the mistake until a few hours later. After all, I did apologize...
-
Sorry, I made a mistake! Of course, it's not “Tupe,” but Type= ...
-
Your problem can be solved quite easily. But you’ll need the Mue's Lodviewer to find out the name of the pilot’s legs in the cockpit. Open the COCKPIT.INI file in Notepad. In the [CockpitSeat001] section, add the following line, replacing XXX with the sequential number in the instrument list: Instrument[XXX]=Move1 Then scroll down through the file and add the following lines at the end: Move1 Tupe=INACTIVE NodeName= <----- Enter the node name of the pilot's legs here, as shown by the LodViewer. Save the file. This should help. Enjoy!
-
Exactly. That’s the Be2A Quirk by Capun from the DAT site. There were also variants C and D, but they had absolutely hideous gunners in the front and rear cockpits, respectively.