
Flanker562
-
Posts
13,478 -
Joined
-
Last visited
-
Days Won
64
Content Type
Profiles
Forums
Gallery
Downloads
Store
Everything posted by Flanker562
-
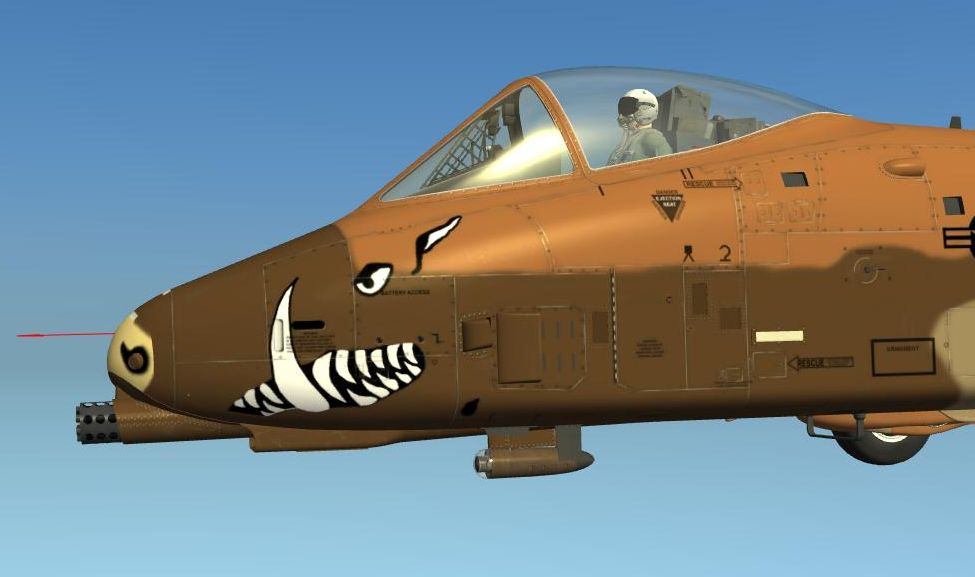
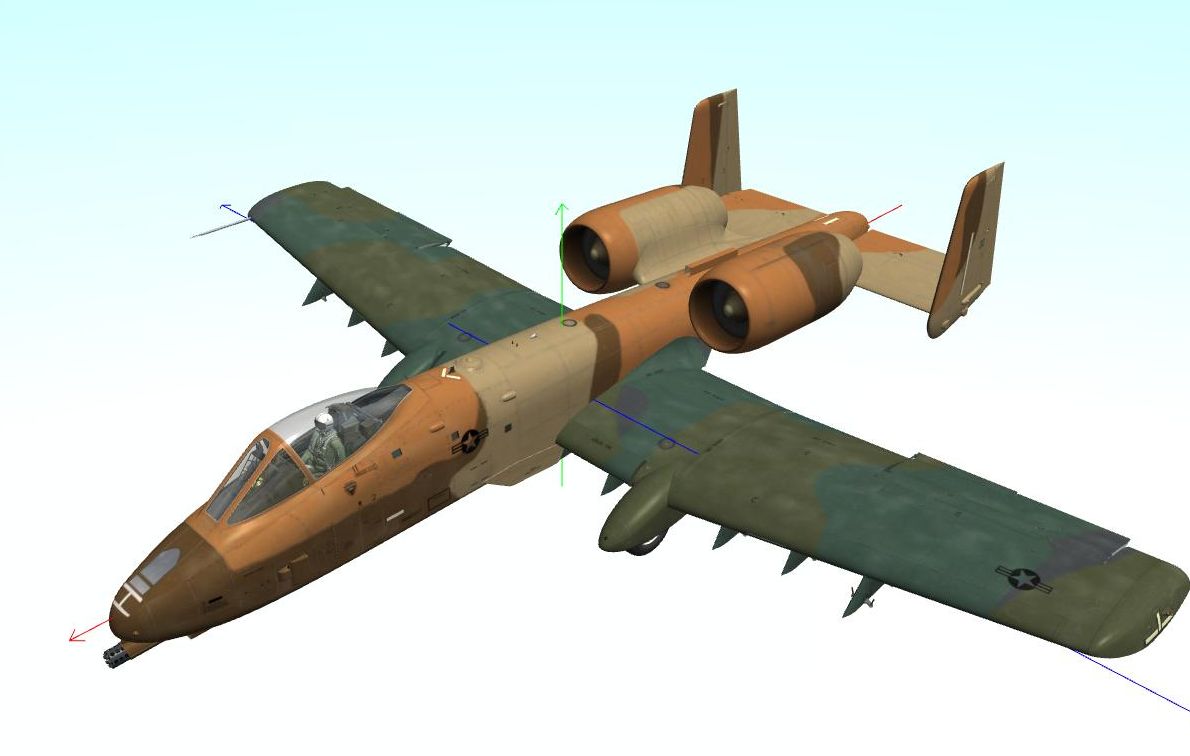
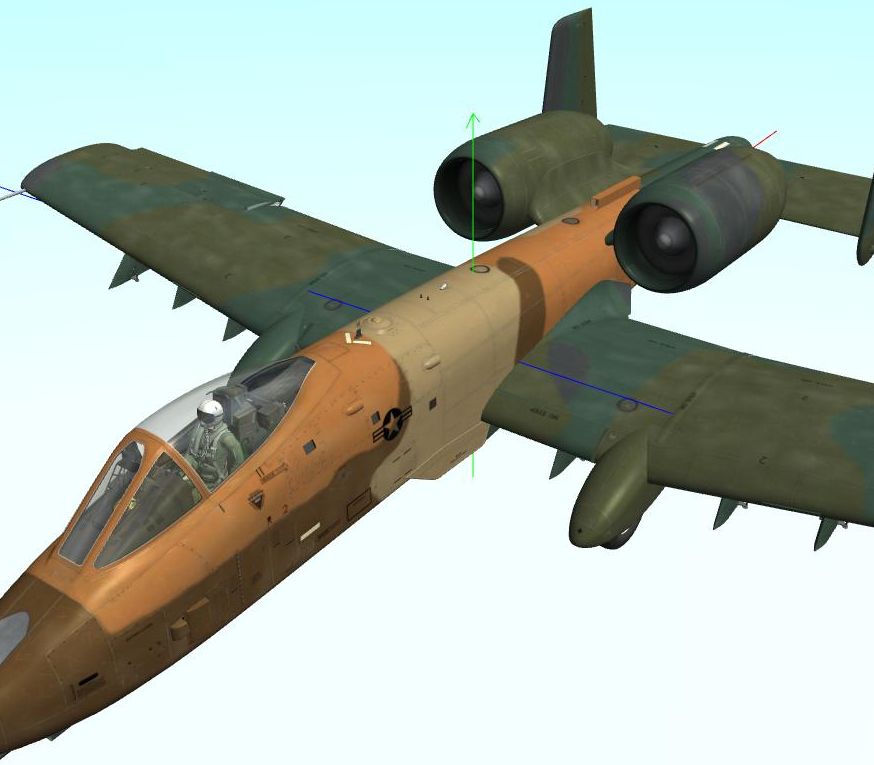
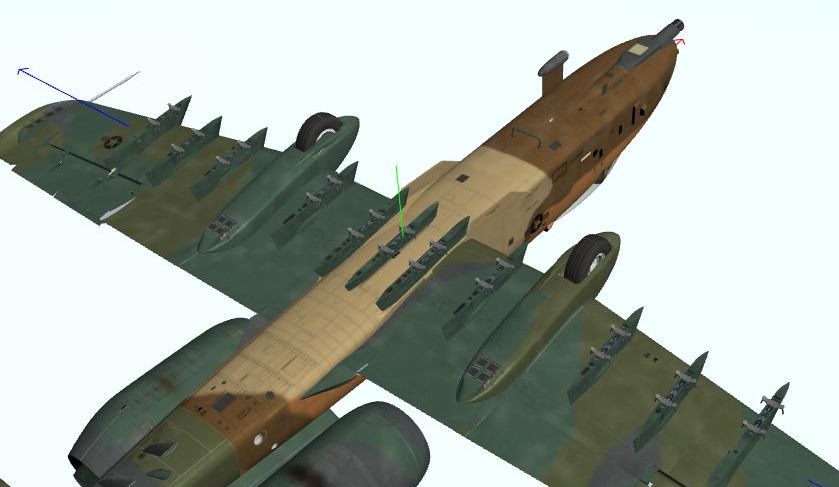
View File A-10A Peanut Scheme, 47th TFS, 91 TFG A-10A Peanut Scheme Barksdale, CA (Aircraft 78-552) This aircraft was painted in the “Peanut” scheme, a test pattern prior to deployment to the Persian Gulf for Desert Shield/Storm. However, the USAF decided against the scheme and left the European 1 scheme as standard. Given the various references I have I chose to depict the aircraft as such, as the serial number and pattern was more accurate rather than unit markings. Some did not have the green tips while one did, so I chose to make it more “assigned” to the 47th TFS, 917th TFG, Barksdale AFB, LA. Despite this I gave it a “used” look anyway as it added a lot of atmosphere to the aircraft. Installation: Simply unzip the folder and extract the file into your Bazar\Liveries\A-10A (or optionally the C, though the only oddity noticed is the antenna behind the cockpit, otherwise it’s identical mapping) directory and go into the simulation go to the Payload section and for the Liveries drop down menu select “47th TFS, 917th TFG” and go fly. Submitter EricJ Submitted 11/20/2014 Category A-10A/C Skins
-
Okay, uploaded to here awaiting approval.
-
45 downloads
A-10A Peanut Scheme Barksdale, CA (Aircraft 78-552) This aircraft was painted in the “Peanut” scheme, a test pattern prior to deployment to the Persian Gulf for Desert Shield/Storm. However, the USAF decided against the scheme and left the European 1 scheme as standard. Given the various references I have I chose to depict the aircraft as such, as the serial number and pattern was more accurate rather than unit markings. Some did not have the green tips while one did, so I chose to make it more “assigned” to the 47th TFS, 917th TFG, Barksdale AFB, LA. Despite this I gave it a “used” look anyway as it added a lot of atmosphere to the aircraft. Installation: Simply unzip the folder and extract the file into your Bazar\Liveries\A-10A (or optionally the C, though the only oddity noticed is the antenna behind the cockpit, otherwise it’s identical mapping) directory and go into the simulation go to the Payload section and for the Liveries drop down menu select “47th TFS, 917th TFG” and go fly. -
Like what? Basic interpretation of the 9-Line or?
-
DCS JFO/JTAC-Pilot Guide: http://562.50megs.com/562nd/DCS-JFO-JTAC-Pilot-Guide.pdf DCS Ironhand Guide http://562.50megs.com/562nd/DCS%20Ironhand%20Guide.pdf DCS Skinning Guide TBA
-
 For the player though notching it up to 9.0 g is a good balance between reality and the airframe though, as when I tried a DACT against an F-5E, that damn little thing was all over the place, and tried to shoot me down three times (two missiles avoided, last one gun). I was blacking out so much that I lost sight, and flew into the ground, so I lost the fight .
 -
And thar she blows: Even though the camo was never adopted I gave it some treatment with the default weathering, adjusted to suit the colors better.
-
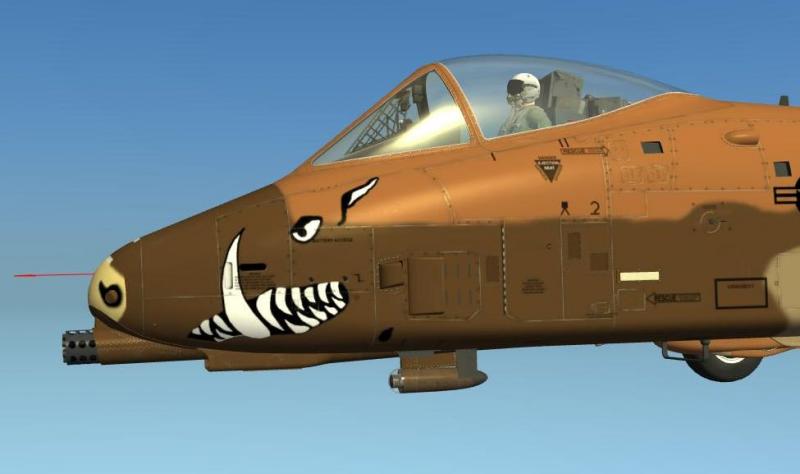
And the requisite Hog Head... I've actually gotten other unit markings and once I get done posting this will show a good shot of the aircraft "complete"
-
All is left is some more tweaking but overall the skin as such is "complete" Of note when adding the unit markings (417th FS, 419th Wing) is that the only thing that's solid among the various references is the aircraft serial number, and the hog's head (which yes will be added later on tonight but I do need a break) decals as well. I found a good decal image so will use that and get that applied to the nose. One reference image also has tail markings as well as "BD", which to me seems the most accurate image to work off of so I will go off of that and apply it but thankfully the camo is fairly set right in my opinion.
-
True, until the Hornet/Super Hornet shows up gonna have to deal with it until some HARM capability is at hand.
-
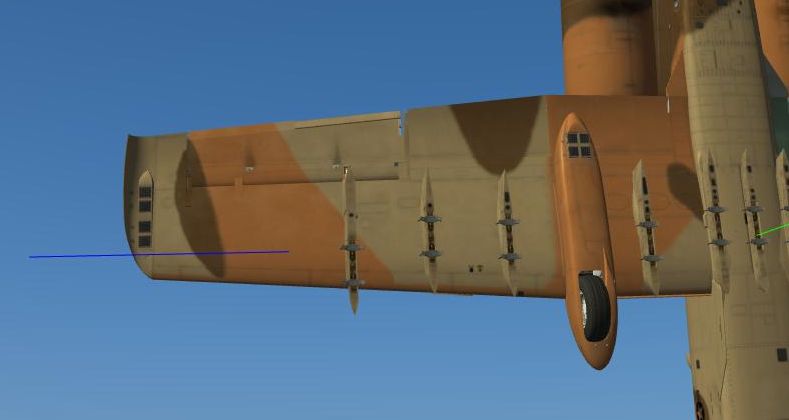
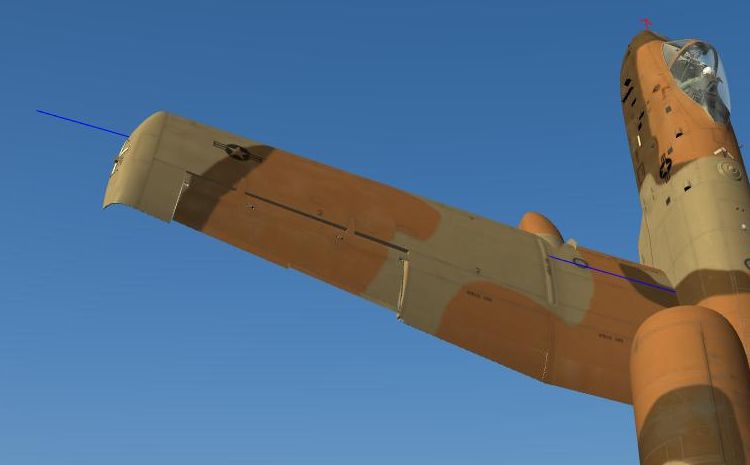
Left wing is practically done.
-
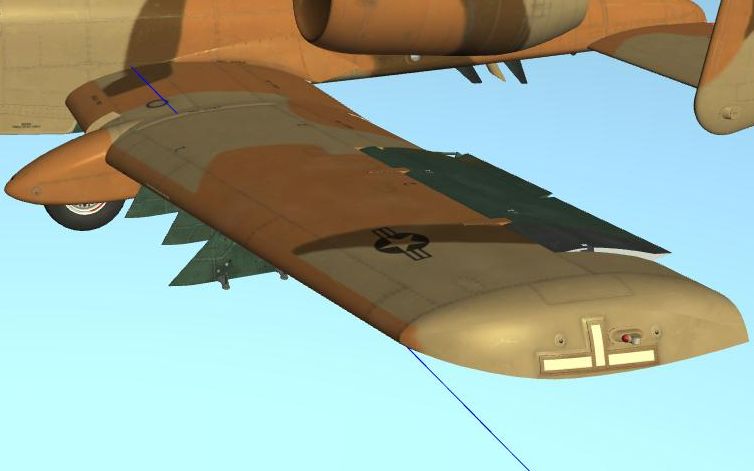
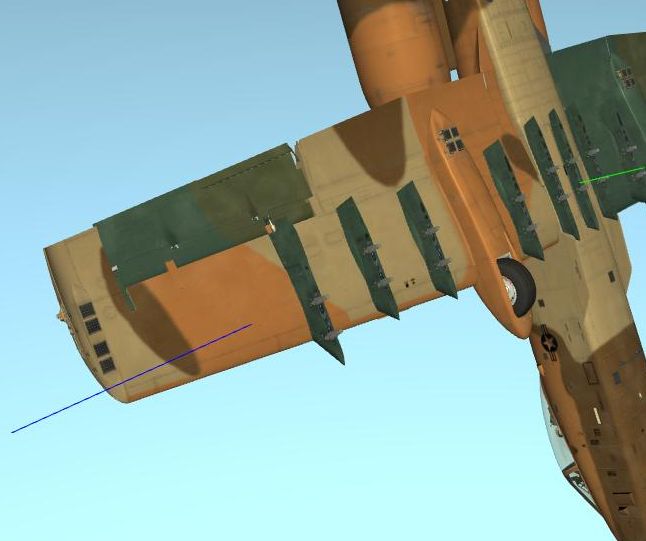
More wing work:
-
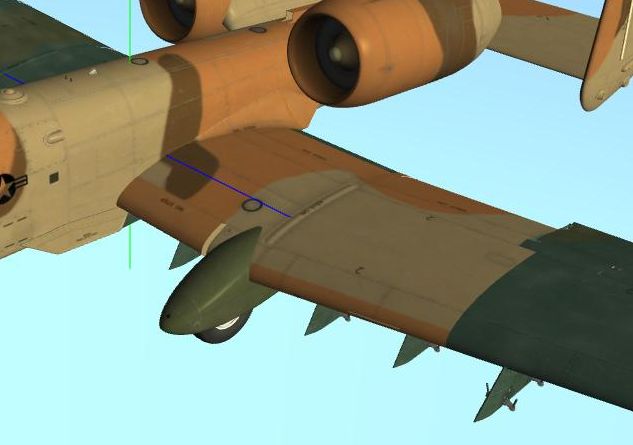
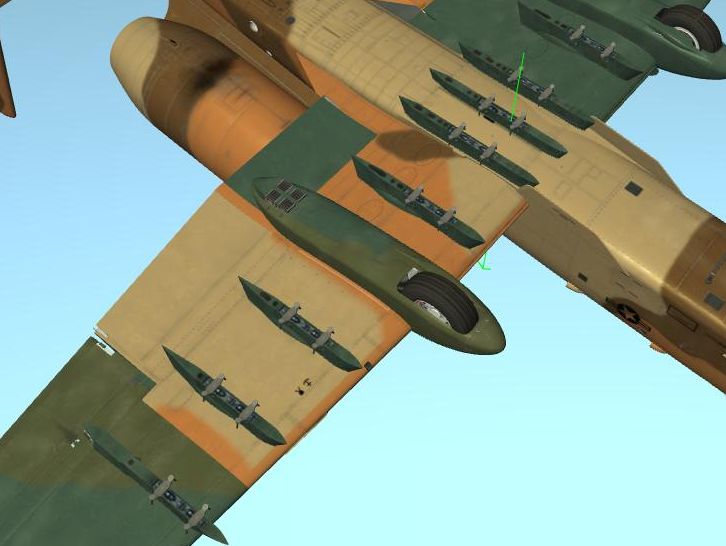
More work... getting the wings touched up, which is far different now as I'm along the wing more and need to tweak the fuselage more.
-
I saw an image somewhere on the internets somewhere that showed the seekers view of the target with an all aspect seeker head. A nice bit of trivia though with that technique, but agreed... not in this world it works
-
At 50%
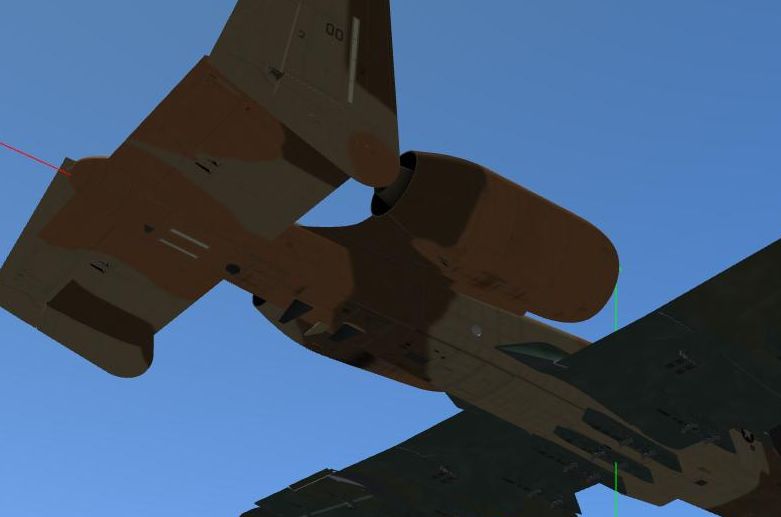
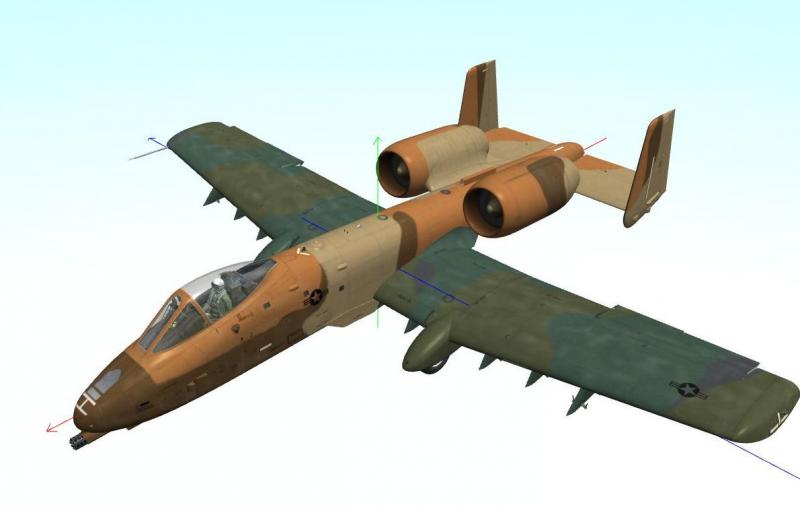
-
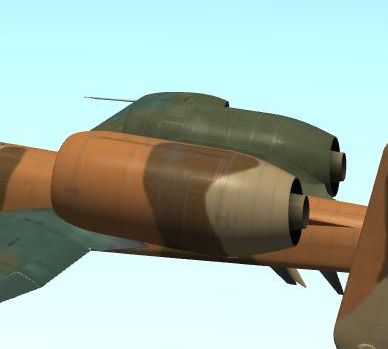
Tail area pretty much done. Whoops! Didn't update the rest... my bad...
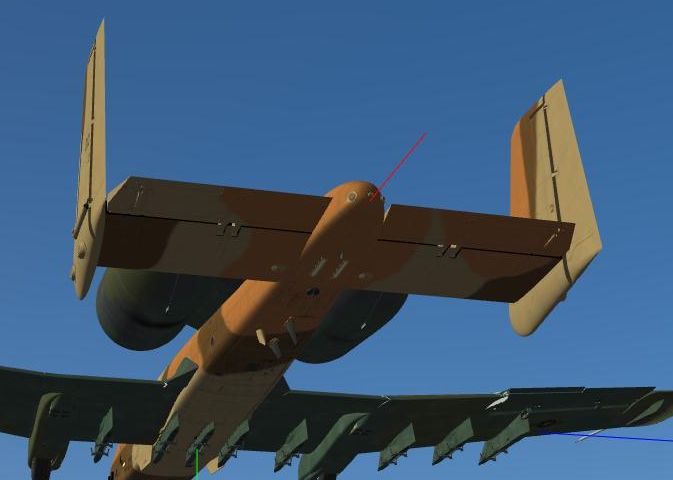
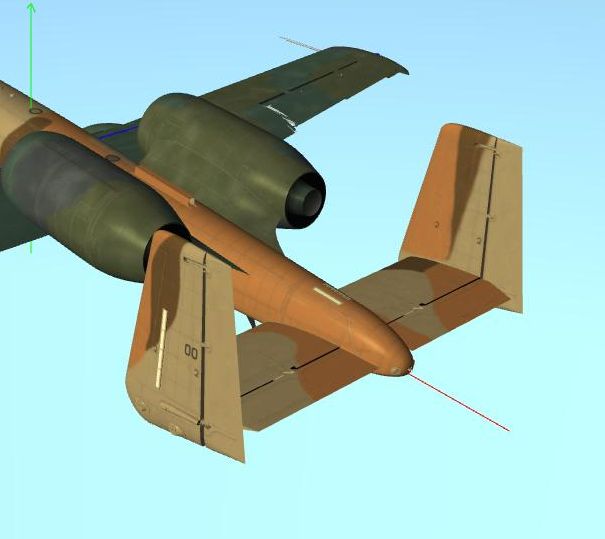
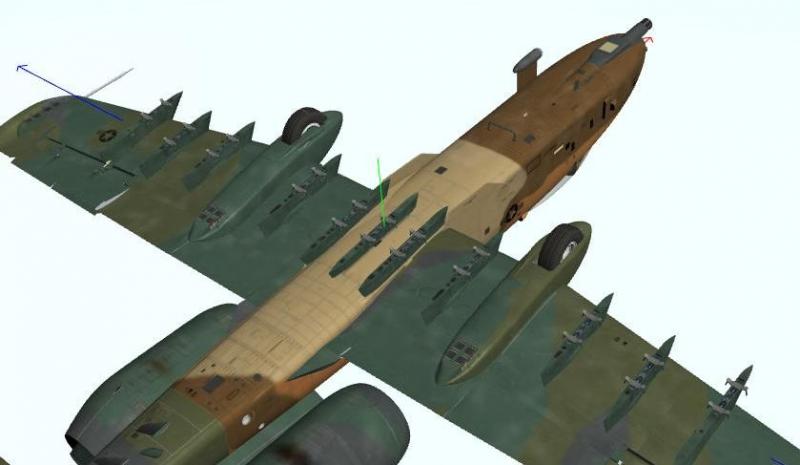
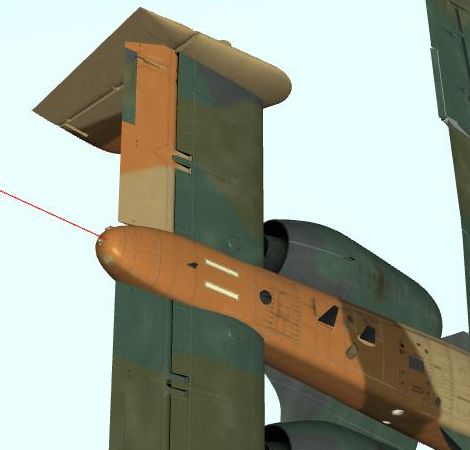
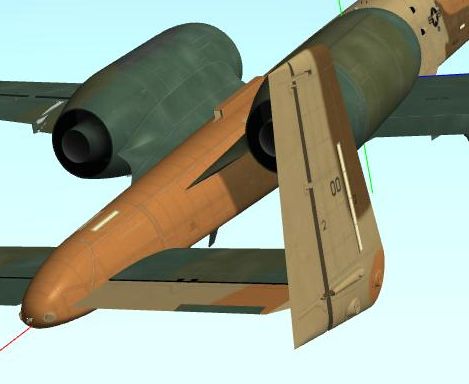
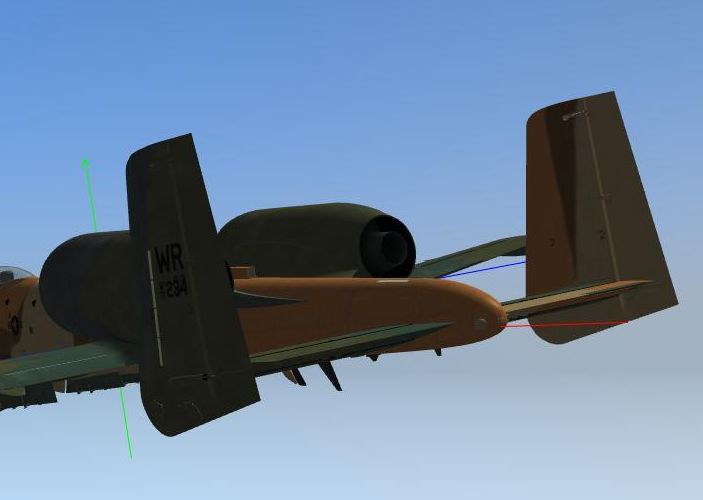
-
Check your curves as when I started DCS I was all over the place with the Su-33 and tweaked my curves and it's fairly stable. Same thing when I first did online with the Su-27, all over the place and couldn't do a gun run to save anybody's life, so after some curves tweaks it was more stable.
-
I do the same but overall I use modifiers (and in that case the Su-27 always activates Sticky Keys, mainly due to me but...) as most of the time I keep the default mapping to weapons controls, i.e. Mavs for the A-10A. Though for the Su-33 and Su-27 I use modifiers as my default hat switch is for padlock and countermeasures/ECM.
-
So far the new version of the Su-27, as you have to trim the shit out of it to get a decent setting, but the others don't take as much to me.
-
Me: A-10A with 6 x AGM-65D, ALQ-184, gun Opposition: 2S6 Tunguska Version: 1.2.11 http://562.50megs.com/DCS/Tracks/A10ATunguska1211.zip Takeaways: The most thing I recommend is to not go full throttle into the threat envelope of the 2S6's SA-19s, which will of course shoot you down. As you can see due to my stick having a detent on the throttle (TM Hotas X) I can put it on "cruise control" and spend a few minutes trying to get the seeker on the Tunguska. As you will see I lock everything BUT the Tunguska, and then once I confirm lock, I launch, and then turn away. Speed isn't so much an issue but if you continue towards the system, it has a good chance of shooting you down. Remember to also just wait and see what happens as a long distance shot like that does take a minute or two due to the rocket motor and gliding of the Maverick, which incidentally the D models are becoming a good favorite as they're easy to bring on target than the H models (need to try out the Ks too) but overall I like them because you get the thermal signature of your target, allowing faster acquisition and engagement. And another tip, look on the mission if you are allowed to, and click on the threat (regardless) and look at the geography of the target area, much like a JTAC should as well as a good pilot. For this mission the northern edge of that huge lake just south, southeast was the limit of the SA-19s reach. While you can debate actual threat envelope it still is a good benchmark to look at from the cockpit and determine how close you're getting to that envelope. The reason I mention that is because if you're having problems locking onto the target, simply turn away, fly out for however long you need, and then come back and try again until you lock it. Since it doesn't shoot down your missiles, it's relatively easy compared to the Tor.
-
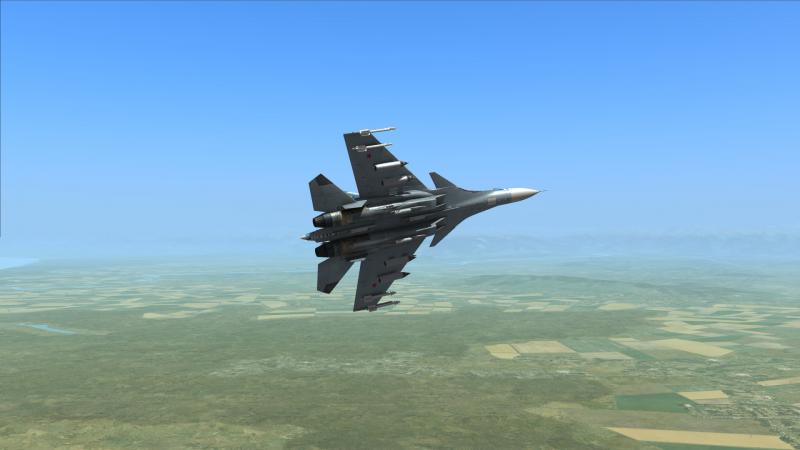
Simply beautiful...
-
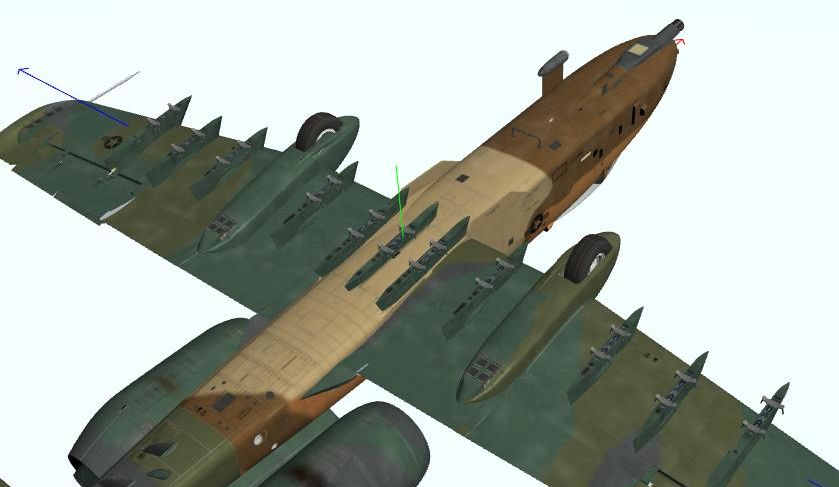
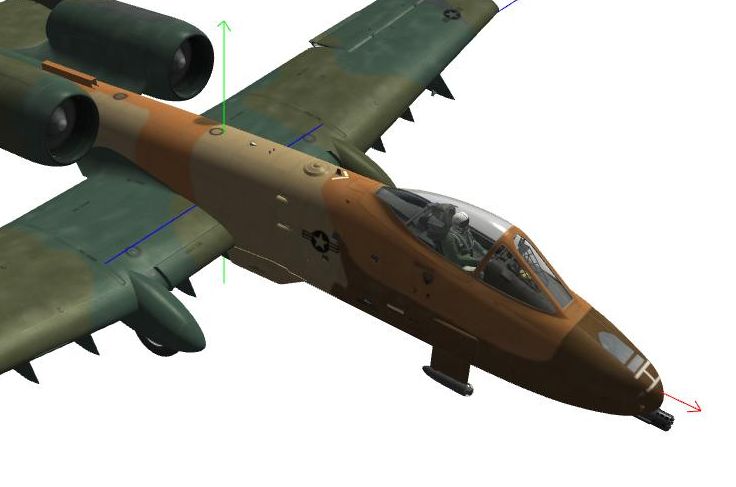
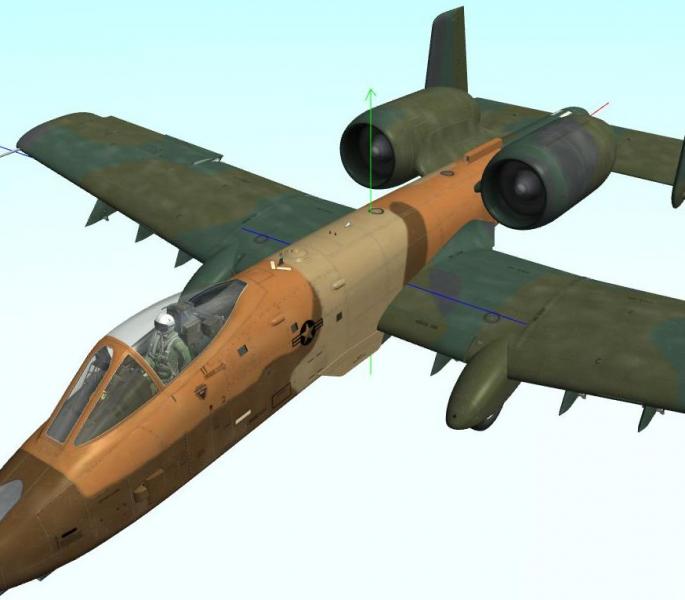
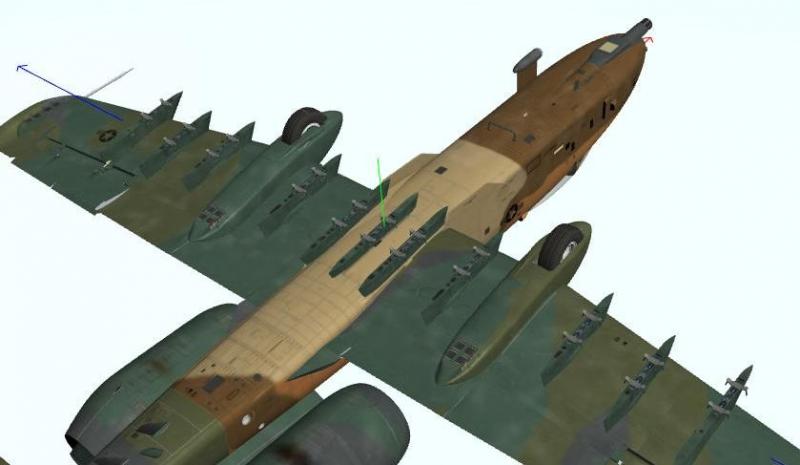
More work, this time extending down the fuselage... I found some "unmarked" mapping areas so I did the best I could since the holes in the airframe were just... there, so I just left the default color (may just make them brown so it doesn't clash with the brown:
-
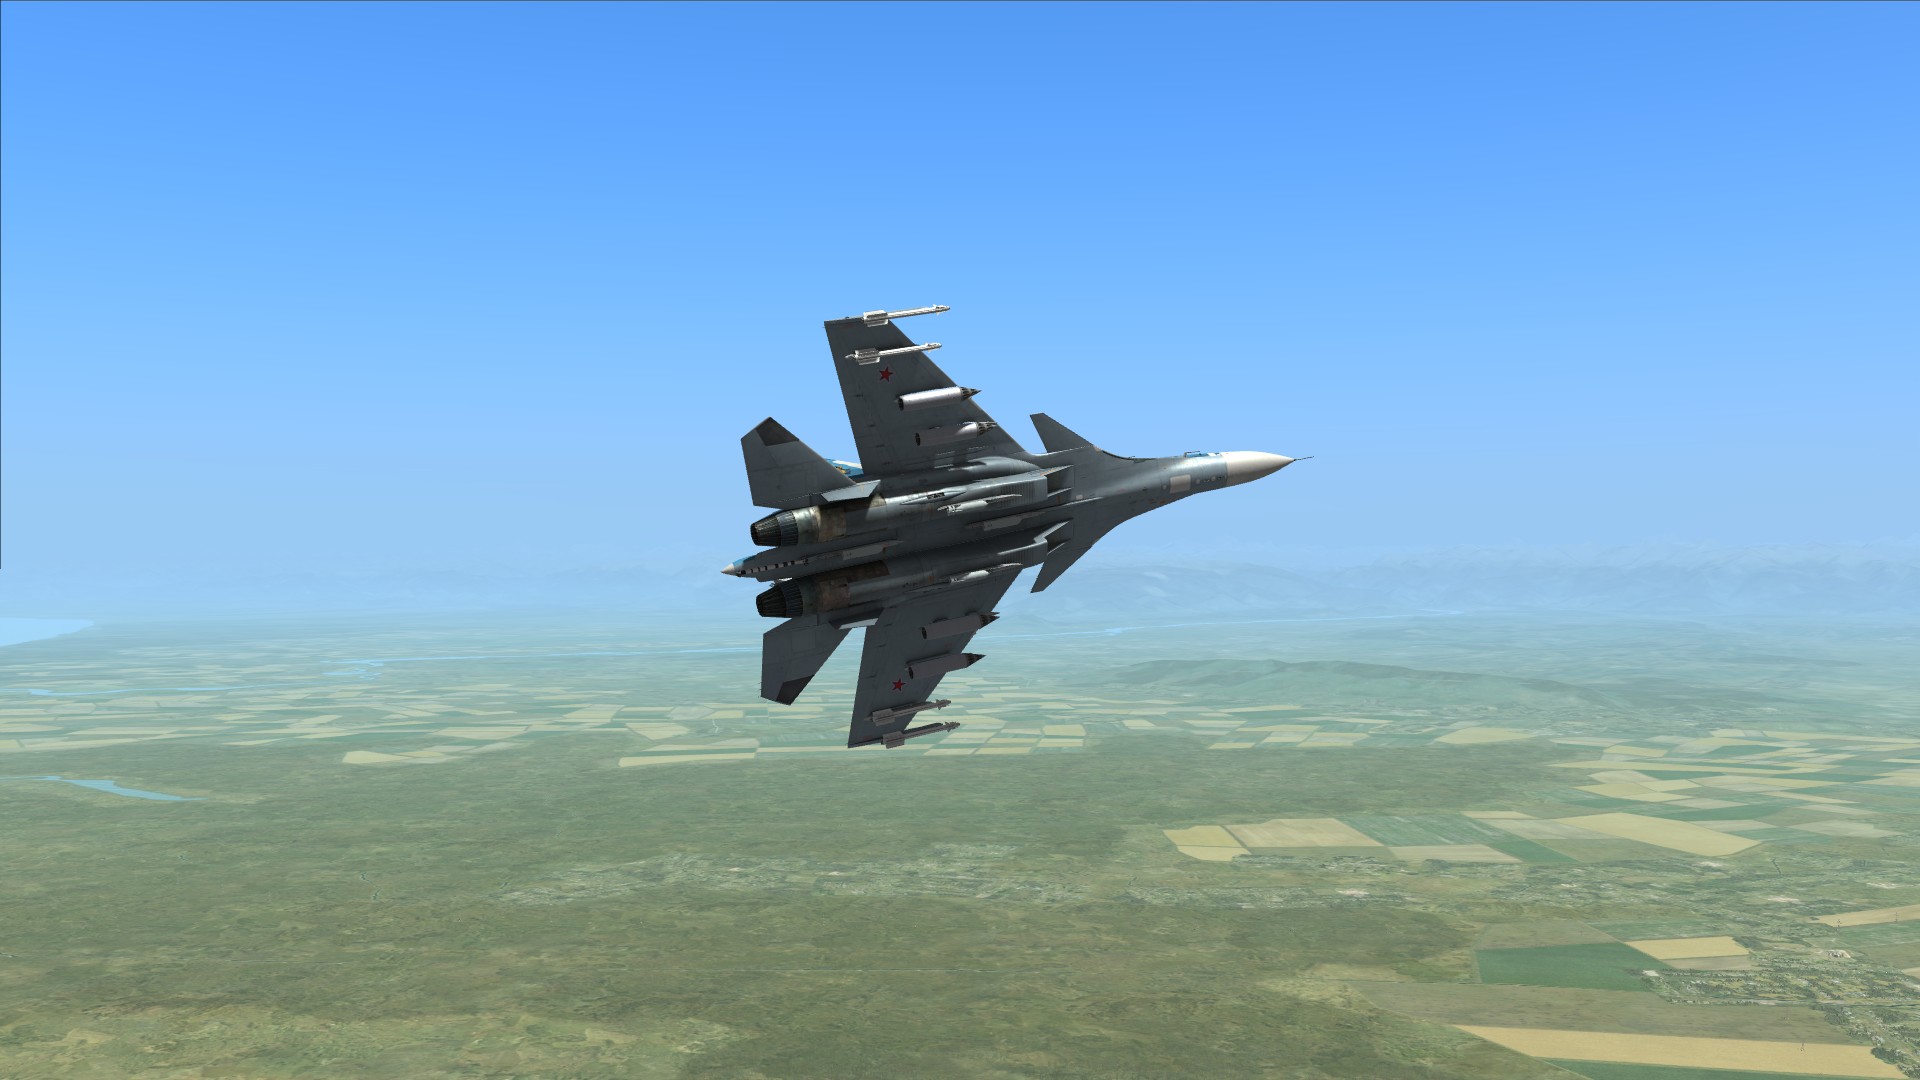
Engagement was the same as above, but with the Su-33, 4 x FAB-250s, 4 x S-8KOM (20 rockets, per pod), gun Opposition: Same as above http://562.50megs.com/DCS/Tracks/BaitNKillSu331211.zip Takeaways: It has been a few years since I've gotten shot at in a Russian jet and as the track shows I was probably (though the debriefing says otherwise) a little on the hair trigger, given that I haven't flown this aircraft that much since well.. some personal issues. Anyway, the aircraft bobbed around quite a bit and after fixing that (you'll see I pitch up like crazy, don't know why that happened but it was an easy correction) things got a little somewhat more stable as far as the flight regime. Overall you have to take it easy sometimes as if you're not sure, make sure or simply hide behind the hill or run for cover when it gives you the launch indication, which it did several times and again was able to dodge all four missiles. Again for time's sake (the maneuver of course is not that difficult to display) I kept it to only one launcher. As said it's been a few years so my gunnery with rockets and bombs and gun wasn't good, but in the end I sanitized the majority of the site, leaving the launcher as a reminder that sometimes you have to be lenient despite those who attack you. Other than that it was fairly smooth and shows I need to do some more practice with the weapon systems (second time so far using such weapons) and get the rust off of my skills.
-
Bait and Kill (revised for A-10A/C) Me: A-10A with 6 x AGM-65D, gun. Opposition: S-300PS complex with only 1 5P85D launcher (others omitted for track length) Version: 1.2.11 A-10A Module http://562.50megs.com/DCS/Tracks/BaitNKill1211.zip Takaways: Generally going up against the Grumble is a very bad idea especially in the slow moving A-10A or C. Quite simply doesn't have the speed or energy to outmaneuver or outrun the missile. However, the way to do this is simply by baiting the S-300PS to fire, then duck down and let the guidance system guide the missile into the ground. Distance is preferable as it gives you that time to push the stick away from you and enter a dive. Speed is of course essential so having your aircraft at full throttle also helps. Again they're not speed demons but you can simply fly high enough to let it acquire you, and fire on you, which is the key point here, and dive behind cover, use the terrain to your advantage. Given it's been a few years but if the minimum height is modeled (25m or 82 feet) you can dive below that and the missile won't be able to engage you, even on a barren wasteland. As you saw in the track as well, I started already inside the threat zone, which given the nearby hilly terrain I had the advantage, even without any ECM on my aircraft. Granted I needed to practice close in distance Maverick shooting but the removal of the other seven launchers was to demonstrate the tactic without spending an hour evading 32 missiles, which i could have done by orbiting that area I was in.
-
Yep can do: http://562.50megs.com/SF2/Super%20Hornet%20Package%20INI%20Update.zip