
Flanker562
-
Posts
13,487 -
Joined
-
Last visited
-
Days Won
64
Content Type
Profiles
Forums
Gallery
Downloads
Store
Everything posted by Flanker562
-
And his name was "Curveball" an Iraqi source who told the CIA that Saddam did have WMDs all because he wanted Saddam overthrown. http://911blogger.com/news/2011-02-20/curveball-admits-he-lied-about-iraqi-wmd-wilkerson-implicates-bush-and-cheney Besides GWB wanted something to provide a reason to go in and "Curveball" was the reason and GWB was all too happy to go in. So it's not "Liberal lies" it's the fact that he took it and ran with it and it didn't work out. And even then I spent my year either kicking in doors, getting shot at, and other assorted "fun" with the country during OIF II and never spent one millisecond looking for WMDs. Besides this has nothing to do with the protests in the Middle East right now, keep it on topic.
-
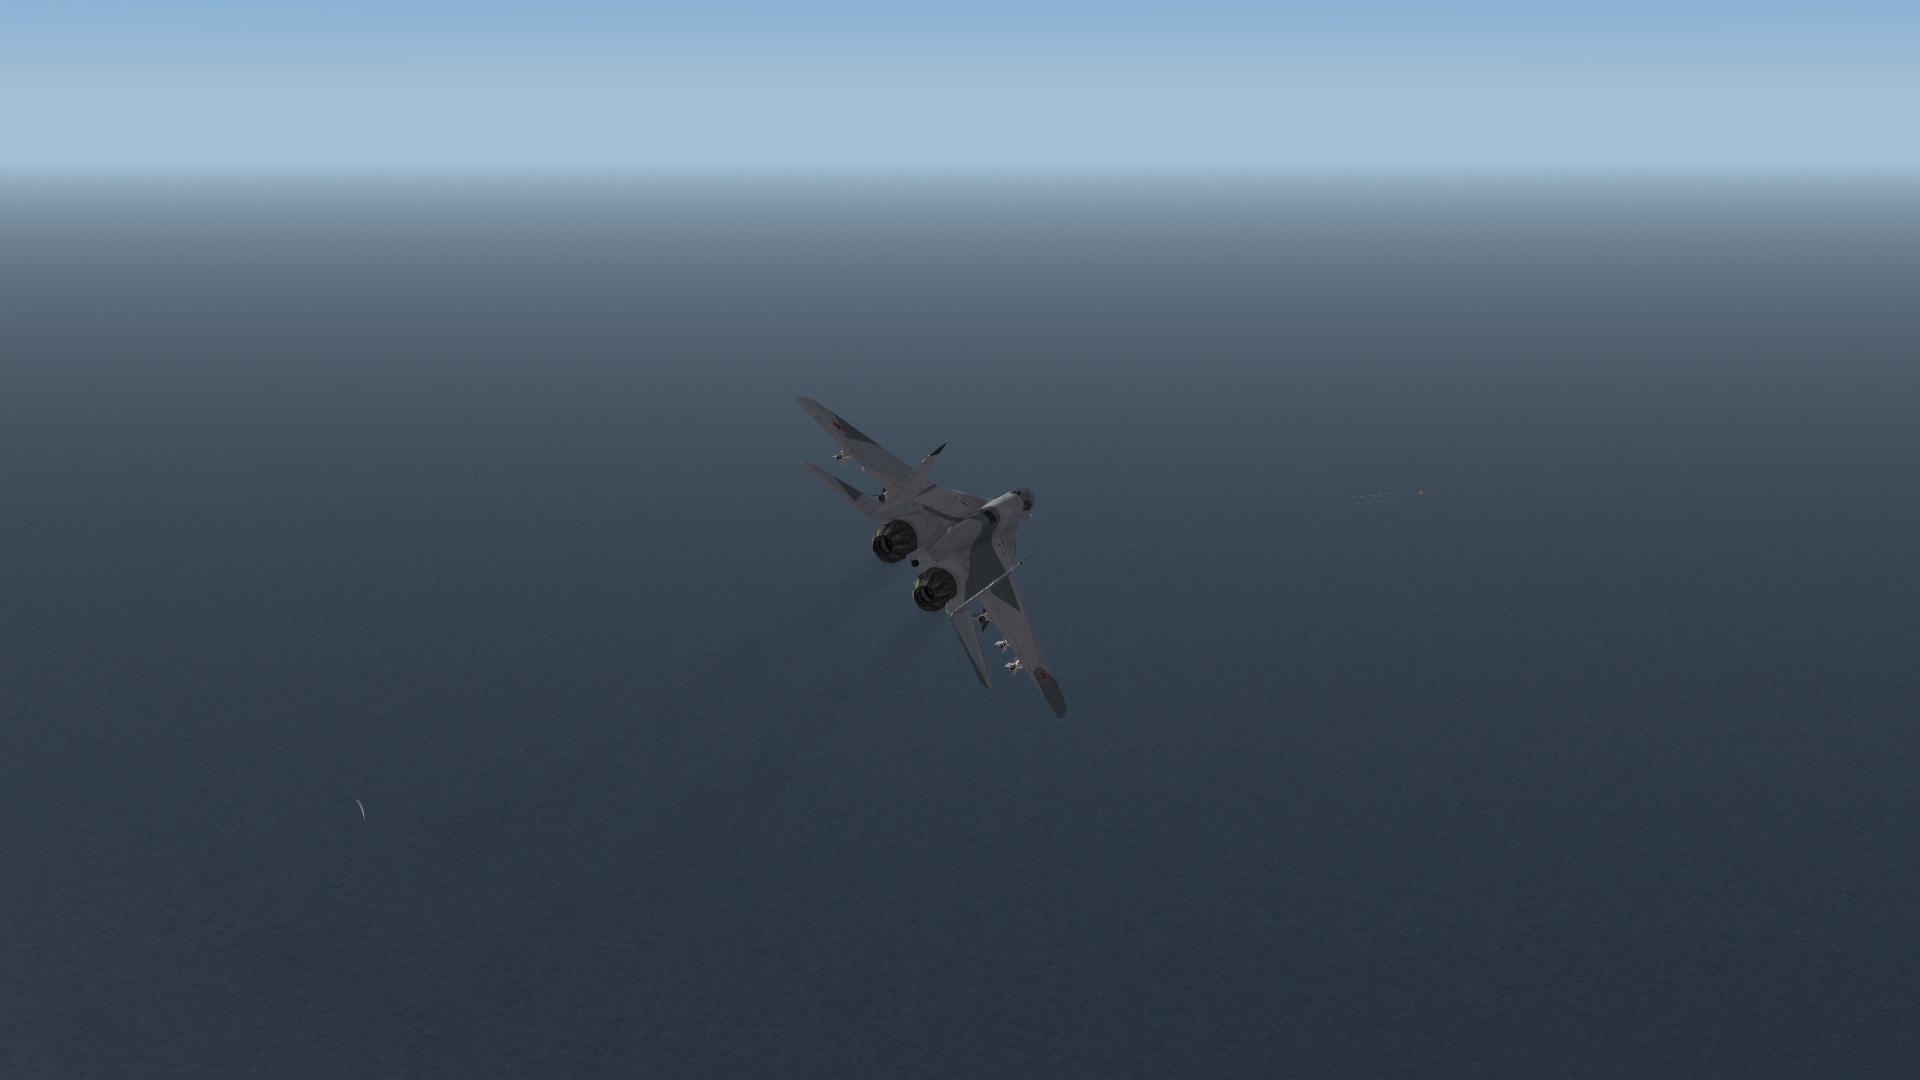
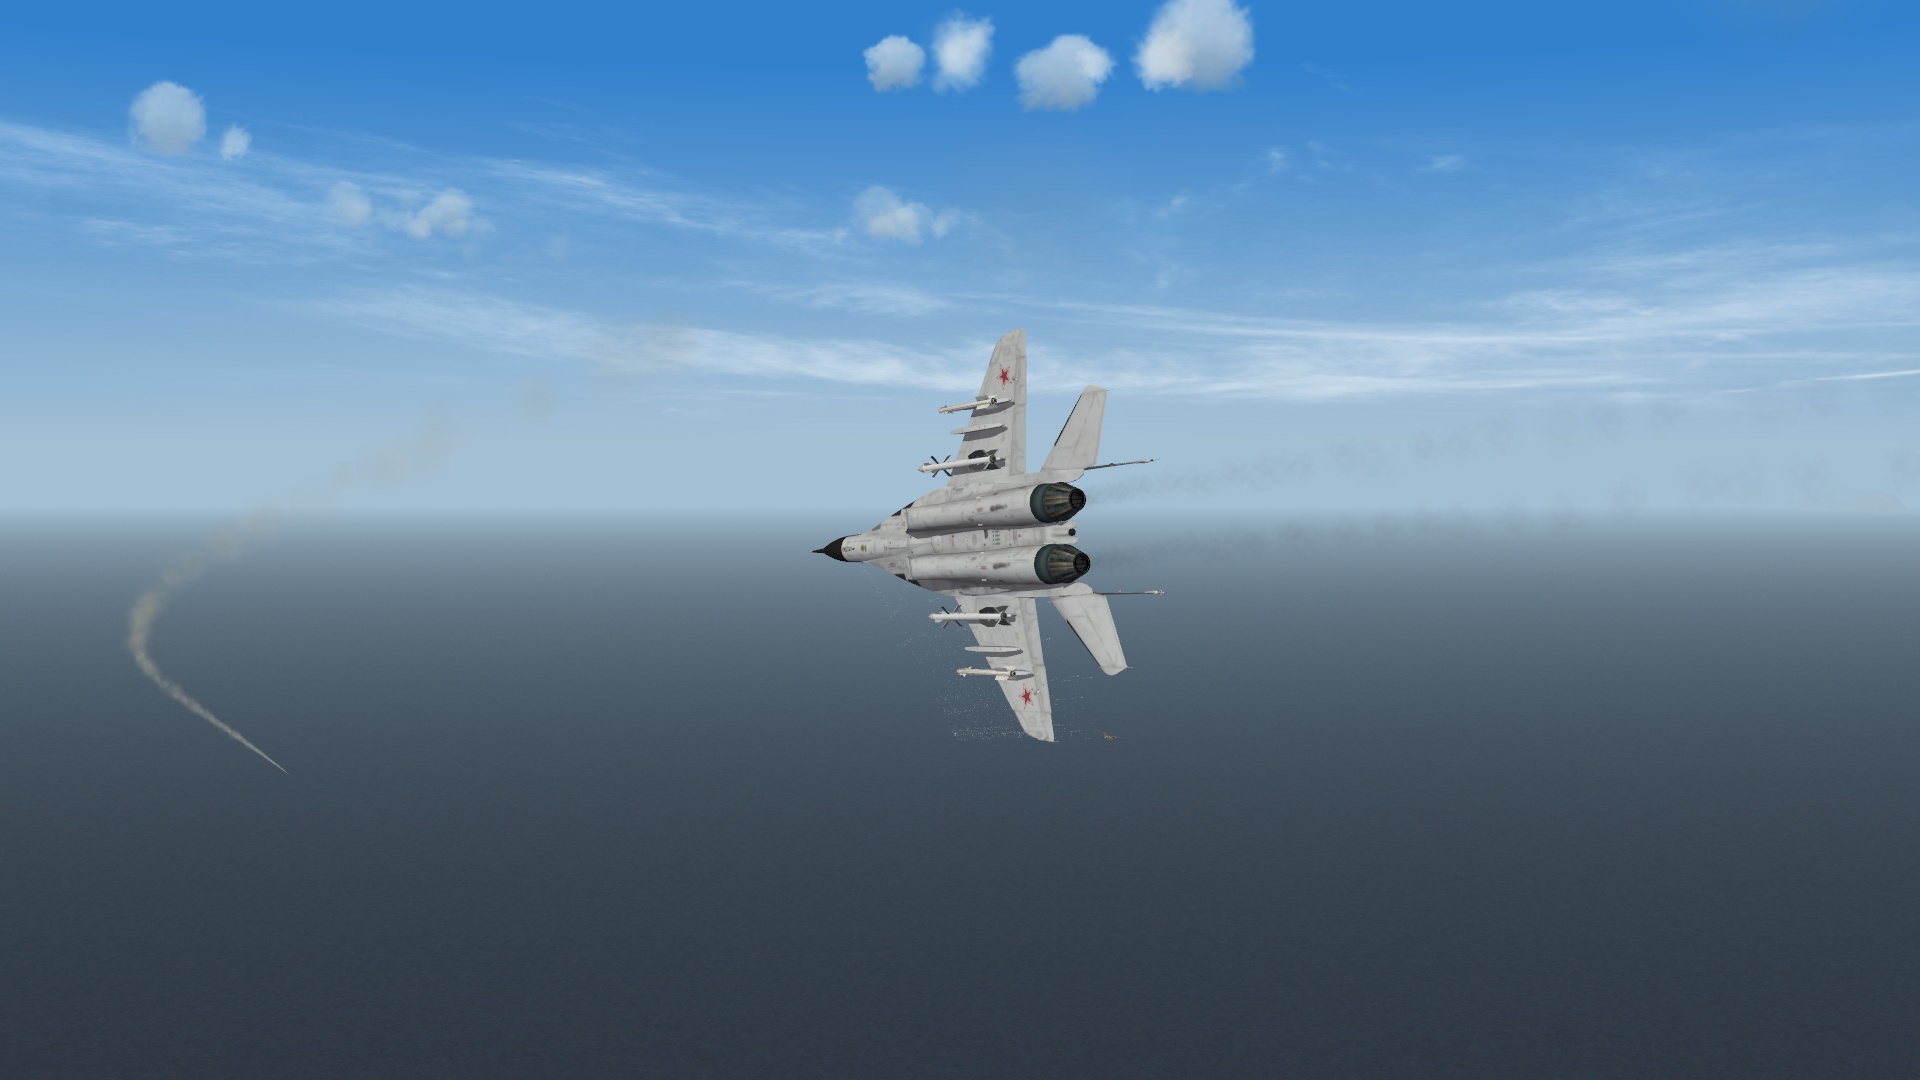
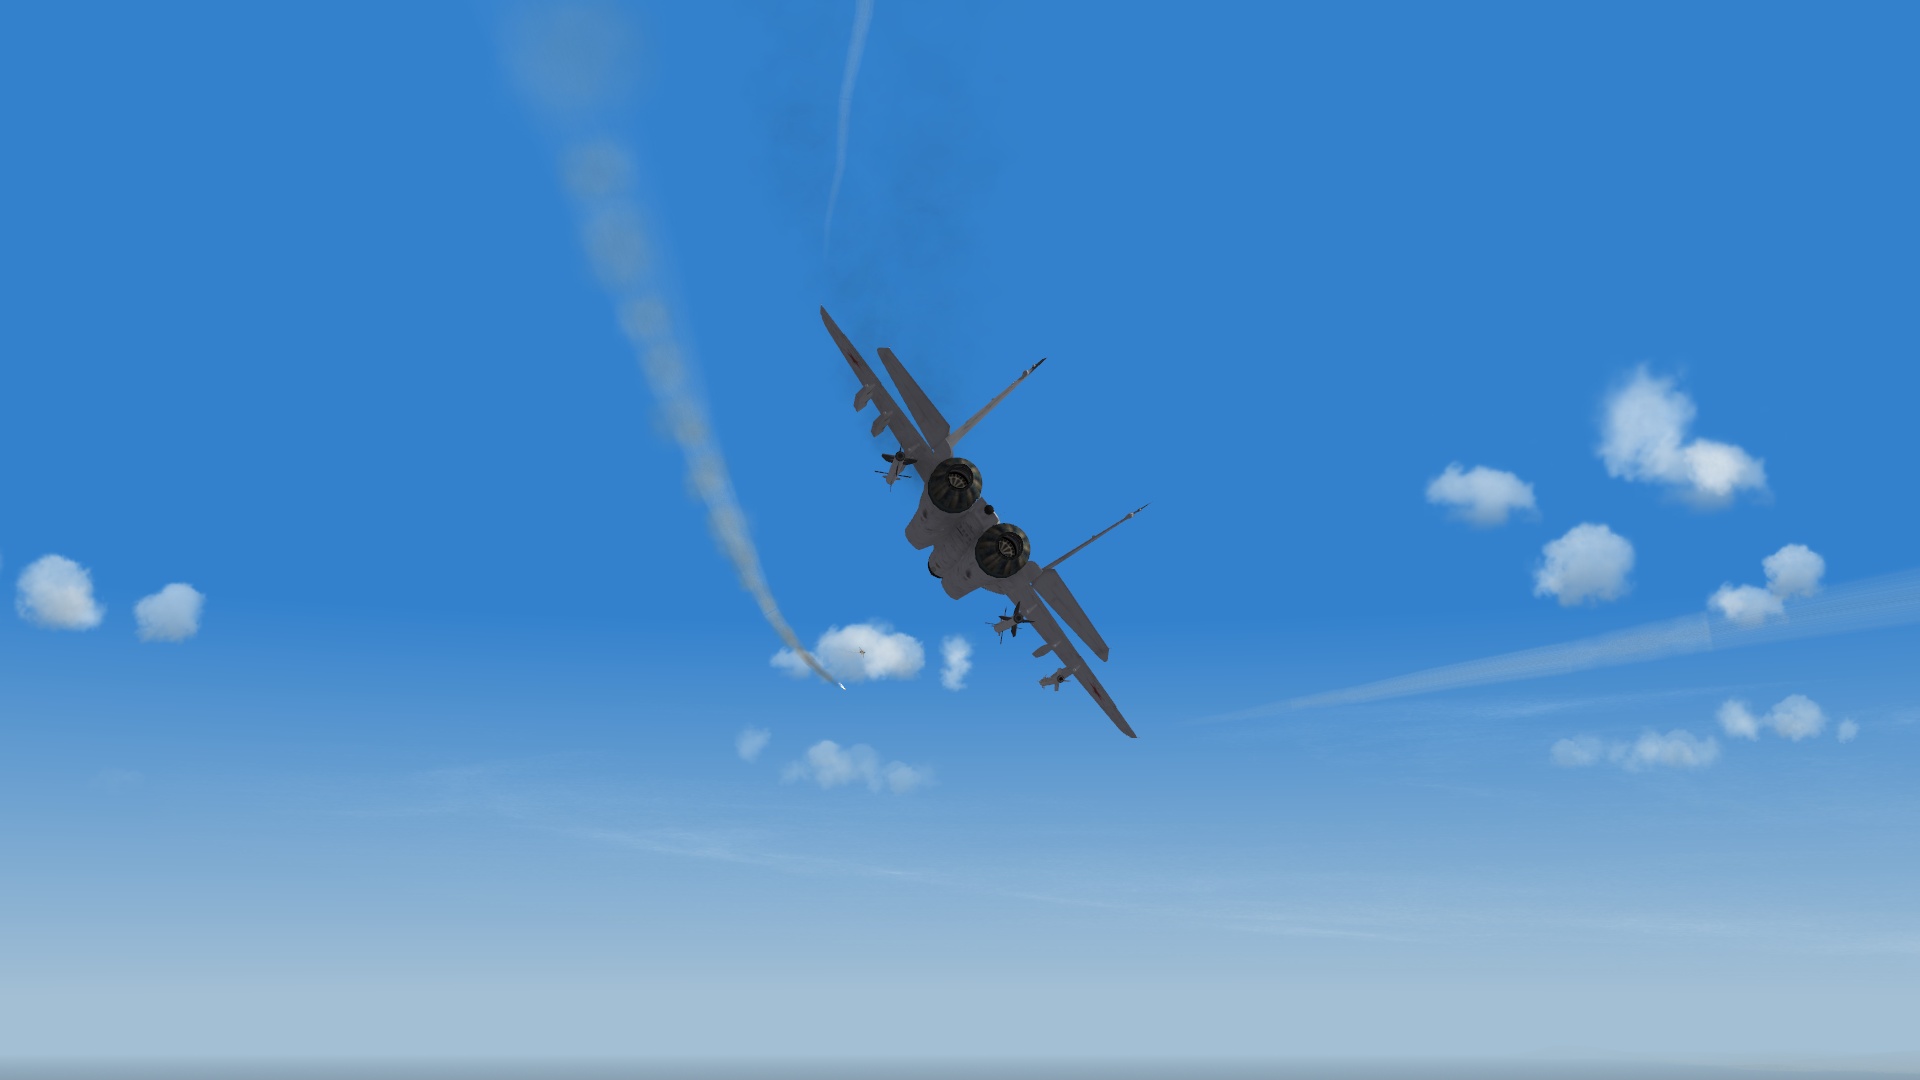
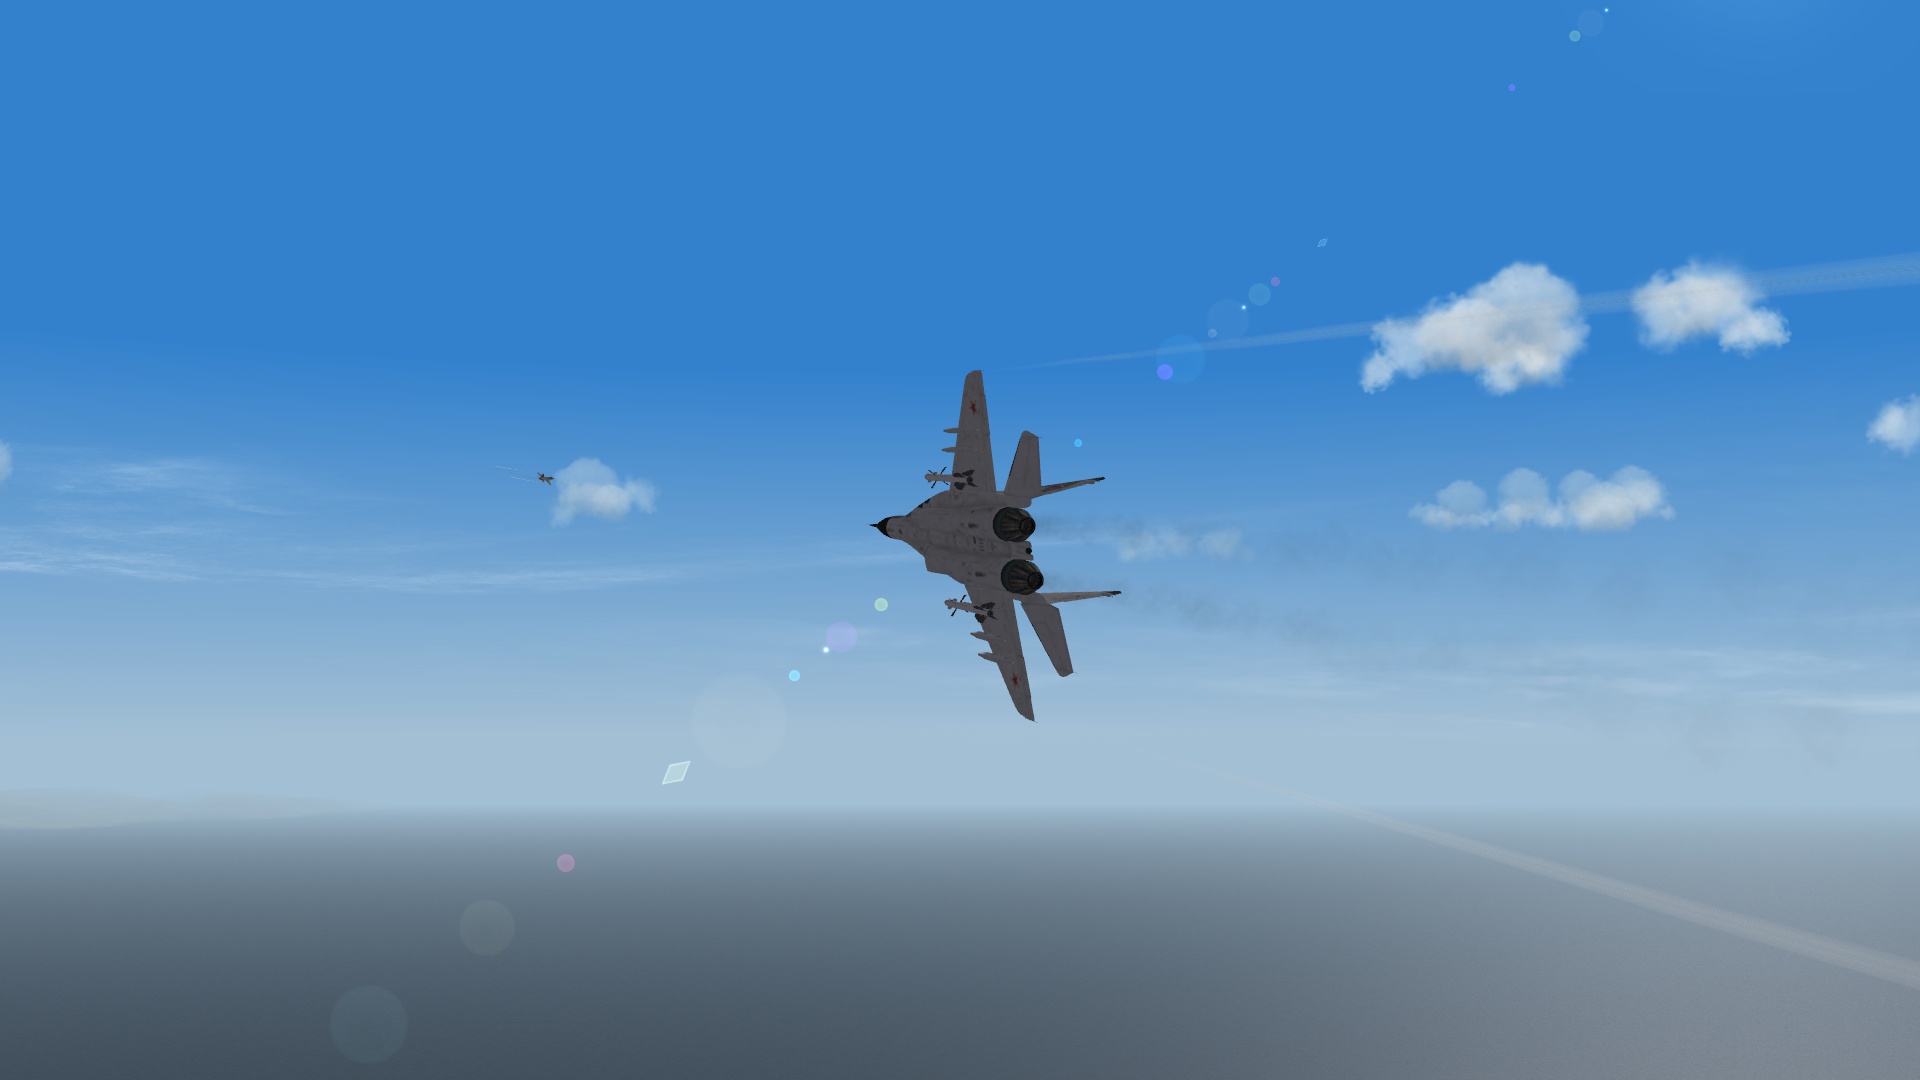
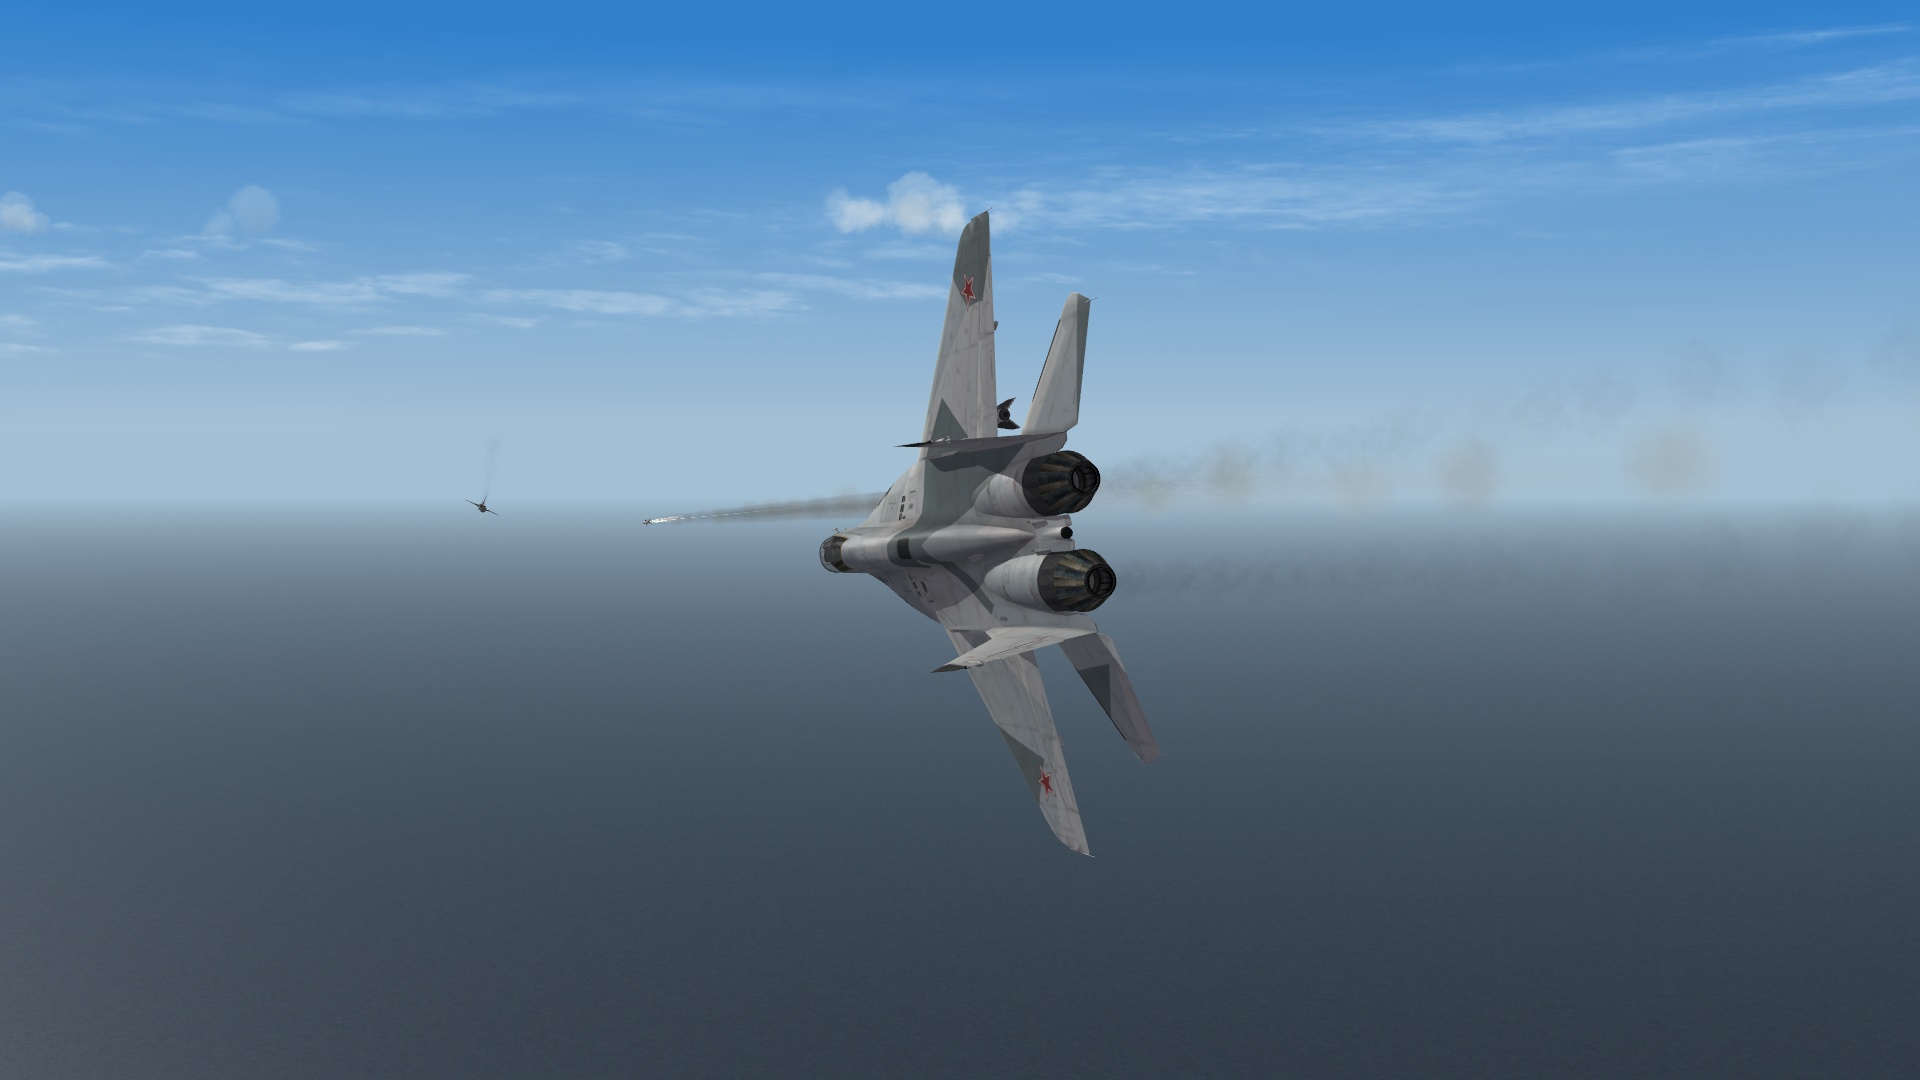
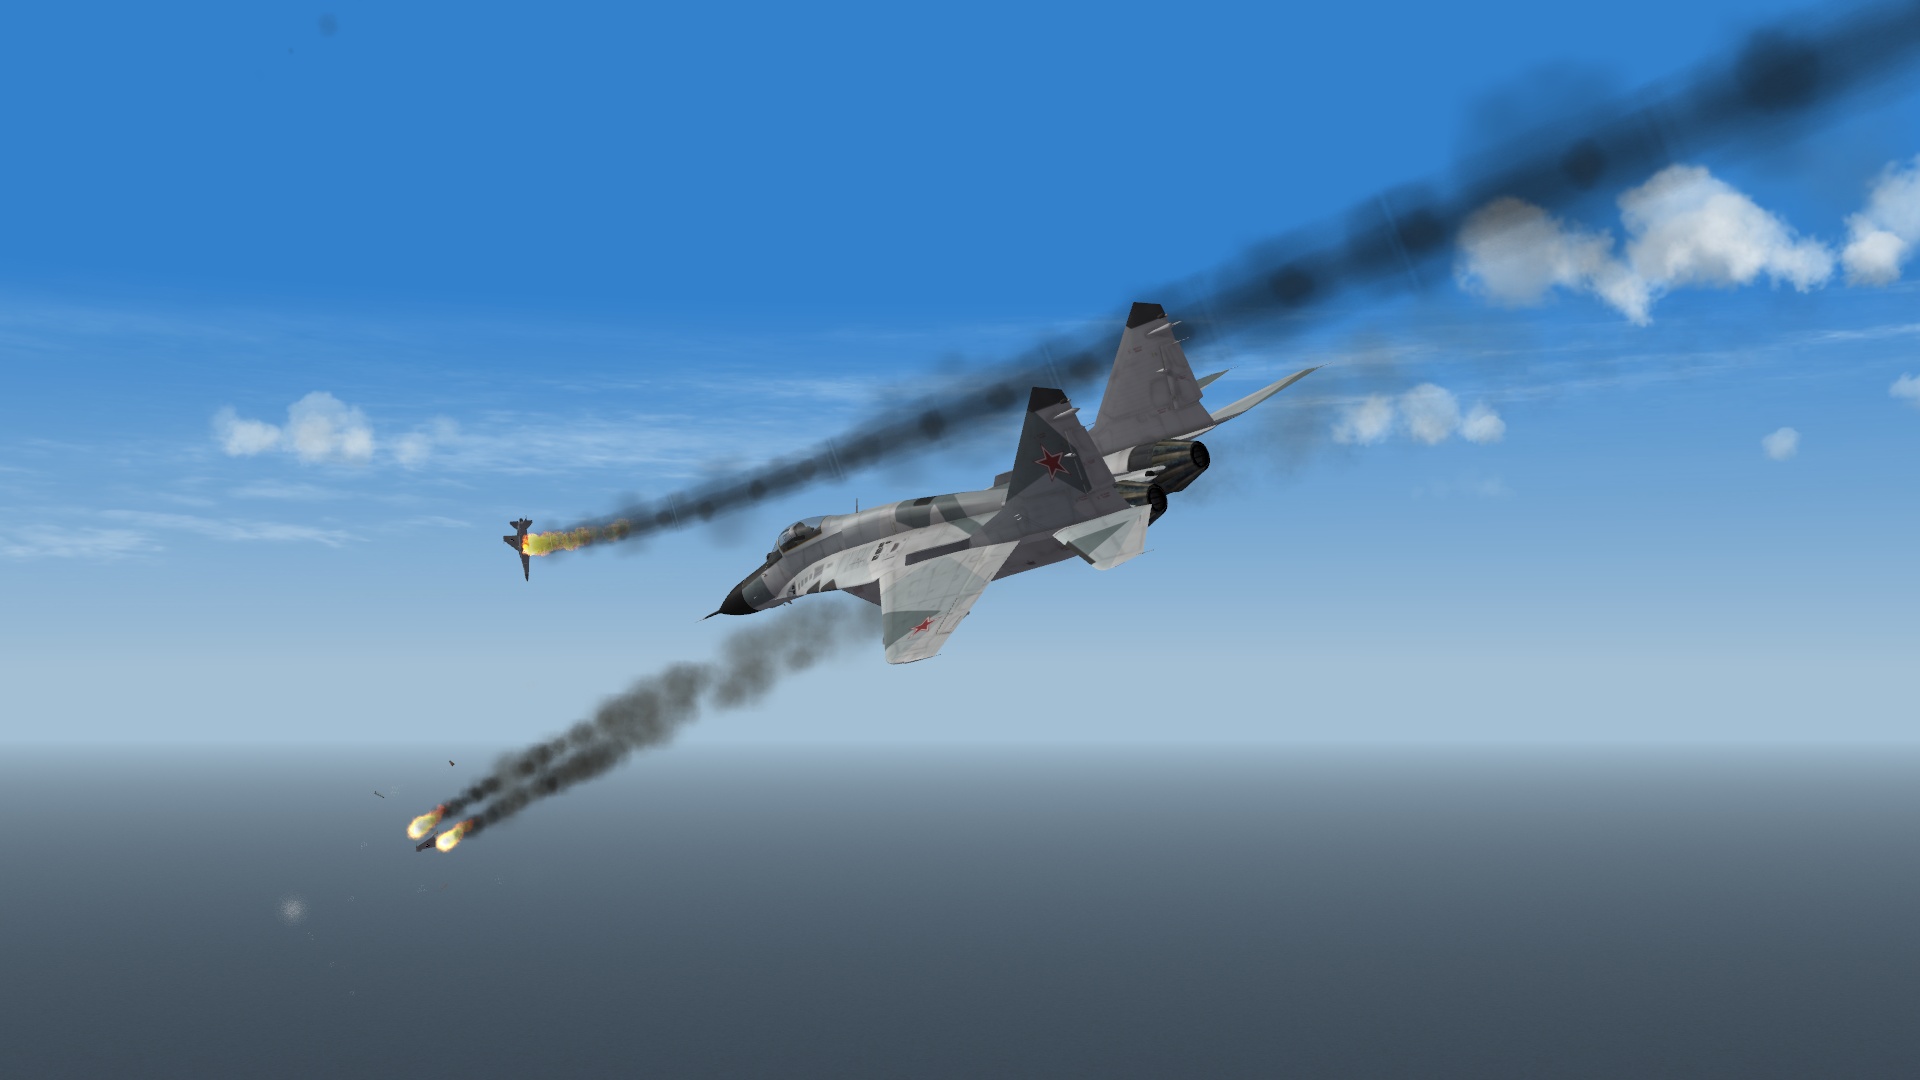
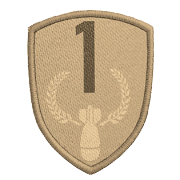 Me: Mig-29C with 4 x R-73 and 2 x R-27R, 1 centerline tank (prior to engagement). Opposition: F-16A Blk 10 Decided to go on the Red side for this one, taking the MiG-29C back out. Prior to intercepting the F-16 I had decided to drop the tank as I wasn't going that far in the first place. After the merge (which I had to initiate better by turning off the jammer) it became I would say more of a vertical fight rather than wholly horizontal as the F-16 managed to get in my six quite easily. Somehow or someway I managed to prevent a gun kill by him and he went south a bit, maybe lost contact and trying to reacquire as I did go vertical on him (which was strange since he was clean). When I came over the top I leveled off and took my first R-73 shot. I thought it would connect but it was easily fooled by the flares and the aspect, allowing the F-16 to fly away unscathed. I followed up with a second shot, also missing. I took another shot and missed, and a fourth shot missing again. By that time I switched to my R-27Rs. For my previous kills and something to understand the best way to get an SAHM or AHM kill is to set your radar at the lowest setting due to common sense distances. Plus most of the time the opposing aircraft is going to not have much room to maneuver, i.e. in the "no escape zone" and your chances of a kill are greater. I maneuvered a bit and took the shot, downing the Falcon. In retrospect I could have probably got a guns kill but that was my last resort option rather than something I wanted at the moment. It should obviously be noted that the R-73M2 used obviously is fooled easily by flares at a distance. Obviously in the "no escape zone" you'll have better success in achieving a kill. The R-73 is highly maneuverable but again the flare issue makes it more likely an opposing aircraft will be able to survive in the knife fight. As I've had a 9X literally fly towards the sun attempting to shoot it down but something to keep in mind.
-
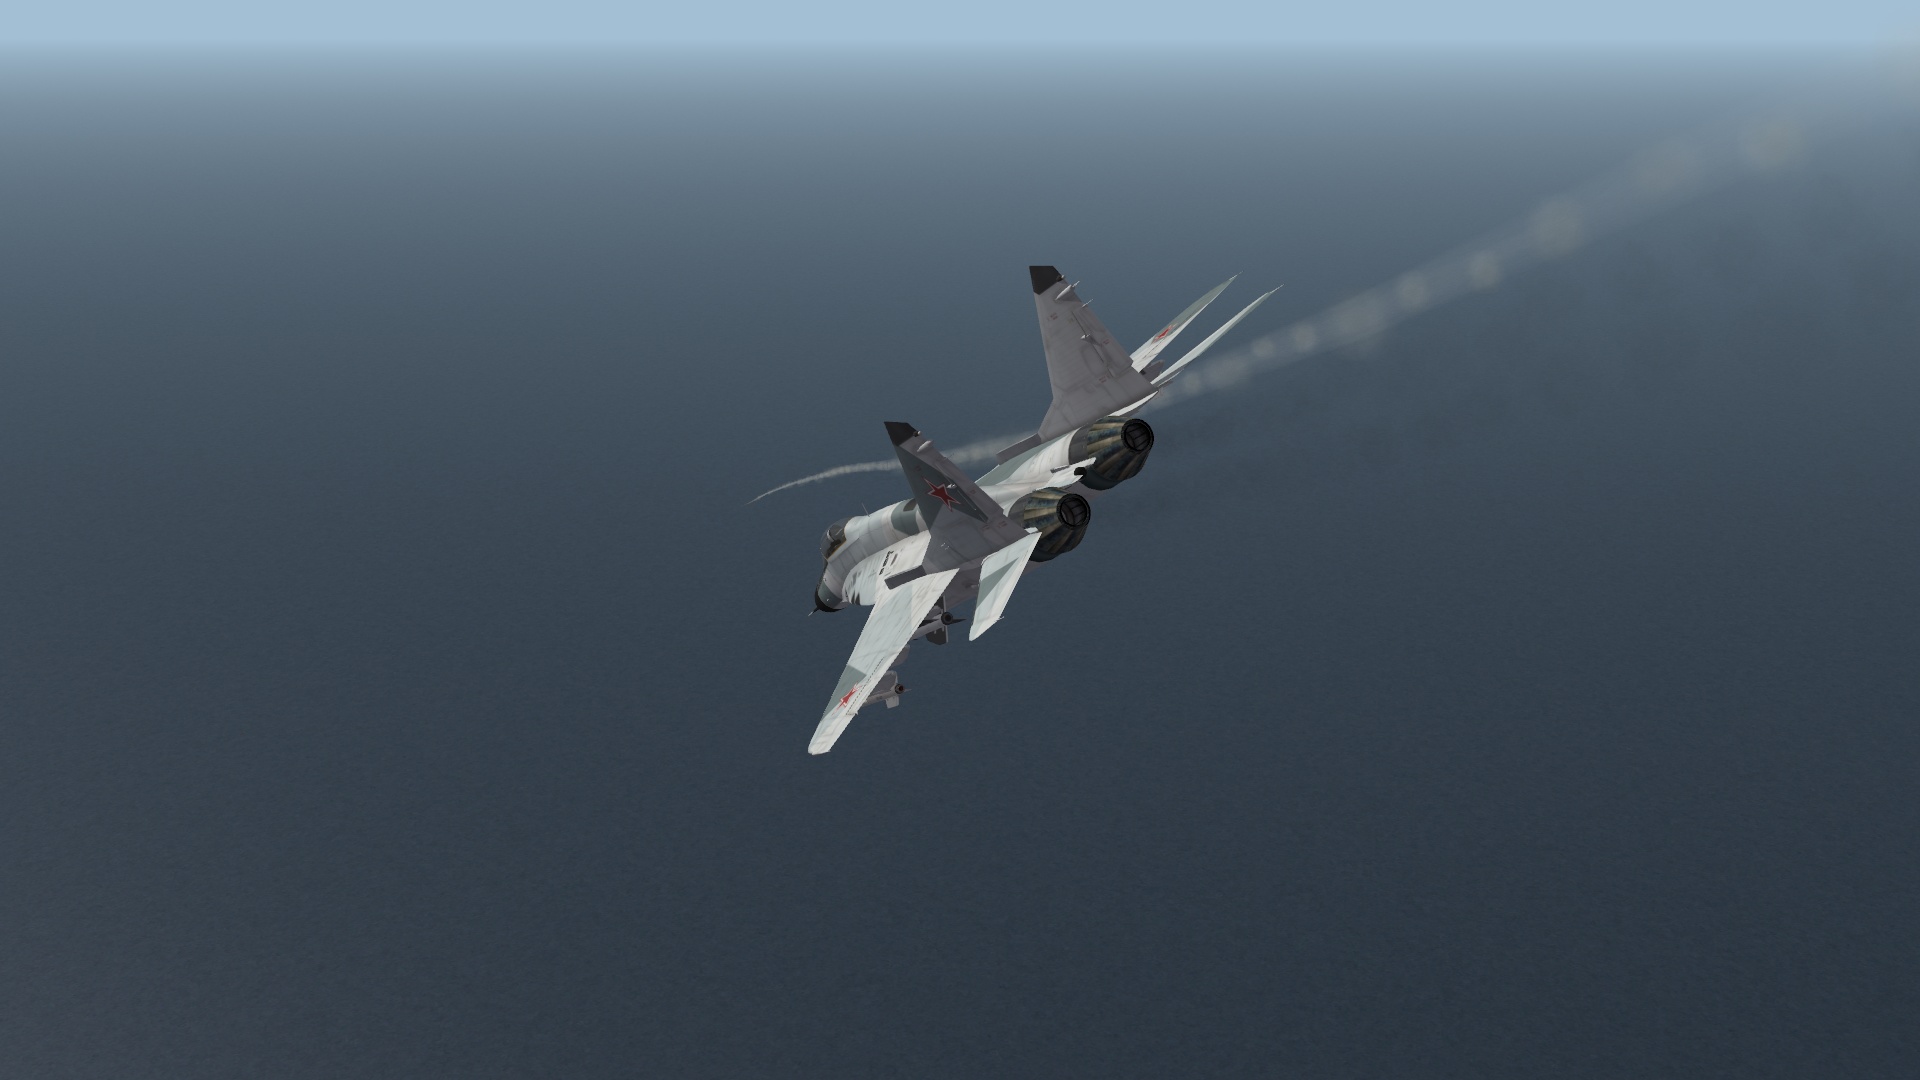
Sure thing Slartibartfast I'd like to see some other reports... Me: F/A-18E Stock with 1 Refueling pod, 4 x wing tanks, 2 x AIM-9X, 2 x AIM-120 Opposition: KF2 - Hammer with guns While on one hand this configuration worked with the Tomcat and the Gripen, it didn't work with the KF2 Hammer at the conclusion of the fight after the merge. Did I have a clean shot? Did I take it? Nope and in reflection I should have taken it but the whole point is to learn from your mistakes as about thirty seconds later the KF2 got behind me and gunned me down quite easily. After the merge I would say a minute after I was shot down. The KF2 clean obviously has more energy due to less weight and if in this situation drop all tanks and take care of it. If it's required to keep the tanks, try and kill it as soon as humanly possible, or take a shot, miss and take advantage of his disarray when he tries to recommit. No pics because well... it didn't last long enough...
-
But it'd probably flip it... but then again the M113 isn't a well armored vehicle to begin with
-
Best one to download the Community Weapons Pack as that has a readme
-
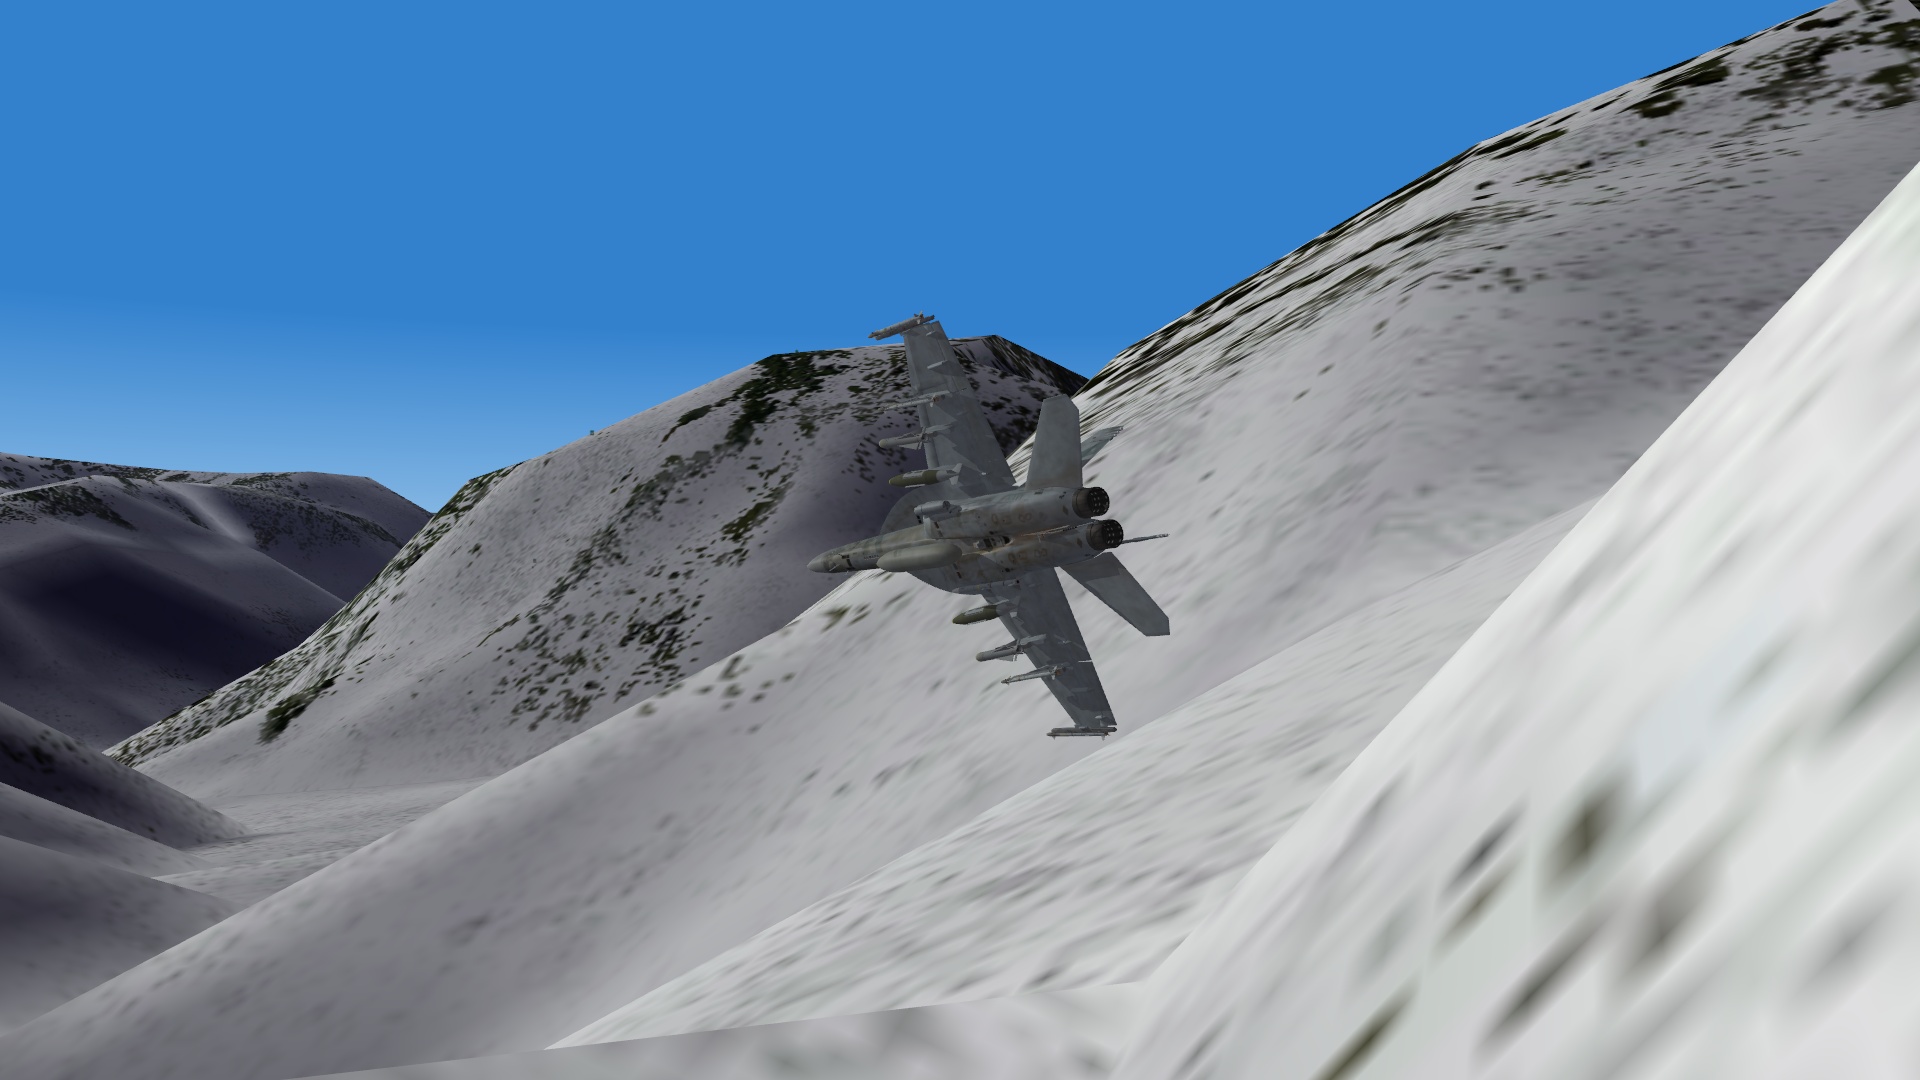
Looking beautiful PureBlue! One of the most important things I have to remember when flying the American North West map is that I have a target to bomb...
-
Well okay then! From JAT81500 using bobrock's pilot as a base. I've got some other stuff in the works so I'll "release" it now and then include it in the later package update I'm slowly working on. And just in case... [Pilot] SystemType=PILOT_COCKPIT PilotModelName=JHMCS_USN JHMCS_USN.7z
-
No and my friend didn't say I could release it but if it changes I'll include it. If not it won't be included
-
Got it from a friend
-
Oh we've done that on my side a few times in the "badlands" on a few occasions (though never had the opportunity to see one go off) but I'm more selective
-
Because most of the sites are AAA not SAM.
-
2000lb? Nah you can drop a GBU-12 or -38 and save the landscape
-
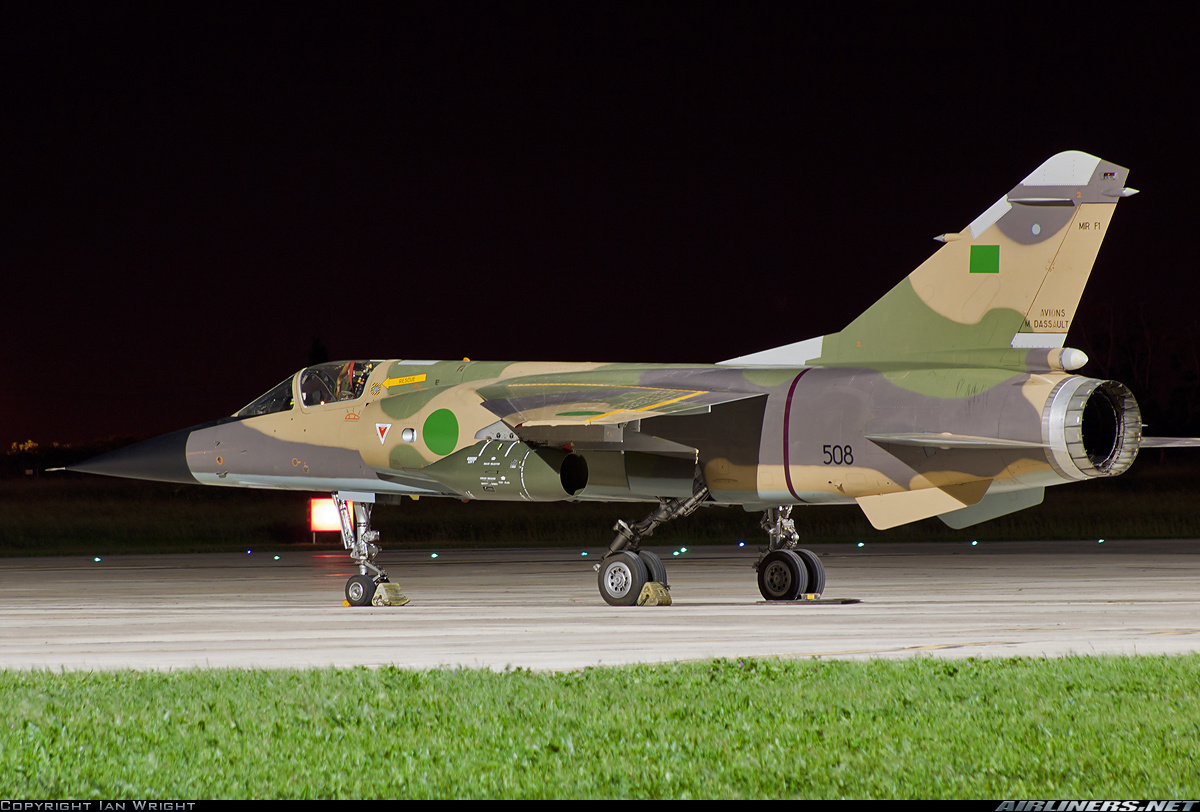
Here's a better one from Airliners.net
-
-
resave it in 256 colors
-
Thanks was looking for something like that
-
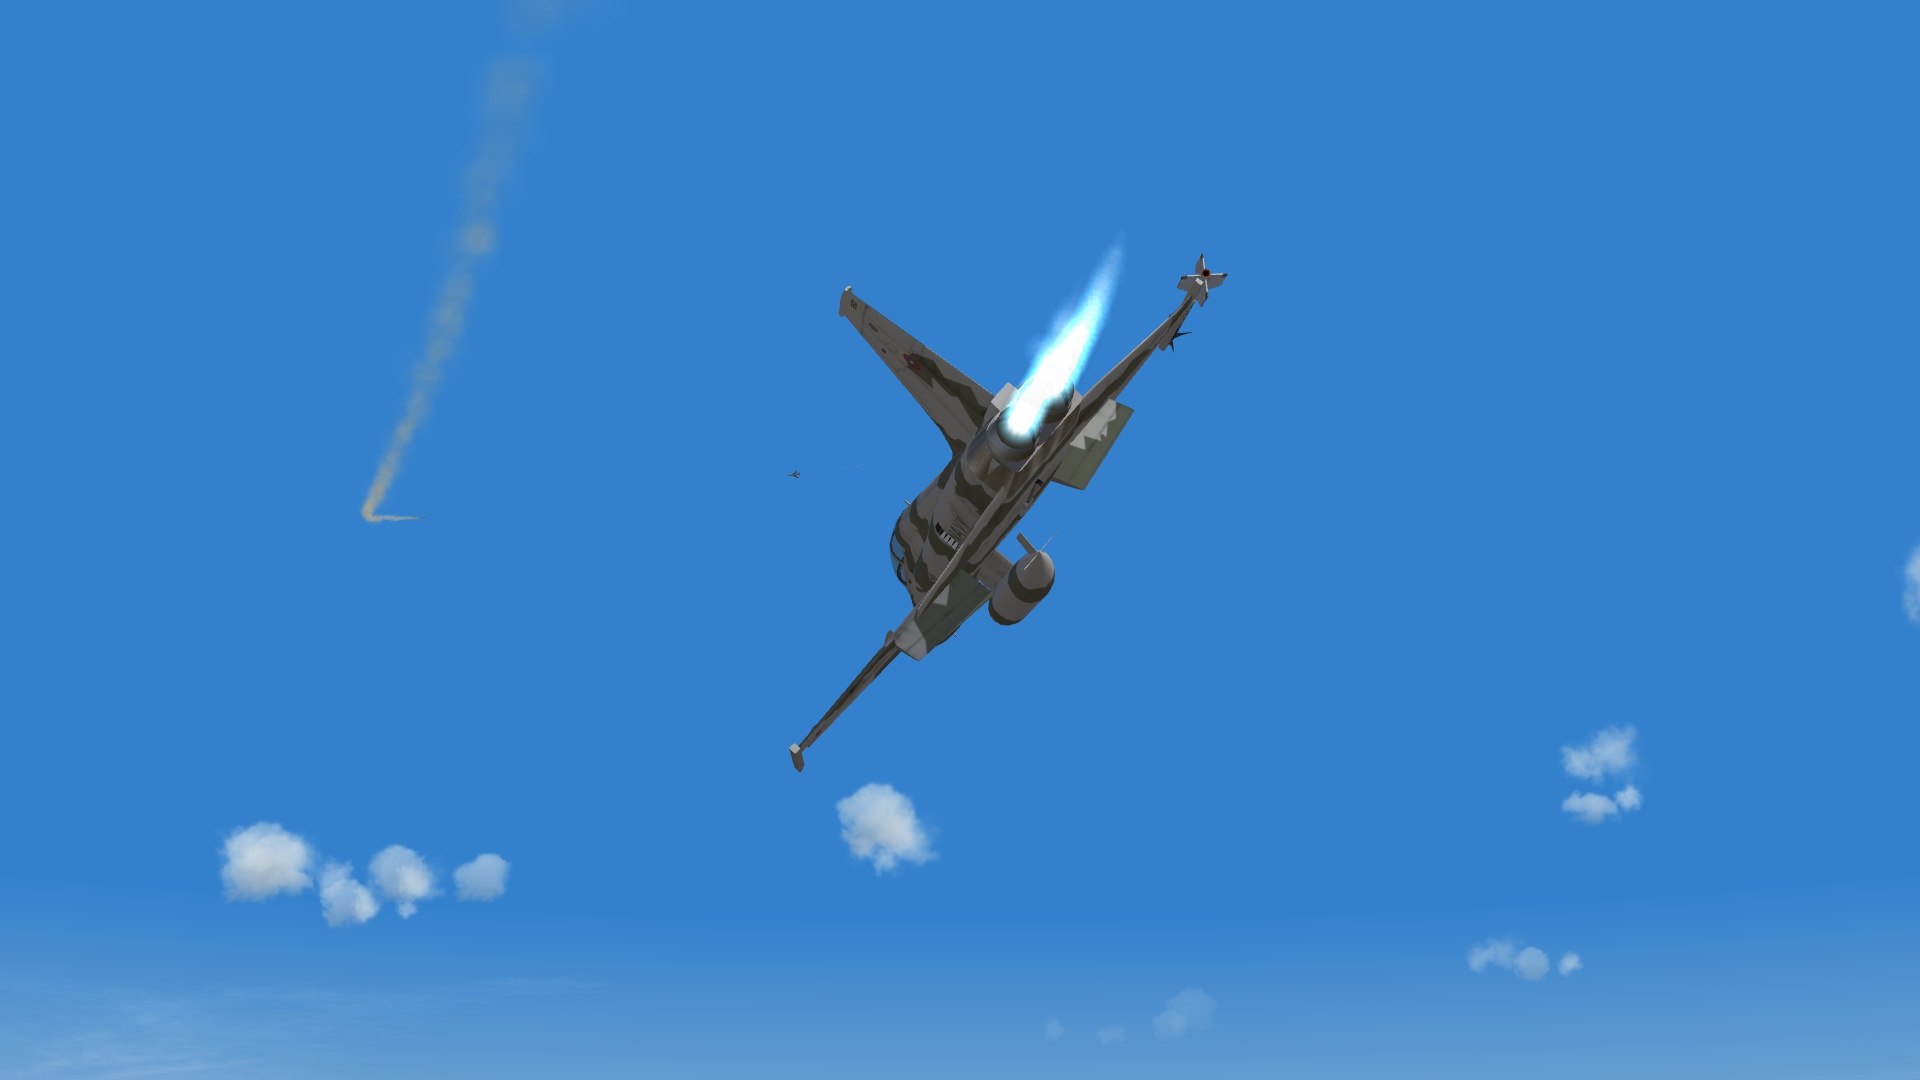
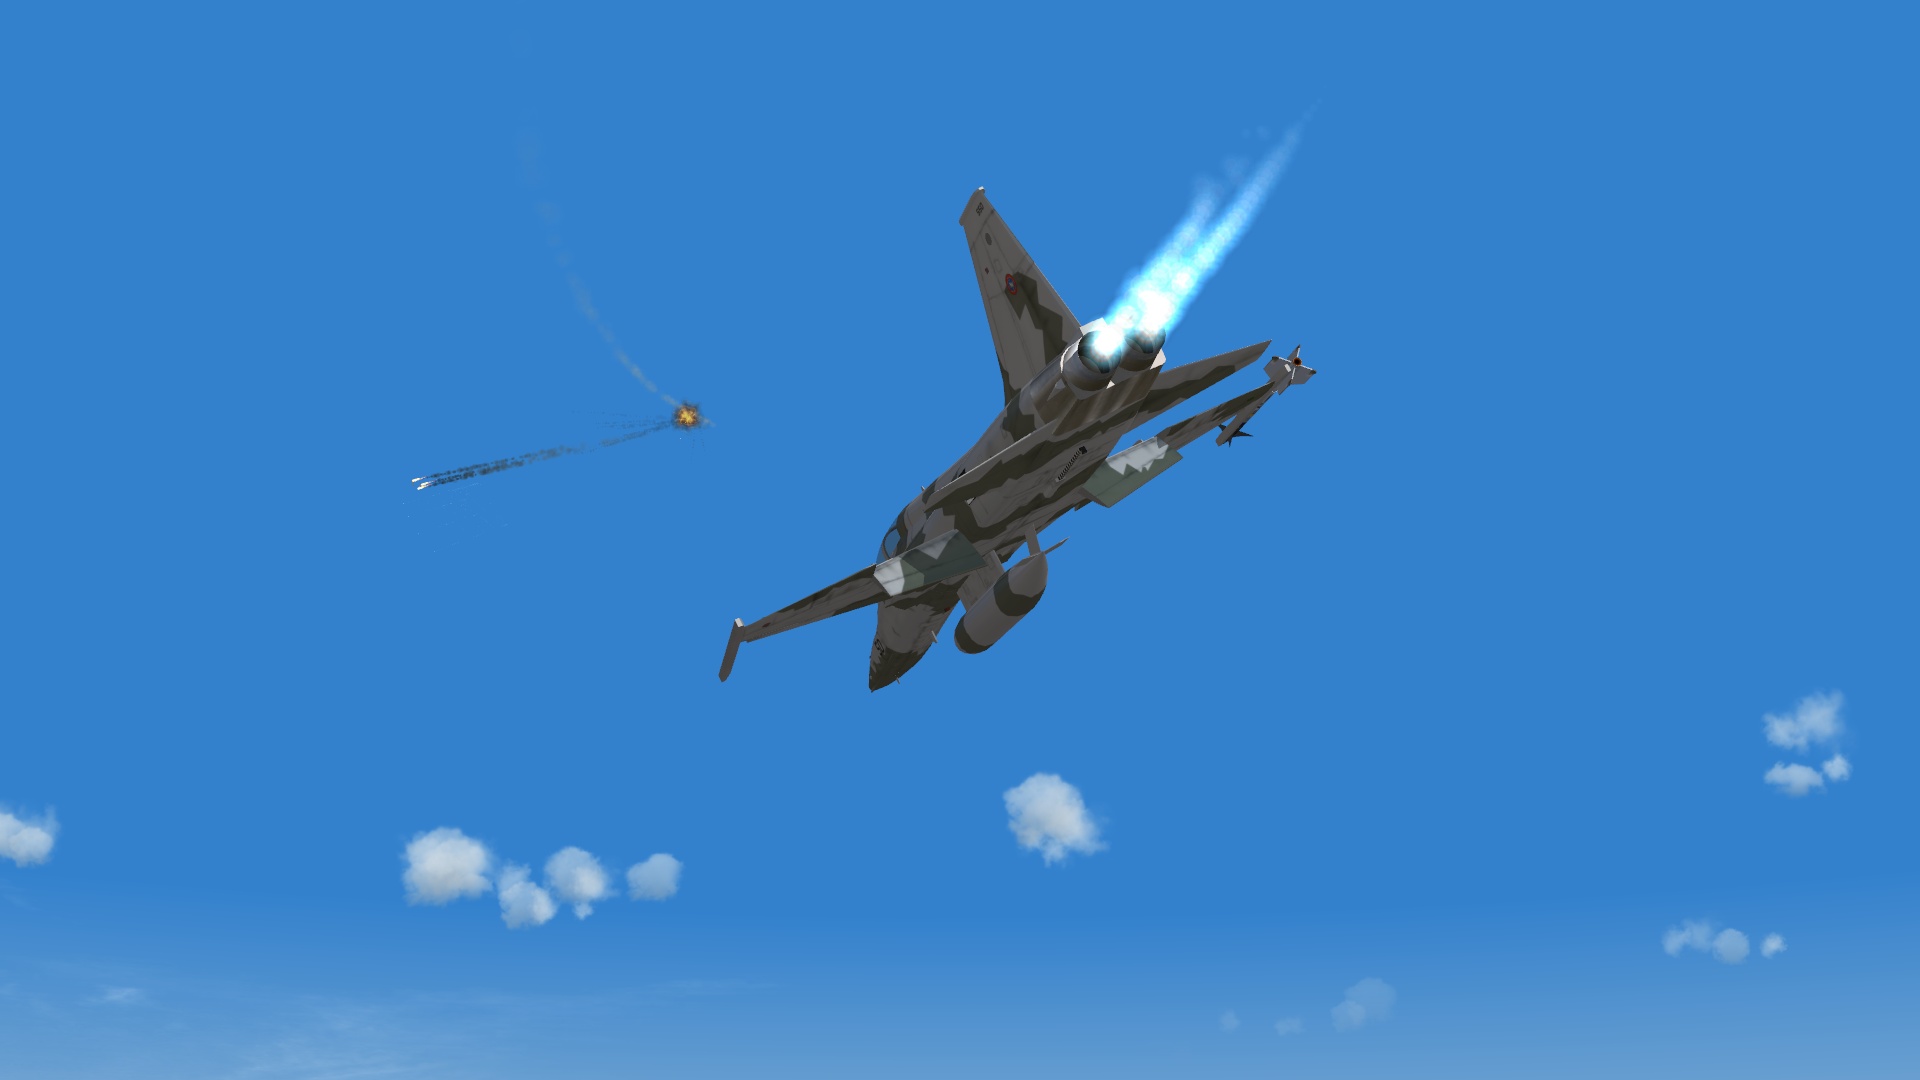
Me: F-5F with gun and 2 x AIM-9L and one 275-gal centerline tank. Opposition: MIG-23MLA with gun. Started out with the merge and went into an energy fight from the get go. The MIG-23 did manage to make a couple passes and while he tried to get in a kill slot he mainly just tried to run down my energy. Which as you'll see in the last screenshot I was basically at less than 200 knots by guesstimation anyways. Once I felt I had a shot I took it downing the aircraft. this is my first time flying the F-5F and it's not bad at all as far as handling is concerned but one thing I did learn (the whole point of the plane...) was to not pull so hard on the stick. The newer jets are more forgiving the older jets can't be pulled as hard therefore my energy bleeds. Learned a good lesson during this fight so hope to continue.
-
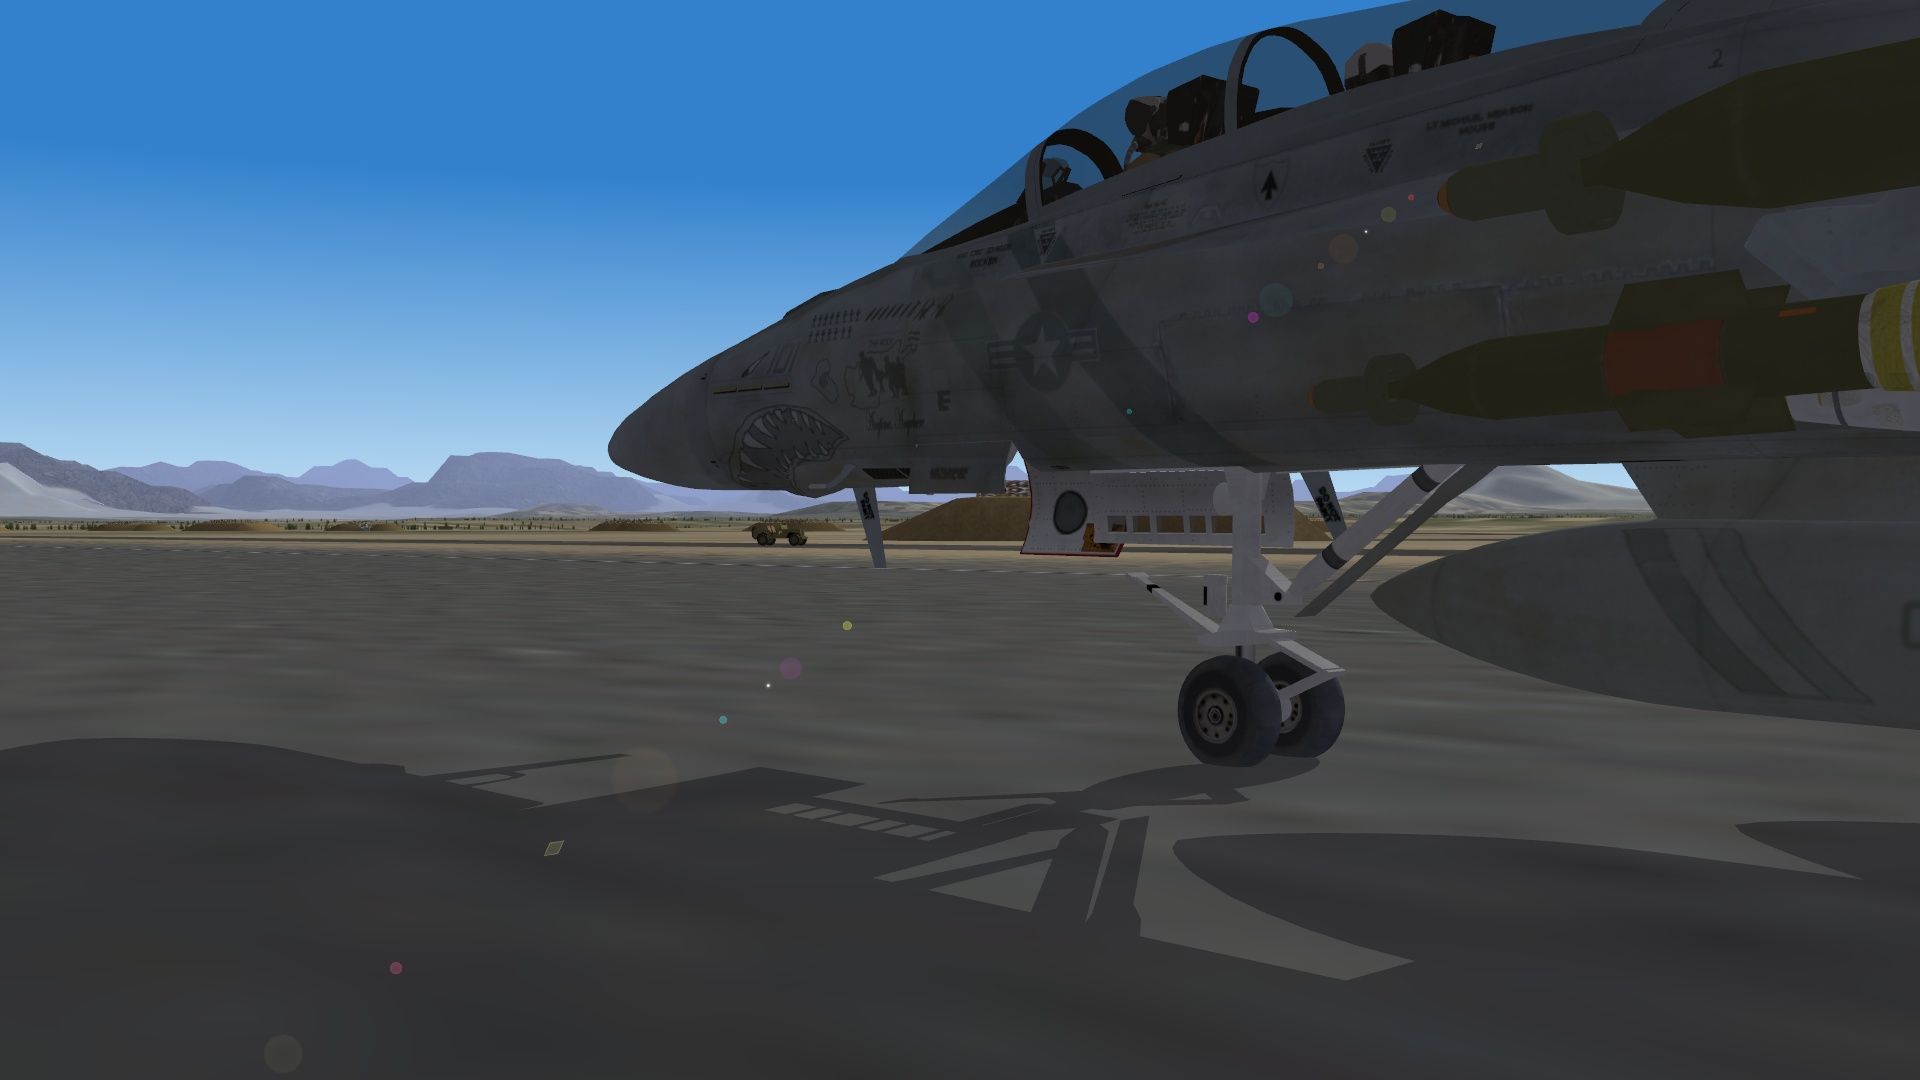
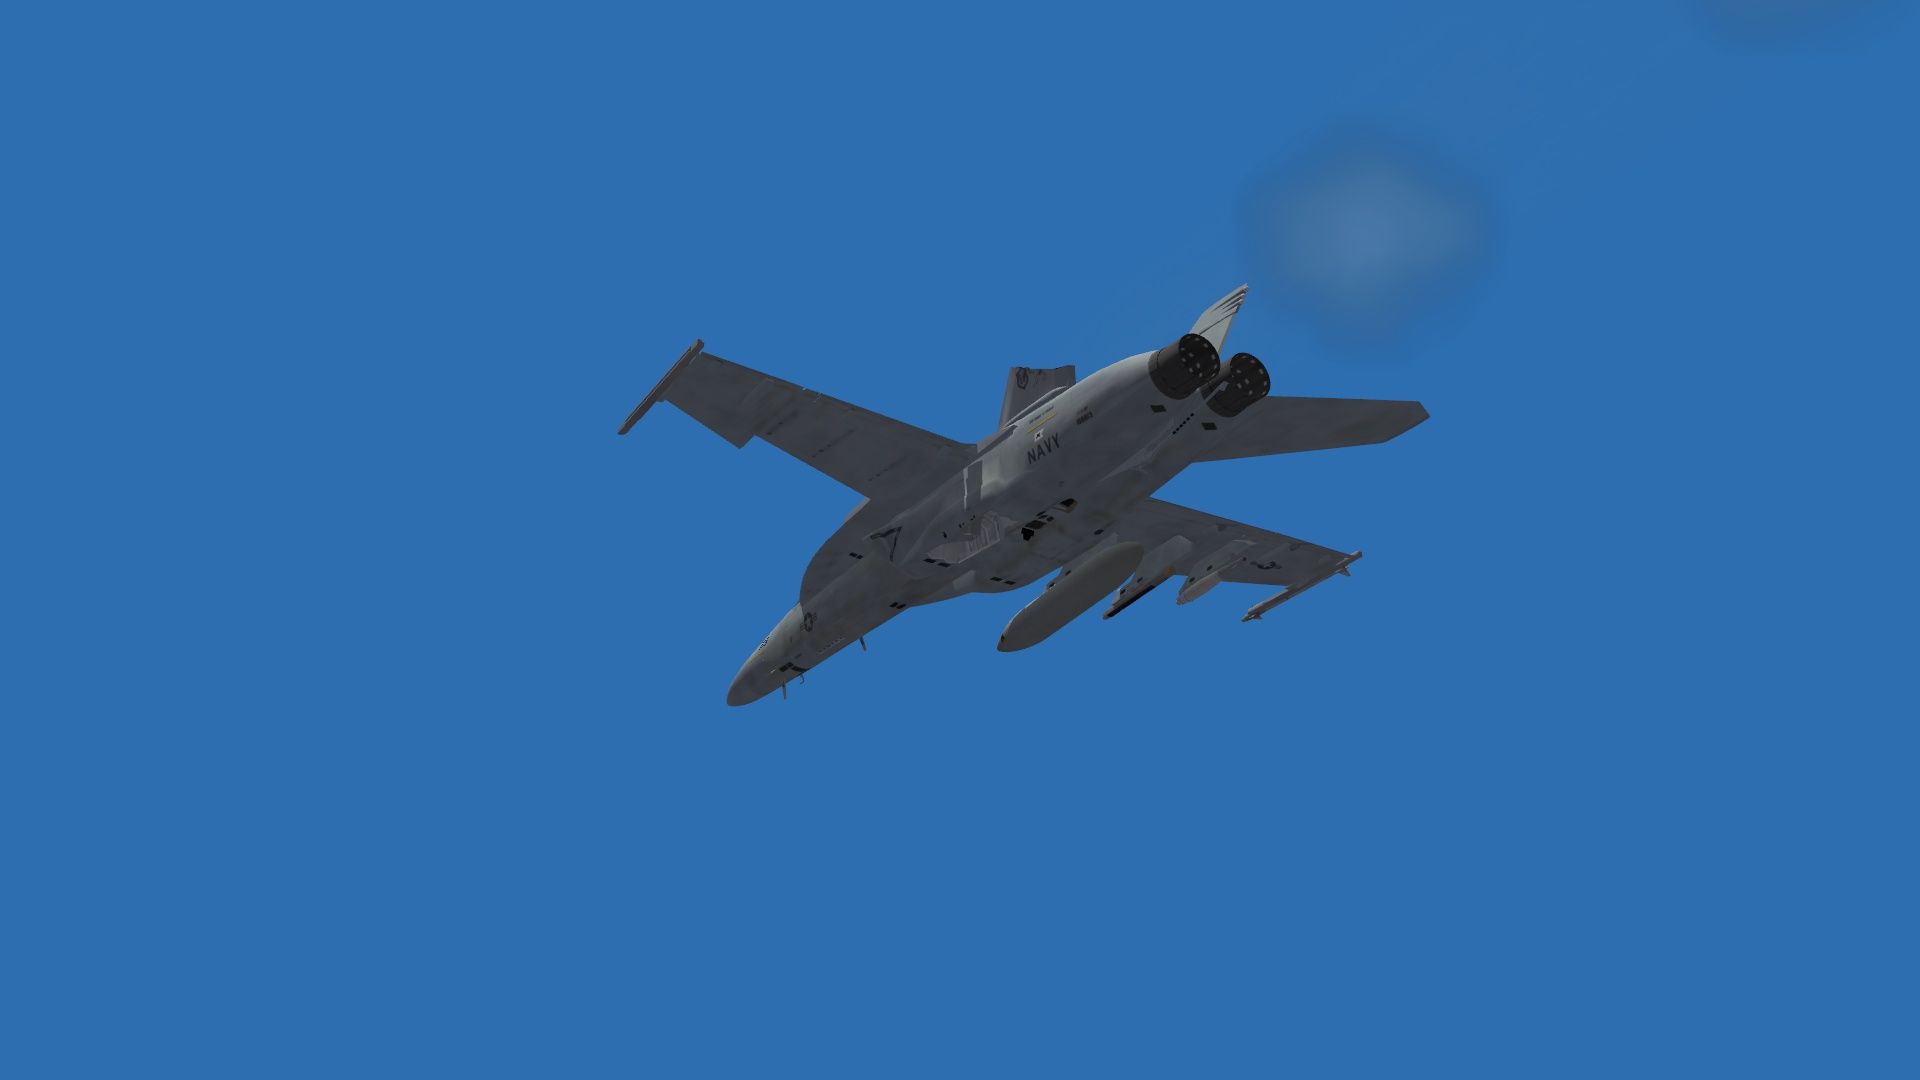
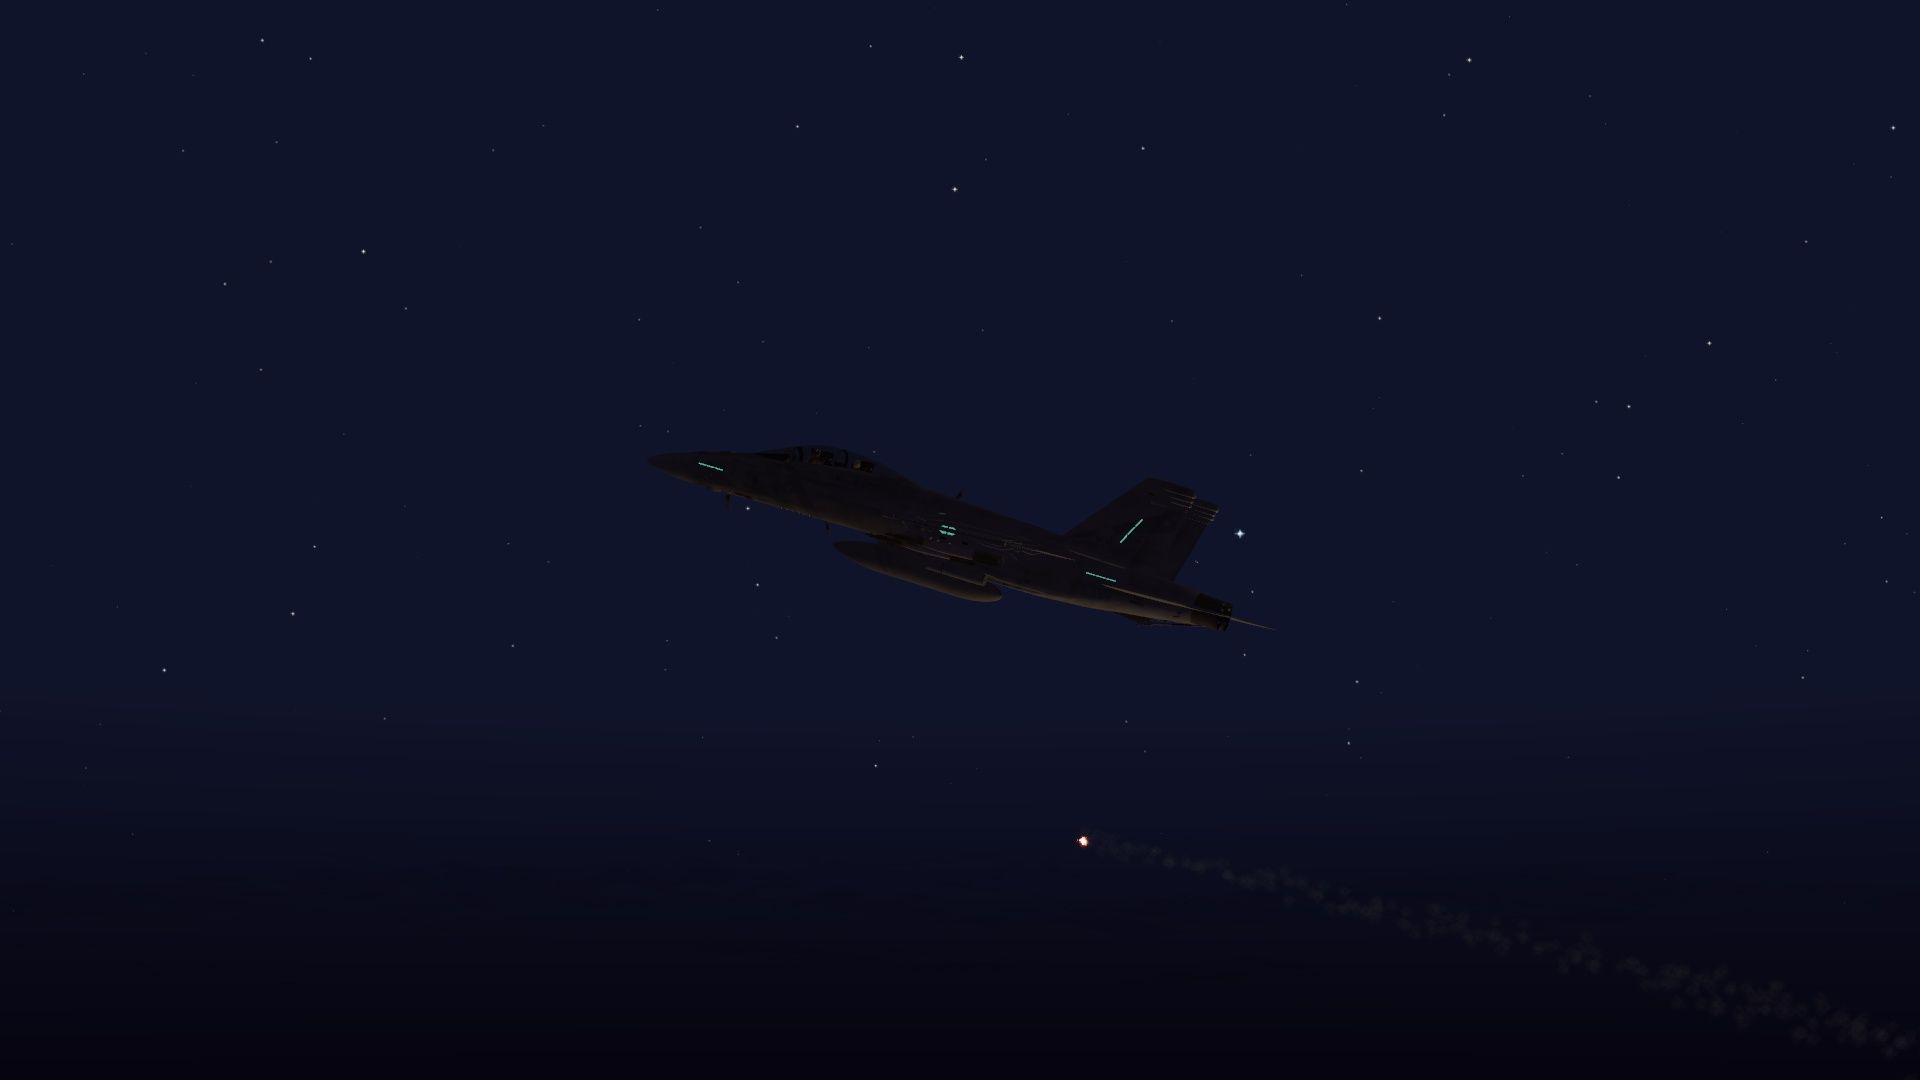
About to head out. Got tagged with an SA-18 flying over a certain village and tried to limp (which as you can see wouldn't be easy) and ejected. And dropping flares on a night strike.
-
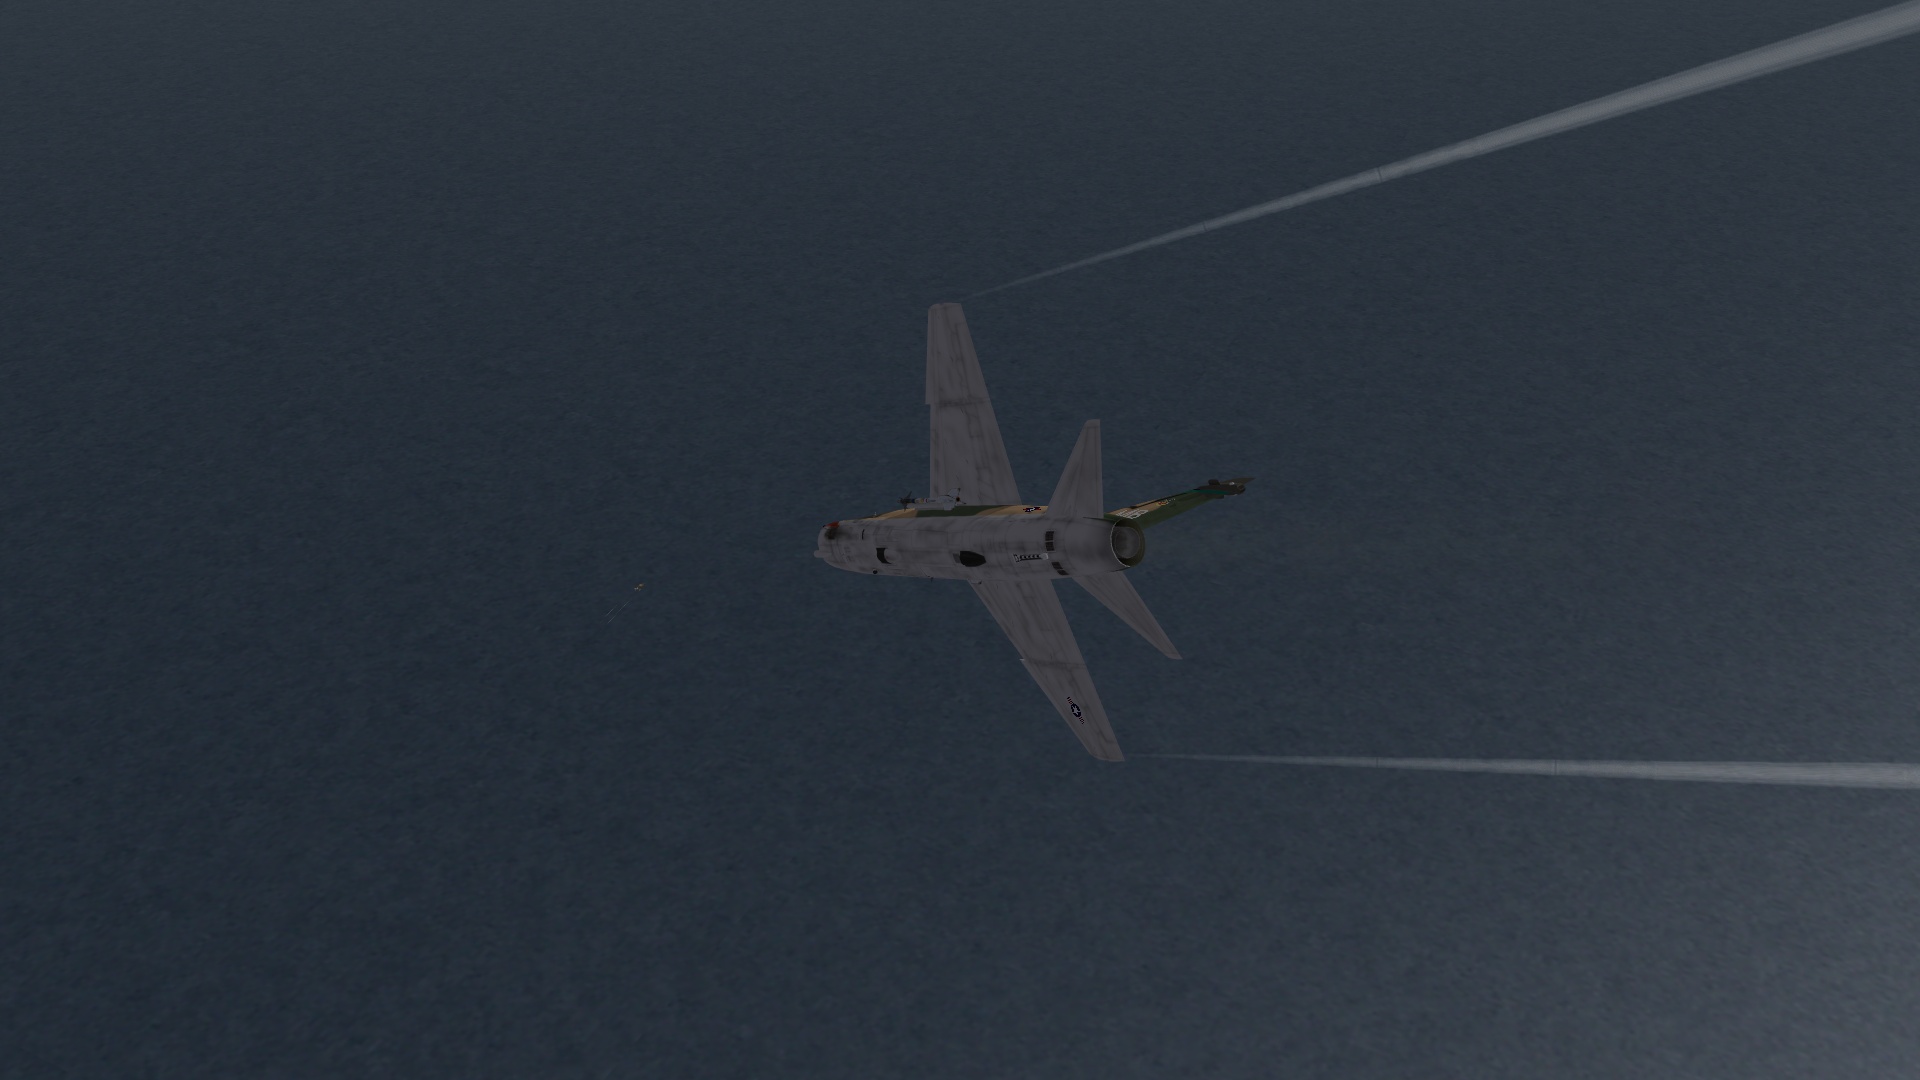
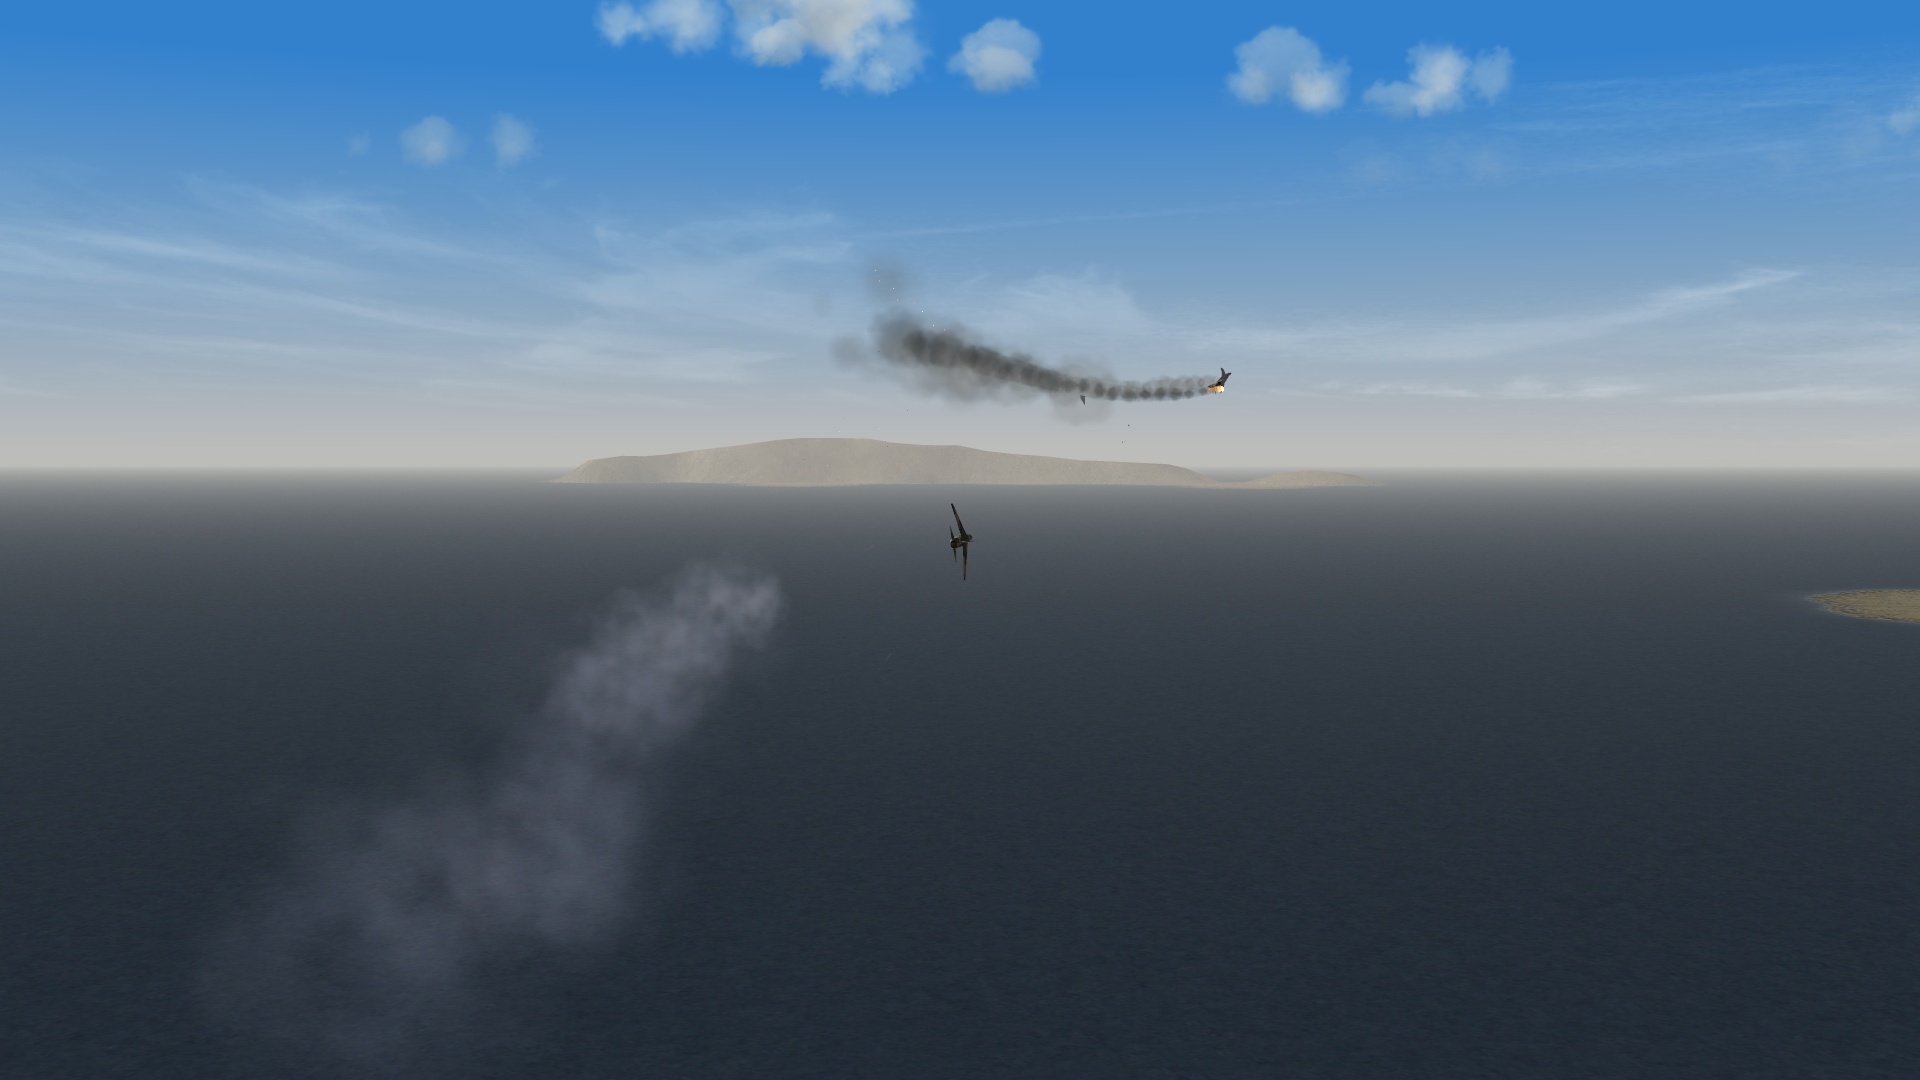
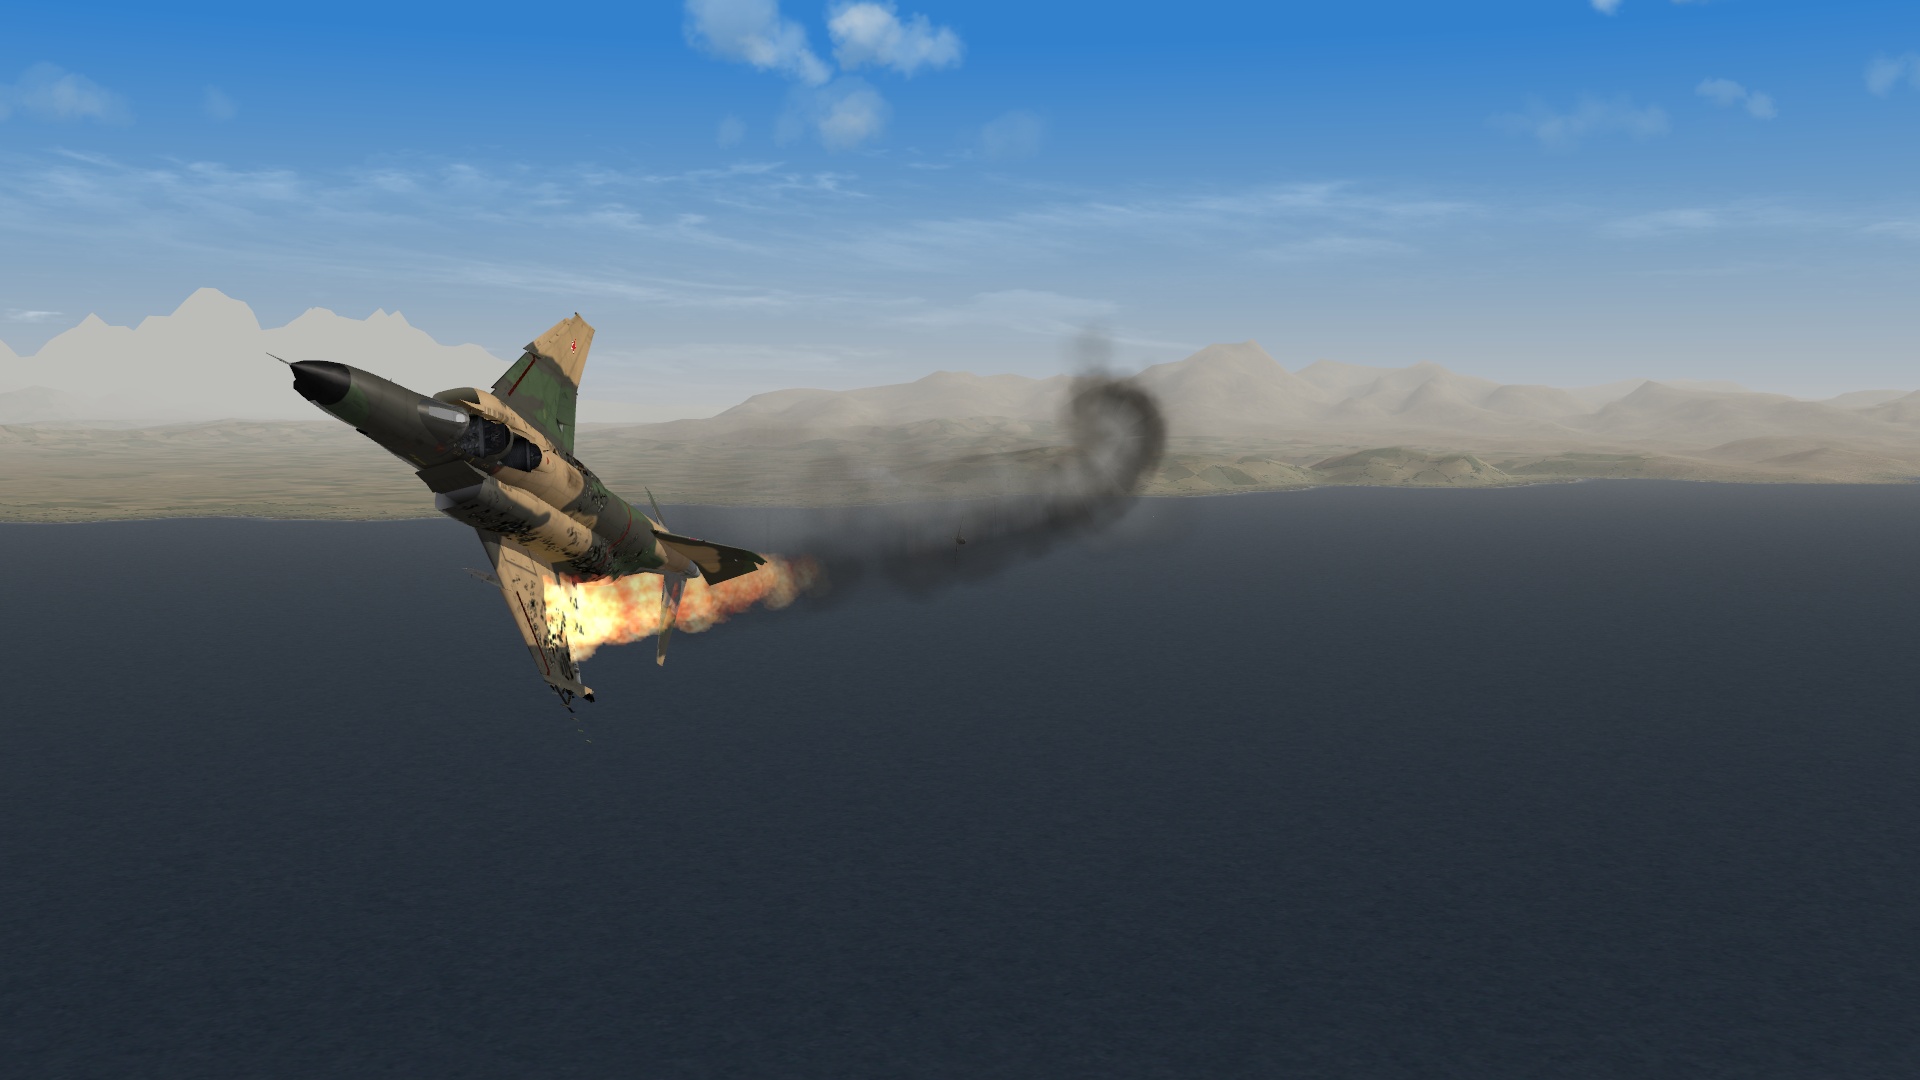
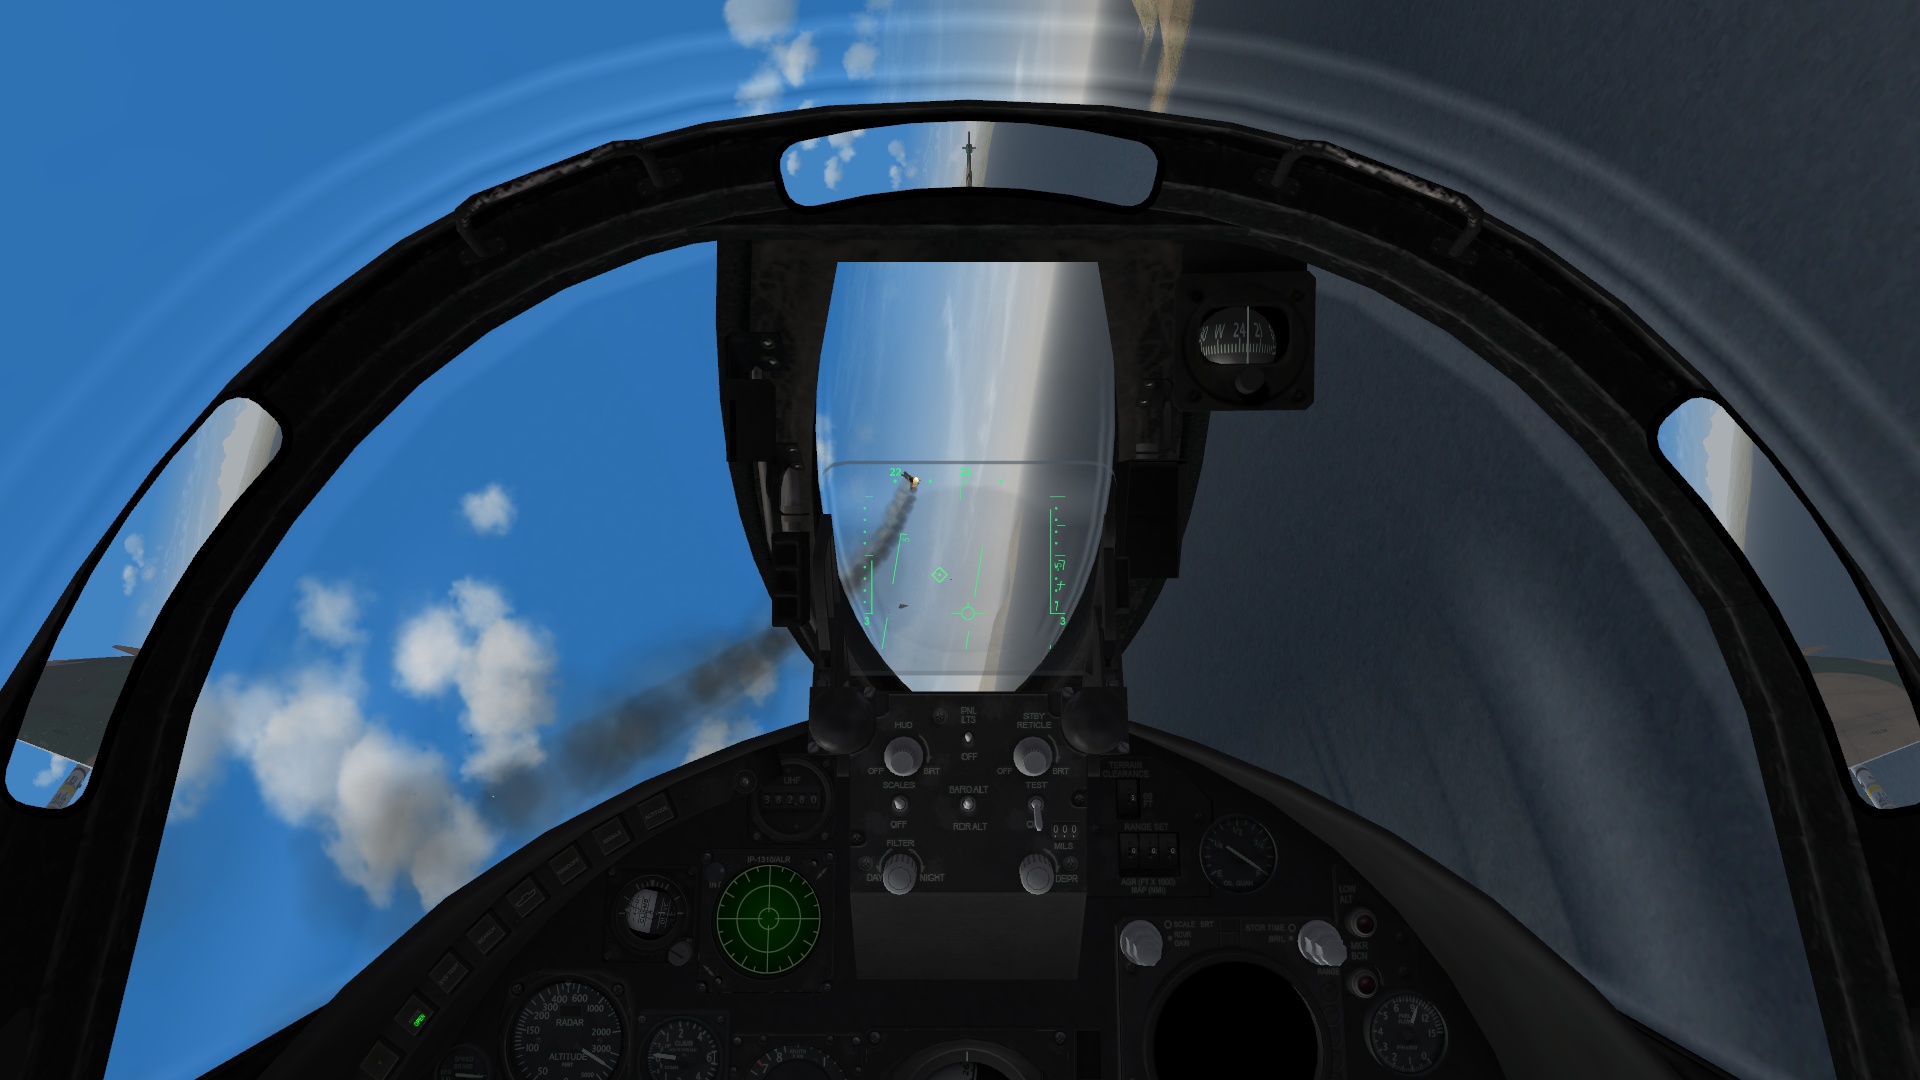
Me: A-7D with gun and 2 x AIM-9L Opposition: F-4E with gun. Something that I wanted to try that popped in my head was old skool versus old skool. Not my first fime flying the SLUF (which reminds me I gotta reinstall the MF -7E) but my first time flying this thing. Started the merge by nosing down and then coming over the top and turned into the Phantom which had extended out or at least I thought when I turned into him. I thought that it would be another energy fight but he must have really bled a lot as instead of going for a missile shot I went to guns. Fired a few bursts missing him for a few times, then slowed down and aimed better and chopped his left wing and apparently his tail off ending the engagement. I have to say that this was a surprise but glad to be rewarded with good response. It bleeds energy fast but on the same token doesn't have a problem regaining it. The only thing was that I was clean except for two 'winders so another bout heavily laden may come around.
-
Now that would be very interesting to read
-
Now that you mention it I was on the Libya terrain yesterday and didn't get shot at either, and it's now easier to pick the Flap Lid off with a HARM.... Hrm..
-
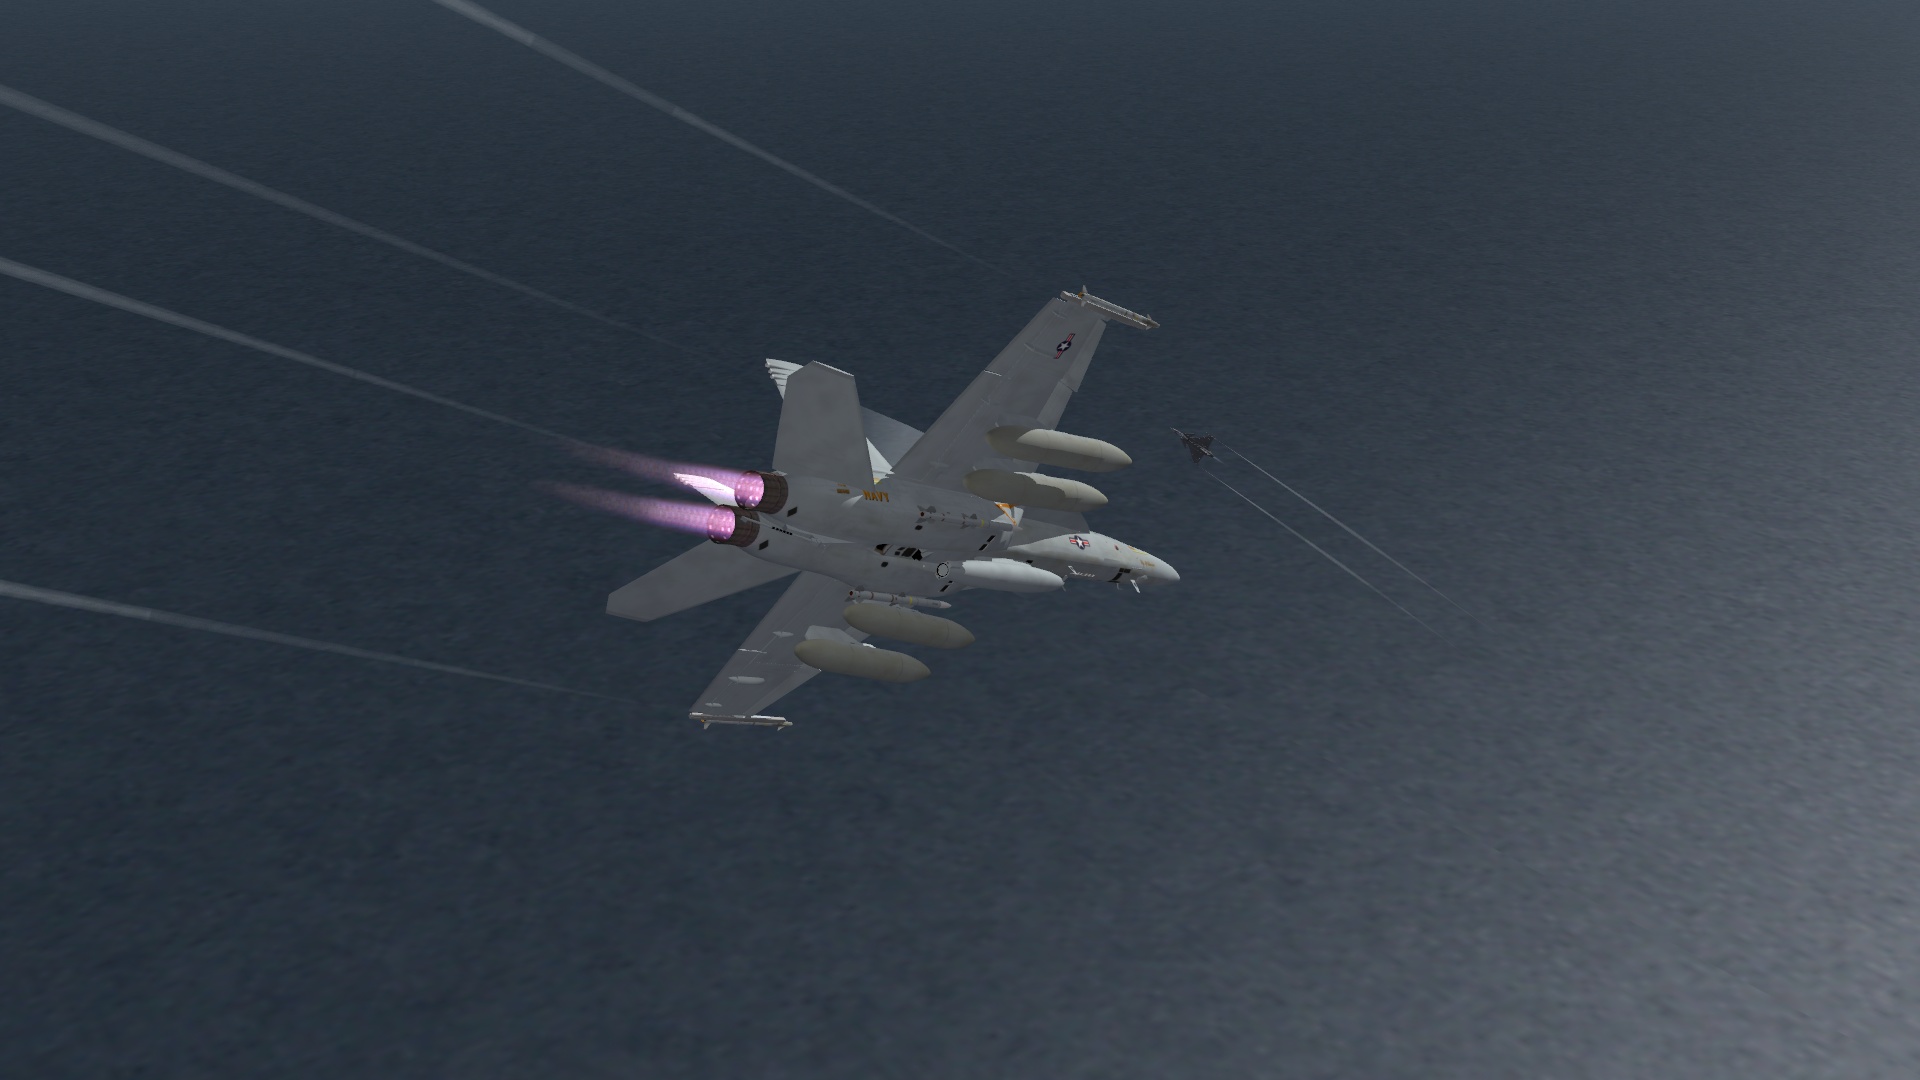
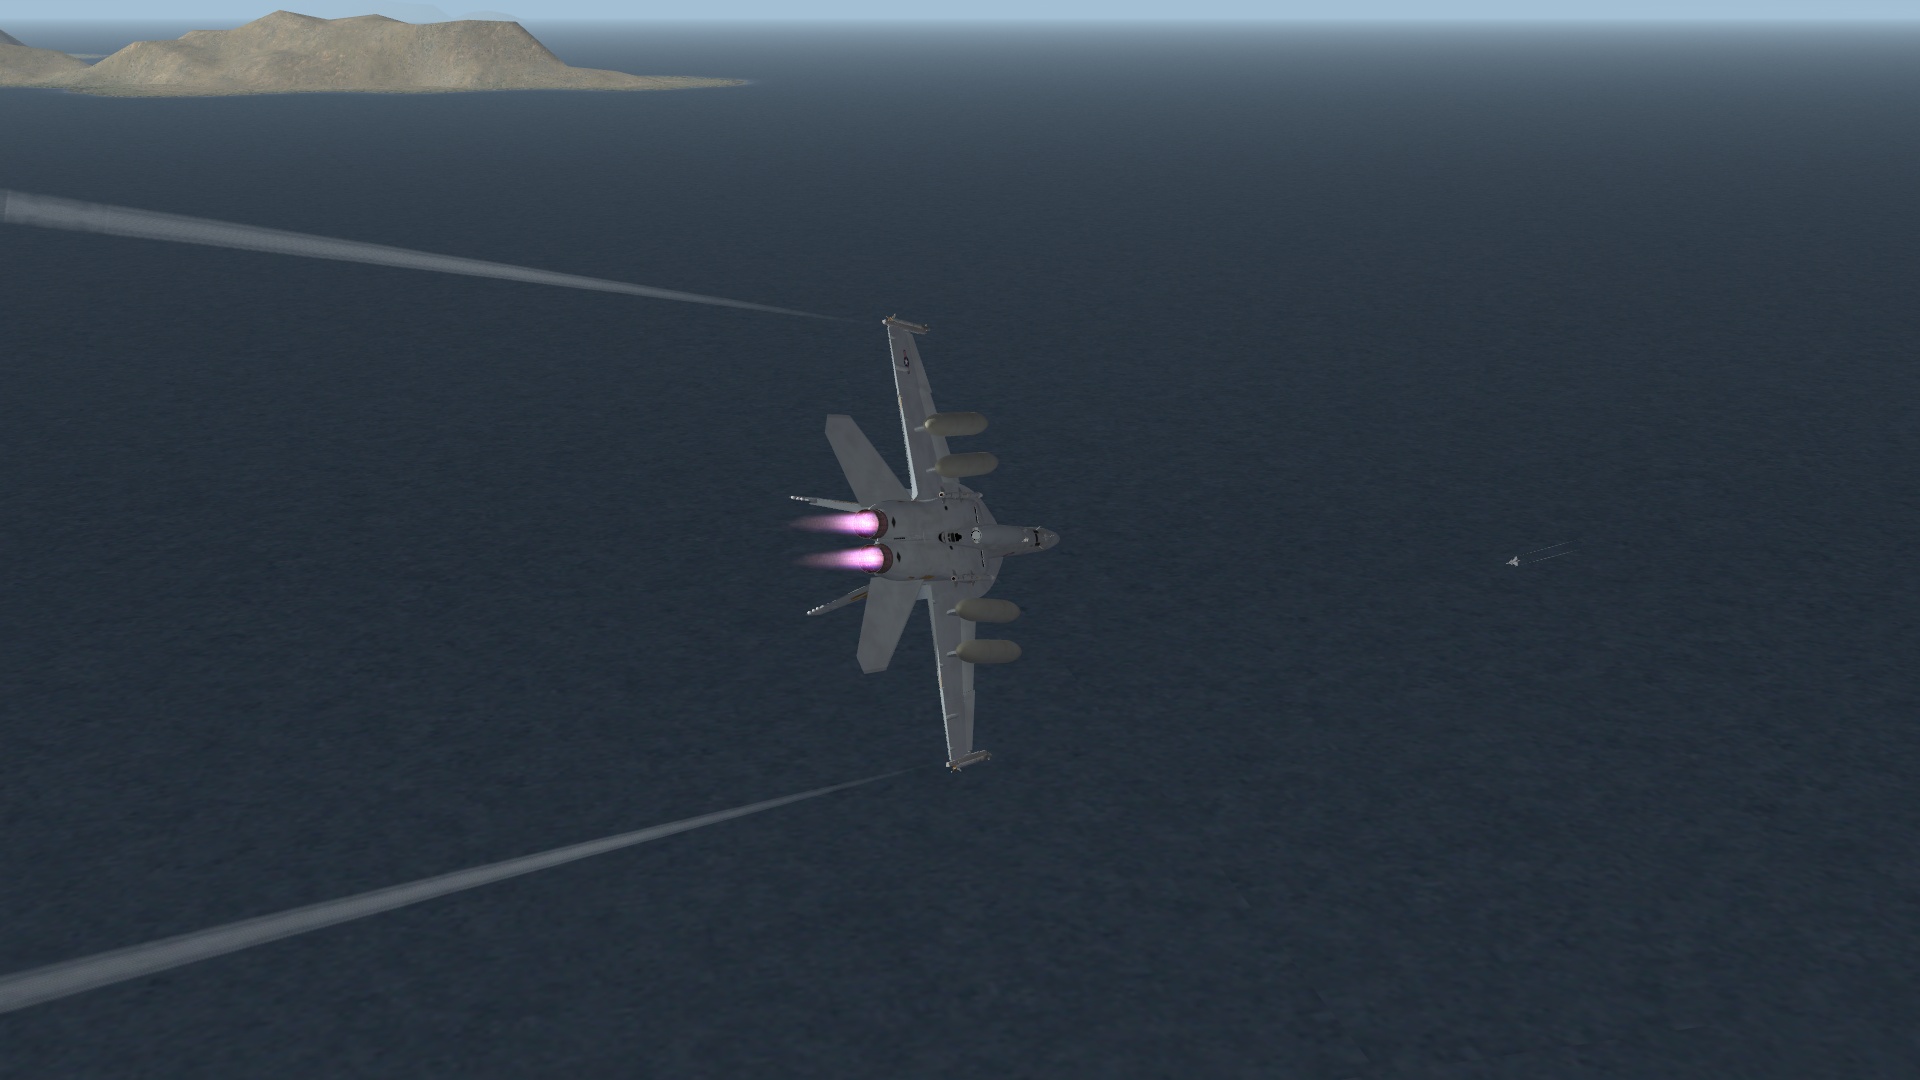
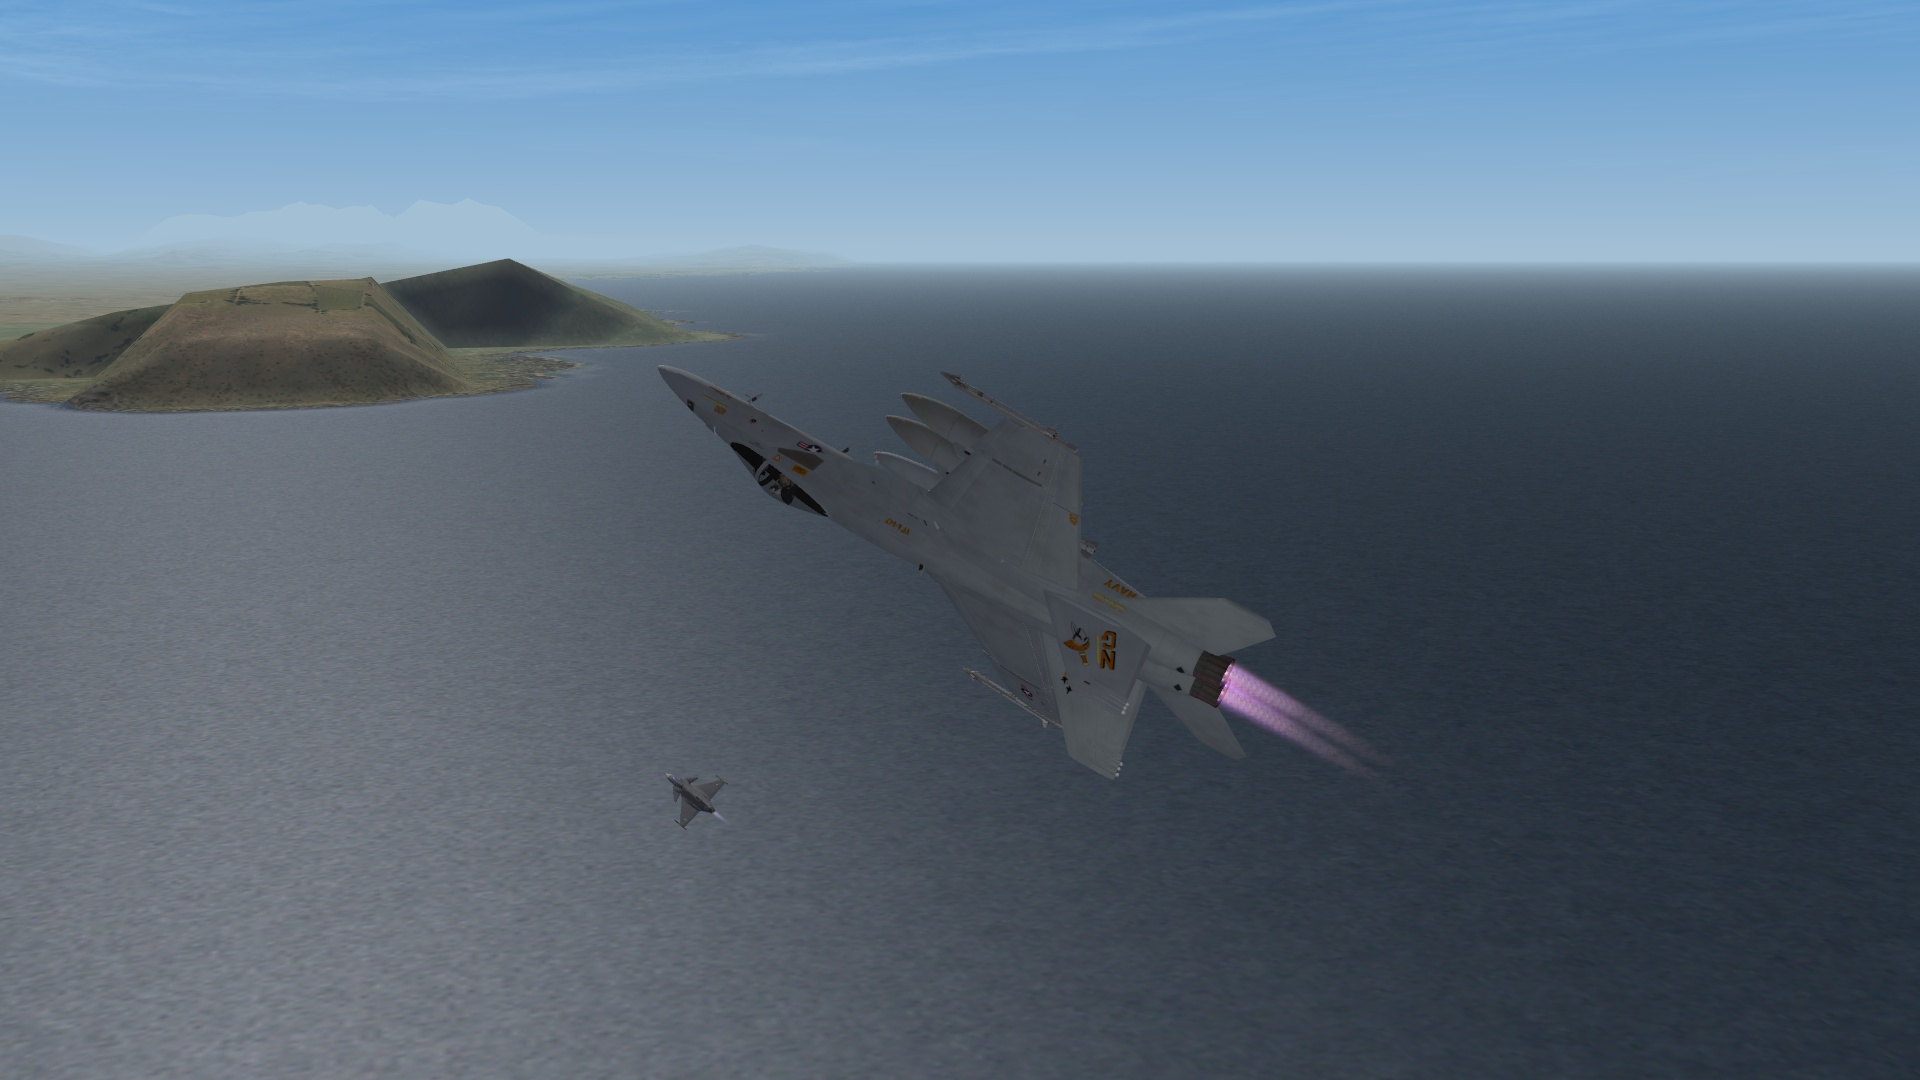
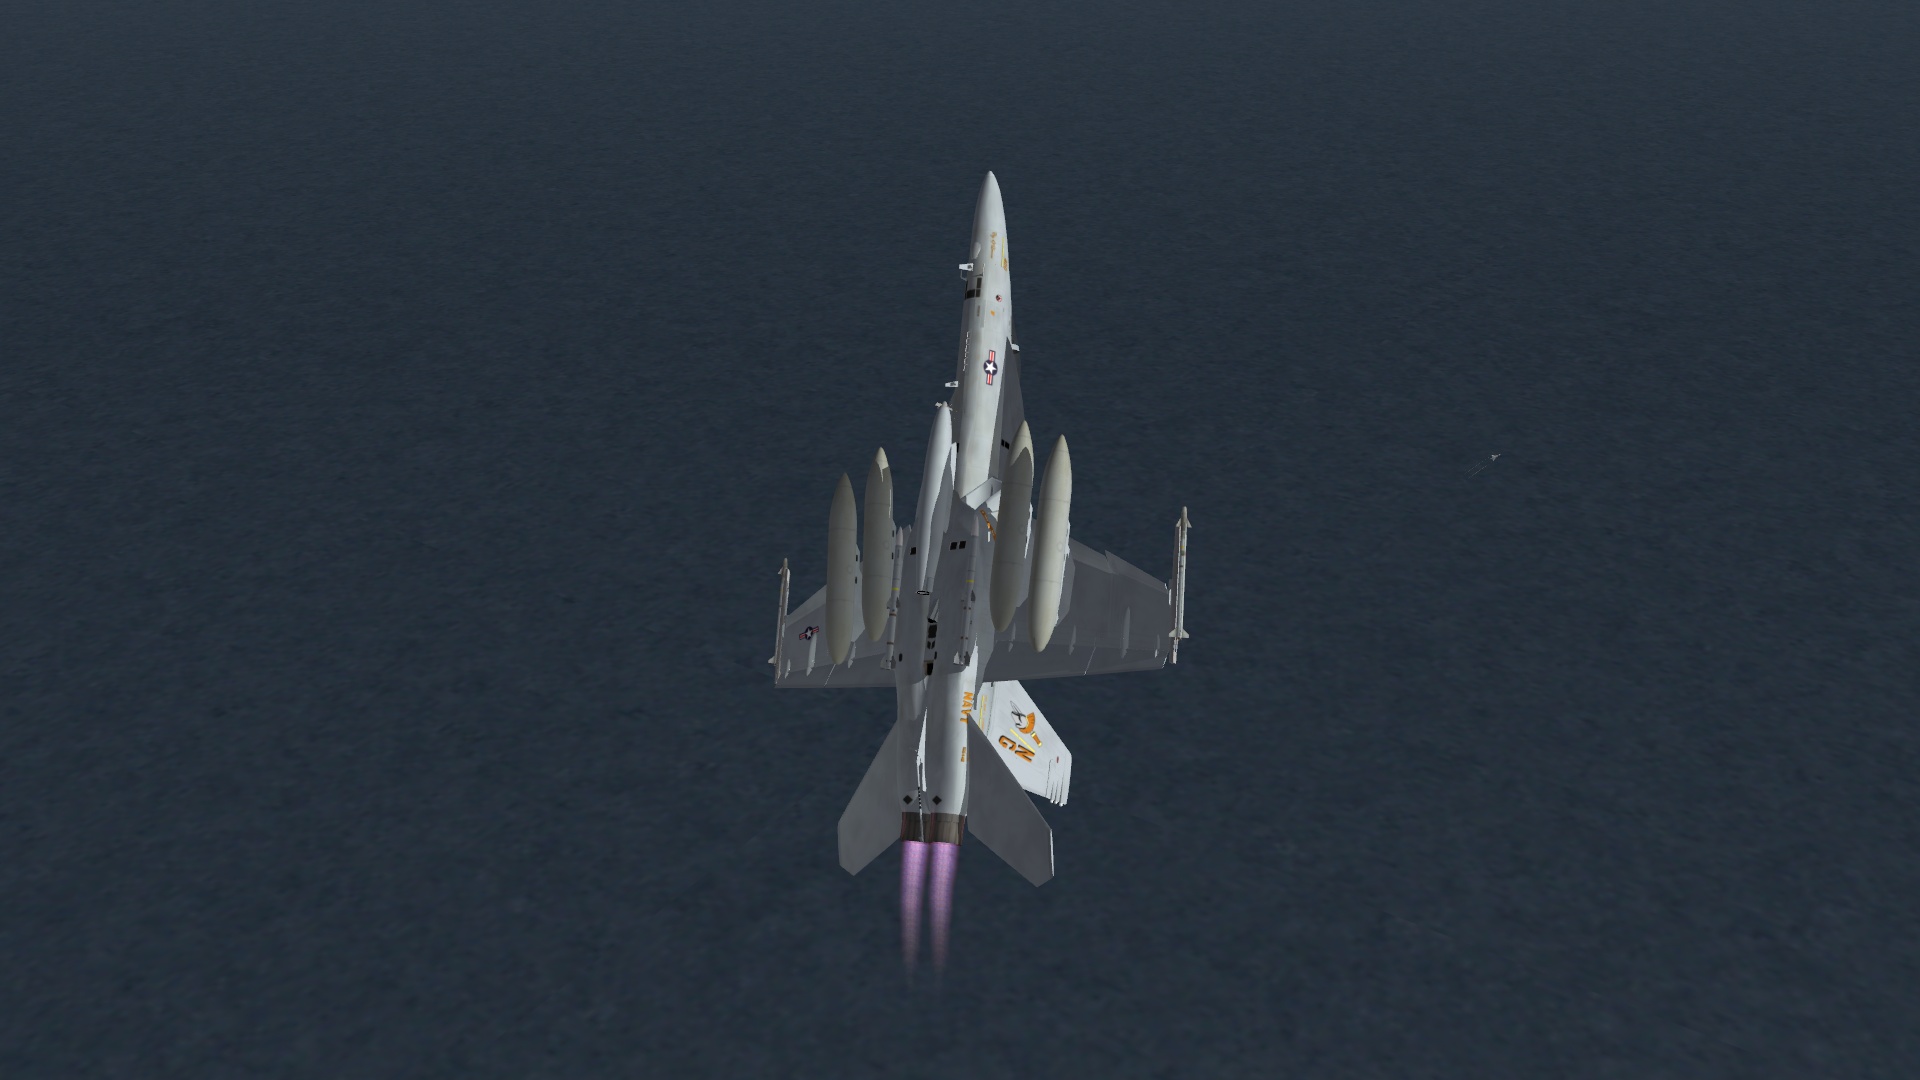
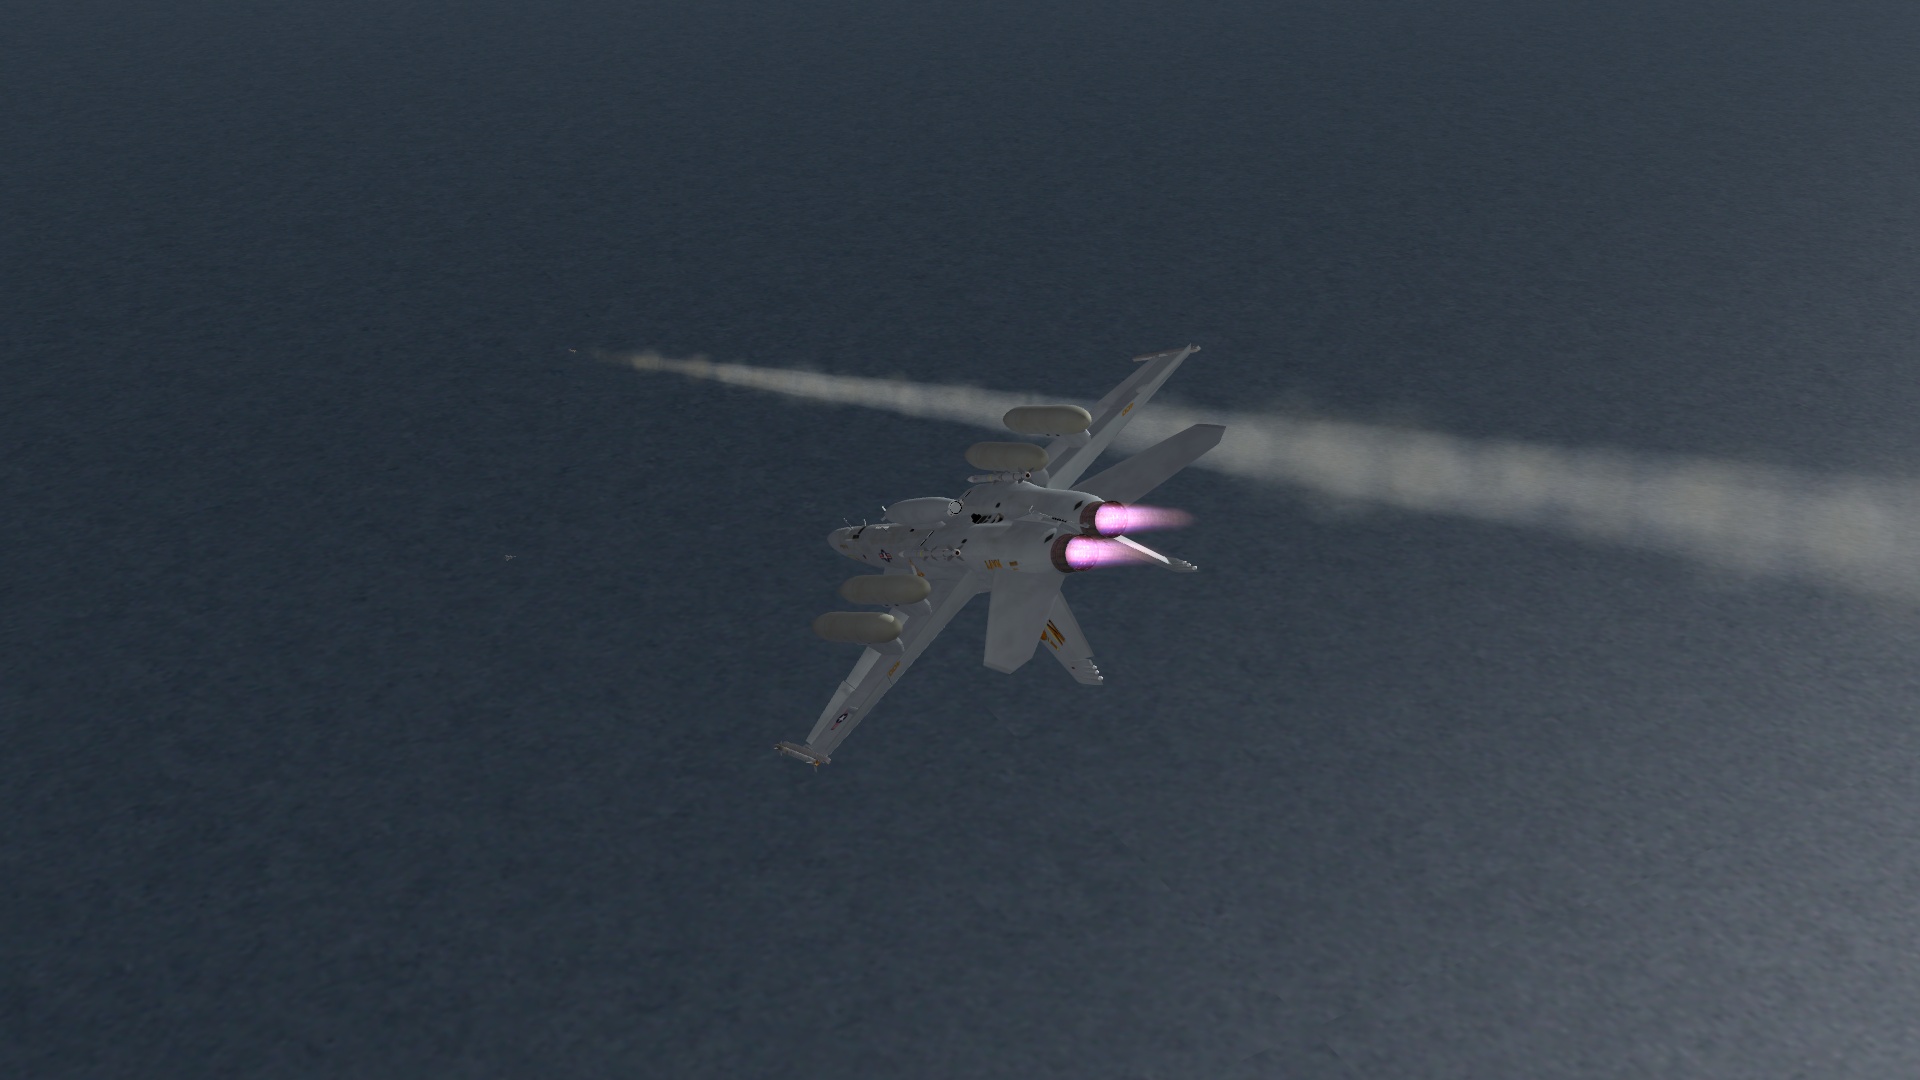
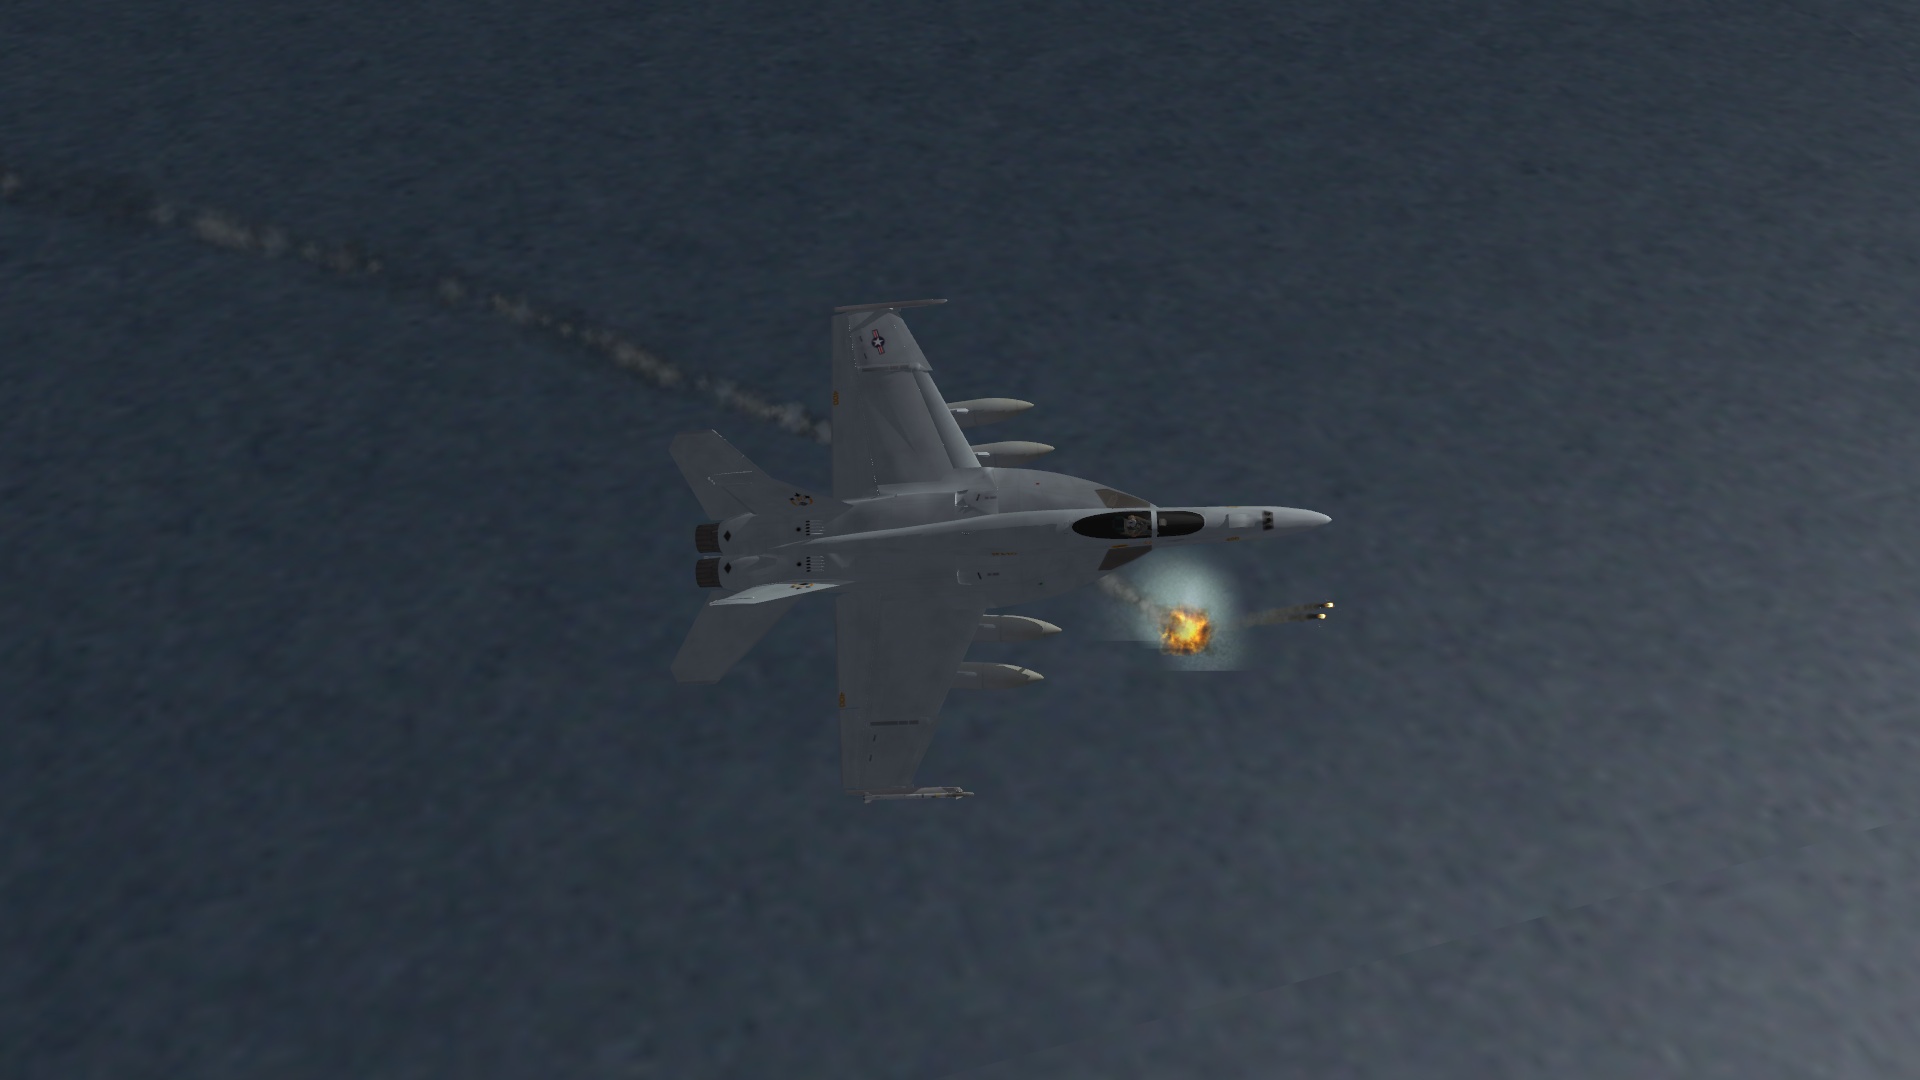
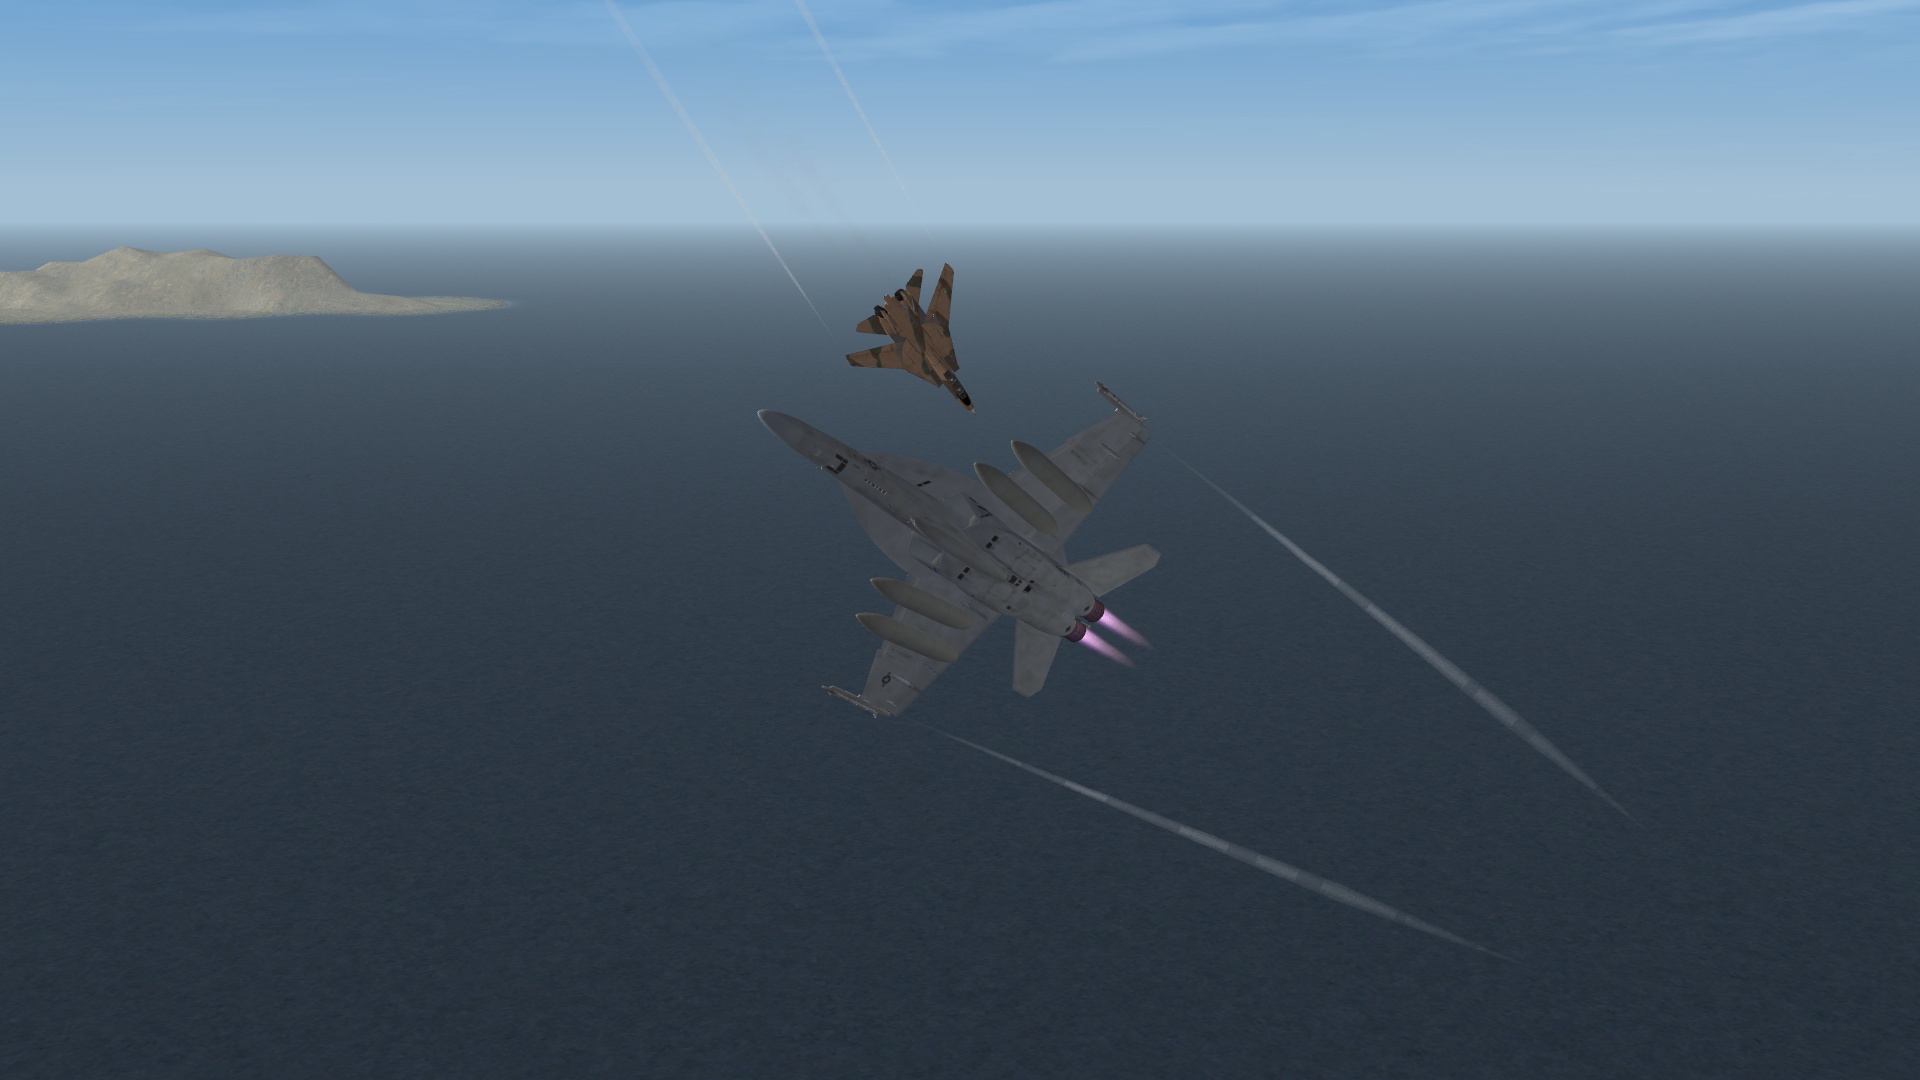
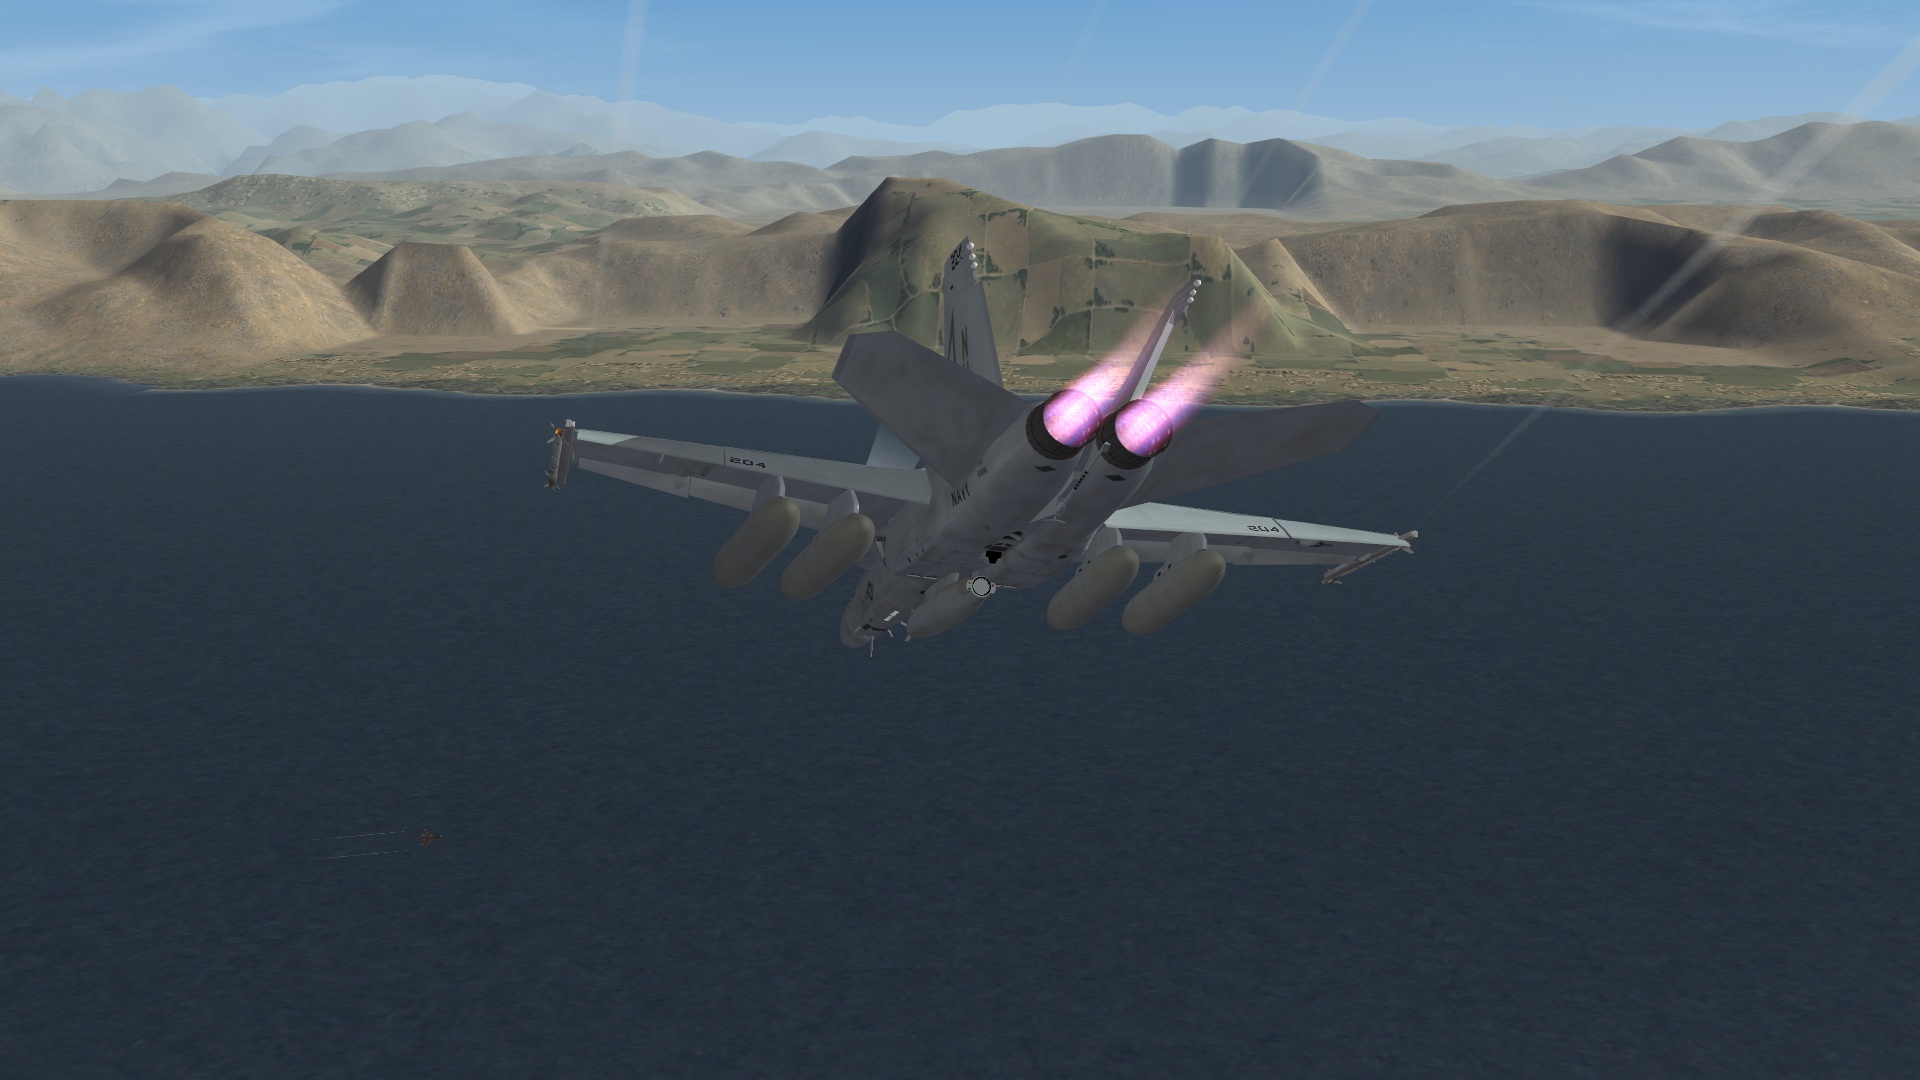
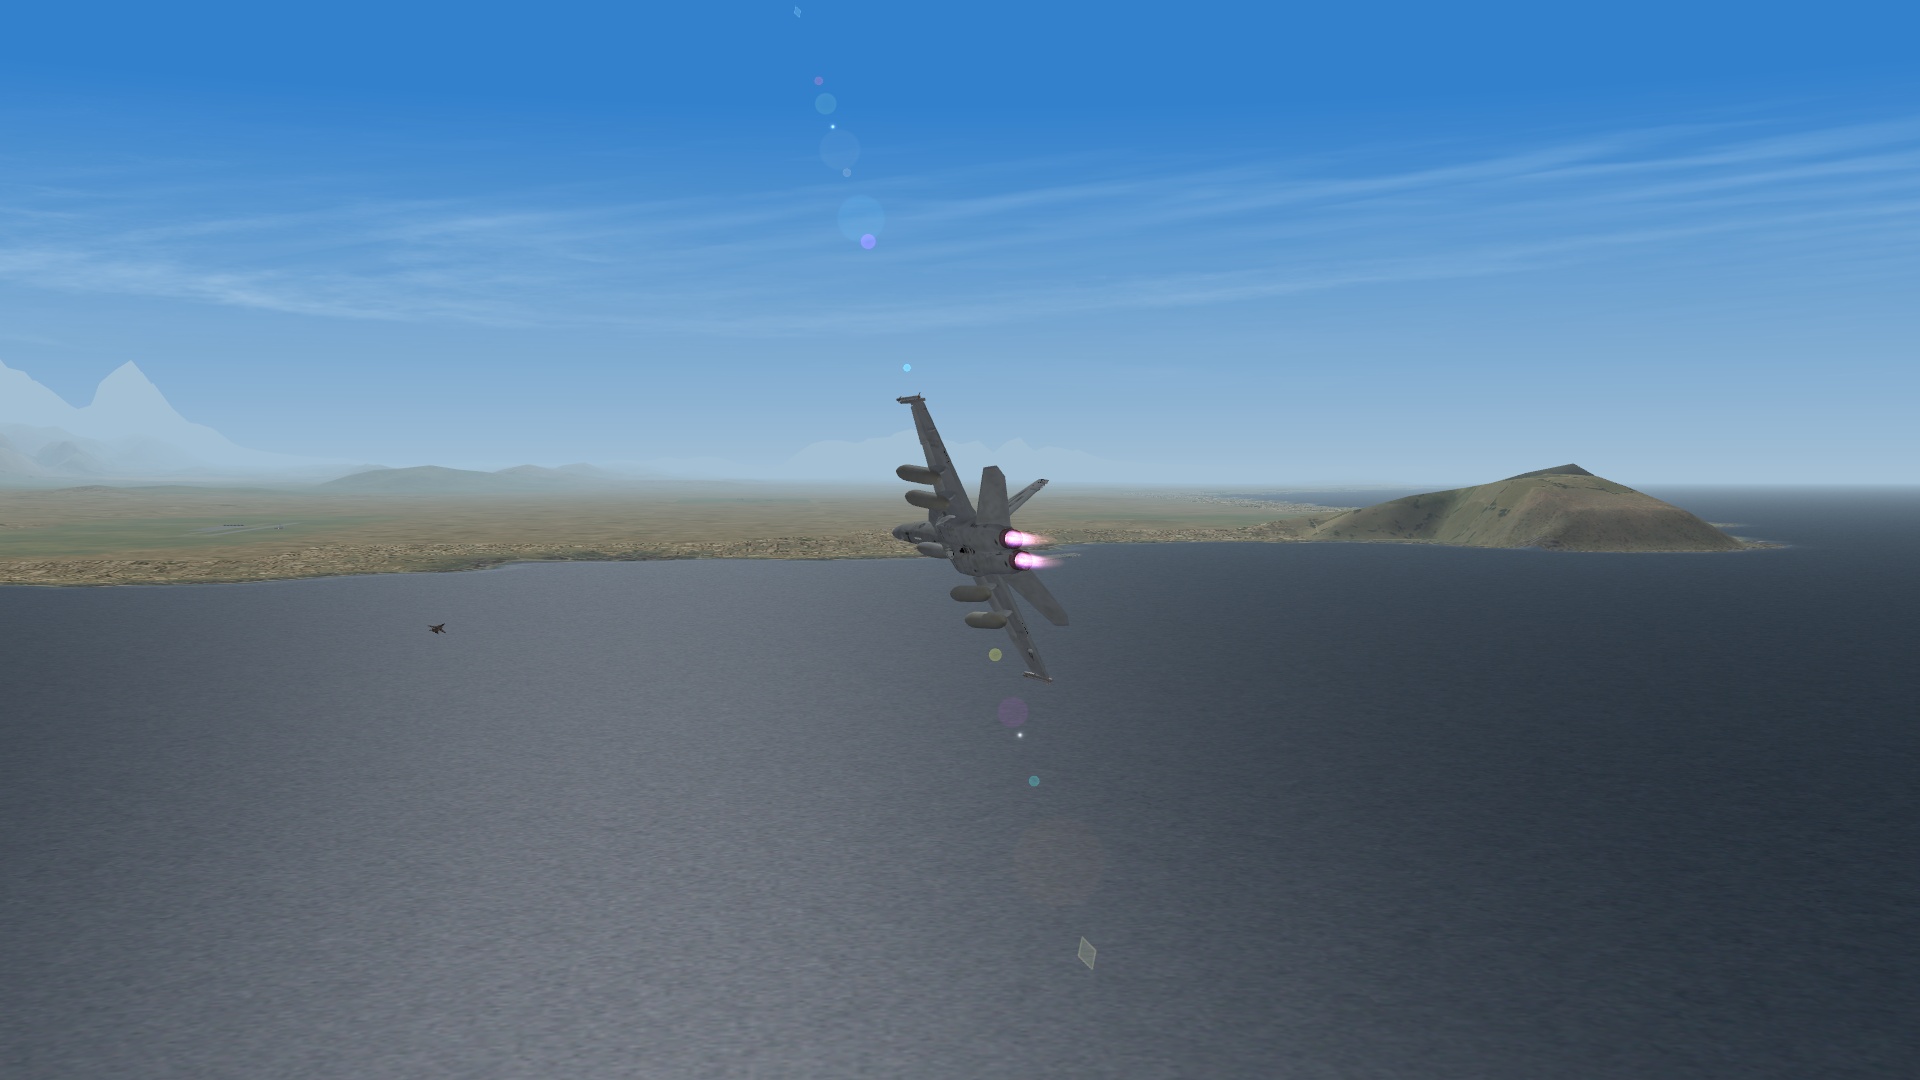
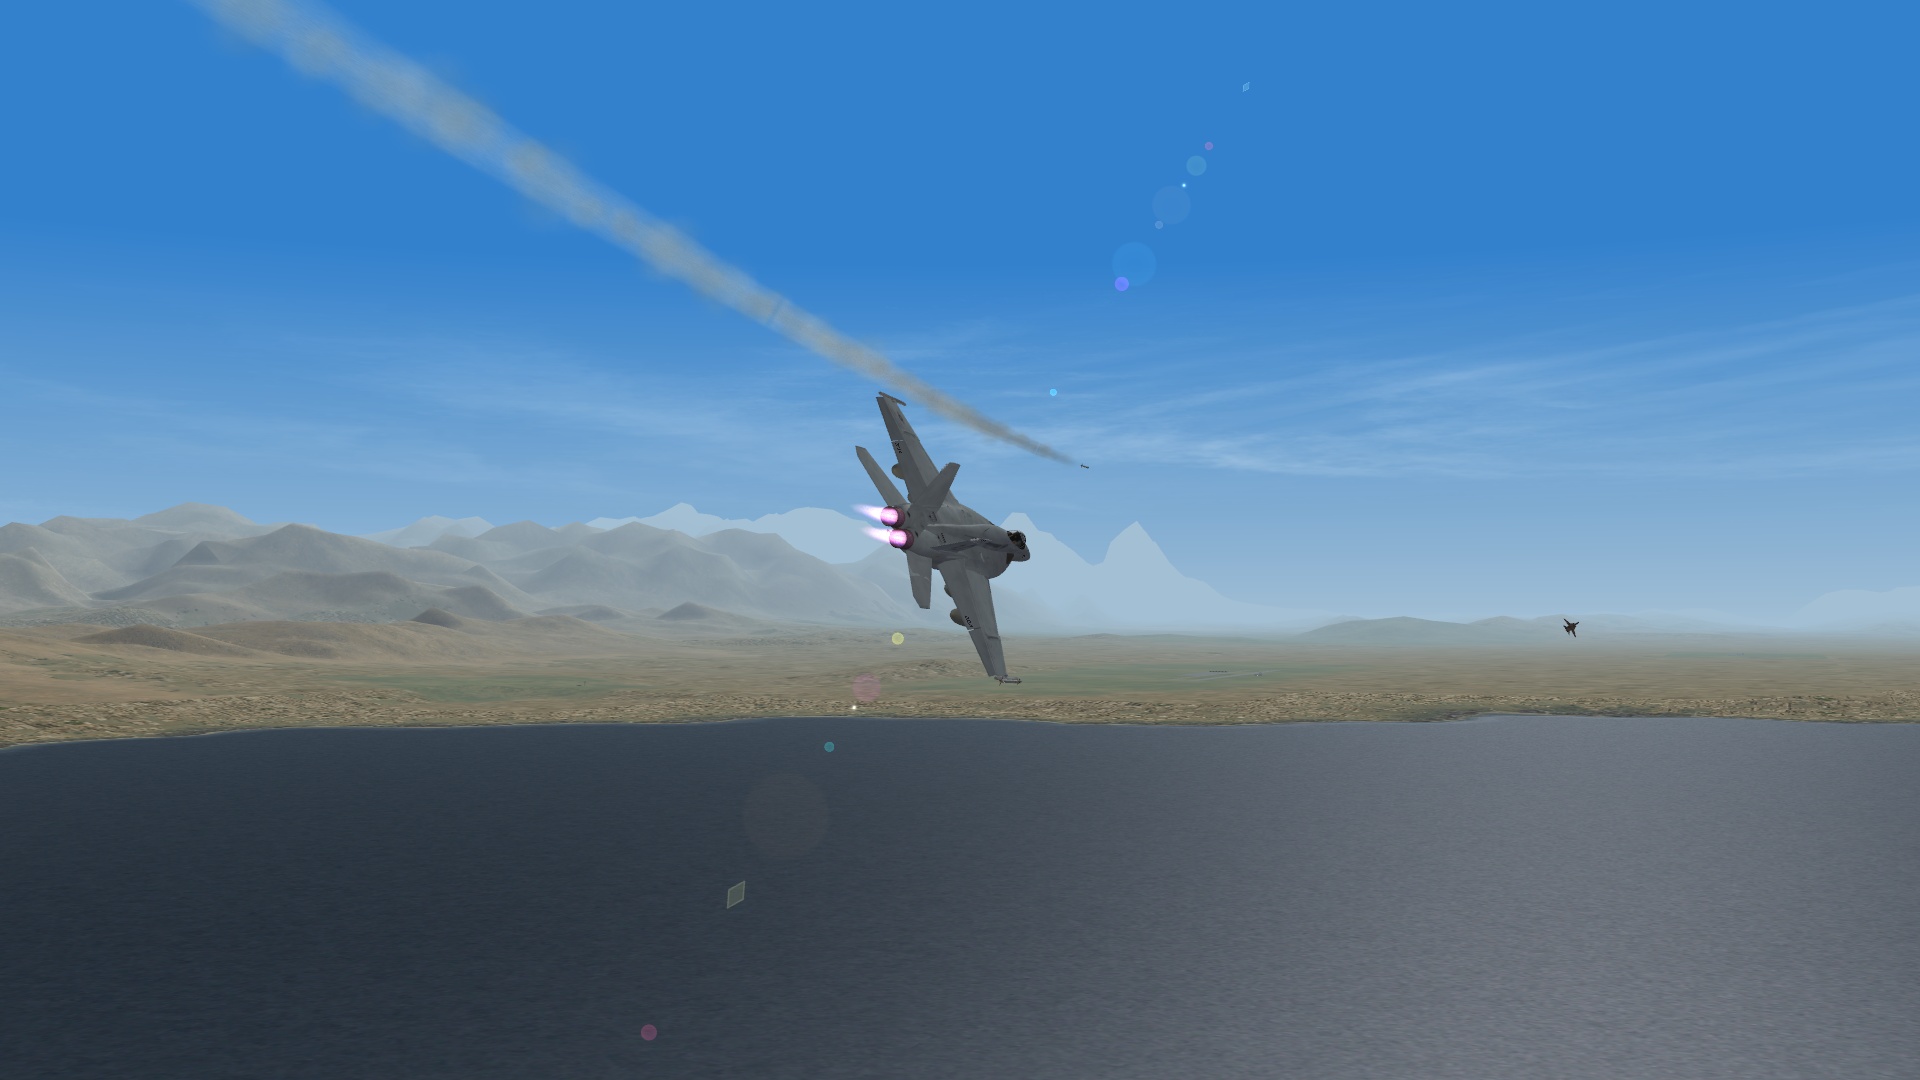
Me: Stock F/A-18E with 2 x 9X, 2 x AIM-210 and 4 x tanks and 1 x Refuelling pod plus gun Opposition: Gripen with gun. Unlike last night's bout this one was with a lighter more agile fighter (happy? ) while I stayed "5-wet" just as an experiment. After the merged to still turn into him and set myself up for a 'winder shot. I had contemplated a gun kill but the Gripen is small and therefore I worked on the missile kill. After another turn I did manage to overshoot during a scissors (third image) and he was able to get some shots off but nothing connected. I guess he thought I was going to splash into the ocean (padlock view is of course disorienting during ACM sometimes), fixed myself and turned back into him. Did a few circular energy turns, went vertical and played around some more before I felt it was a good time to shoot him down. Got above him, locked him up and fired from high and splashed him.
-
-
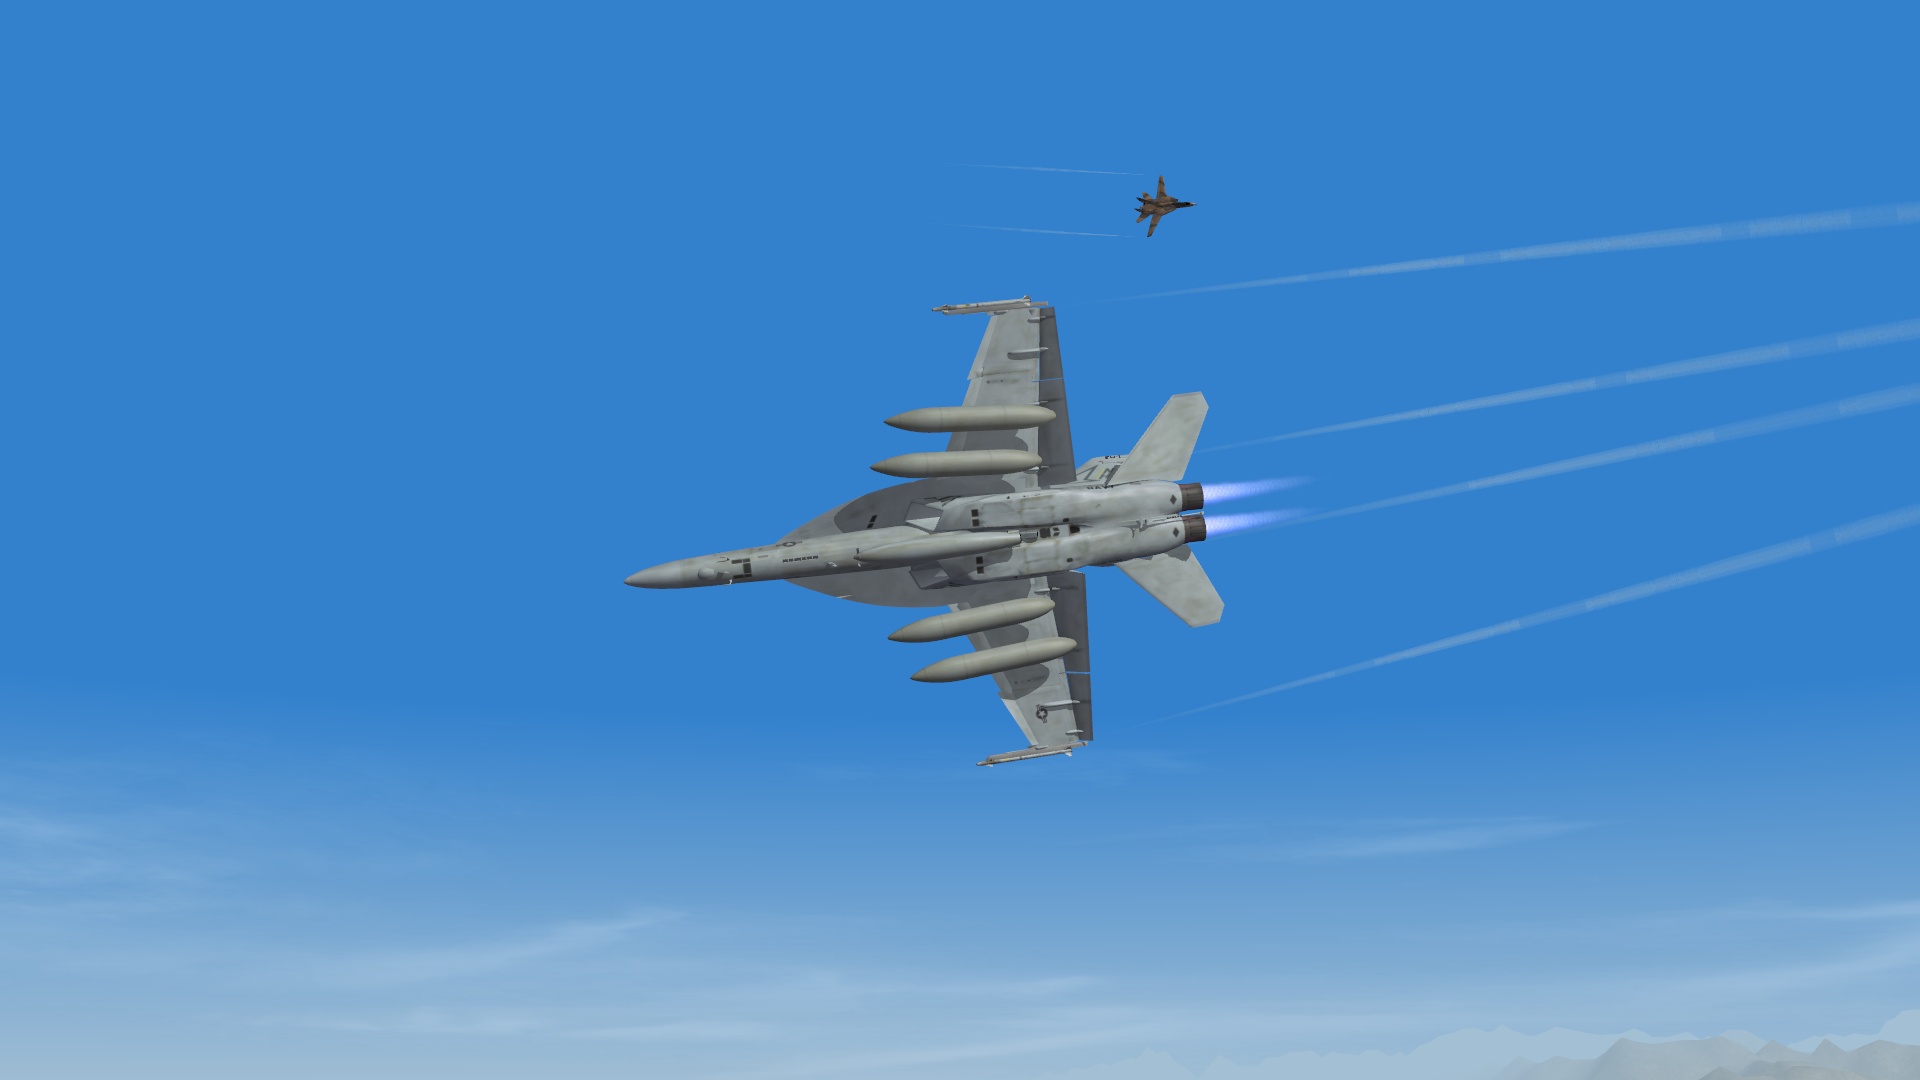
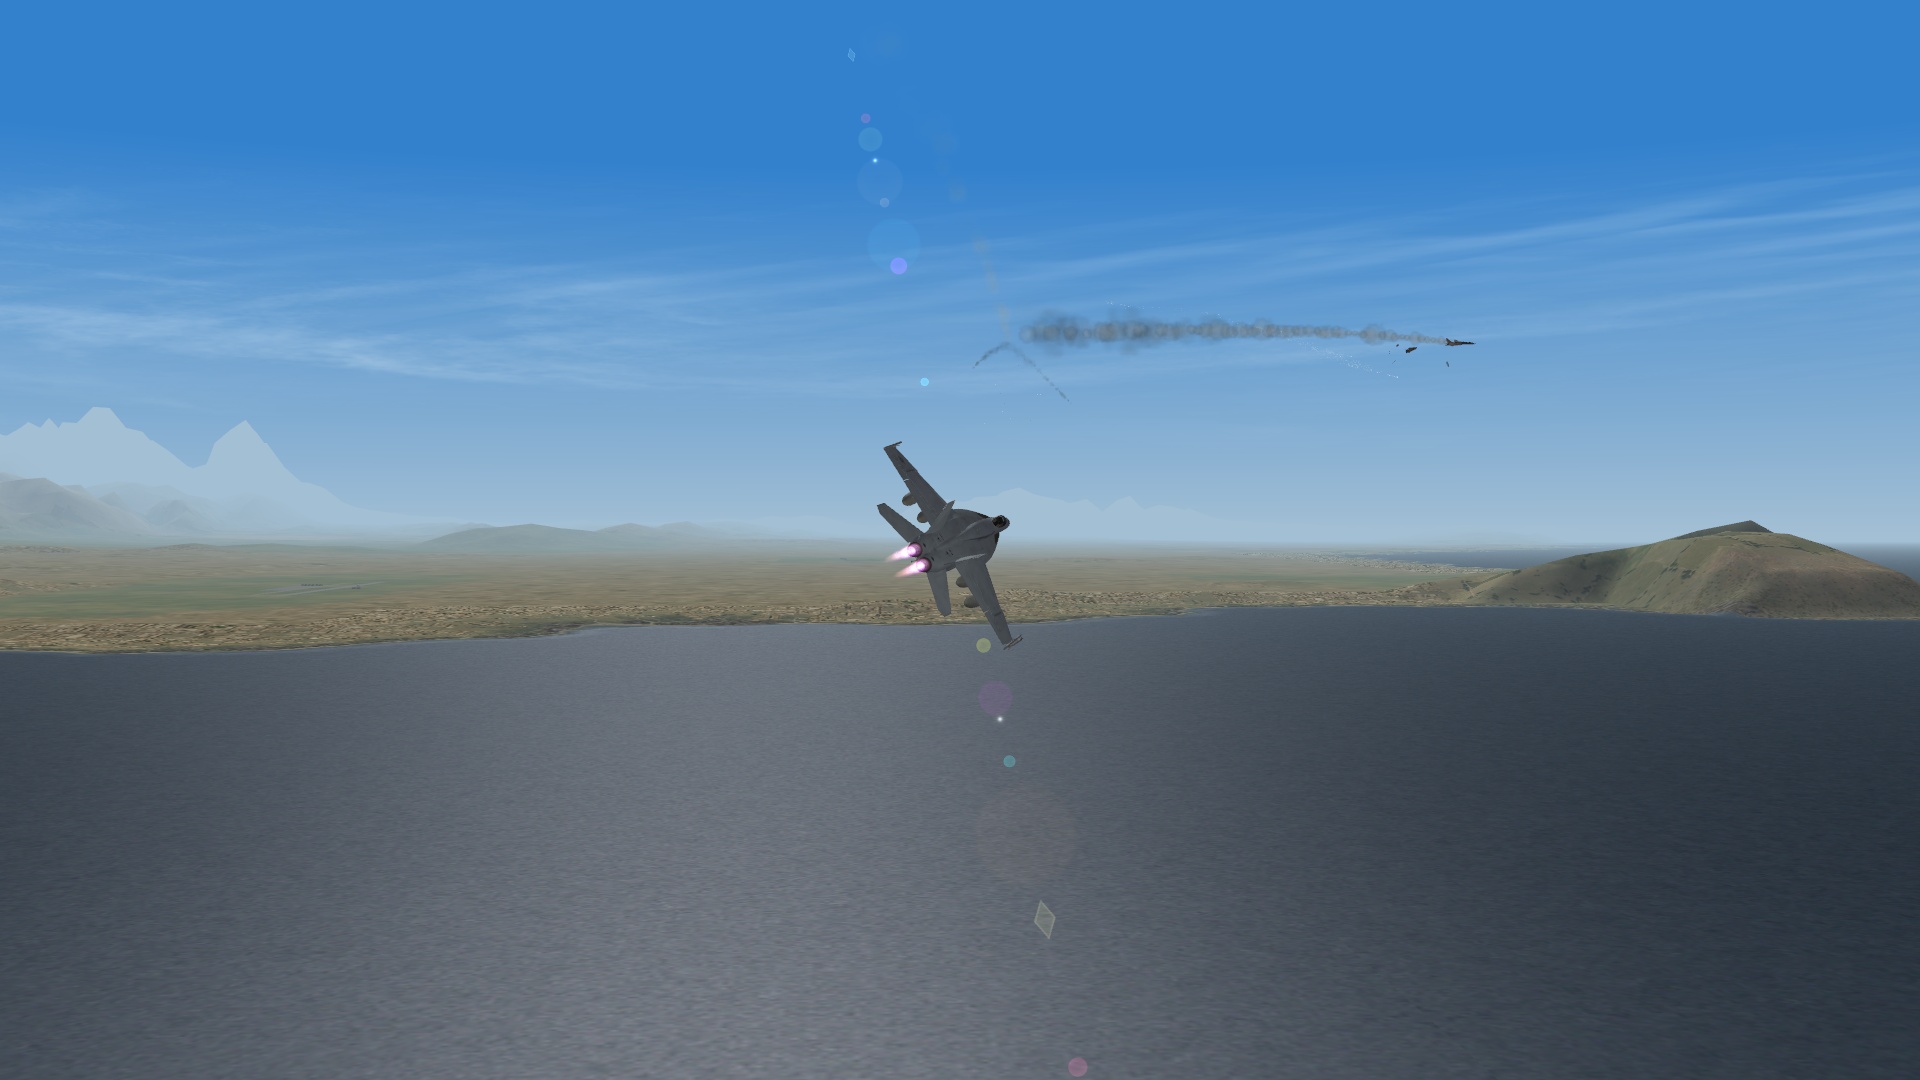
Me: Stock F/A-18E with 2 x 9X and 4 x tanks and 1 x Refuelling pod plus gun Opposition: F-14A with gun. I know Ceasar is going to sacrifice another Super Hornet as I sacrificed his Tomcat n this bout... I'm testing revised fuel loads for the tanks and performance on how the aircraft will fly with "normal" engines. With 2200 extra gallons as weight I lumbered off the deck fine and proceeded east to rendezvous with the Iranian F-14A that I was destined to shoot down. Upon the merge I pushed the nose down again as it seems to make him work for me than going up and then coming around. Anyways he passes me and we end up passing each other a few times. I think if the Tomcat AI had a better turn ability then the first picture would have concluded that I would have been shredded. A few times we buzzed each other and the second position the Iranian equivalent of Goose flipped me the bird and flew past me trying to get into a good firing position. By the third image it was just a matter of some energy circles in order to work him into a better angle for a shot as in that point as we have seen my missiles miss all the time. So eventually by the fourth image he's extending outwards for another try at a circle or just out of energy. Fine enough as I take my first shot and down him. It should be noted I did take off the afterburner for a little bit as well I don't think I was going to run out of fuel anytime soon... Seriously Ceasar I'd like to see a manual on how to fly the Tomcat in ACM as I need to really try and see how I can defeat my own project plane... And it should be noted that flying four tanks and the refuel pod is like flying the MF F/A-18A. Analog I know but you feel it...
-