-
New Downloads
-
New Topics
-
- 0 replies
- 113 views
-
- 3 replies
- 138 views
-
- 3 replies
- 158 views
-
- 2 replies
- 132 views
-
- 3 replies
- 171 views
-
![More information about "[Fictional] Dassault Mirage F-1CJ for STRIKE FIGHTERS 2"](https://combatace.com/applications/downloads/interface/legacy/screenshot.php?path=/monthly_2026_04/img00013.thumb.png.5f024a56dd1dcdbe9360129e6571d62d.png)


![More information about "[Fictional] Panavia Tornado GR.1E (CB.15) for STRIKE FIGHTERS 2"](https://combatace.com/applications/downloads/interface/legacy/screenshot.php?path=/monthly_2026_04/img00006.thumb.JPG.b7f506a5682355937b12df8e8c5cff13.JPG)


News Releases
- 3 replies
- 6,068 views
- Add Reply
- 2 replies
- 3,514 views
- Add Reply
- 9 replies
- 7,482 views
- Add Reply
- 5 replies
- 3,495 views
- Add Reply
- 3 replies
- 5,135 views
- Add Reply
- 1 reply
- 3,651 views
- Add Reply
- 1 reply
- 2,552 views
- Add Reply

By Fates,

Have you ever wanted to experience being a fighter pilot and experiencing the thrill of aerial combat, other than sitting at your desk playing a sim, then get out to Sky Combat Ace, based out of Henderson Airport, Las Vegas (KHND), just a short hop from the Vegas strip. I had the recent opportunity to sit front seat with one of the country’s best Combat Flying Experiences, Sky Combat Ace. They will be happy to pick you up and bring you back from your hotel. On the ride over to KHND, I reached
By Skyviper,

CombatACE Spotlight: Interview with Wargaming
15 years ago a group of friends got together and created a small company that quickly grew over the years. They would focus on strategy based games and put many players to the test. Wargaming is a Russian based company that has developed popular titles such as World of Tanks and World of War Planes. Mr. Sergey Burkatovskiy, the Vice President of Development, has agreed to do an interview and share with us the story of Wargaming.
In 1998 Warga

By 33LIMA,
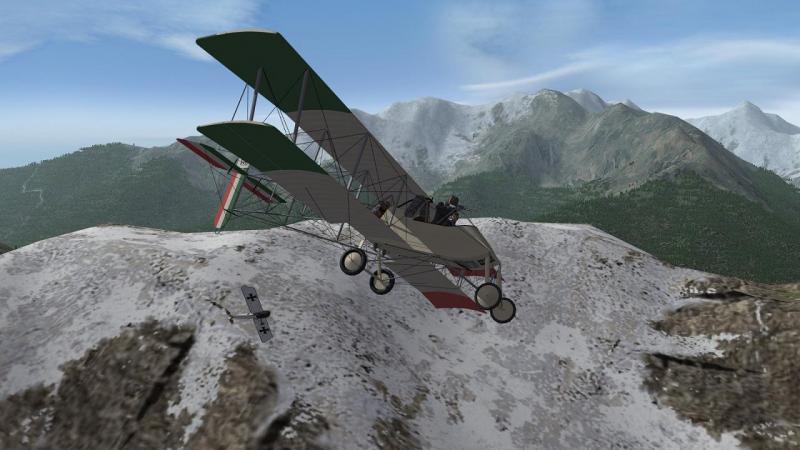
Not for the faint of heart - battling Huns and high ground in scenery to die for!
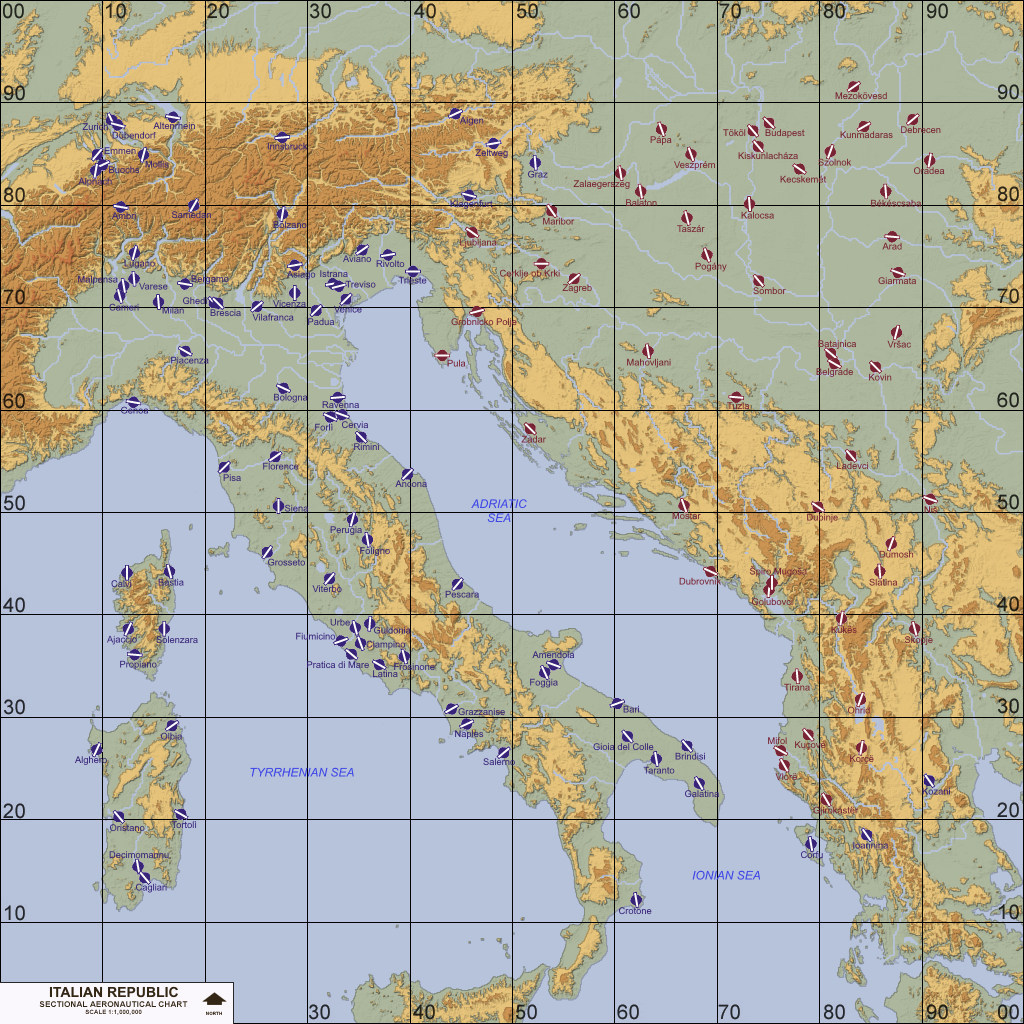
The latest campaign for World War 1 air combat sim First Eagles/First Eagles 2 is by Gterl and covers the fighting between Italy and Austria-Hungary, 1915 to 1917. Those of us who have been following the development of this new terrain have been slavering over Gterl's screenies and waiting keenly for its release, which has now come:
http://combatace.com/files/file/14440-italian-terrain-incl-1915-1917-camp
By Skyviper,

CombatACE Spotlight: Interview with 331 Killerbee
In today’s CombatACE spotlight we’ll be focusing on Killerbee who is a long time member and mod developer for the Strike Fighter series. He is also a veteran of the United States Marine Corps.
So, 331 Killerbee, please, tell us a little bit about yourself.
I was born on August 27, 1954 in Maryville Tennessee. I come from a long line of Tennesseans that have served the United States Military since the Battle of Kings Mountain. My Ances
By 33LIMA,
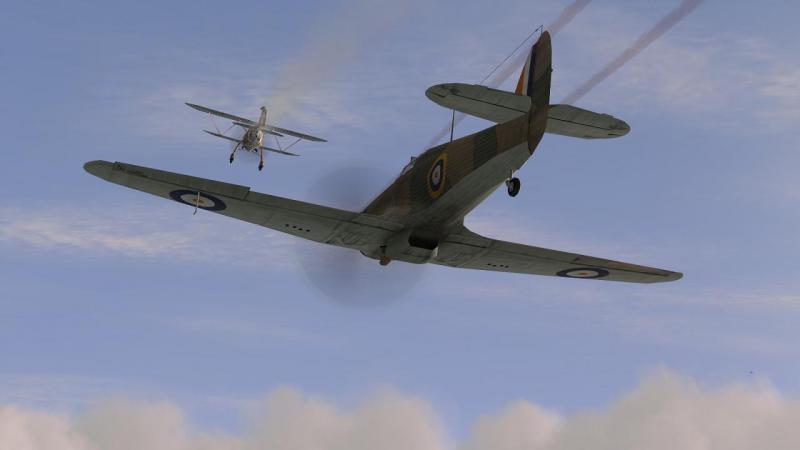
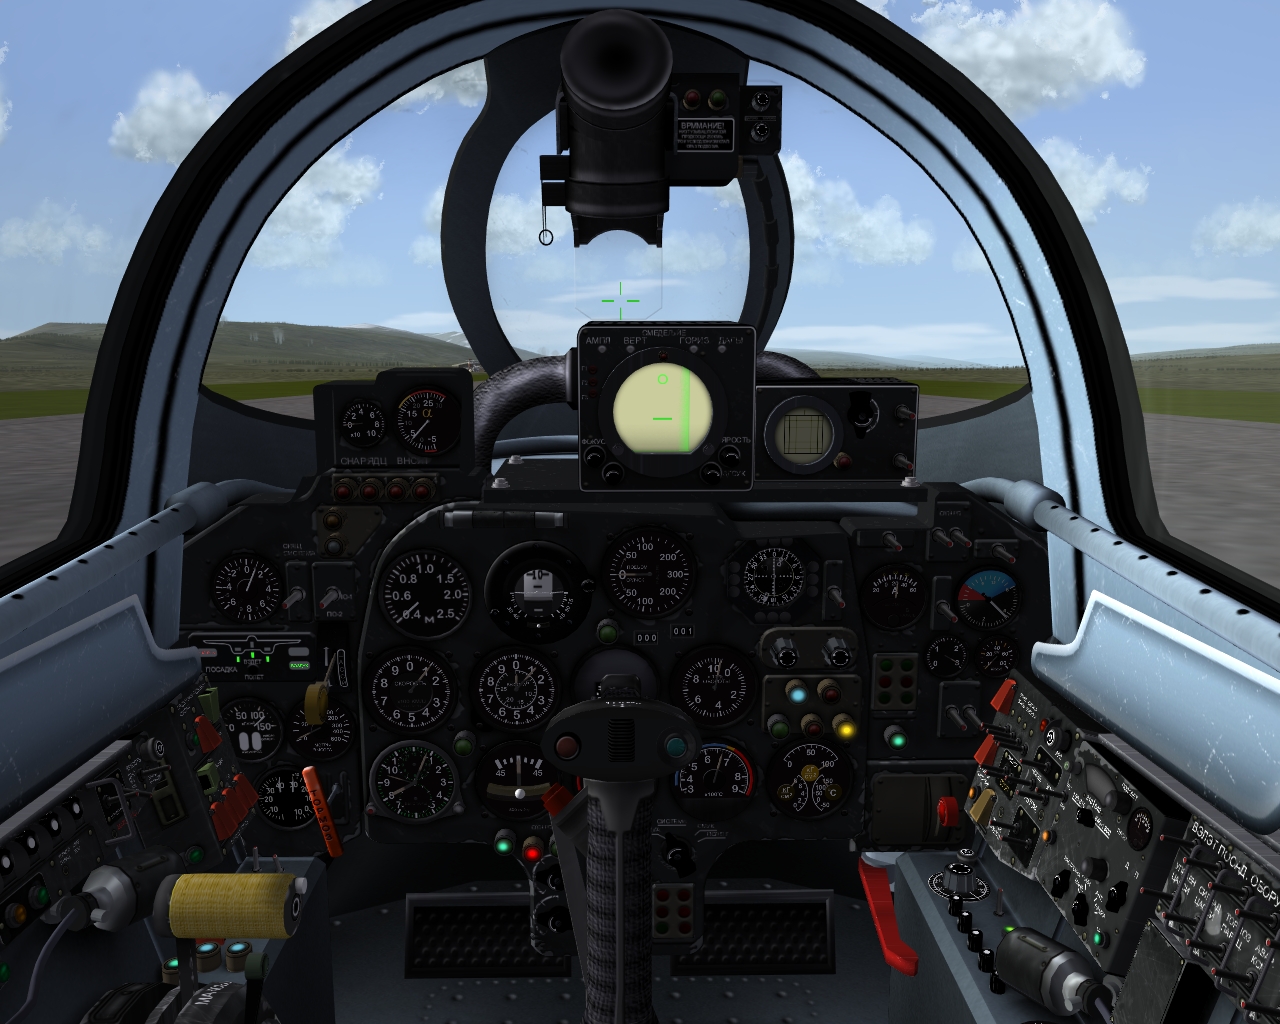
Flying a South African Air Force Hurricane against the Regia Aeronautica in a WW2 backwater
Notwithstanding the mounting excitement around upcoming new sims, there's still plenty of life in classics like IL-2. I for one was keen to try out a couple of new campaigns released by Greybeard which featured a little-known theatre of operations, Ethiopia and eastern Africa. Here in 1940, Musolini's forces staged an initially-successful offensive into British-controlled territories that was soo
By Skyviper,

CombatACE Spotlight: Interview With Pcpilot
By Skyviper
In today’s CombatACE Spotlight we’ll focus on Pcpilot. He’s a veteran of the United States Navy, a mod developer and has been here at CombatACE since 2002. He was also among the first group members to arrive here when CombatACE was first started. Thank you, Pcpilot, for taking the time to do this interview.
So, Pcpilot, can you tell us a little about yourself?
I was born in Jacksonville, Fla. in 1957. My family moved west to Ar
By Skyviper,

CombatACE Spotlight: Interview With Wingwiner
By Skyviper
Today we shine the light on Wingwiner. He hails from Poland and has been a member here since 2006. He released a number of flies over the years and just recently he's a released a helpful mod that we'll cover later on. Thank you Wingwiner for taking the time to do an interview with us.
So, please tell us, what interests you about aviation? I’m interested in old airplanes (cold war era) and aircraft combat advantage over groun
-
Popular Destinations
-
New Topics
-
Our Picks
-