-
New Downloads
-
New Topics
-
- 3 replies
- 158 views
-
- 2 replies
- 134 views
-
- 3 replies
- 174 views
-
Ground Attack Bombing Weapons Delivery Techniques
By Crusader, in KB - Unorganized Topics
- bombing
- ground attack
- (and 3 more)
- 0 replies
- 99 views
-
- 7 replies
- 203 views
-
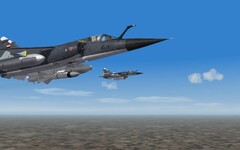
![More information about "[Fictional] Dassault Mirage F-1CJ for STRIKE FIGHTERS 2"](https://combatace.com/applications/downloads/interface/legacy/screenshot.php?path=/monthly_2026_04/img00013.thumb.png.5f024a56dd1dcdbe9360129e6571d62d.png)


![More information about "[Fictional] Panavia Tornado GR.1E (CB.15) for STRIKE FIGHTERS 2"](https://combatace.com/applications/downloads/interface/legacy/screenshot.php?path=/monthly_2026_04/img00006.thumb.JPG.b7f506a5682355937b12df8e8c5cff13.JPG)


News Releases
- 0 replies
- 6,020 views
- Add Reply
- 3 replies
- 8,537 views
- Add Reply
- 0 replies
- 4,278 views
- Add Reply
- 3 replies
- 2,379 views
- Add Reply
- 3 replies
- 10,870 views
- Add Reply
- 21 replies
- 12,471 views
- Add Reply
- 3 replies
- 6,065 views
- Add Reply

By 33LIMA,
Helping close the ring around Stalingrad in a new phase of the battle!
One of the things I like about the Single Player campaign in IL-2: Battle of Stalingrad (BoS) is the way it follows the main phases of the historical battle. BoS unfortunately doesn't let you create multiple pilot identities who can serve with named, historical squadrons; the next best thing is to choose the same plane for each campaign mission, as if you were flying with the same unit. For my first run through the cam
By 33LIMA,
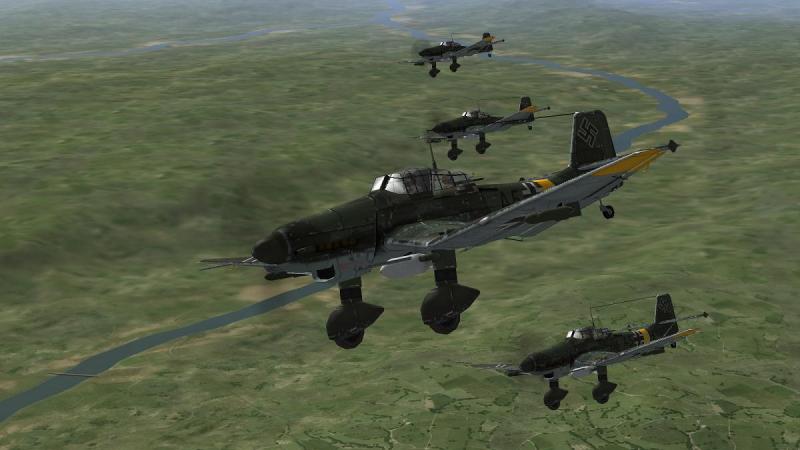
Flying the Ju 87 over the front on the Volga - in Il-2 1946!
Why fly the Stuka in 'classic' Il-2 - over Stalingrad, to boot - when you can fly it in Il-2: Battle of Stalingrad (BoS)? If you have access to both sims, that's a good question. The new sim models the Stuka to a level of detail that is visually much superior, plus BoS portrays the city and the battlefield around it in tremendous detail. See what I mean?
Well, there are three reasons for playing this mission in t
By Skyviper,

Mini DCS A-10C Review
By Eric J
The A-10C is perhaps one of the best aircraft to fly, along with the A model Hog I reviewed beforehand. However the A-10C is the jewel in my opinion of the study modules (FC3 is still good don’t get me wrong) and deserves note as it’s perhaps the most complex aircraft compared to the other modules. That and its wartime record (of which I’ve used in Afghanistan myself) gives the aircraft an excellent reputation for an old aircraft still doing

By Erik,

This is the best time of year where we each spend time with our families and loved ones to remember a year gone bye. Our holiday wish for each of you is that in the joy of the festive lights and wonderful food you take the time to remember the people that mean so much to you. Fill your heart and the hearts of other's with the joy of the season and remember the true meaning of the holiday. Give thanks to those who have fought for and defend our freedoms today. Remember what has been given so we m
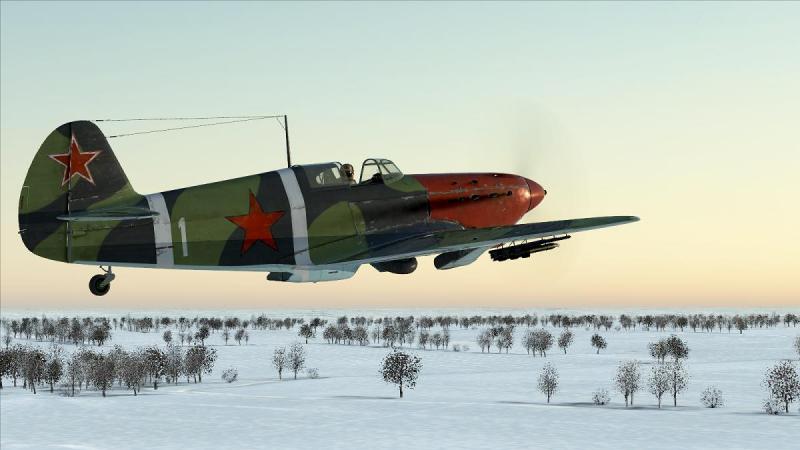
By 33LIMA,
Flying a typical Single Player campaign mission in the new Eastern Front air combat simulator!
At the risk of being promptly if figuratively burned at the nearest stake, I have to confess that the original IL-2 never really kindled my lukewarm interest in the air war between Nazi Germany and the Soviet Union. However, the latest sim to carry that name has managed to do so, to the extent that I have been flying mainly Soviet planes from the outset in IL-2 Sturmovik: Battle of Stalingrad
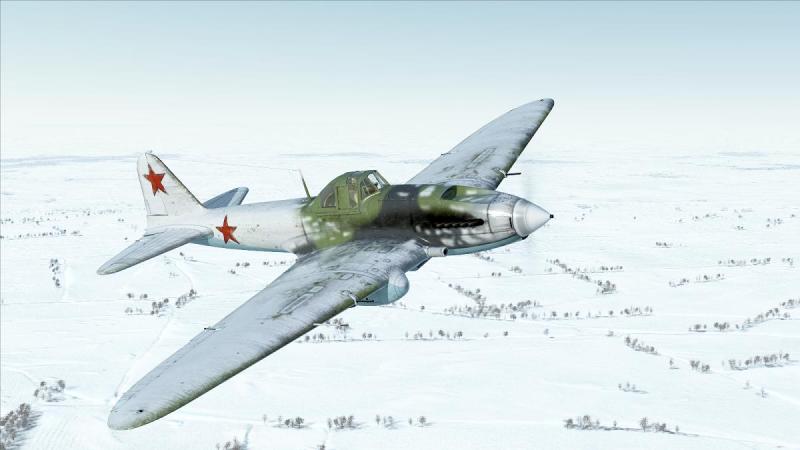
By 33LIMA,

The verdict!
Before we get down to brass tacks here, as a lead-in I'm going to run briefly through another SP campaign mission, illustrating some of the features that I think are worth highlighting at this point and have influenced my own verdict on IL-2 Sturmovik: Battle of Stalingrad.
This was a third effort at flying an intercept in a Yak-1, from our base north of Stalingrad to an area south of the city. Previous efforts had failed to meet my personal objectives, partly as I'd be
By Skyviper,

Mini DCS F-86F Sabre Review
By Eric J
For me to go into the history of the Sabre would be utterly not worth the effort because it is a well-known jet as well as being one of the first US production jet fighters. Having gained experience in Korea during the Korean War, only matched by the Mig-15 and Mig-17, the jet is simply iconic for that reason alone, so a dissertation in the history wouldn’t be applicable for this review, but is applicable in setting the tone for the m
-
Popular Destinations
-
New Topics
-
Our Picks