![More information about "[Fictional] Dassault Mirage F-1CJ for STRIKE FIGHTERS 2"](https://combatace.com/applications/downloads/interface/legacy/screenshot.php?path=/monthly_2026_04/img00013.thumb.png.5f024a56dd1dcdbe9360129e6571d62d.png)


![More information about "[Fictional] Panavia Tornado GR.1E (CB.15) for STRIKE FIGHTERS 2"](https://combatace.com/applications/downloads/interface/legacy/screenshot.php?path=/monthly_2026_04/img00006.thumb.JPG.b7f506a5682355937b12df8e8c5cff13.JPG)

News Releases
- 2 replies
- 3,406 views
- Add Reply
- 1 reply
- 7,207 views
- Add Reply
- 2 replies
- 4,248 views
- Add Reply
- 0 replies
- 8,891 views
- Add Reply
- 11 replies
- 8,671 views
- Add Reply
- 7 replies
- 6,390 views
- Add Reply
- 13 replies
- 12,092 views
- Add Reply
By Skyviper,

The C-130: Celebrating 60 Years of Active Service
60 years ago, on the 23rd of August in 1954, a legend was born when the second experimental C-130 (designated then as YC-130) took to the skies over the Lockheed plant in Burbank California and made a 61 minute flight to Edwards Air Force Base. Stanley Beltz and Roy Wimmer piloted the aircraft while Jack Real and Dick Stanton took on their roles as flight engineers. Watching from the cockpit of a P-2 Neptune was the legendary designer Kelly J

By Dave,

Introducing “DCS: F-86F Sabre” Belsimtek is preparing the upcoming launch its next flight simulation title: DCS: F-86F Sabre. Current plans are for a pre-order release with access to open beta versions in July, 2014. Focusing on another aviation legend, Belsimtek is excited to offer an opportunity to pilot a pioneering jet fighter spawned in the dawn of the jet age – the F-86 Sabre. Built by North American Aviation, the Sabre is one of the most well known American fighters of the 20th Century. T
By Dave,

"DCS: F-86F Sabre" Friday, 25 July 2014 DUXFORD, UK, July 26th, 2014 –The Fighter Collection and Eagle Dynamics in cooperation with Belsimtek are pleased to announce that DCS: F-86F Sabre is available for Pre Purchase - $49.99. Pre Purchase provides access now to the open beta.
http://www.digitalcombatsimulator.com/en/news/

By 33LIMA,
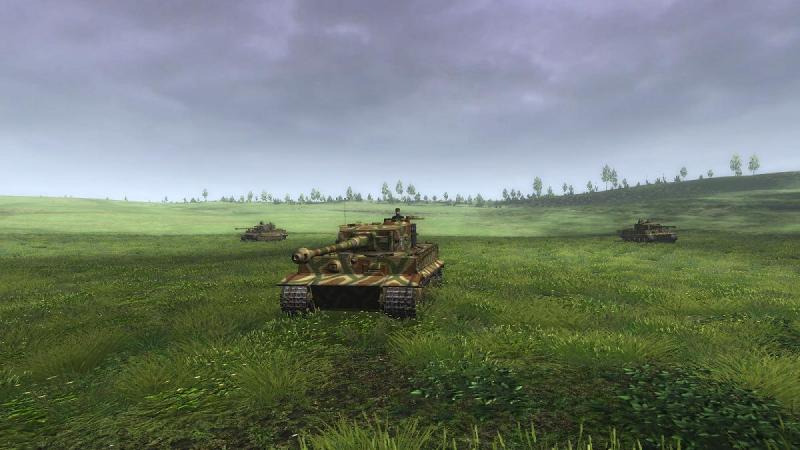
Applying some real-world tank tactics in 'Steel Fury - Kharkov 1942'
Fire and manoeuvre; fire and movement; bounding overwatch - call it what you will. But this basic drill is the cornerstone of modern small unit tactics. To quote from one British Army training publication used in my day:
'The role of the infantry in battle is to close with and destroy the enemy. To do this they must move. It may be possible to move safely by using covered approaches b
By 33LIMA,
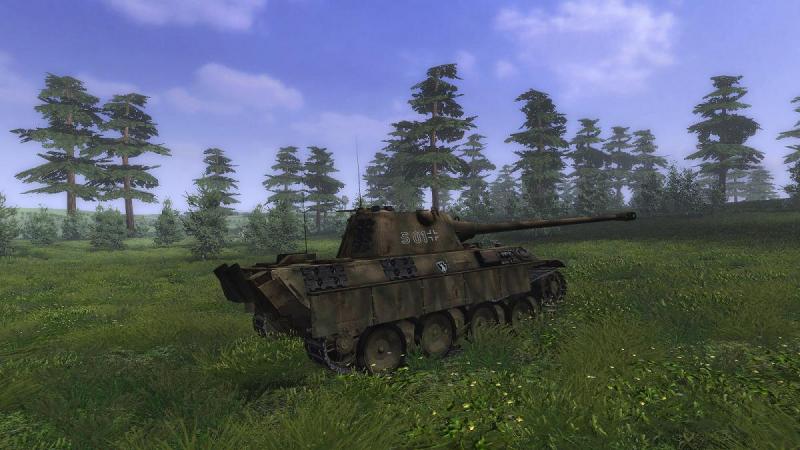
A new mission for a new tank in Steel Fury - Kharkov 1942
This Ukrainian tanksim's small but prolific and talented band of modders certainly keeps the rest of us well supplied with new kit and other toys! The latest update to the New Tank Add-on's (NTA) most recent mission pack (3.62, at time of writing) includes the new operation, map and vehicles featured in this mission report. Details of what you need to get the latest and the best from Steel Fury and the NTA mod are, as always, ke
By 33LIMA,
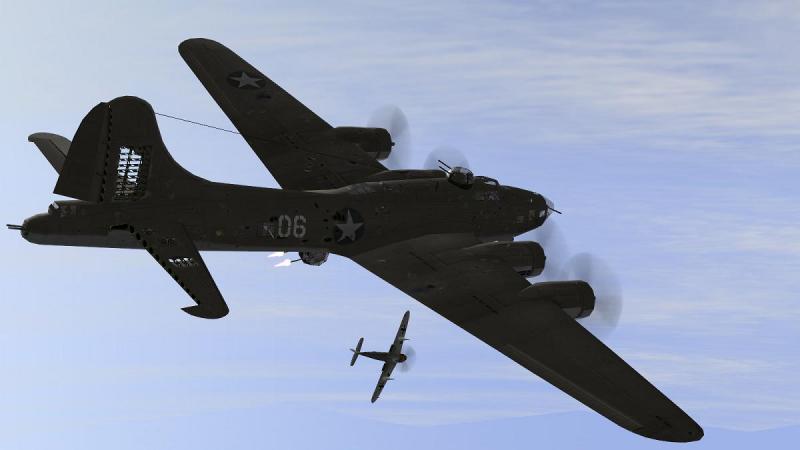
The heavies are back!
Here's the briefing for the next mission in my Reich Defence career, flown as per previous missions in IL-2 '46 + Dark Blue World and the same campaign from FlatSpinMan. I say 'briefing' but it's actually a conversational piece between the campaign pilot Willi Redemann and his boss, followed by what has the appearance of a piece of extended radio traffic, from the local Ground Controller to fighters outbound for an interception mission. 'Furniture Vans' - 'Moebel
By 33LIMA,
Campaigning in the Balkans - in a tanksim with a storyline!
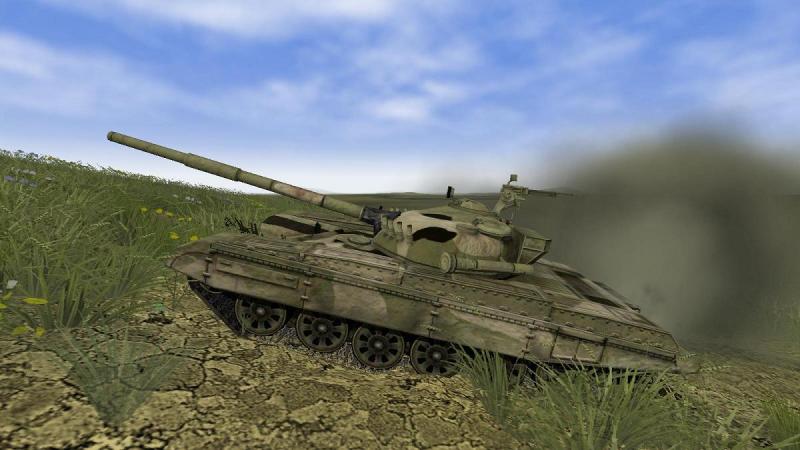
For my first tanksim campaign to get its own set of mission reports, as a ground-based counterpoint to the concurrent IL-2 campaign reports, I thought I'd start with something slightly different - one of the few tanksims that will let you fight in Cold War era Soviet tanks.
It's none other than IDDK's 2005 release, Iron Warrior - T72 Tank Command, also sold as T72 - Balkans on Fire. I've had this for a while but never reall
-
Popular Destinations
-
New Topics
-
Our Picks
-