-
New Downloads
-
New Topics
-
- 3 replies
- 154 views
-
- 3 replies
- 164 views
-
- 2 replies
- 134 views
-
- 3 replies
- 174 views
-
Ground Attack Bombing Weapons Delivery Techniques
By Crusader, in KB - Unorganized Topics
- bombing
- ground attack
- (and 3 more)
- 0 replies
- 98 views
-
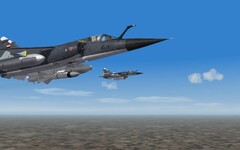
![More information about "[Fictional] Dassault Mirage F-1CJ for STRIKE FIGHTERS 2"](https://combatace.com/applications/downloads/interface/legacy/screenshot.php?path=/monthly_2026_04/img00013.thumb.png.5f024a56dd1dcdbe9360129e6571d62d.png)


![More information about "[Fictional] Panavia Tornado GR.1E (CB.15) for STRIKE FIGHTERS 2"](https://combatace.com/applications/downloads/interface/legacy/screenshot.php?path=/monthly_2026_04/img00006.thumb.JPG.b7f506a5682355937b12df8e8c5cff13.JPG)


News Releases
- 8 replies
- 6,728 views
- Add Reply
- 7 replies
- 9,725 views
- Add Reply
- 4 replies
- 5,937 views
- Add Reply
- 4 replies
- 7,955 views
- Add Reply
- 7 replies
- 8,403 views
- Add Reply
- 6 replies
- 8,429 views
- Add Reply
- 7 replies
- 19,410 views
- Add Reply

By 33LIMA,
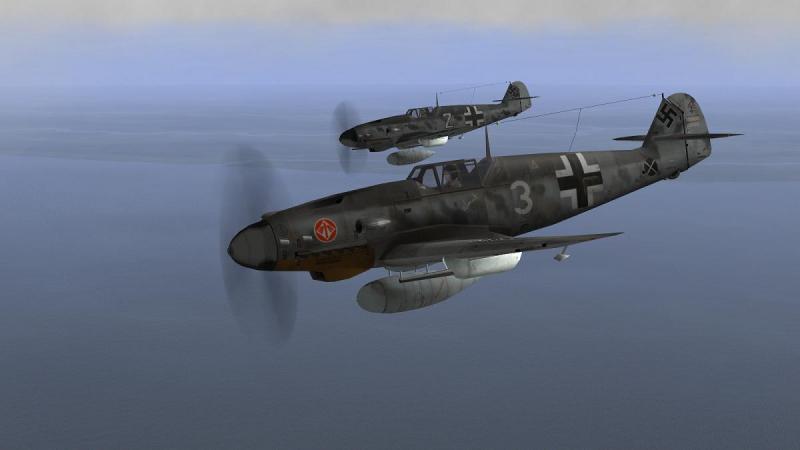
Mission # 3 in Flatspinman's campaign
My first campaign featured as a set of mission reports - with Jasta 5 in Wings Over Flanders Fields - having come to an early and inauspicious ending, I thought I'd wind the clock forward to World War 2 and pick up on a campaign first reported here last year. This is none other than Flatspinman's IL-2 campaign covering the Luftwaffe's attempts to defend 'The Thousand Year Reich' from those who rather thought that Nazi hegemony over large swathes of
By 33LIMA,

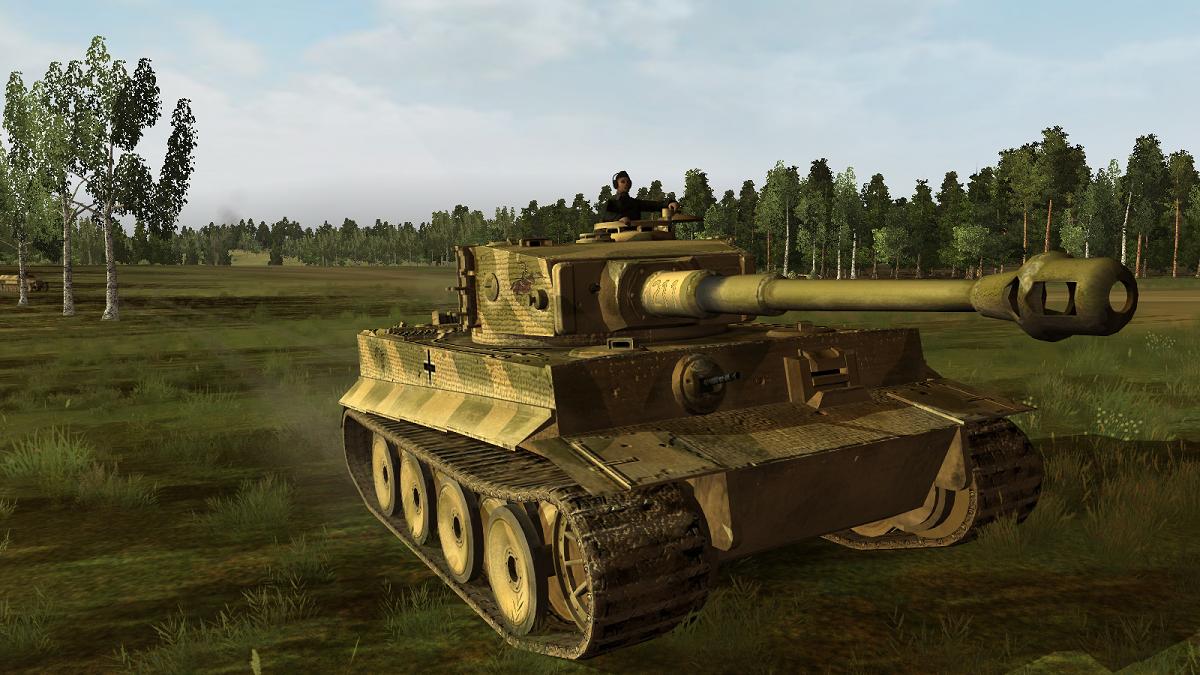
Normandy '44 with the latest version of the classic tank sim!
The sim
Fifteen years old it may be, but Wings Simulations' classic WW2 tanksim is still one of the best of its breed. By the time the Special Edition (a.k.a. PESE) arrived in 2001, it was the sim that had everything. Well, almost everything; it didn't have any time of flight for its projectiles, which arrived immediately after firing. And one of the things it did have was rather crude, cartoon-like graphics, even by the s
By 33LIMA,
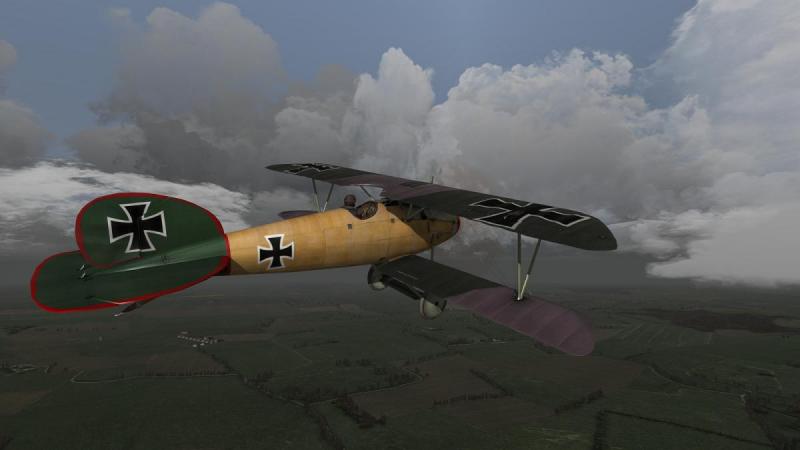
Jasta 5 at Cambrai - a 'Wings Over Flanders Fields' Campaign
The first mission - 20 November 1917
A little while back, CA member Captain McMuffin suggested I report on the progress of a campaign or two. Seems like a good idea to me, so here's the first installment of the first campaign. If there's interest, I expect I'll feature different sims; but first up, it's back to the new kid on the WW1 block, Wings Over Flanders Fields.
My chosen unit for this campaign is Jagdstaffel 5,
By 33LIMA,
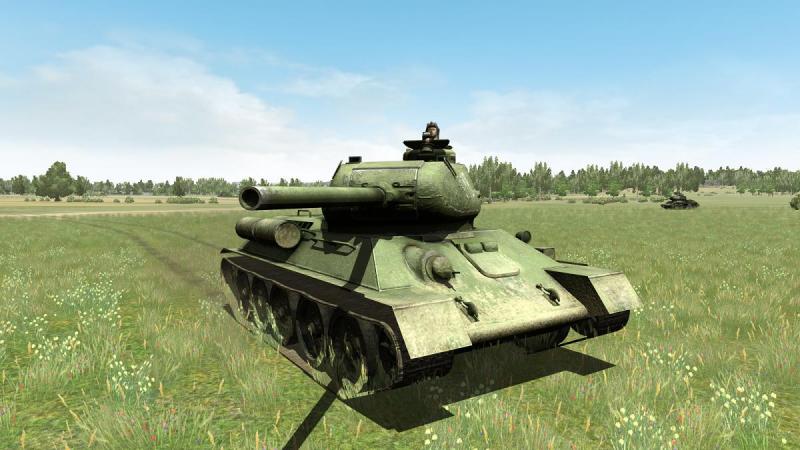
The T-34-85 goes to war in 'Steel Fury - Kharkov 1942'!
Ok, so we've put the late-war version of this iconic Soviet tank through its paces in 'T-34 -vs- Tiger'. Now, it's the turn of 'Steel Fury'. The T-34-85 is one of many vehicles which SF '42's small but talented, active and dedicated modding community has given us, extending the sim beyond its focal year into 1944 and beyond. The tank itself doesn't have 3D interiors but no matter, it can be played just as well from the external, open
By 33LIMA,
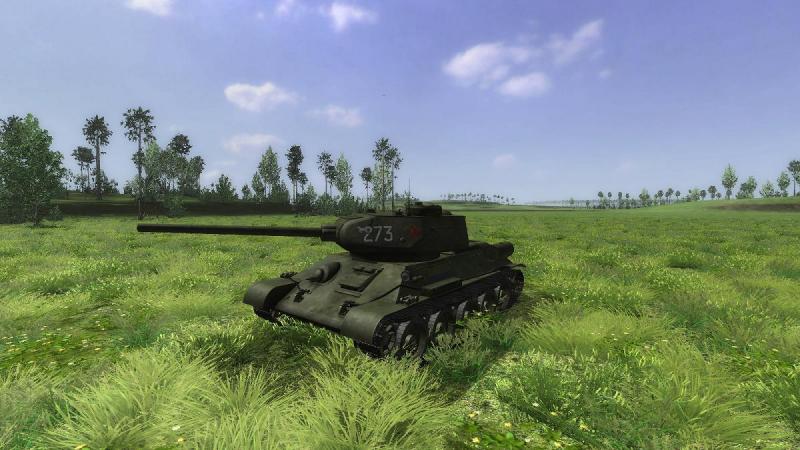
The T-34 in Steel Fury and T-34-vs-Tiger
Having gone up against T-34s in recently-reported missions in both SF '42 and T-v-T, I thought it was time to see how things looked through the other end of the telescope....through the gunsight of the famous Soviet tank, to be precise. This report is the result, featuring the same tank in both sims, for comparison.
T-34-vs-Tiger is set during the period of the Soviet 1944 summer offensive, and the T-34-85 is the playable version. It's a fine
By 33LIMA,
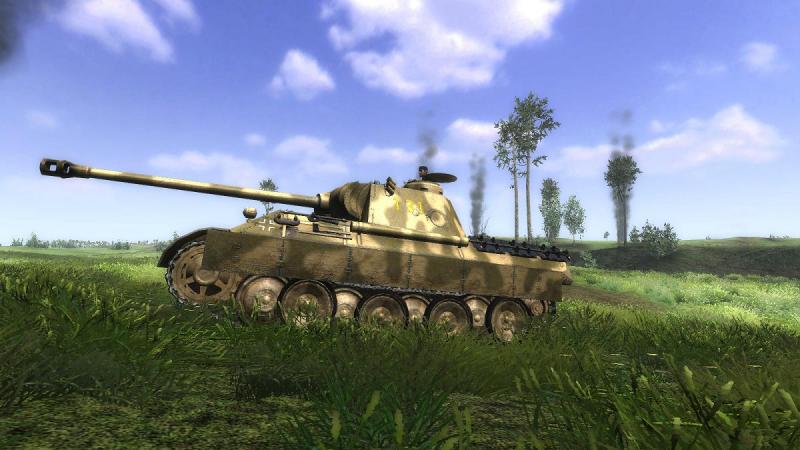
From Kharkov to Kursk - a change of scenery for Steel Fury!
The battle
The fighting at Prokhorovka has gone down in history as one of the biggest and most desperate tank battles ever seen. It was a battle within a battle, fought on the southern front of Operation Citadel, the German offensive against the Kursk salient in July 1943. This was an ill-starred effort to regain some of the initiative lost after the Stalingrad disaster. At Kursk, the Soviets knew the Germans were coming and t
By 33LIMA,
Back to the Russian Front with 'WWII Battle Tanks - T-34 vs Tiger'!
The year 2008 was a promising one for tank simulation enthusiasts, with two new WW2 tank sims released around the same time. One was Steel Fury - Kharkov 1942, which found most favour with players, continues to be modded and played, and has been featured in three recent mission reports here at CombatAce.
This time it's the turn of 'the other sim' - the aptly-named T-34 vs Tiger. Strangely, this was released by th
-
Popular Destinations
-
New Topics
-
Our Picks
-