
Jimbib
-
Posts
1,525 -
Joined
-
Last visited
-
Days Won
9
Content Type
Profiles
Forums
Gallery
Downloads
Store
Everything posted by Jimbib
-
I want 12 ponies. Now.
-
Uploaded by LM yesterday, this was a bit of a surprise.
-
The UK Military to face large cuts...
Jimbib replied to Slartibartfast's topic in Military and General Aviation
That article has stated some very bizarre ideas... I highly doubt the J model Hercs will be retired at all, they're only 10 years old. No doubt they will work alongside the A400M when it arrives in service. I do not see the GR4/4A being got rid of, they would lose one of their best all weather, day and night ground reconnaissance assets, not to mention it's ground attack capability. Same goes for the Nimrod MRA4, not only will it delivery all sorts of recon capability, but like has been said, the Government have already ploughed so much money into the program, it would be foolish to back out now. (Especially seeing as the RAF have already taken delivery of one) A couple of things in this article were even more remarkable... 107 Typhoons at a single base? That's just absurd. Not happening. What twat thought that up? But this last one made me chuckle the most... That won't go down too well with either unit. I have to say though, I've been impressed with how the RAF have managed to acquire "special" assets under the radar and generally keep publicity to a minimum, their Shadow R.1's, Diamond Twin Stars and Britten-Norman Defenders spring to mind. -
For anyone in the UK, I highly recommend the Gurkha museum in Winchester.
-
^ Want that! ^
-
There's only one way to deal with a caribou nibbling at the hoops!
-
100% spot on, I saw this at RIAT in 2003, knowing I'd never see it again... http://www.airliners.net/photo/USA---Air/Lockheed-F-117A-Nighthawk/0600507/L/
-
Many happy returns mate!
-
Great shots mate, you've captured both aircraft wonderfully.
-
My Condolences X RAY, rest in peace.
-
Happy birthday!
-
Many happy returns!
-
Epic song, but in the immortal words of Eric Cartman... "He's cheesing his f**king balls off dude."
-
This isn't usually my type of thing, but this song is massively "summer". Perfect for relaxing in the sun.
-
Anyone else going? There's a serious line up: Albert Lee Allman Brothers Band BB King Bert Jansch Buddy Guy David Hidalgo and Cesar Rosas of Los Lobos Doyle Bramhall II Earl Klugh Eric Clapton Gary Clark Jr. Hubert Sumlin James Burton Jeff Beck Jimmie Vaughan João Gilberto Joe Bonamassa John Mayer John Renbourn Jonny Lang Johnny Winter Keb Mo Pino Daniele Robert Cray Robert Randolph Sheryl Crow Sonny Landreth Stefan Grossman Steve Winwood Vince Gill ZZ Top
-
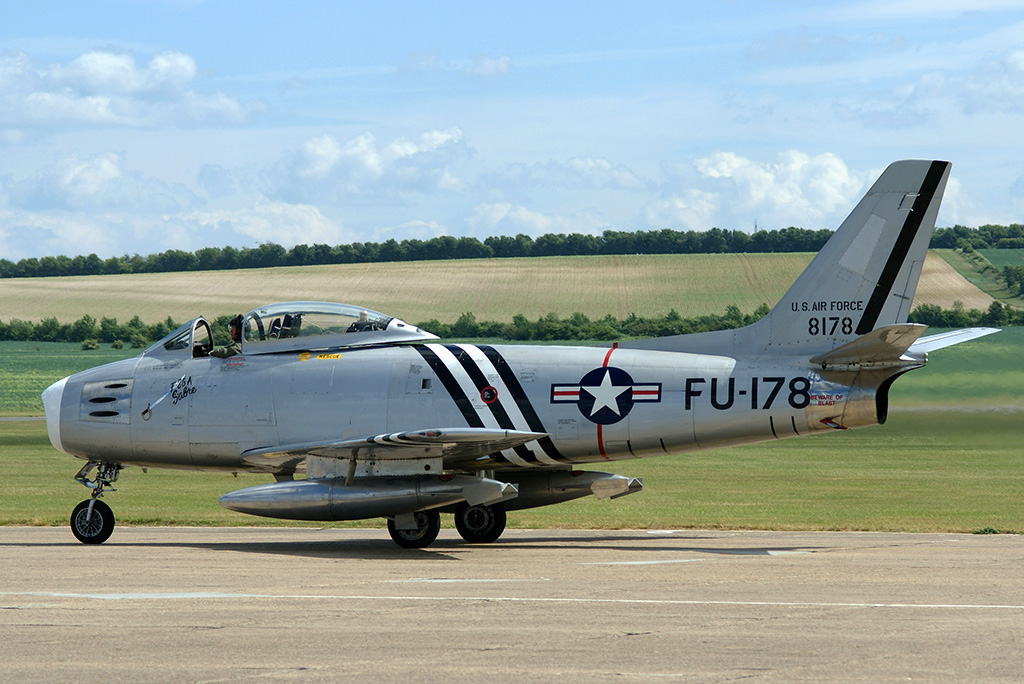
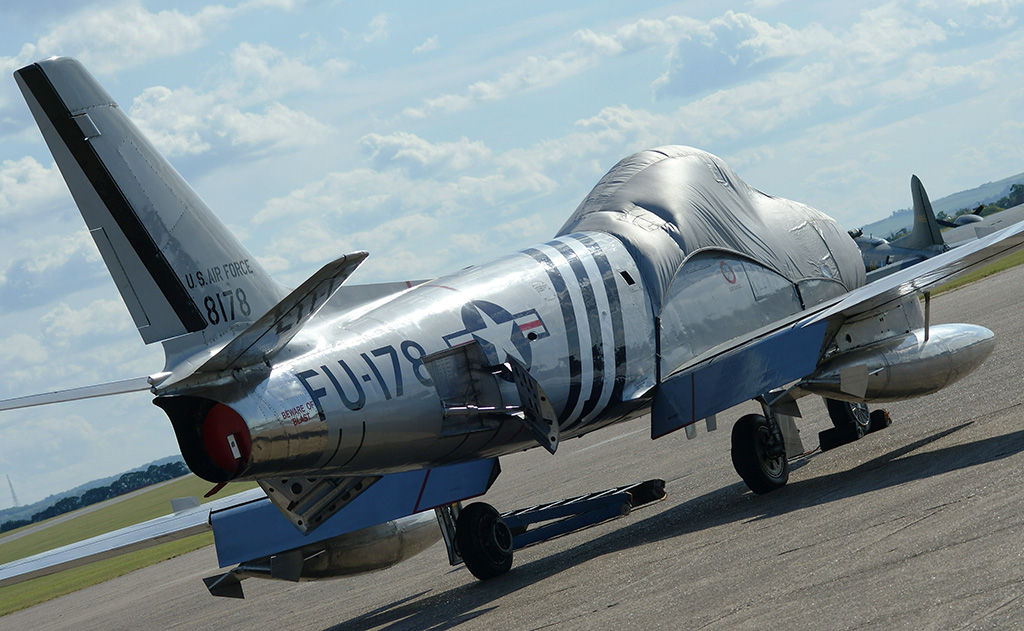
Damn Ant, you caught Miss Demeanour! I managed to get G-SABR a few weeks back at Duxford... Unfortunately I was fumbling with my camera as it did a perfect low and fast fly by just before landing By the way, did you have to stop down your Bigma?
-
In addition to the aforementioned drones, there is also Russo's Firebee... http://combatace.com/files/file/406-bqm-34-drone-for-strike-fighters/
-
What you need is a planishing hammer and a dolly of some sort. You'll probably have to work at it quite a bit, but it should do the trick as long as you're careful.
-
A fortnight :wink2:
-
The only way Concorde could ever get off the ground again is if there was a major sponsor backing it. Also, due to the complexity of the aircraft, you would probably need Airbus (the design authority) backing it, and they pulled the certificate to fly a while ago, and have no intention of supporting it. In addition, unless someone has got very deep pockets, I don't see that amount of cash being raised either. For starters they will need low, if not zero time engines, a tonne of spare parts, airframe support and engine support. XH558 has been returned to flight, but then again, it is a much simpler airframe, and they have also gone through various financial difficulties with the project being nearly culled on different occasions. The most you could ever hope for is a fast taxy run, but God, think of the scandal if it does what Brunty's Victor did last year
-
Cheers guys! That was exactly what I was looking for. Both of these posts should go in the Knowledge Base.
-
Okay, here is my predicament. I am currently working on a max model where all the meshes have been mapped to their respective UV co-ordinate textures. What I'm trying to do however is find an easy way of finding out exactly which meshes are mapped to each of the texture maps. I realise this is easy enough to figure out for the large, obvious meshes (tail, wings, fuselage etc) however it starts to get a bit tedious with the smaller less conspicuous meshes. I know I could select each mesh, do an Unwrap UVW modifier and then hit edit to see which texture it is mapped to, but I'm just wondering if there is a quicker, easier method as there are quite a lot of meshes (over 200 in total). By the way, I am running Max 7 Many thanks in advance.
-
This Pony gets around, good pic of it here... http://forums.airshows.co.uk/viewtopic.php?f=9&t=20879&p=209751
-
Happy Birthday!
-
http://edition.cnn.com/2010/WORLD/asiapcf/04/09/afghanistan.chopper.down/index.html?hpt=T2 RIP