
Flanker562
-
Posts
12,680 -
Joined
-
Last visited
-
Days Won
63
Content Type
Profiles
Forums
Gallery
Downloads
Store
Everything posted by Flanker562
-
 Yep if this post works out well
 -
Not your fault man, just thinking and typing at the same time so the poor posting was all me man... but to quote a reply simply press the Quote at the bottom right of the post you want to quote and it'll automatically put the post (as in above) on your post, even on Quick Reply. I've flown the Vigi myself and left fairly impressed, I just never took the time to trick it out (I may have added bombs... or maybe that was just a mod by somebody else) so no harm done and welcome!
-
Fair enough then. I've reinstalled all my SF2 stuff so I'll probably be slightly more active in DACT reports, though requests are always welcome...
-
My return to online multiplayer air combat... with DCS
Flanker562 replied to streakeagle's topic in General Discussion
That's the reason I like Arma 3 and DCS, there's actual multiplayer so you can have these kinds of fights, as I found out I'm good with AI but not with humans (I don't fly enough multiplayer, but that was helicopters MP though). Unfortunately you can't do that with DCS is roll back the time (though of course you can use the old style aircraft that is available) but yeah... I'm going to try and get online at some point, but I'll see as well. -
No problem saisran, as said I had to dig deep in the memory banks to figure it out. I remember Falcons, when I had them F-4E doing strikes, that's about it... had no real faith in them...
-
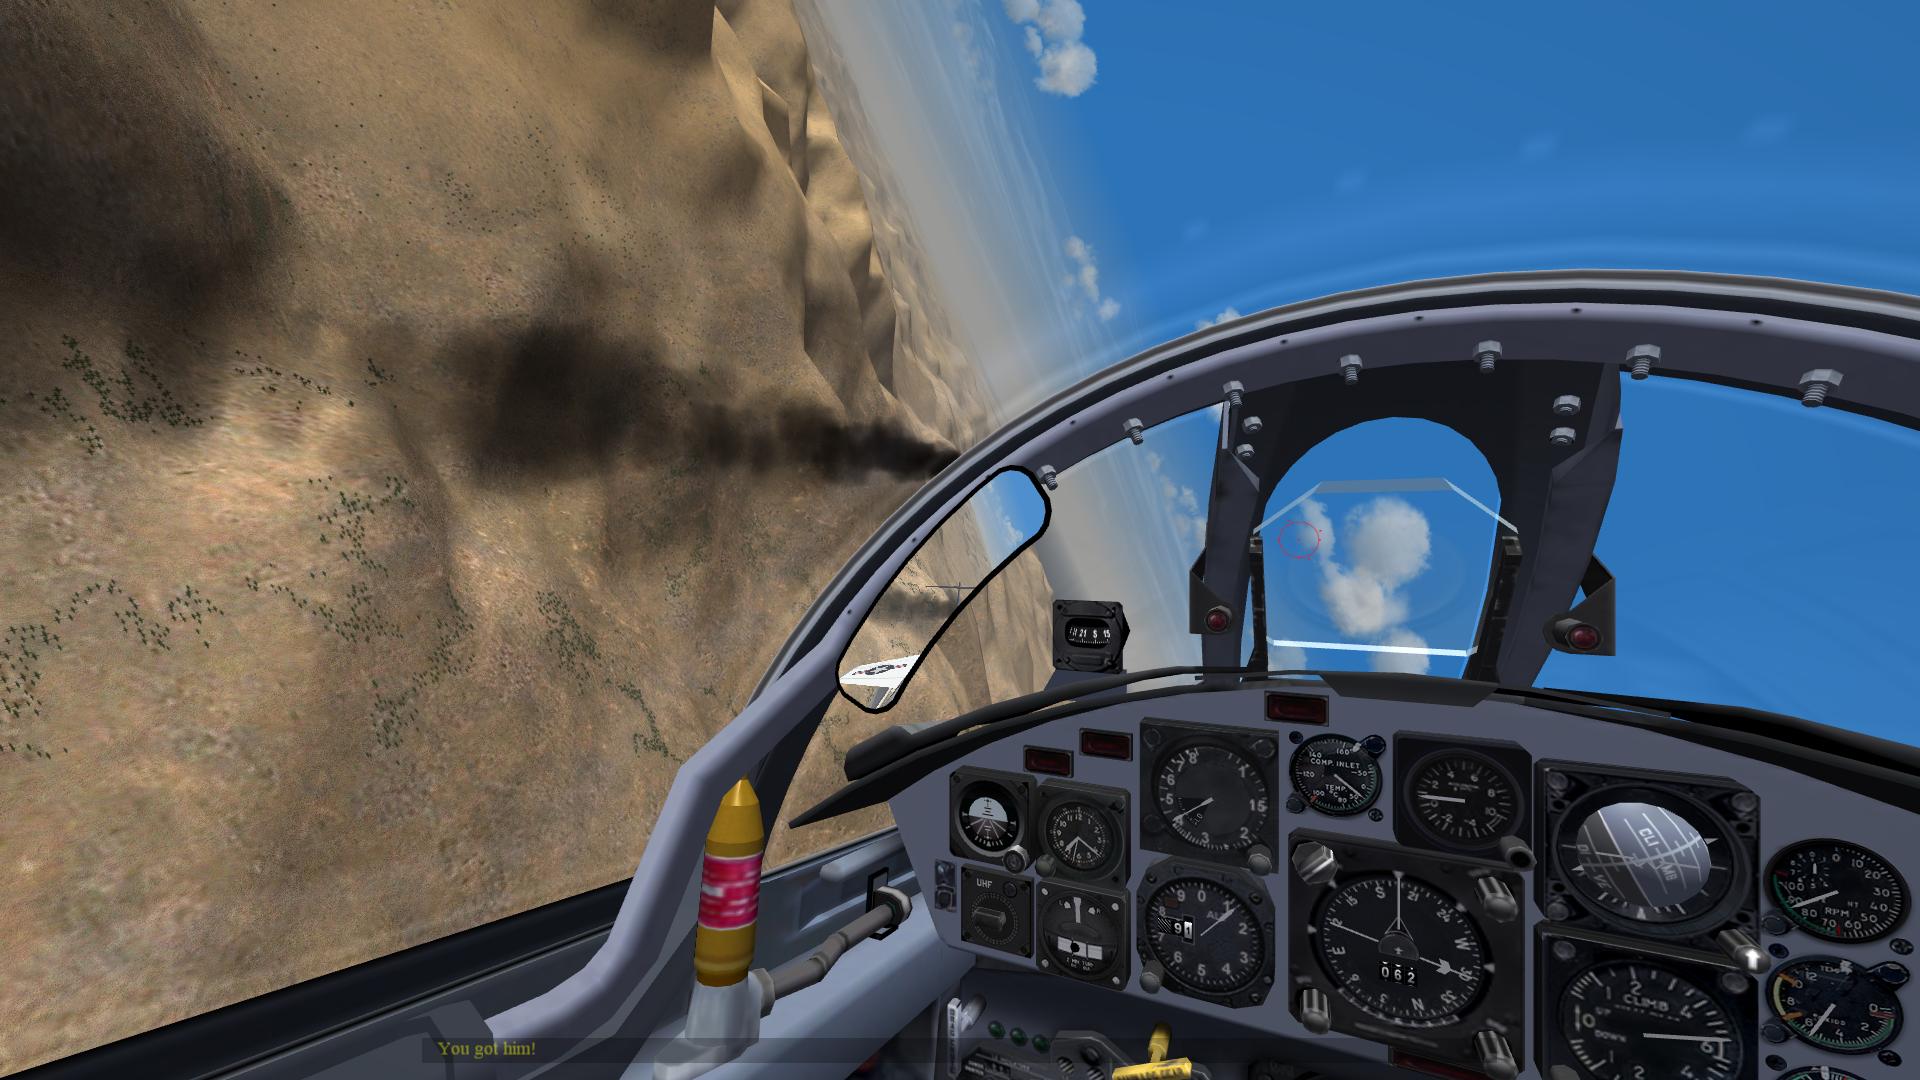
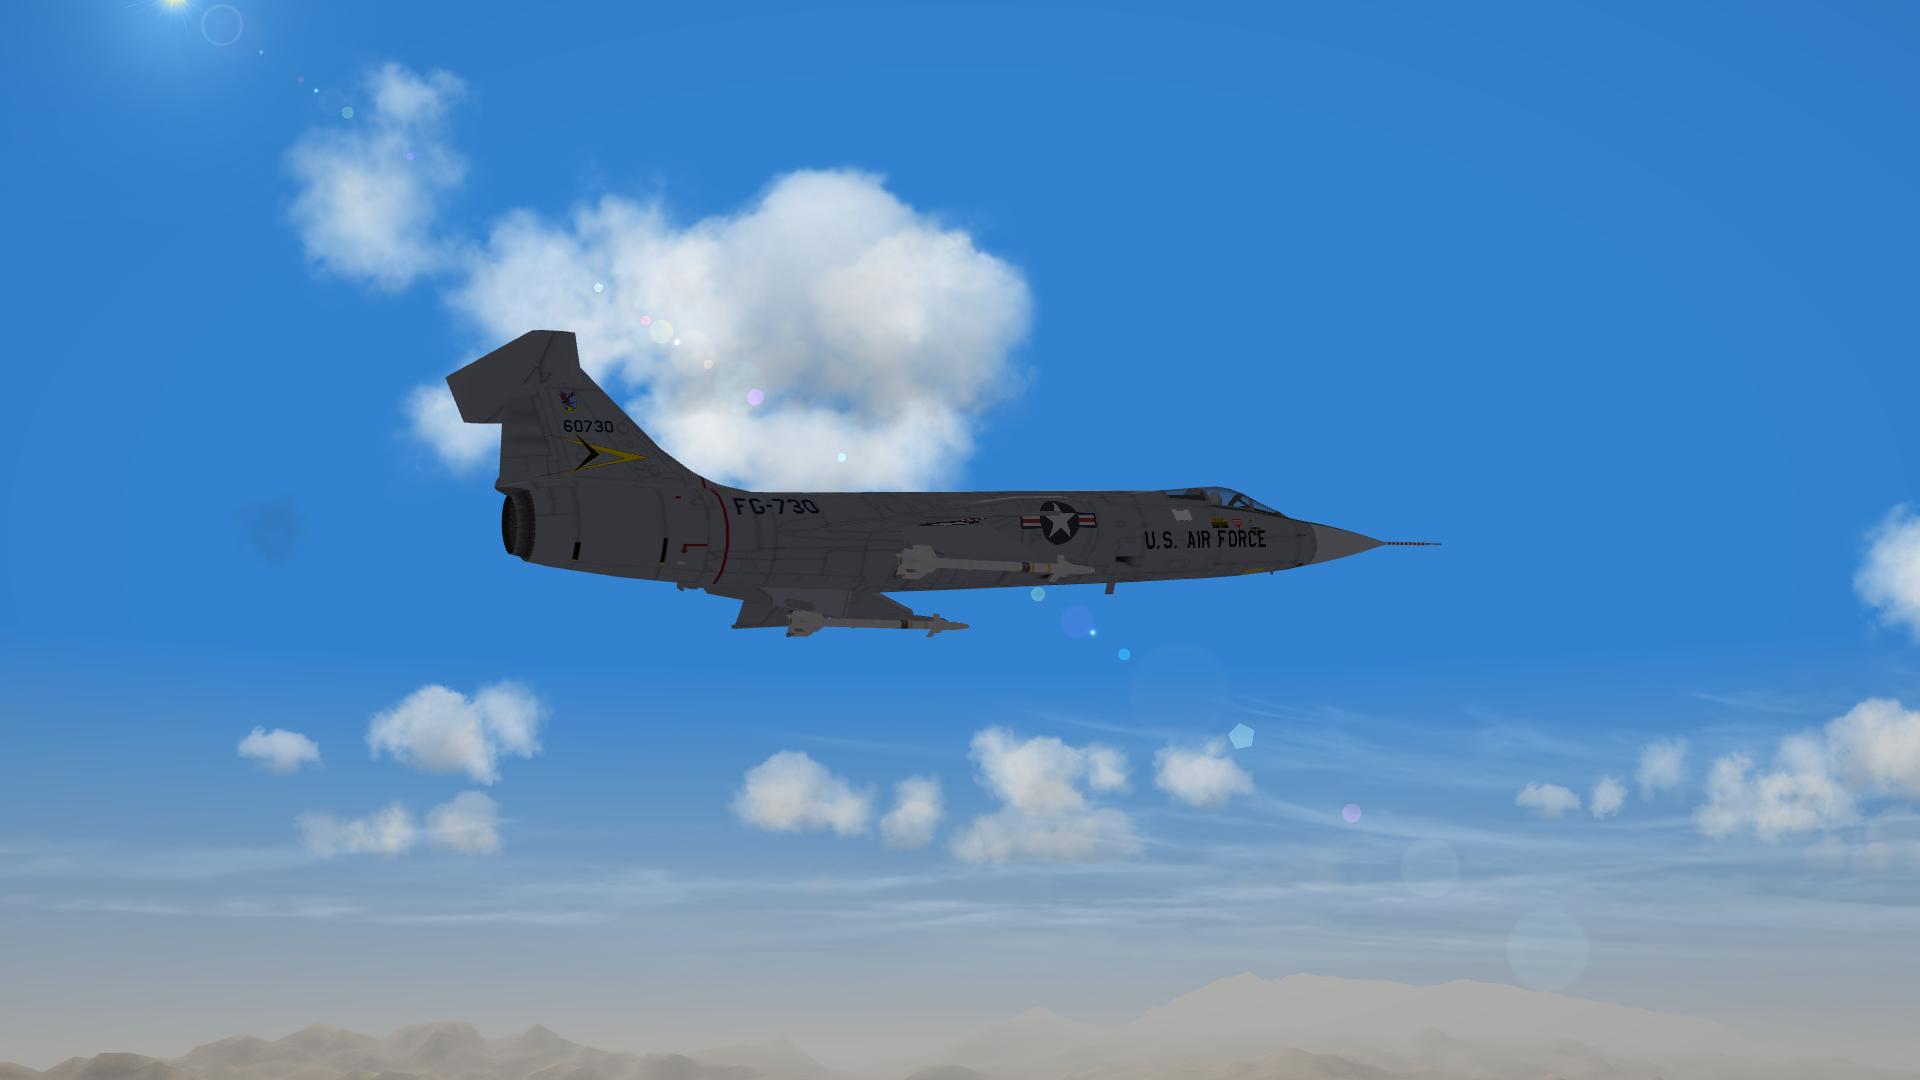
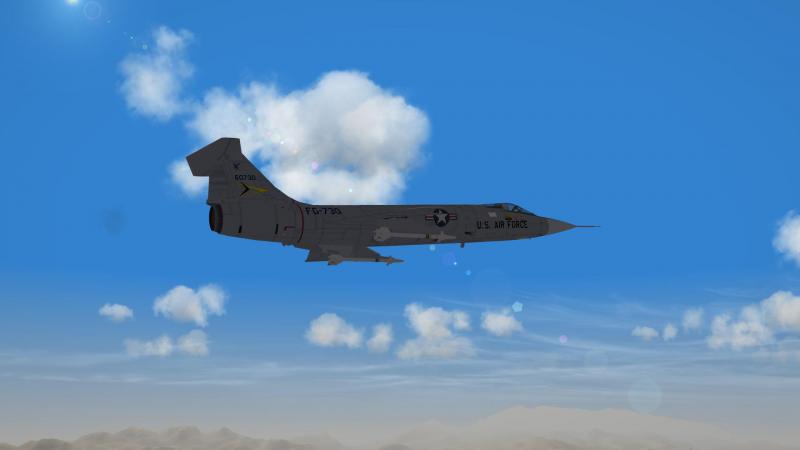
Me: F-104A with 4 AIM-9J, gun Opposition: MIG-21PFM with 2 x Atolls Started above the Fishbed (again its been a while...) and when he finally took off I managed to padlock him and trying to get him to react and almost had a mid-air collision but once he did react he generally outflew me for the better part of the engagement. He had more energy while I was a bit cornfused as to which way was up and preventing myself from lawn-darting into the ground. In any event the Mig managed to get on my six a few times and once tried to spike me with an Atoll but given Soviet technology... (date was in 1973) it flew and missed well below me. After floundering around I managed to stop pulling hard on the stick and once I relaxed a bit (first time ever "combat" flying) I managed to get behind the Mig so I had tone and lock and fired one AIM-9J, which missed, I think. By this time the Mig-21 was trying to work himself out of my cone but kept maneuvering, keeping firm on the stick and managing to fire another AIM-9J, this time shooting down the enemy fighter. Takeaways: As mentioned it was my first time ever for fighting the Starfighter so I learned a few things. Now that I'm a bit more aware I noticed the plane can pull tight and keeping thrust high it was able to sustain the energy, just the Mig-21 moving around so much changed view direction so it was disorienting. However as I relaxed and was more firm I got a better feel for the jet and able to track the Fishbed quite easy without always using afterburner. The small size of the Fishbed doesn't help as it's a PITA to see even in WVR fights. So as such my first one I need to get some more stick time down the road to get a better read but I will say don't mash, be firm and it'll work for you (as some of your Starfighter drivers can say anyway).


-
EDIT: That response wasn't anything of the sort of "making any sense": Agreed, the Phantom is a good mud mover but as said, it's a bus and after flying it a bit I give it a thumbs down to it. I've liked the design as a kid but the way SF2 (as you mentioned) models it just turns me off. As people may have guessed I prefer the Super Hornet...
-
My return to online multiplayer air combat... with DCS
Flanker562 replied to streakeagle's topic in General Discussion
Its not so much stealth but armor (BIS devs specified as such) but given the Aimbots it doesn't matter... but yeah it is what it is and looks better with my skinwork, but that's for the relevant topic too. -
Cool thing, thanks!
-
It's been a long time.. my MKI position is this: [CockpitSeat001] Position=0.0000,6.25,1.50 I remember there was some other modification due to the '13 patch update or so that borked a lot of cockpits, but I think it was this line: OpenCockpit=FALSE Add that to your Cockpit.ini and that may fix that issue in the same [CockpitSeat001]
-
My return to online multiplayer air combat... with DCS
Flanker562 replied to streakeagle's topic in General Discussion
I'm pretty sure I can do a "Cheat Sheet" i.e. like this for DCS: http://562.50megs.com/562nd/JTACCheatSheetRC4.zip -
My return to online multiplayer air combat... with DCS
Flanker562 replied to streakeagle's topic in General Discussion
I know this is for Arma 3 but... it may help solve some questions Stratos: http://562.50megs.com/562nd/Pilot-JFO-JTACGuideRC3.zip -
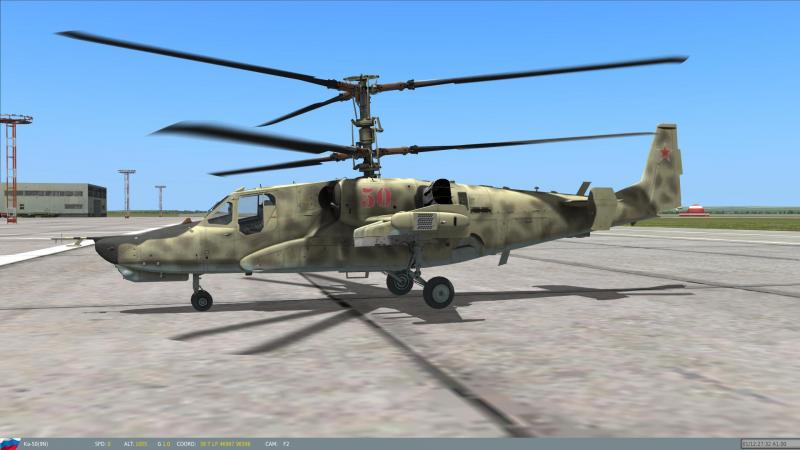
After figuring out the Black Shark I started to get better... Helo Practice.zip
-
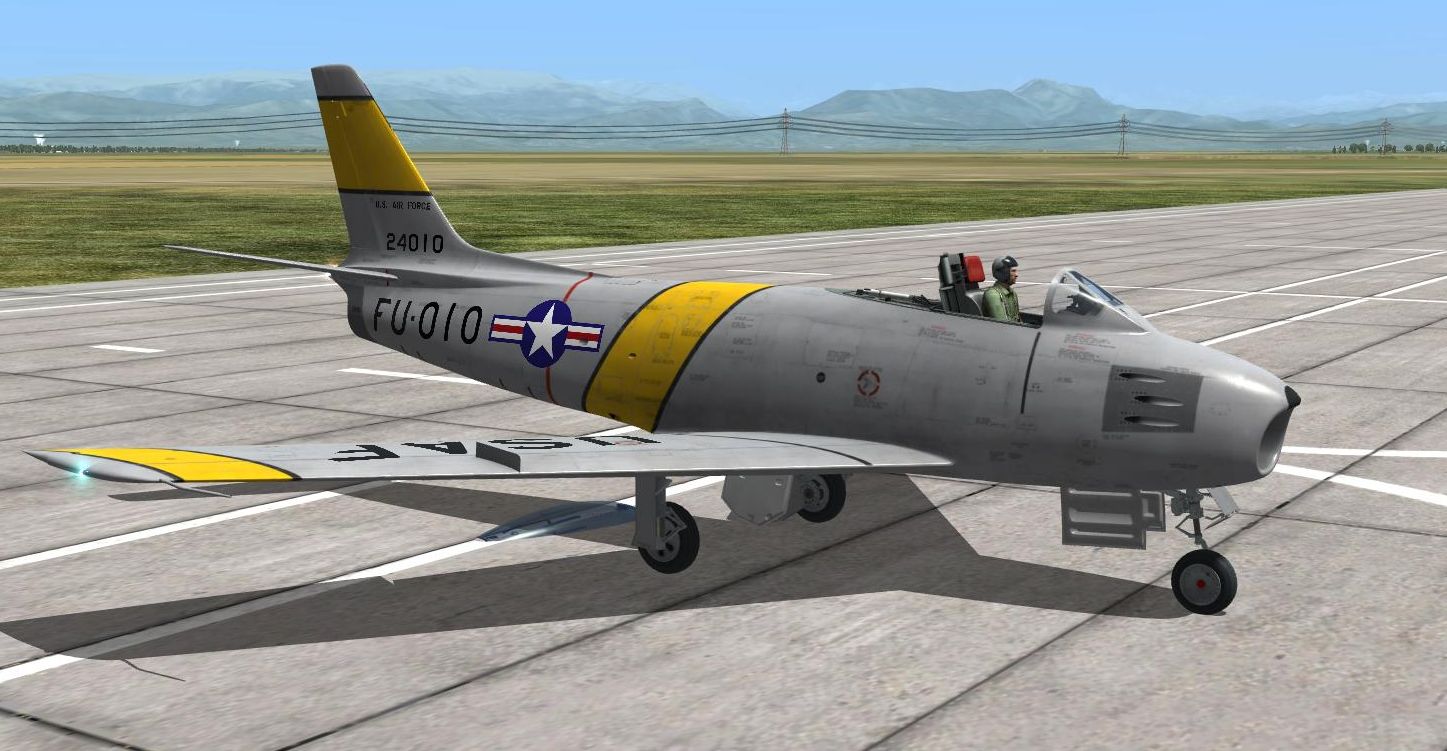
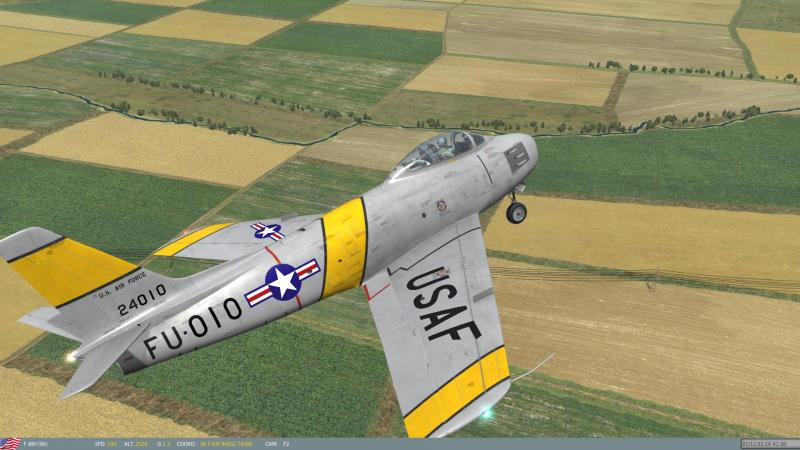
Something's not right... (regrettably a bad angle for the shot, track included in zip file to show how much I need to really take time with the Sabre.... Sabre First Flight.zip
-
My return to online multiplayer air combat... with DCS
Flanker562 replied to streakeagle's topic in General Discussion
"Think in Russian" Seriously as said I've actually flown more Soviet jets than American, though the A-10A is starting to warm up to me though, so I'll probably start flying that, the Sabre? Let's just say that's going to take some time.... But the statement included the Russian/Soviet jets as well, so it doesn't matter if you're using a Kh-29 or Maverick or type of bombs. The JTAC's job is not to worry about weapons delivery, mainly effects and directing the pilot to the target. The bombing mechanics and flight profile is up to the pilot within certain constraints. -
Agreed, I remember one time that I was taking off for a strike in an Su-35 in SoCal and as soon as I take off WHAM!! I get shot down by at least four F-15s so I was like "No more Red side... ever" And if so it's set missions where I can at least take off
-
My rule of thumb is to always get the jump on the enemy fighter and see how he works out of the whole thing. Granted it's a bit unfair but as you've probably read... I keep it to the WVR because of that reason, either you lock him up and he gets shot down or... you take one in the face
-
My return to online multiplayer air combat... with DCS
Flanker562 replied to streakeagle's topic in General Discussion
Its easier than you think, the most you need is somebody on the ground. I've flown all the aircraft enough to know the capabilities so it's not hard at all. -
My return to online multiplayer air combat... with DCS
Flanker562 replied to streakeagle's topic in General Discussion
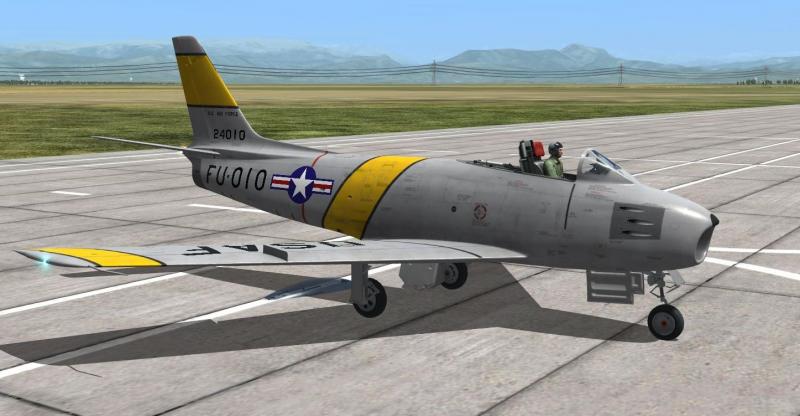
Personally I don't like the Sabre for ground attack. BTW finally got on the CA TS so may pop in every once in awhile... but anyway I need to play with it more as the .50s "move around" a lot so not sure about rocket attacks. As said I haven't got much stick time in the Sabre, a hell of a lot in the -33 though but yeah as said will check it out... -
Somehow my throttle button got unmapped in the Sabre (well okay, I didn't map it...) so I pressed some buttons... And yeah I bitch and moan how "boring" it is with the Su-33 but still like it.... a lot.
-
I'd be more interested in the Cobra or Apache than I ever was with the Black Shark. What work I did for it never extended at the time to flying helos, so yeah anything but that would be very cool.
-
Managed to take the default F-104 (only one I have) and found it fairly good for low level flying at least. I'm pretty sure I'll take it up once i figure out the non carrier DACT mission I have, though it won't be against anything modern (no way in hell would it survive, or me for that matter) so yeah gonna give it a shot and see what happens...
-
I've found out years ago that sometimes even Floggers don't get hit by AMRAAMs of any variety (even D models) as much as people think. Then again I usually fire at Rmax so by the time it reaches the Floggers it's out of energy but closer... yeah they hit.
-
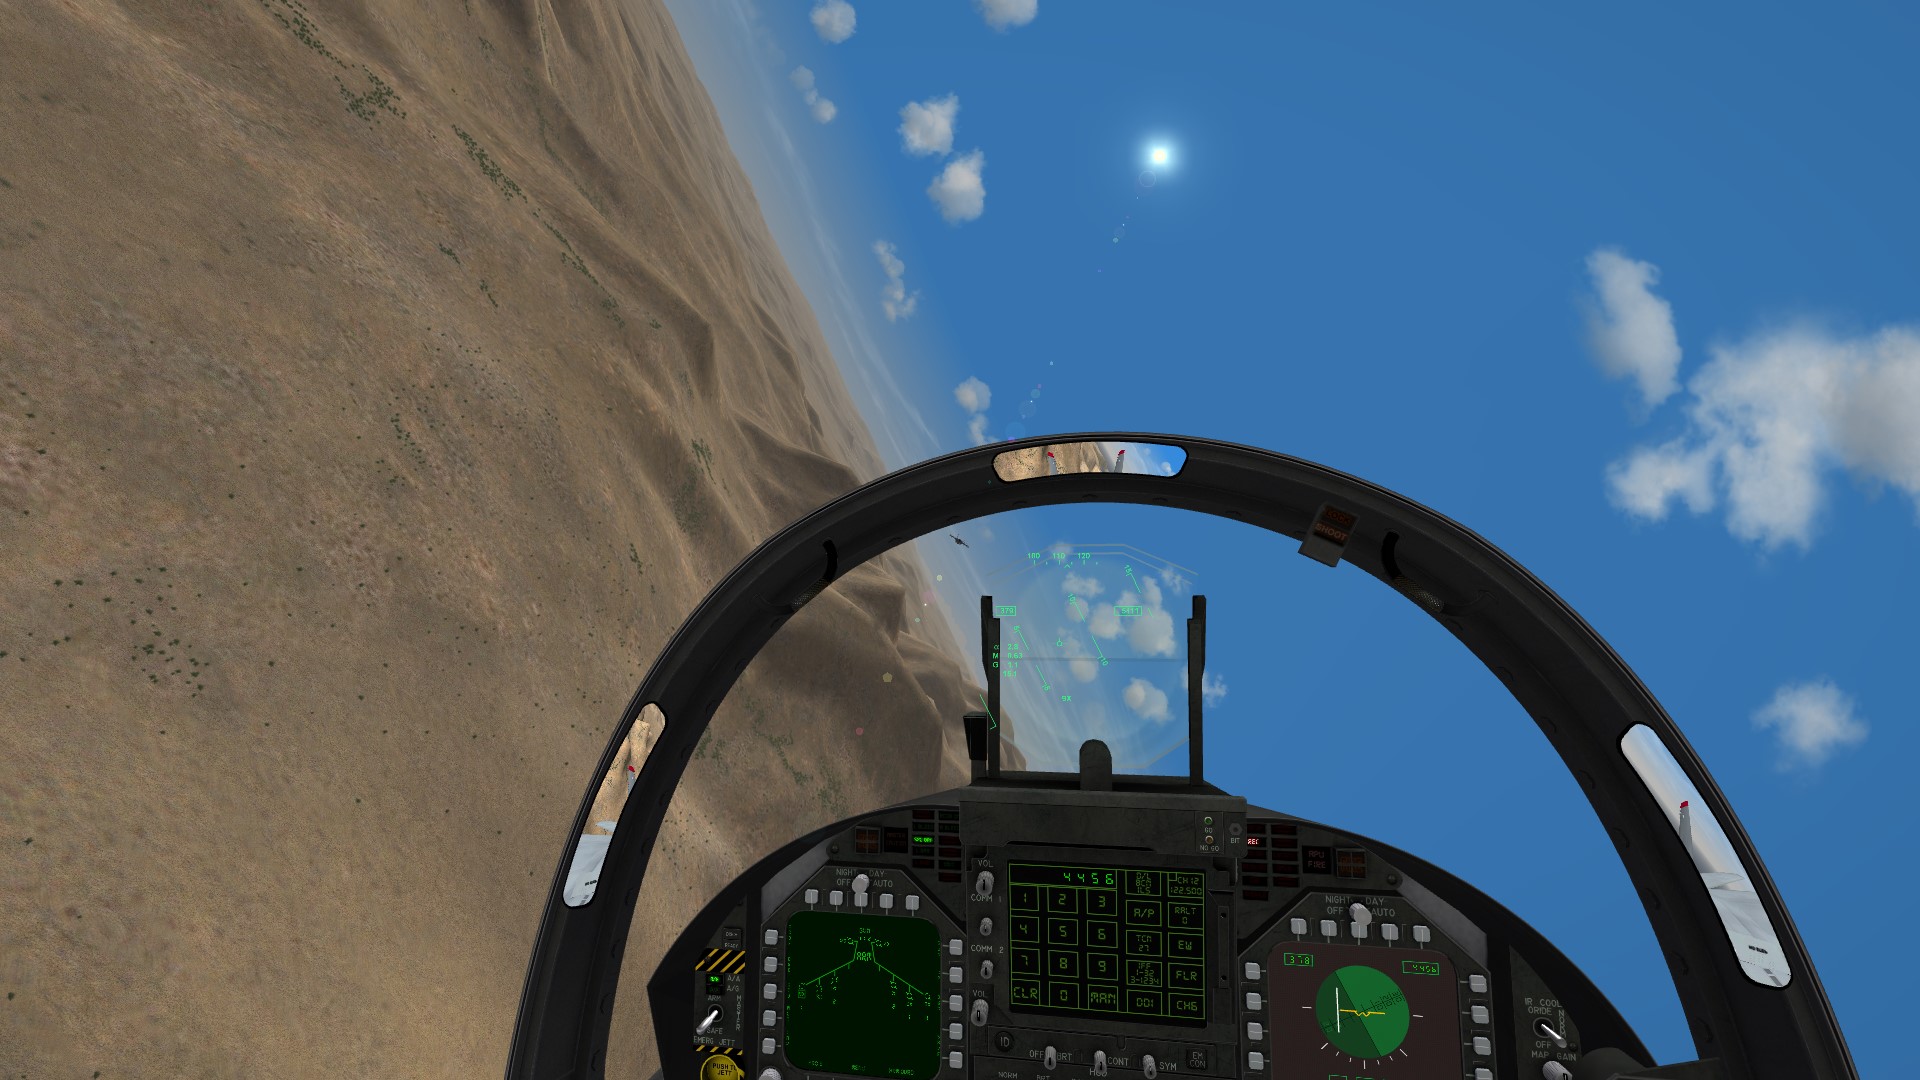
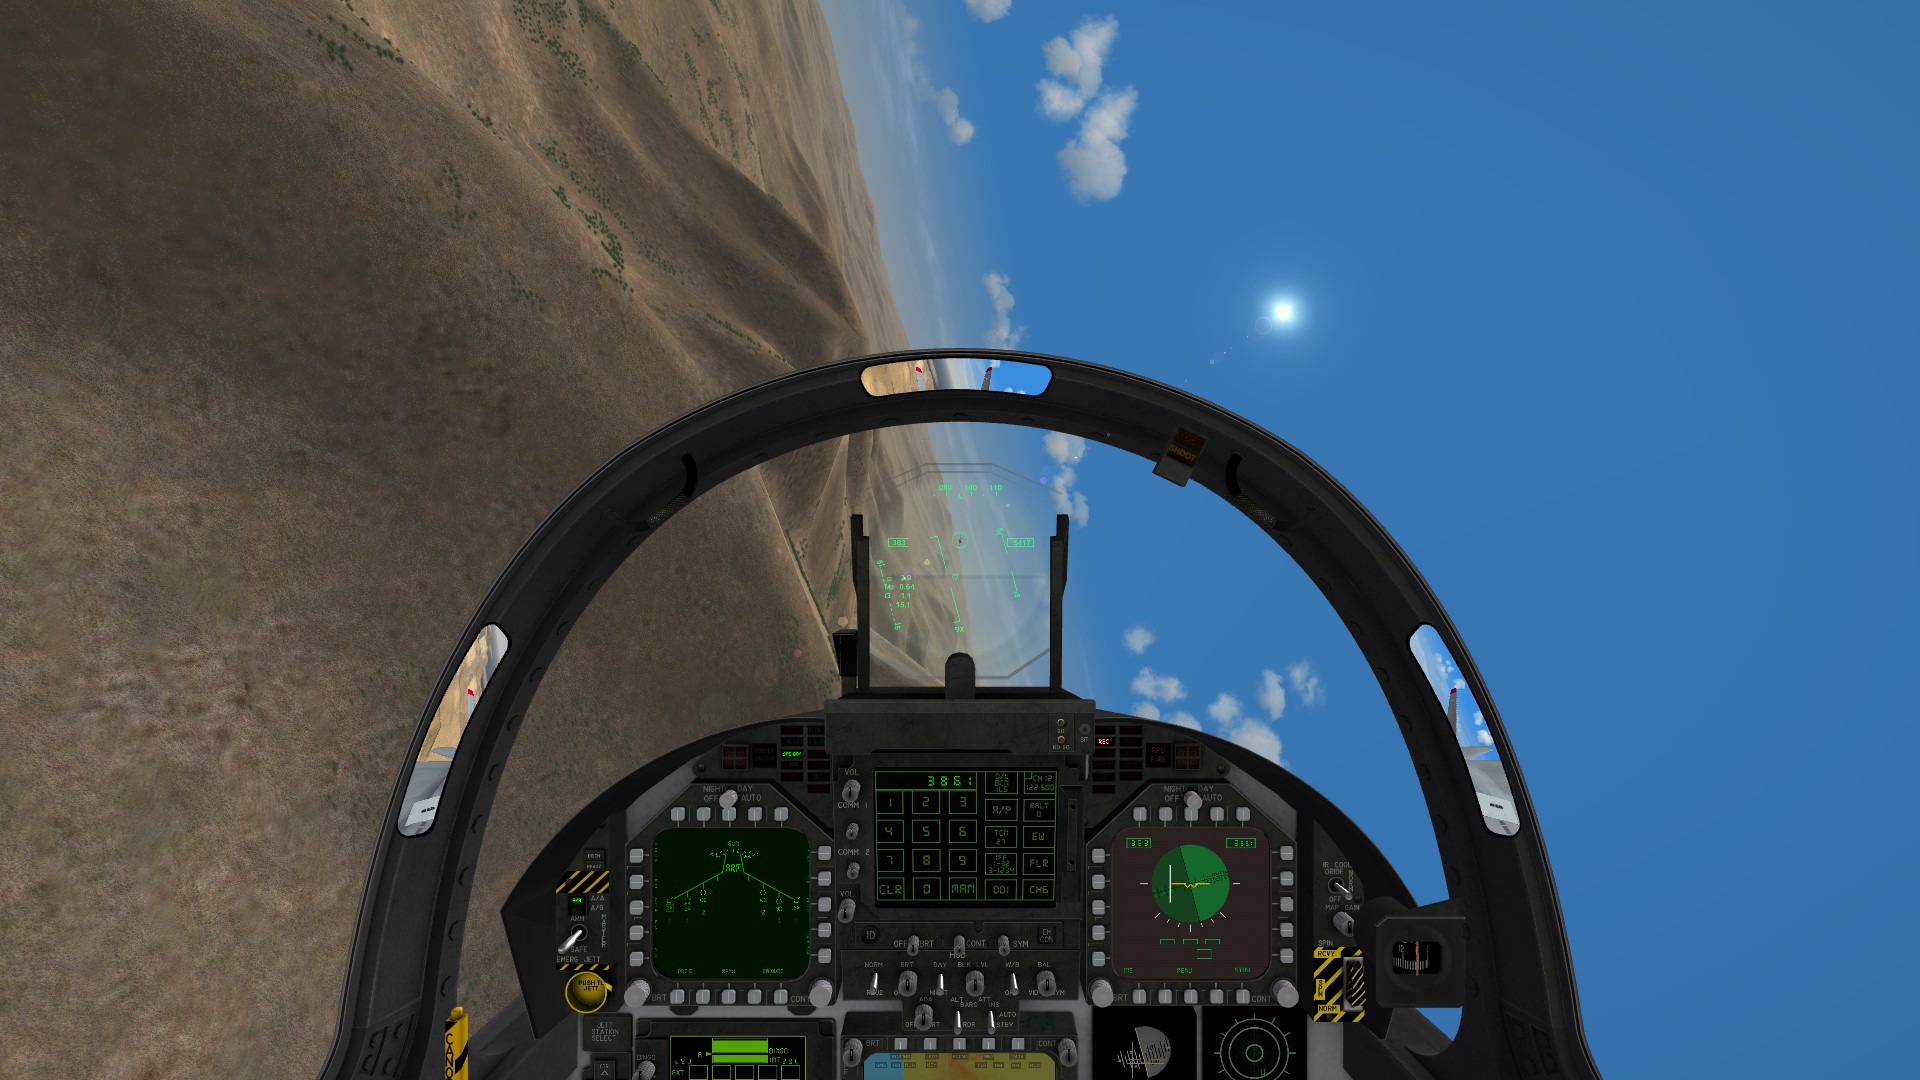
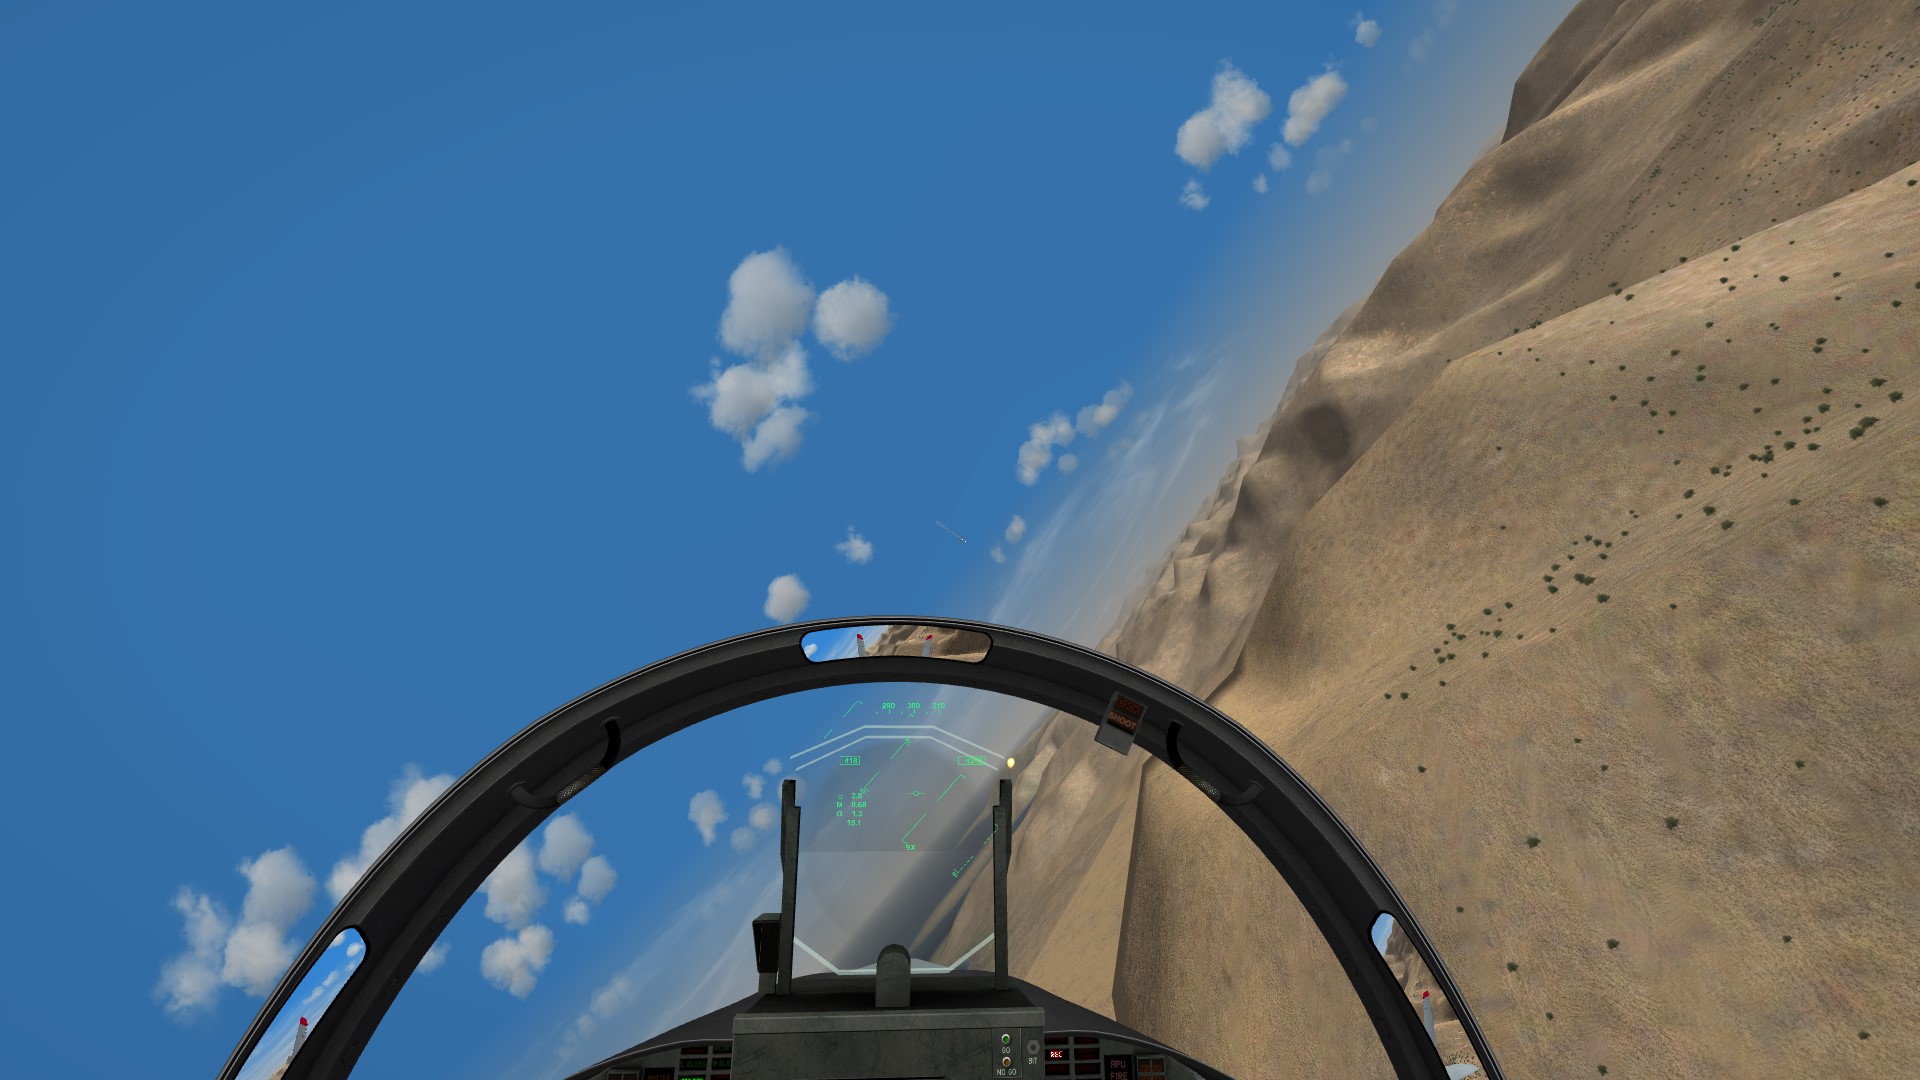
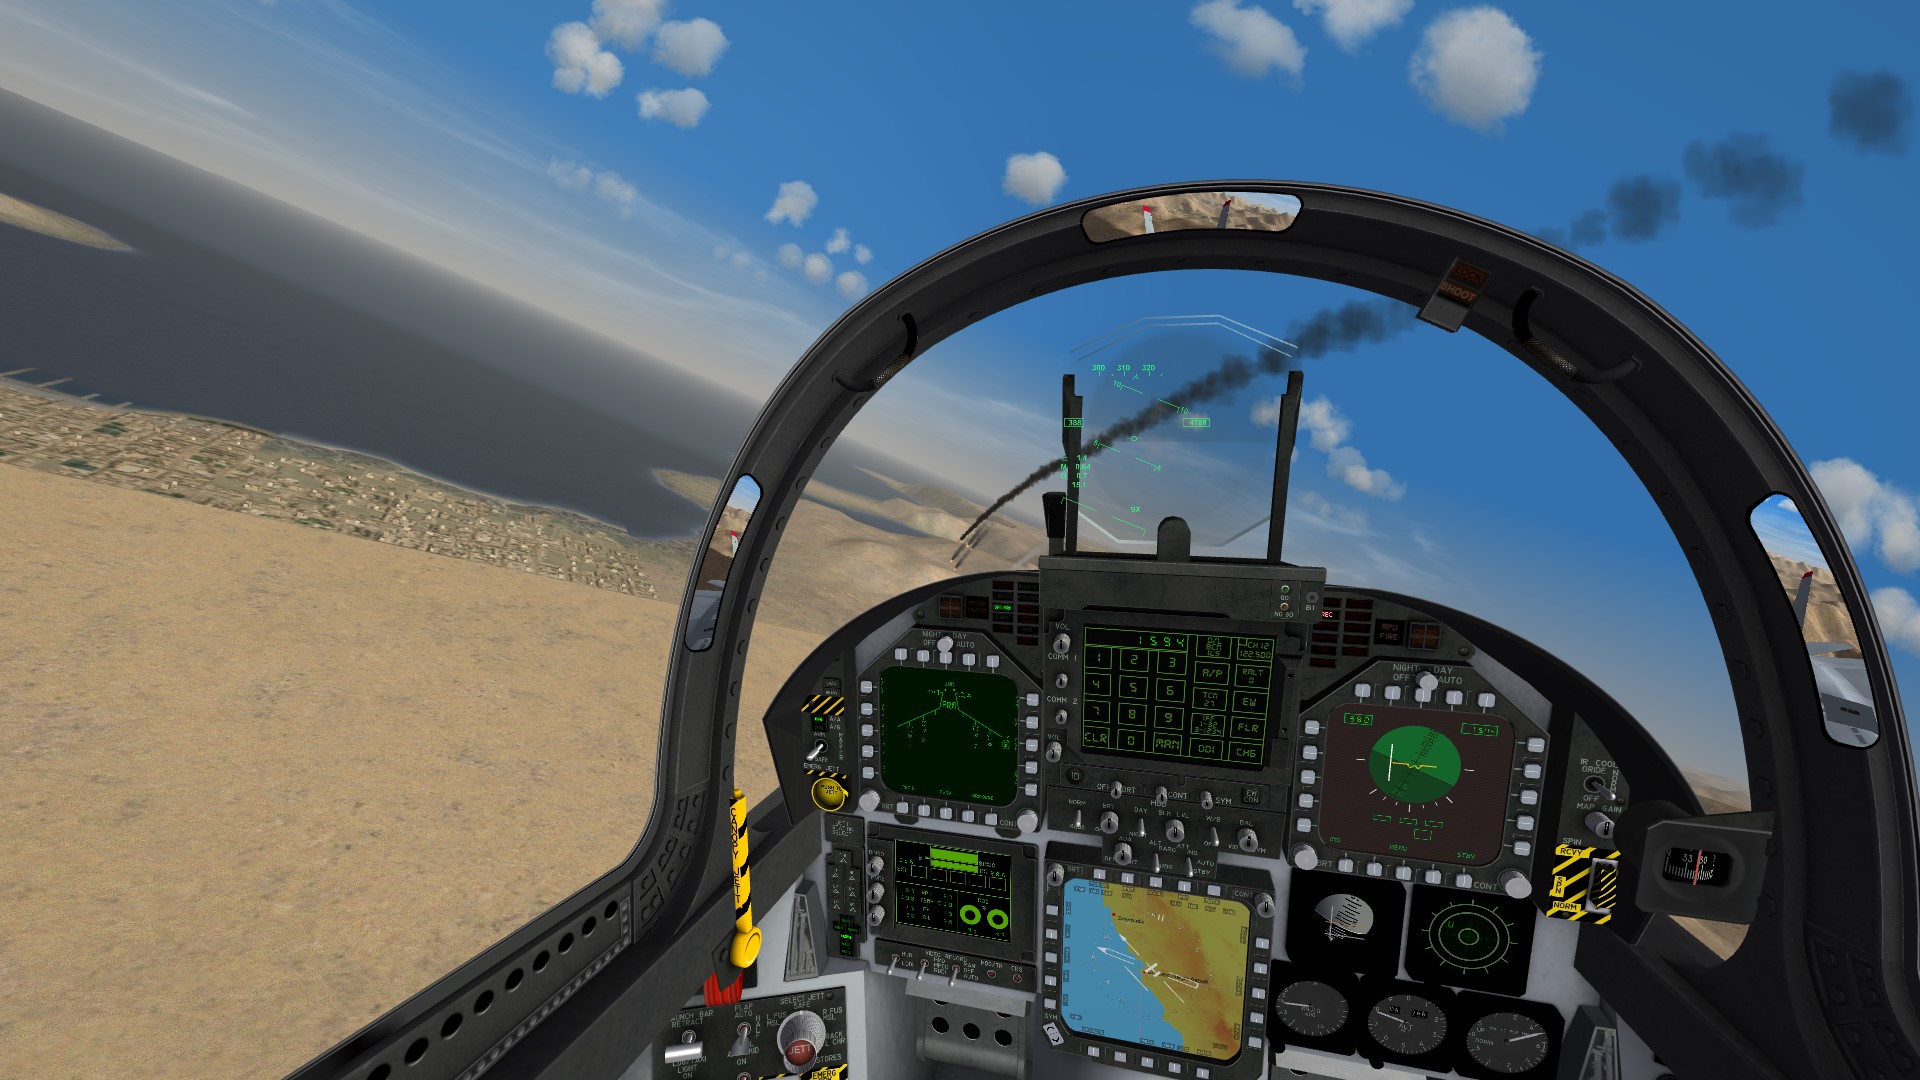
Me: F/A-18F Block I (Which should be redundant as I have a separate EPE version from the Blocks I and II so no longer going to mention this because naturally Block Is don't have it anyway), 4 x AIM-9X, 6 x AIM-120D, gun Opposition: F-35A with I would guess (forgot the key for viewing air targets) some AAMs or not. Started off accelerating towards the Lightning II and once it sensed me did a lot of slow turns and tried to I guess force an overshoot which maybe one time I should do to see how aggressive it is but overall for a few minutes I managed to stay on it's six and for giggles fired an off-boresight shot just to do it, as I could have shot HUD and still would have shot down the enemy pilot. Takeaways: Really not much to report when your opponent really isn't that aggressive. He tried to turn out of my HUD but with a 9X already locked on and the slow relative movement I would have killed him easy either way. But since somebody is looking for specifics not much to give as I would have preferred a human pilot to the AI pilot anyway for something like this. Granted the more aggressive jets give you a workout but when they don't it's just boring. In hindsight if he had an internal gun he probably would have pushed harder but since it doesn't...

-
Yeah... the only one done by Marcfighter so obviously we deal with what is available, and unfortunately/fortunately it's the only one we got. It's only unfortunate because it;s not updated for SF2 so we get the UFO effect, and I never bothered with NF5, I got plenty of jets to keep me happy :)