
Flanker562
-
Posts
12,631 -
Joined
-
Last visited
-
Days Won
63
Content Type
Profiles
Forums
Gallery
Downloads
Store
Everything posted by Flanker562
-
Nice work Spinners...
-
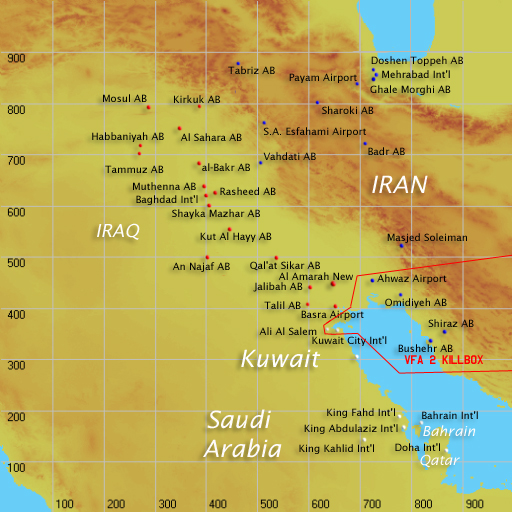
TO: JFC SHAPE FROM: VFA-2 MESSAGE ACKNOWLEDGED AND ABLE TO PROVIDE LIMITED SEAD MISSIONS AS WEAPON SET AND PLANNING OPTIMIZED FOR STRIKE MISSIONS. HOWEVER CAN SUPPORT MISSION AND DEVISED KILLBOX. NOTE THAT THROUGH SIMULATION ALL AIRCRAFT ABLE TO STRIKE ANY TARGET ANYWHERE IN THEATER. KILLBOX PLAN ATTACHED.
-
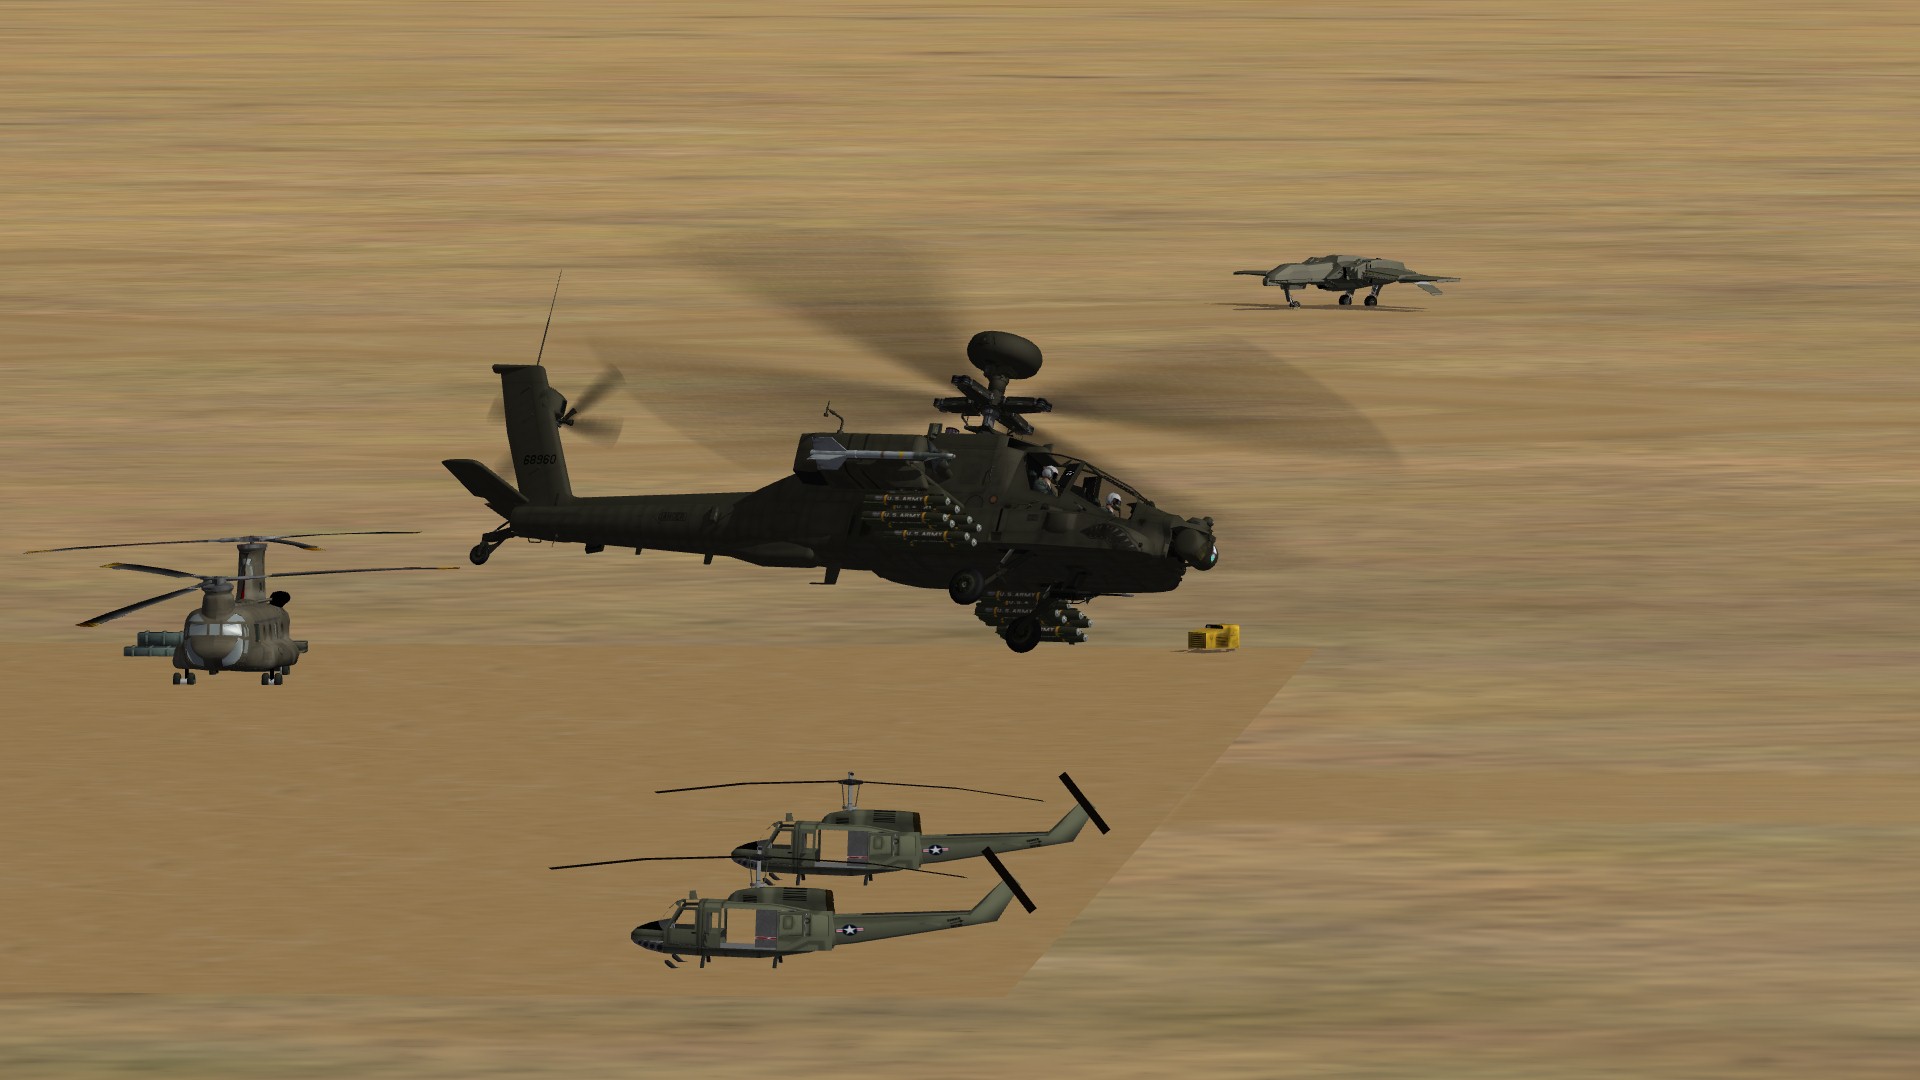
Leaving for a CAS mission in Libya and Alone in Iran...
-
Around this area
-
http://combatace.com/topic/60932-formats-for-carriers-and-warship-with-the-mission-editor/
-
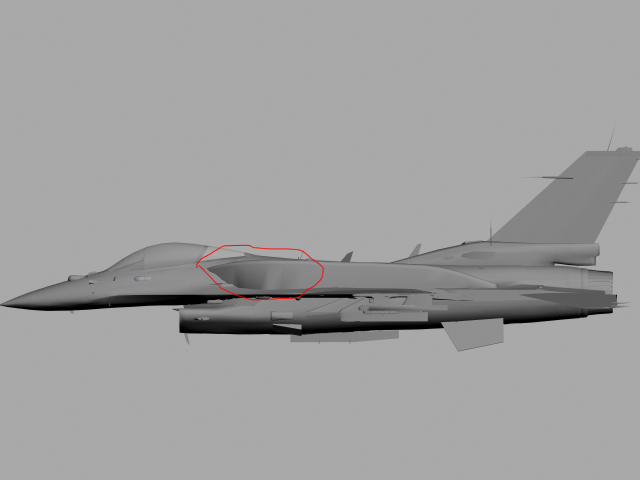
The only thing I can notice so far is that the forward curve of the conformal tanks needs to be readjusted as it looks deformed from the necessary adjustment.
-
NIce...
-
And the Archer isn't as advanced as most believe compared to the 9X and the IRIS-T, so it's poor performance is probably based on real values.
-
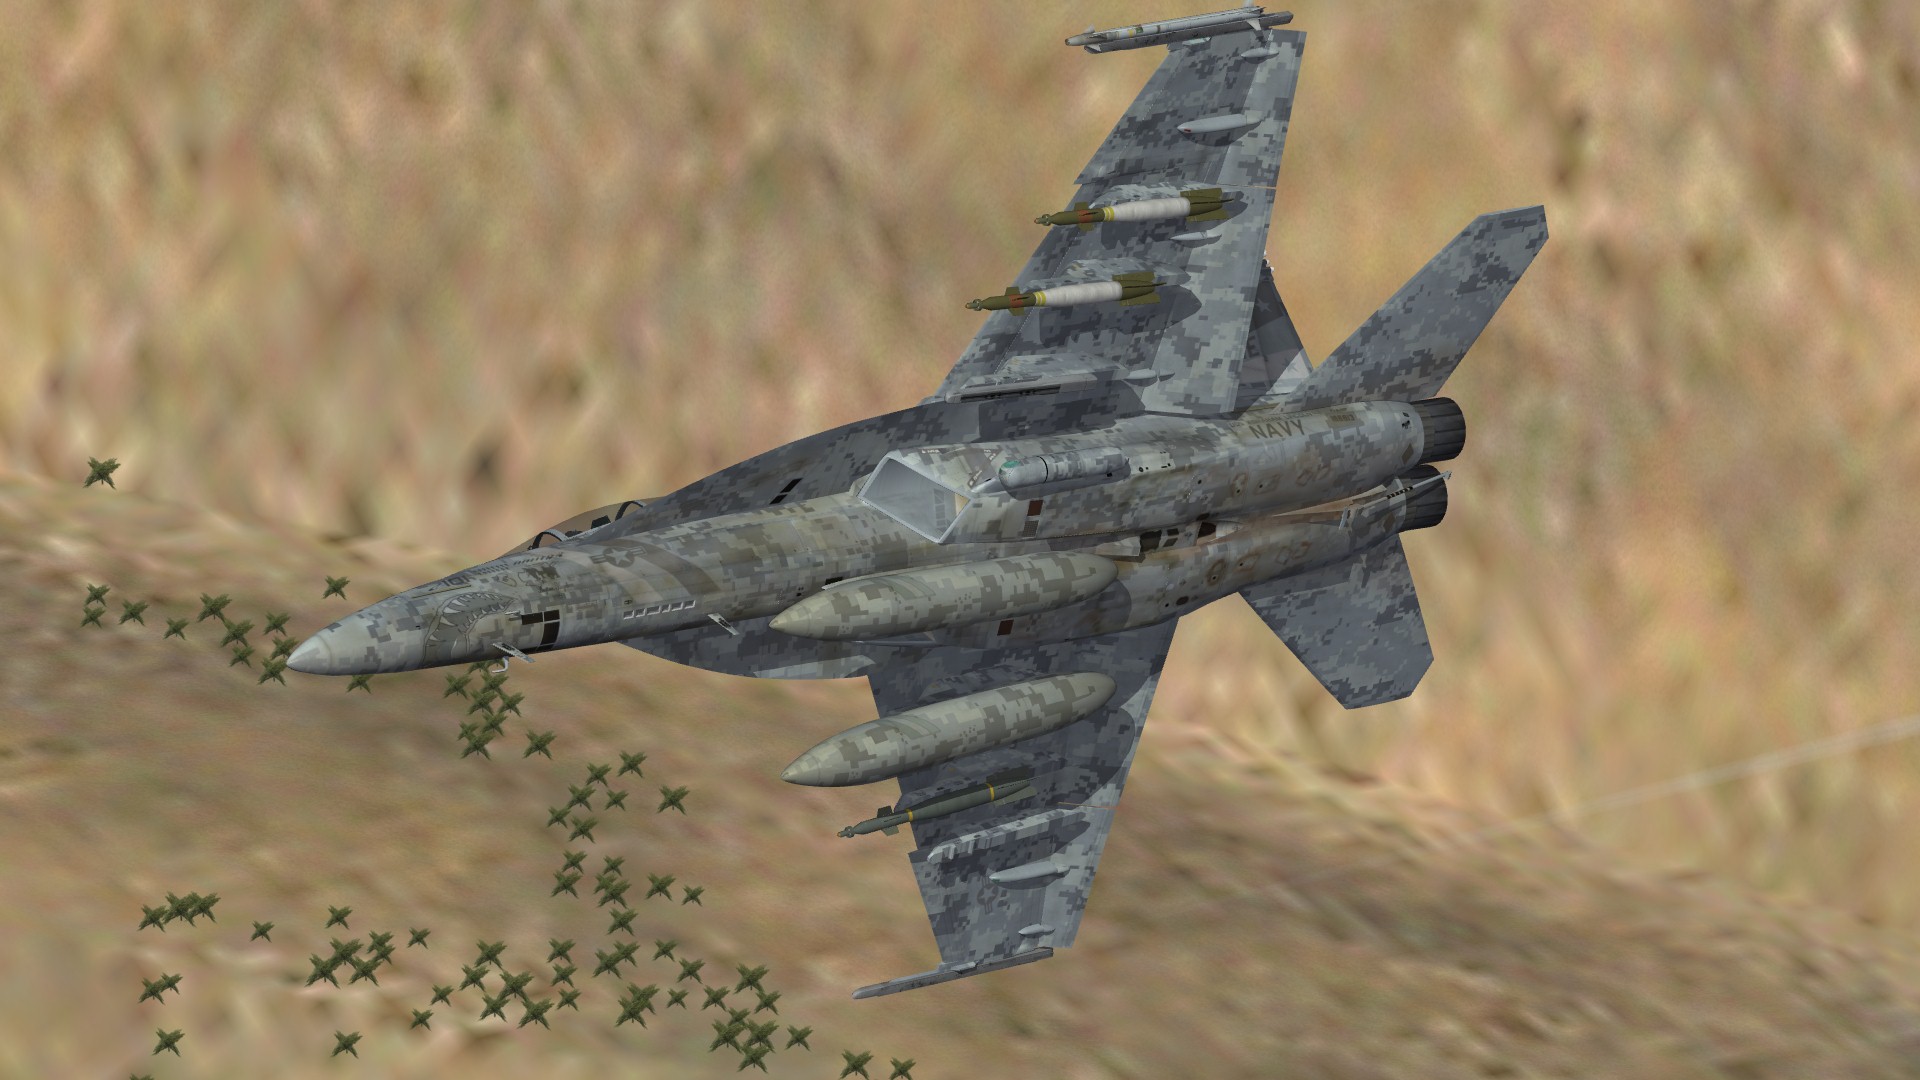
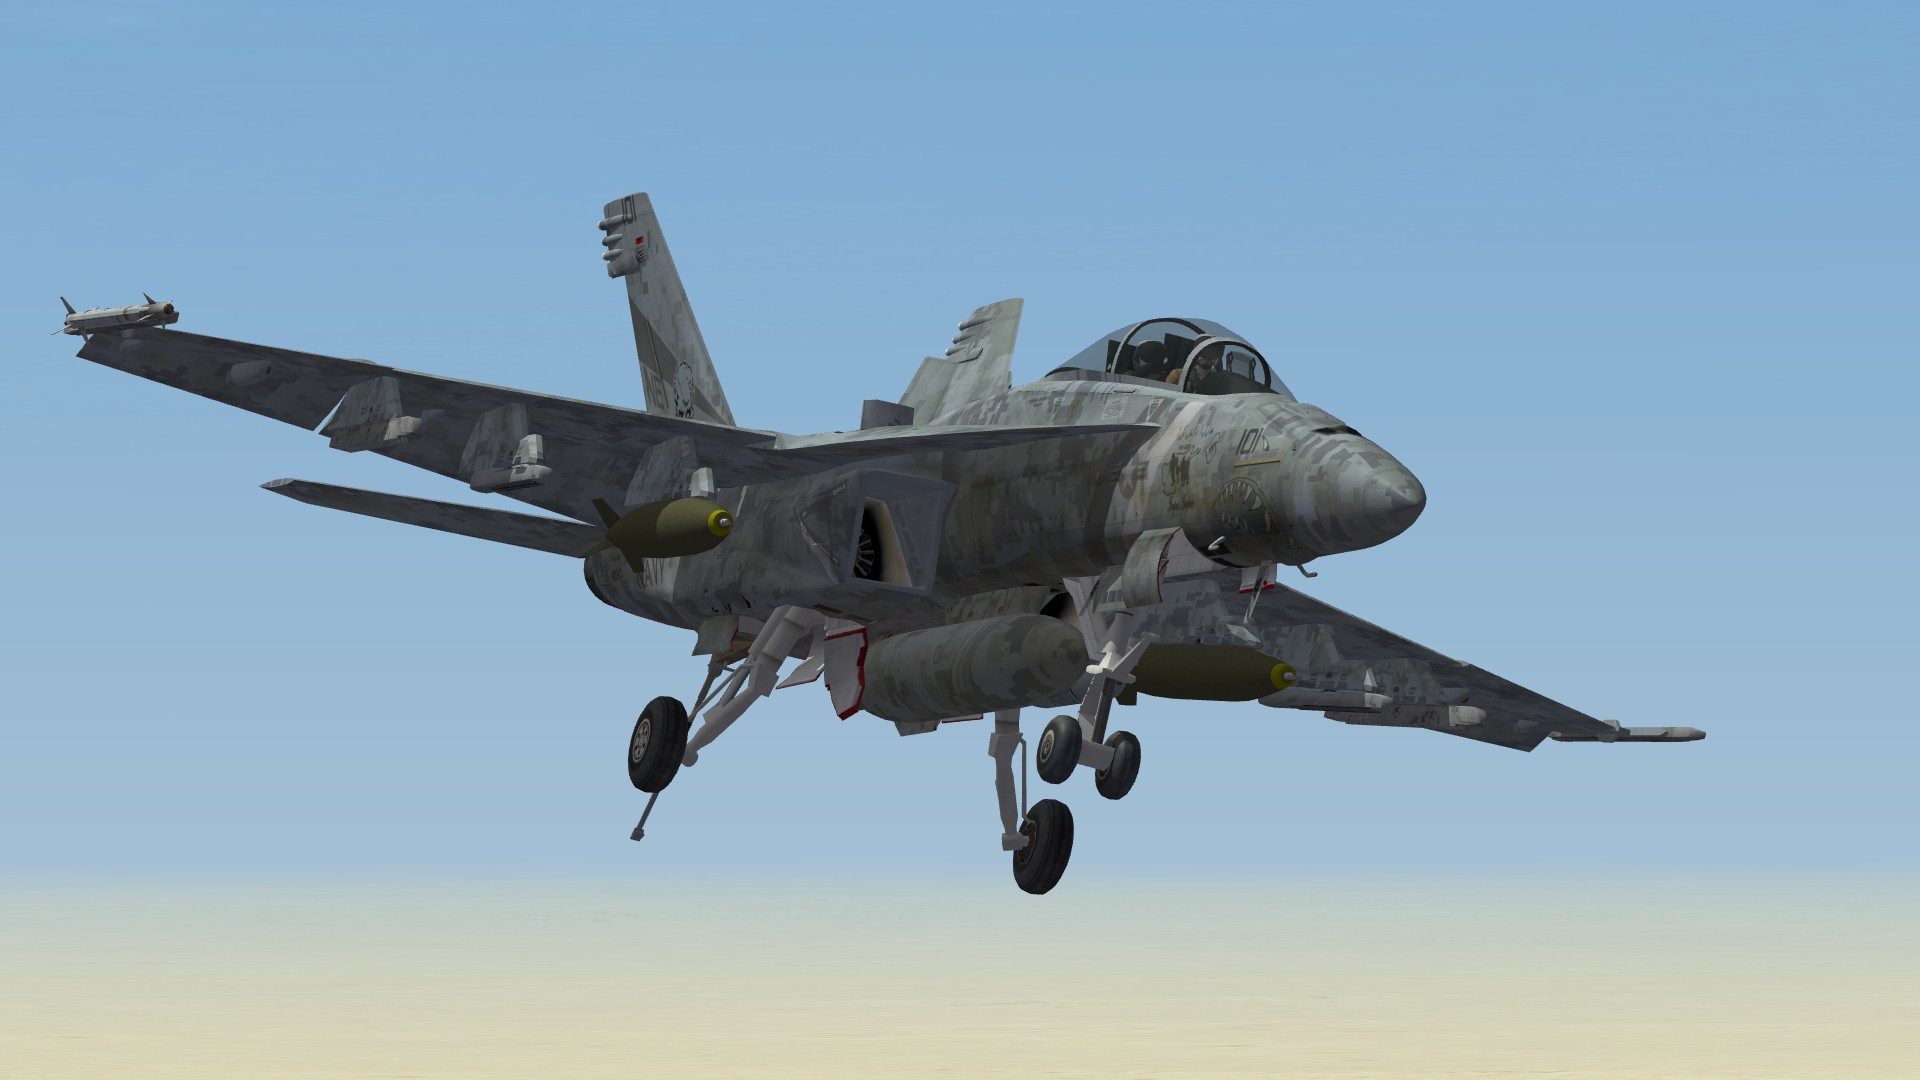
Coming around for another pass
-
Please refrain from using DAT stuff... this is mainly CA downloads only.
-
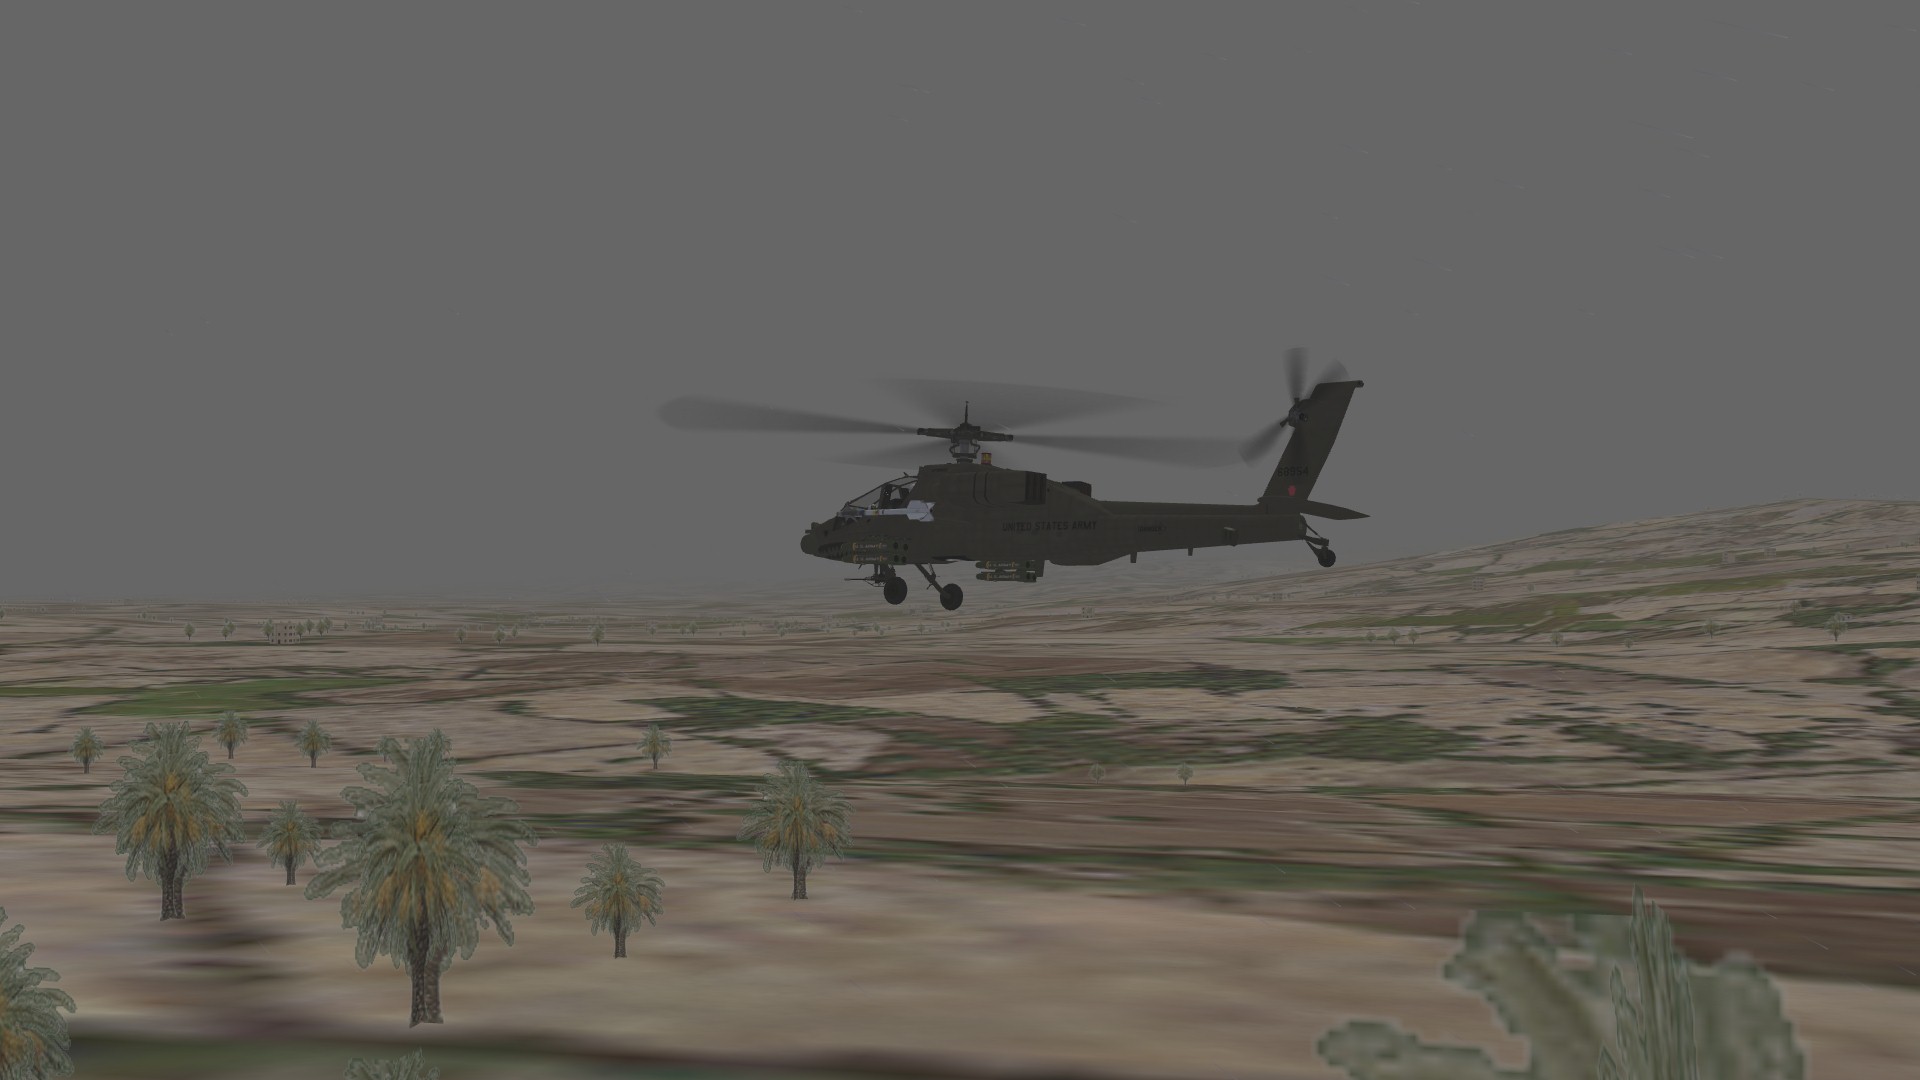
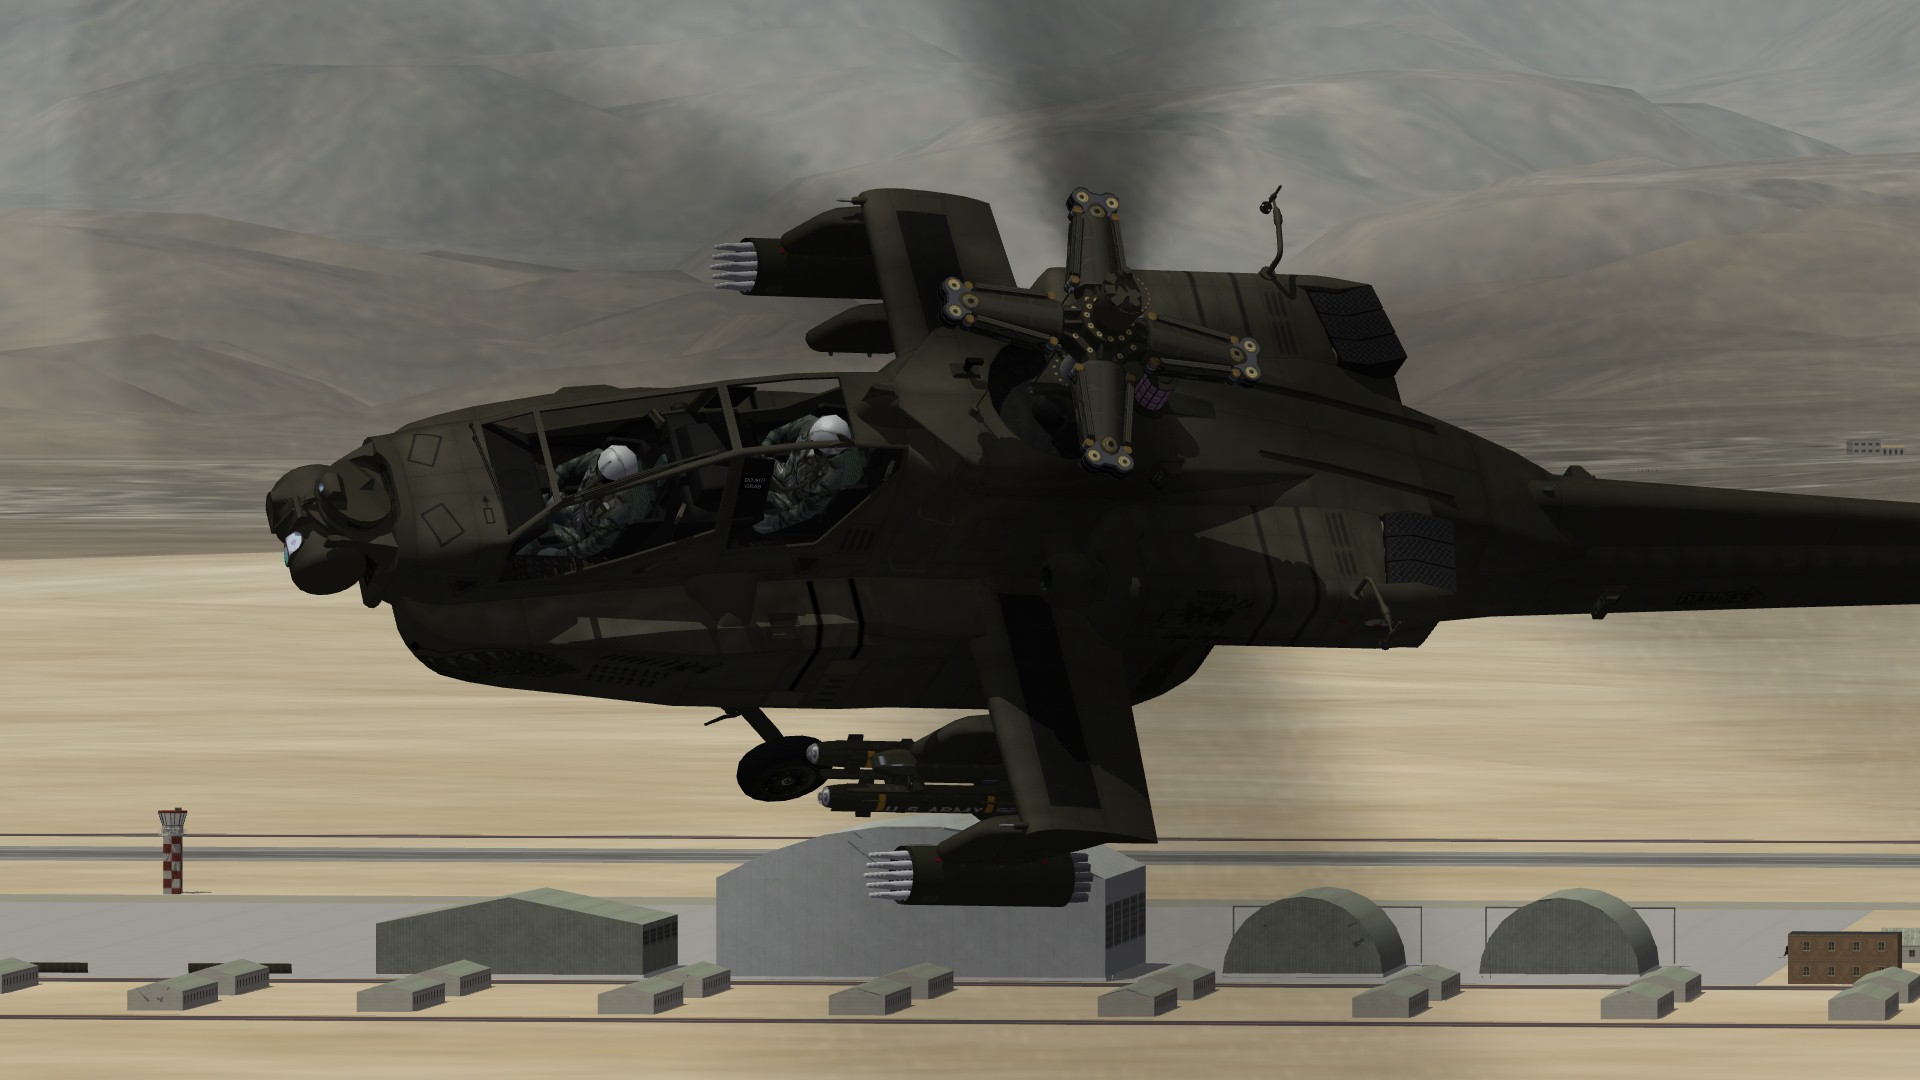
AH-64A, A Company, 1-104th PA ARNG, May 2009 WIP


-
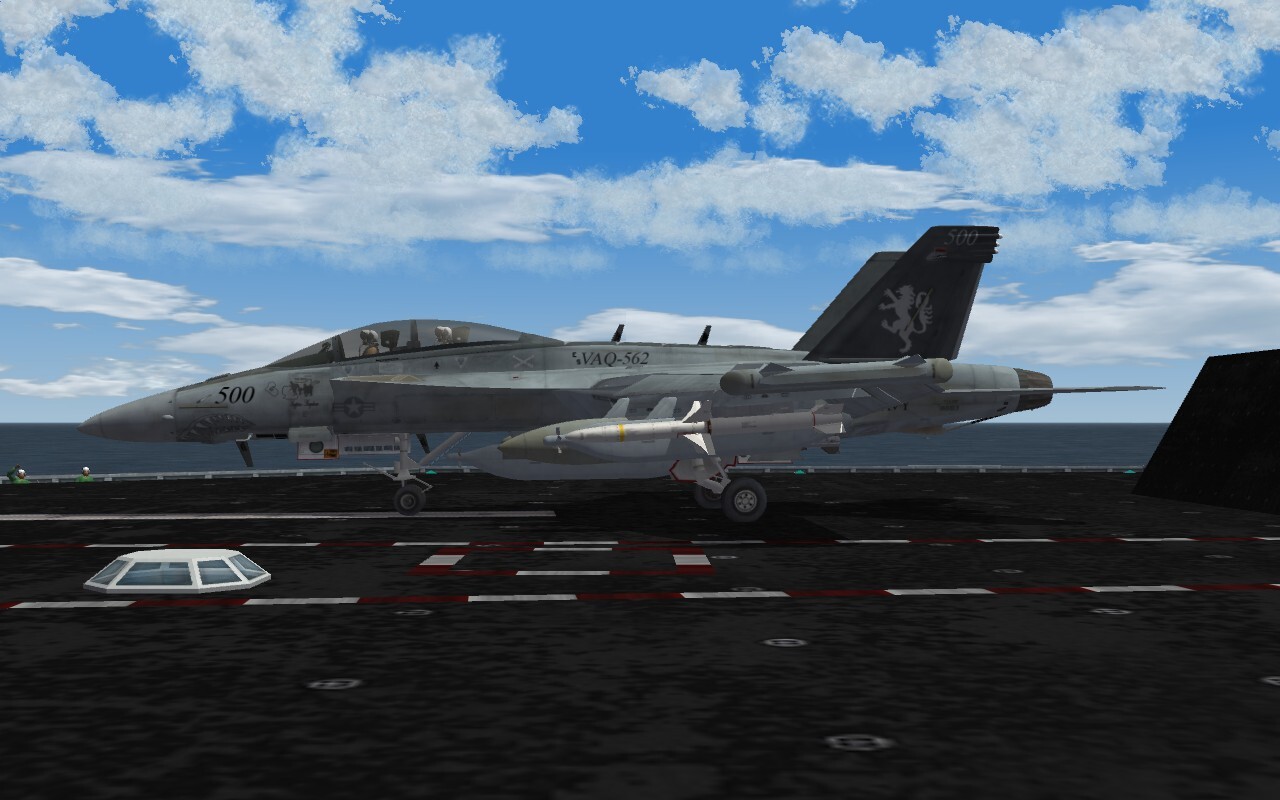
TO: JFC SHAPE FROM: VFA-2 CO UPDATE TO AMMUNITION INVENTORY: ADDITIONAL: 12 X ATFLIR 24 X HARM 48 X GBU-38 JDAM
-
-Good getting tired of CAP missions-
-
1. Single Mission with EXP2 2. Get EXP2 And if your rig is five years old... then yeah go with STORM's suggestion, upgrade or if fiscally possible, get a new rig, it helps for a lot of things down the road.
-
Starting to look good Teras...
-
Dusk takeoff

-
Patch level? Which one? etc. If you're running older versions I can see but right now I'm having very good FPS so not sure...
-
FROM: CINCPACFLT TO: JFC SHAPE FORWARD DEPLOYED VFA-2 WILL STAY IN-THEATRE AND WILL BE FURTHER SUPPLIED WITH MUNITIONS IN ORDER TO SUPPORT OPERATION DARIUS. MUNITIONS SHOULD REACH SQUADRON WITHIN 6 HOURS FROM DIEGO GARCIA VIA C-17 AIRLIFT TO ALI AL SALEM AB.
-
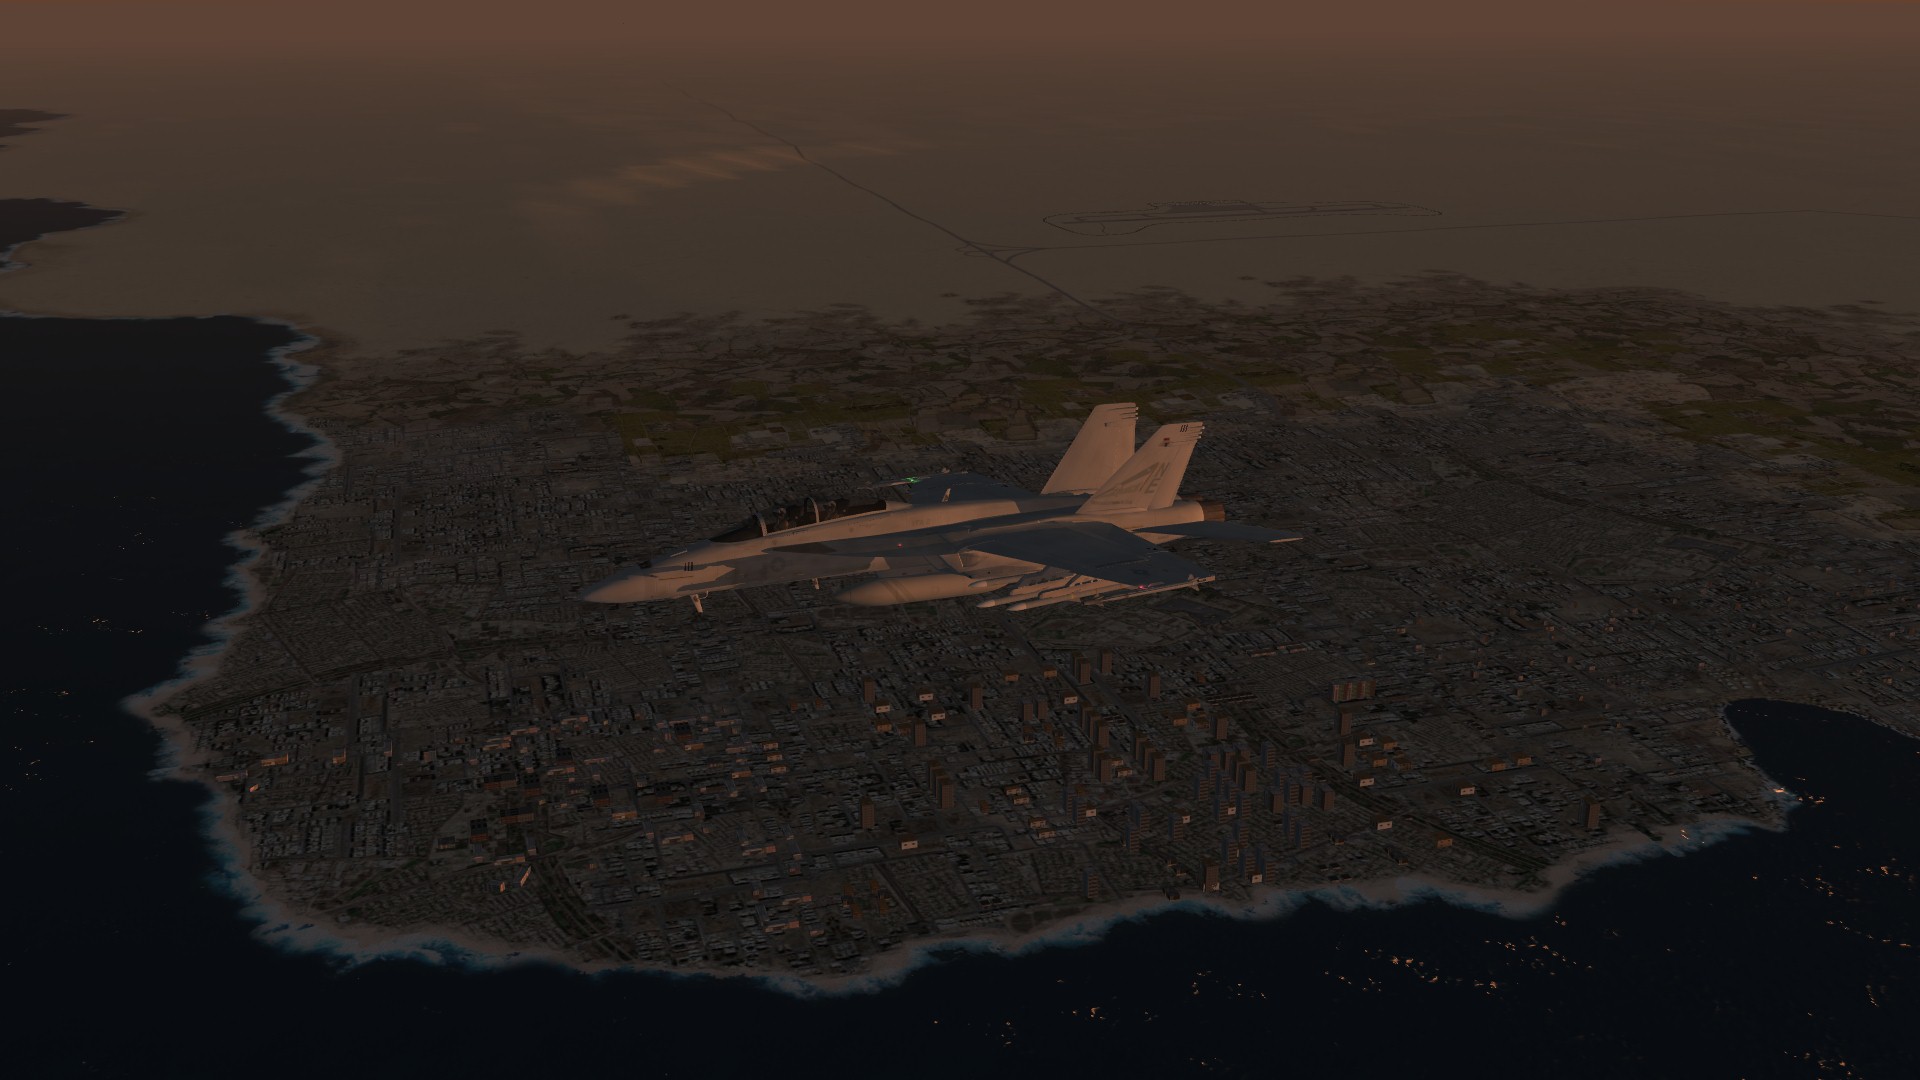
CAP over Kuwait City
-
Simply the best
-
TO: JFC SHAPE FROM: CINCPACFLT BE ADVISED THE REST OF THE CVW-11 BATTLEGROUP WILL STAY WITH THE USS ABRAHAM LINCOLN UNTIL REPAIRS ARE COMPLETE (After flying around the map it's quite clear that an additional carrier will not be neeeded, unless the map is completely redone and we have more than enough to handle any threat as is right now)
-
Or Super Hornet :)
-
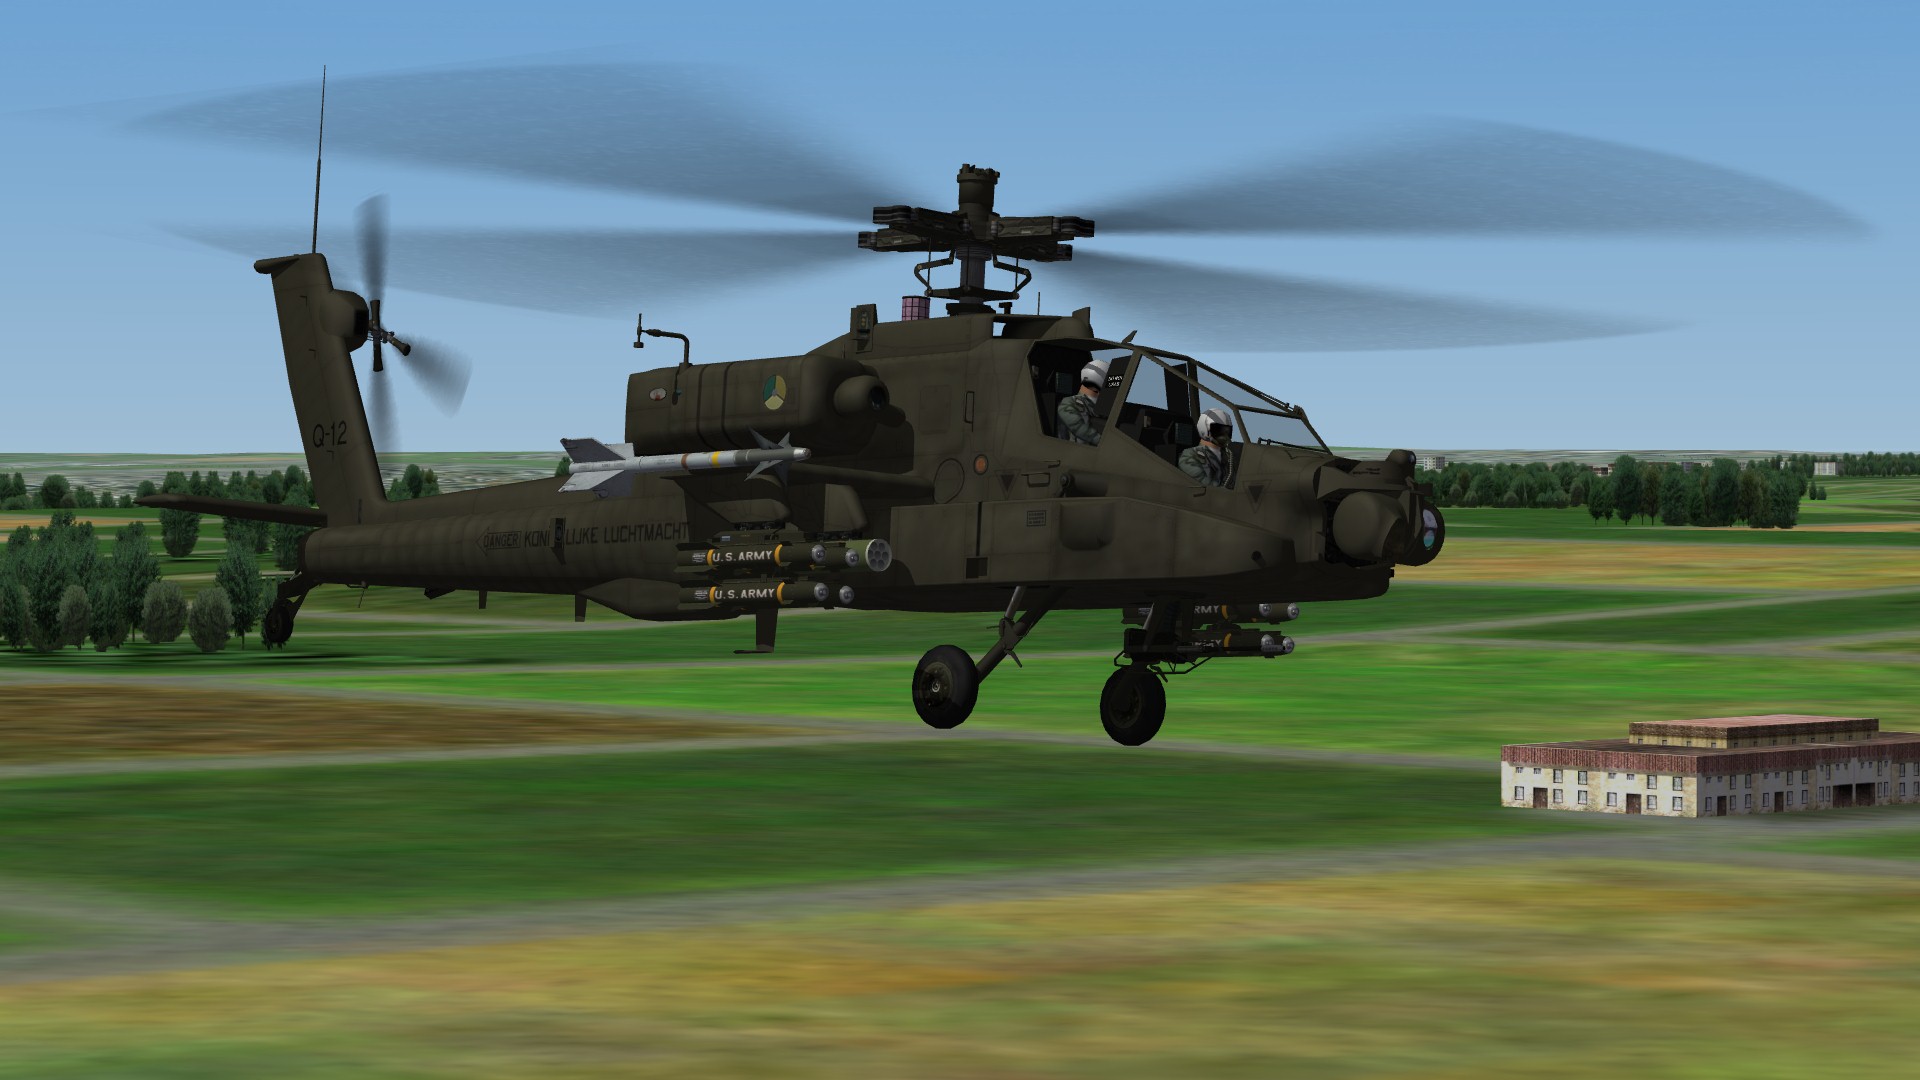
Low Lands flying

-
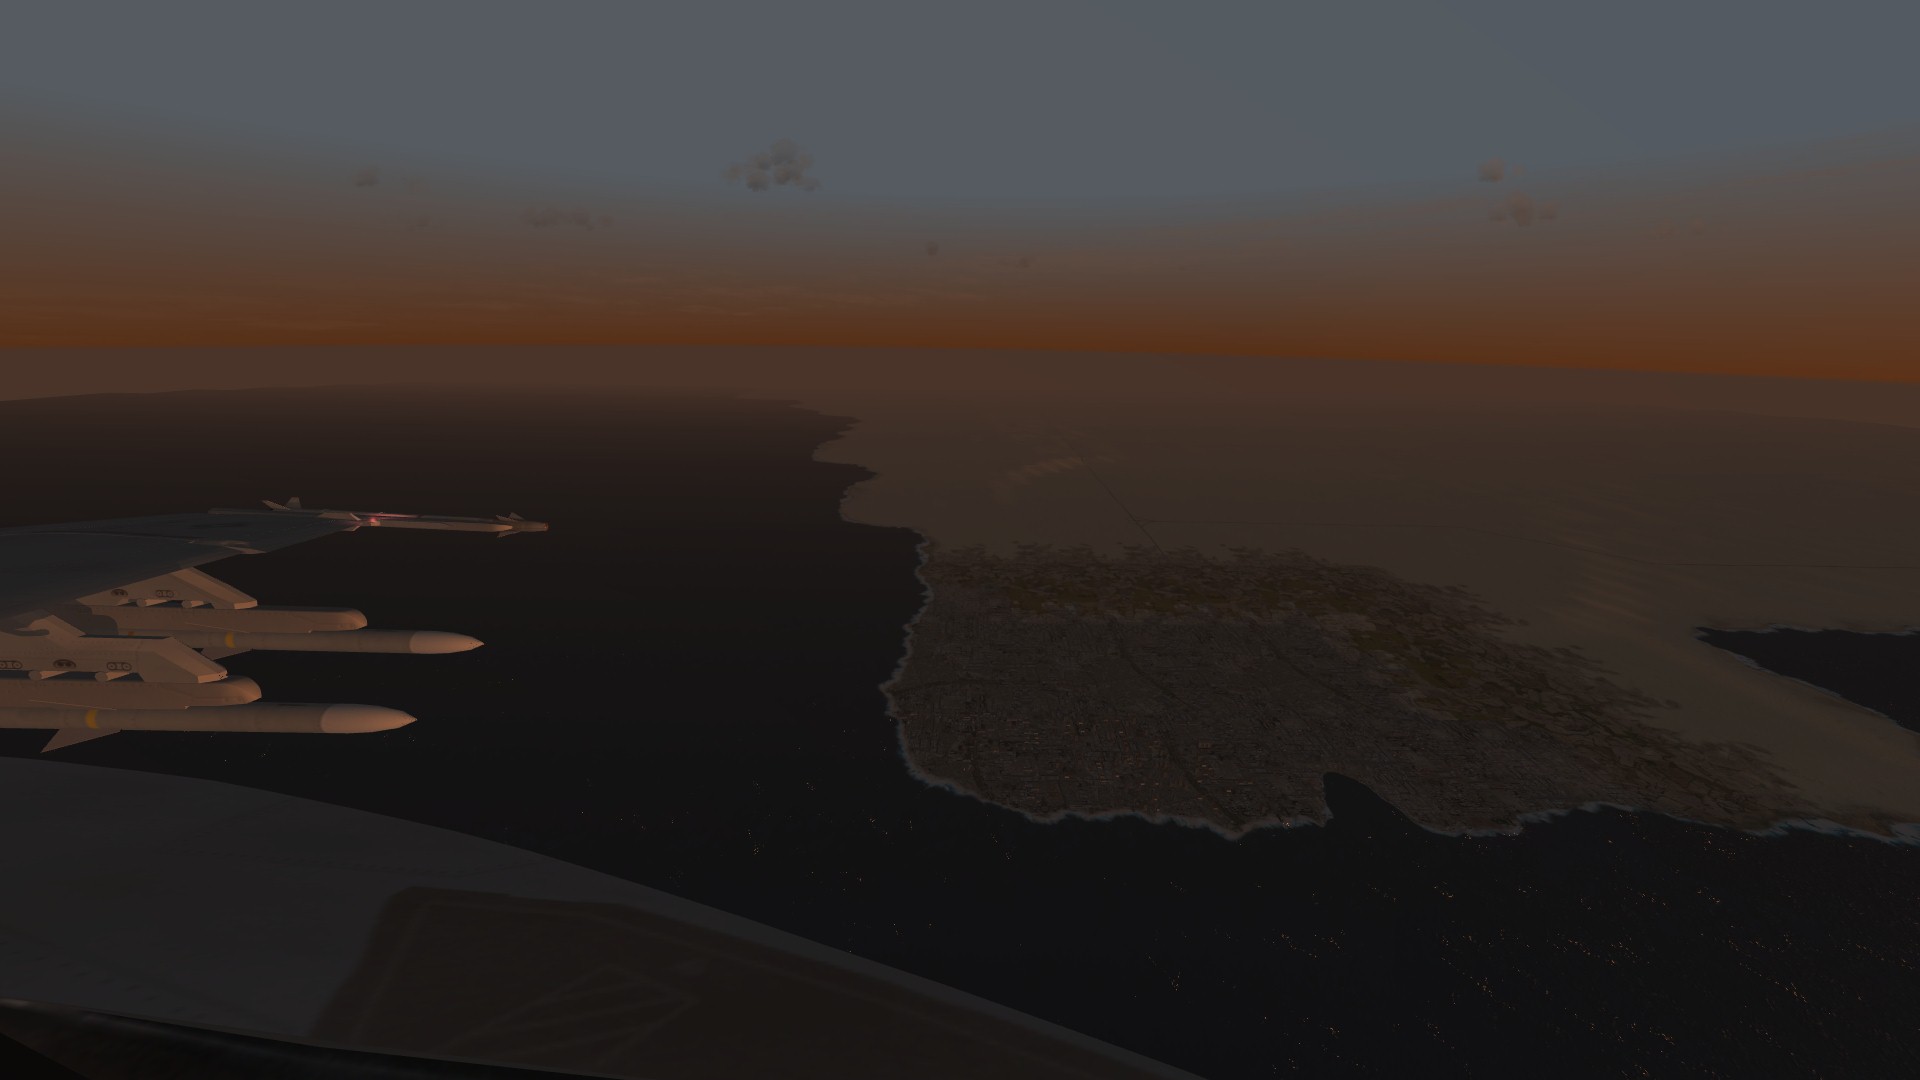
Was landing on a regular airfield but during finals was testing my mapping of my new stick. It was good I brought Mavs as this is from a strike on Bushehr. Way too much AAA/SAMs so I couldn't use the iron. It was too nice of a shot to give up...
-
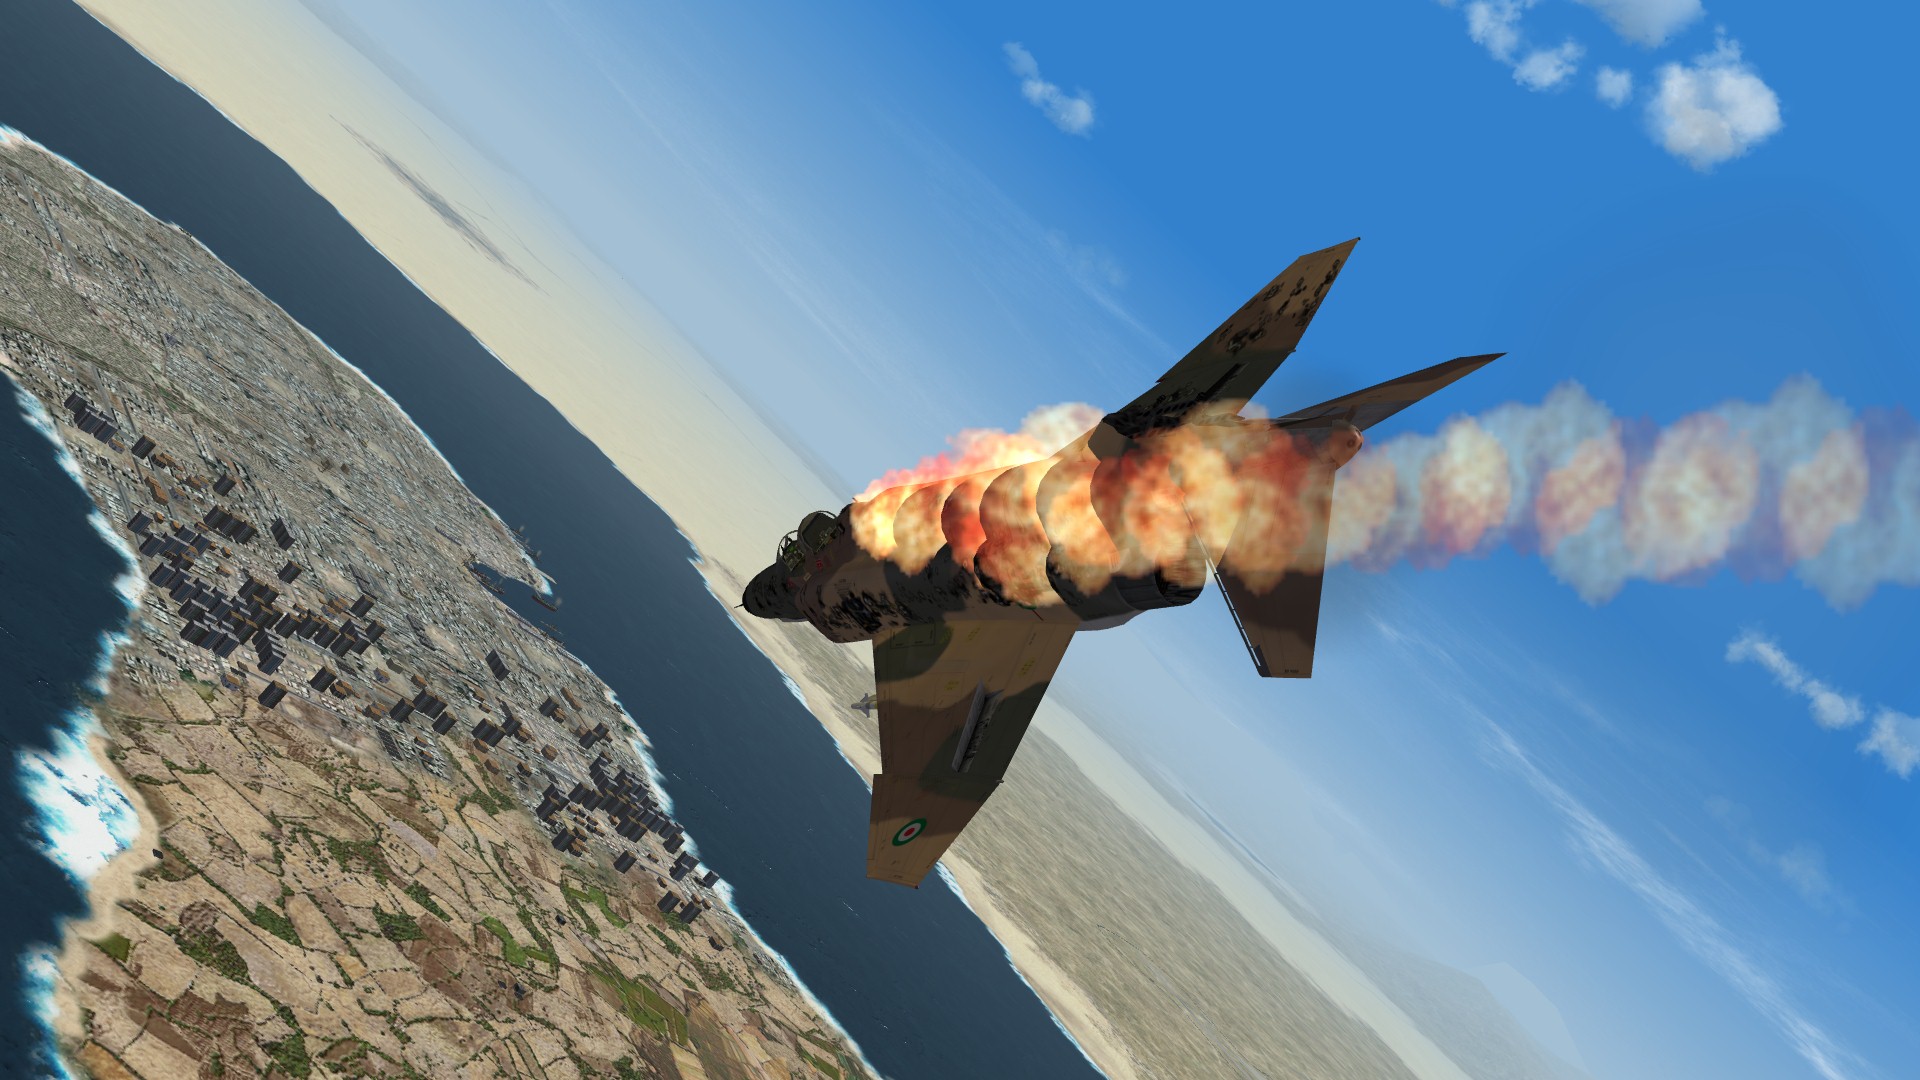
F-4 kill over Bushehr (non Operation Darius mission)