-
Available Subscriptions
- Albatros
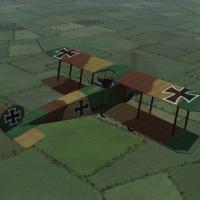
- Fokker
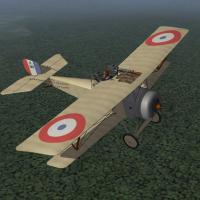
- Nieuport
- Pfalz
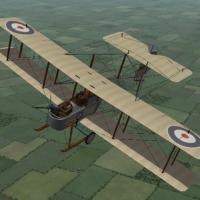
- SE5a
- Sopwith
- Spad
- Other Central Powers Aircraft
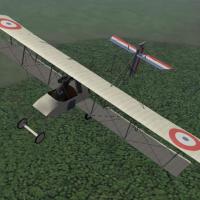
- Other Entente Aircraft
- Flight Models
-
 440 3
440 3 -
 536 3
536 3 -
 391 1
391 1 -
 454 2
454 2 -
 737 2
737 2 -
 683 1
683 1 -
 579 0
579 0 -
 639 0
639 0 -
 422 1
422 1 -
 506 0
506 0 -
 329 0
329 0 -
 270 3
270 3 -
 277 0
277 0 -
 587 1
587 1 -
 309 0
309 0 -
 226 0
226 0 -
 242 0
242 0 -
 220 0
220 0 -
 300 0
300 0 -
 352 0
352 0 -
 176 0
176 0 -
 493 3
493 3 -
 420 2
420 2 -
 510 3
510 3


.jpg.80009de8f0517f8545578316533e500b.jpg)


-
Download Statistics
