
daddyairplanes
-
Posts
9,008 -
Joined
-
Last visited
-
Days Won
175
Content Type
Profiles
Forums
Gallery
Downloads
Store
Everything posted by daddyairplanes
-
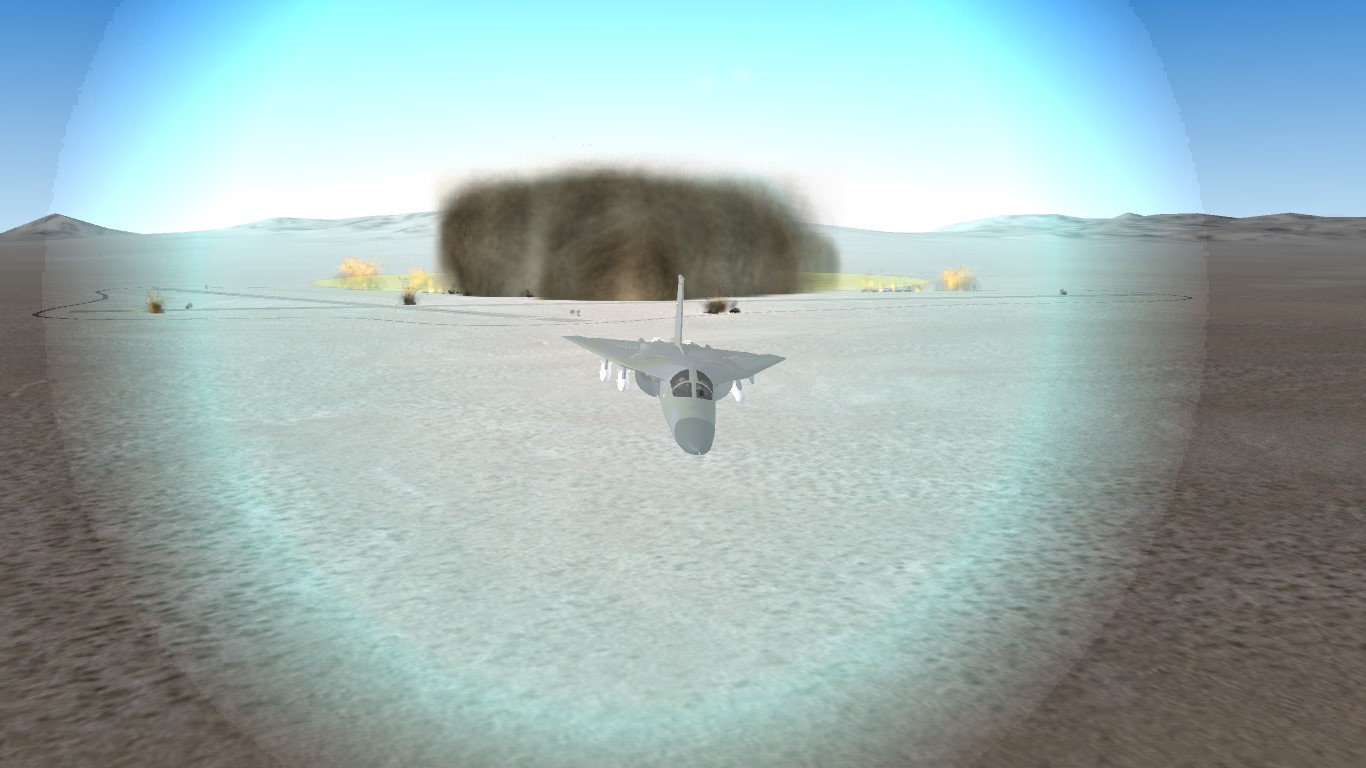
welcome, to the wonderful world of eyecandy..... still it can be fun if you have mission editor to set a tanker on an hour long orbit as sonme point along your route, form up and pretend to tank
- 22 replies
-
- 2
-

-
- air refuel
- air refuelling
- (and 6 more)
-
 like Yakarov said, make a new one. well in my case, ish i trace over teh original panel lines myself with 1 pixel straight black brush or pencil. then when its complete, i duplicate and invert so there is a white offset for a bit of depth. takes abit of time, but i figure they took the time to put the original panel lines on, might as well use the location unles its badly off i then put them into a layer group, and adjust the opacity of that until i think it looks right. usually somewhere between 12% and 30% all depending. usually, panel lines and exhaust stains are about the only thing i would reduce opacity for on a skin (jpg or bmp). unless your getting really fancy and having sand blasted areas of paint over an original metal skin (a thought given your subject matter). but in beginning basic practice most of the skin colors should be solid if working a basic camo Yakarov, you now also now the pain in creating fresh skins for another modeller too but its good that you have been working with them, their game has picked up a bit this year since you started collaborating. EDIT: back to Eagle; that video is another way, and working on the fighters rather than big birds youll have more details to pull out. again personally i would have the details that show through the paint in layers above the paint job but to paraphrase Bob Ross, this is your show, you create it how you want to
 -
like Yakarov said, make a new one. well in my case, ish i trace over teh original panel lines myself with 1 pixel straight black brush or pencil. then when its complete, i duplicate and invert so there is a white offset for a bit of depth. takes abit of time, but i figure they took the time to put the original panel lines on, might as well use the location unles its badly off i then put them into a layer group, and adjust the opacity of that until i think it looks right. usually somewhere between 12% and 30% all depending. usually, panel lines and exhaust stains are about the only thing i would reduce opacity for on a skin (jpg or bmp). unless your getting really fancy and having sand blasted areas of paint over an original metal skin (a thought given your subject matter). but in beginning basic practice most of the skin colors should be solid if working a basic camo Yakarov, you now also now the pain in creating fresh skins for another modeller too but its good that you have been working with them, their game has picked up a bit this year since you started collaborating.
-
great progress next tip: when working without a preset template, do your panel lines first. if you are starting from someone elses skin, it is easier to trace the panel lines first, then have it be the uppermost layer and adjust opacity as needed. where it gets really fun is when you are making the very first skin and place the first panel lines
- 26 replies
-
- 2
-

-
-
- black texture
- skin
- (and 2 more)
-
that is simply awesome
-
Disabling air defense in single mission.
daddyairplanes replied to TRIPZ's topic in General Discussion
damn, and i just saw an info graphic somewhere today breaking down USAF losses in Vietnam. i remember MiGs being 4%, AAA being 73% and SAMs not being the remaining 23% (it was somewhere in the high teens) -
Create SAR, Medevac or Casevac misson?
daddyairplanes replied to JoeHal11's topic in General Discussion
well we have soldiers. and if requested one of our active modelers might be willing to create one if you explain the mission set make a large hit box, low armor, and maybe you could set down "on" the pilot to destroy/pick them up right up the lane of yakarov's Jolly Greens......... would have to be tailor made missions so you dont take off expecting a downed pilot and get a convoy of ZSU-23s instead! -
Disabling air defense in single mission.
daddyairplanes replied to TRIPZ's topic in General Discussion
shoot why not just do another install then? customize with things taken out (or placed in) for your tests as needed -
Disabling air defense in single mission.
daddyairplanes replied to TRIPZ's topic in General Discussion
much as you wont like hearing it, yes: uninstall it. the pack was made to add missing assets to the game and to set difficulties to be between more realistic (air defenses arent gone in one mission) to criminally insane (the Russian brochure performance for the systems, where you are both super skilled and damn lucky if you survive one mission) many of our mods are not set for making the game easier; rather many modders on here either seek to be historically accurate, add things not available in stock, and make it more challenging besides, if you want to take em all out in one mission, use theold SAC method
-
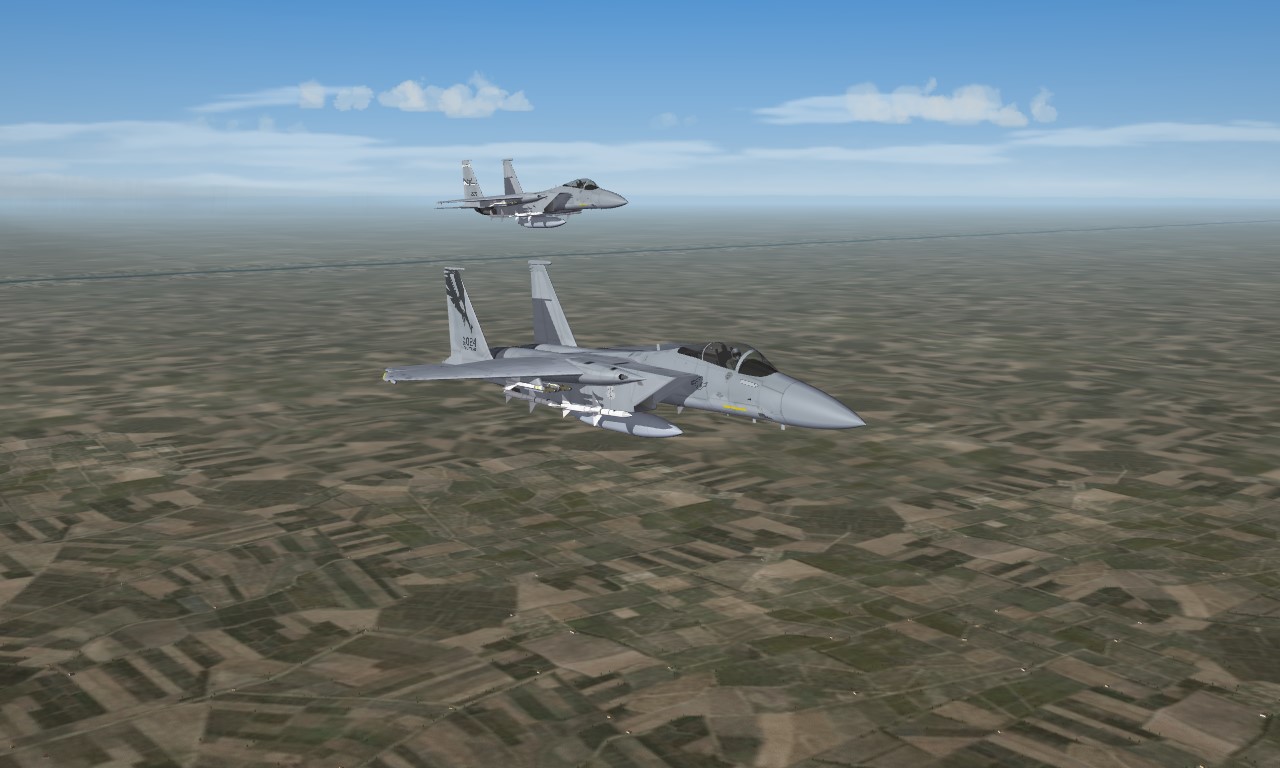
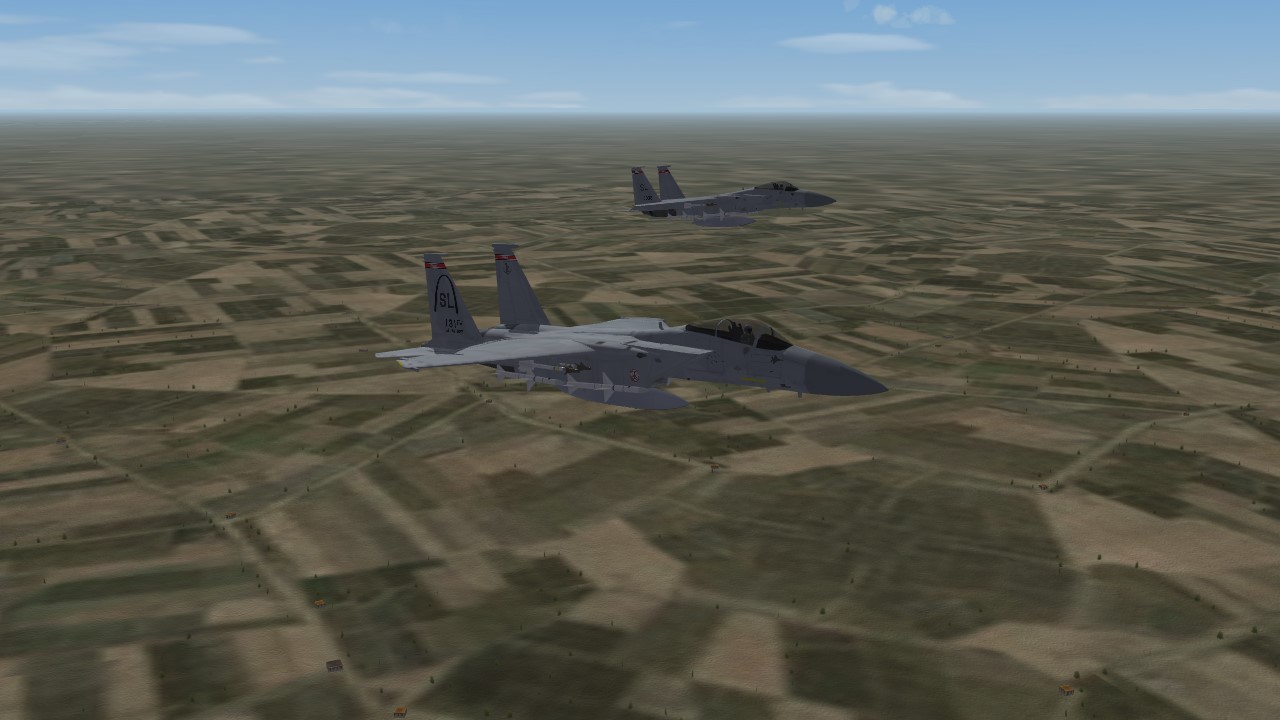
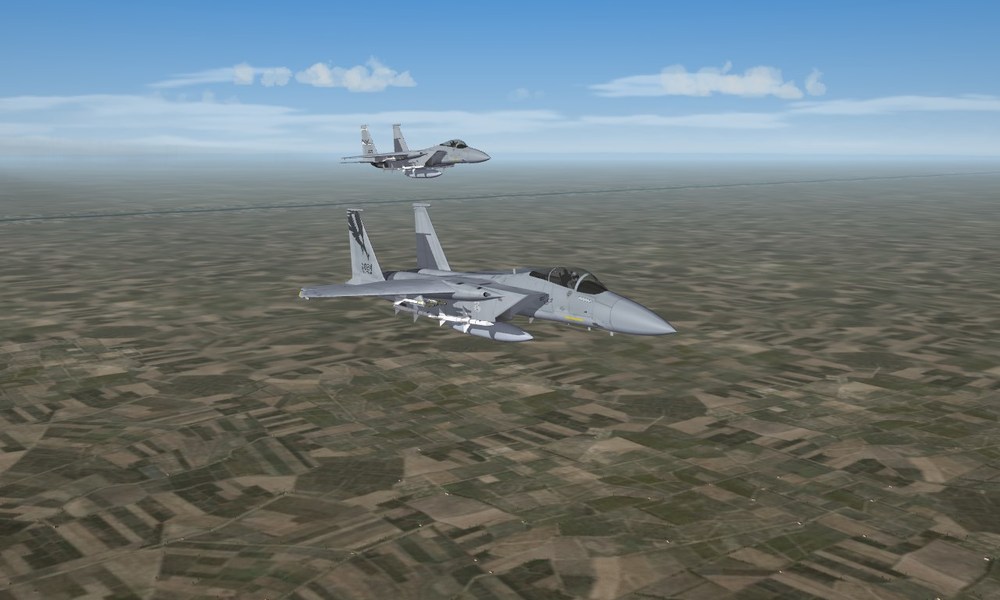
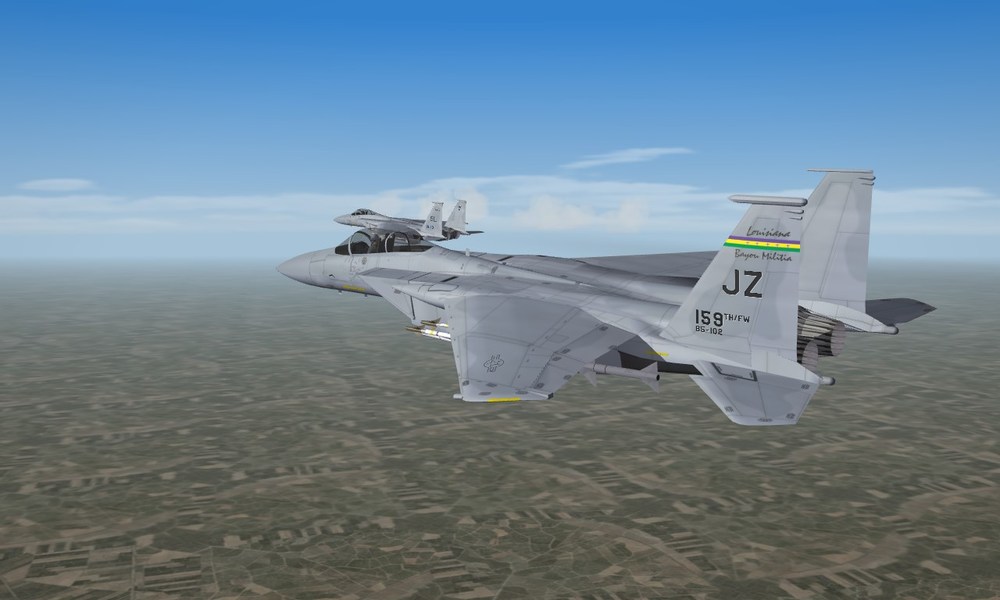
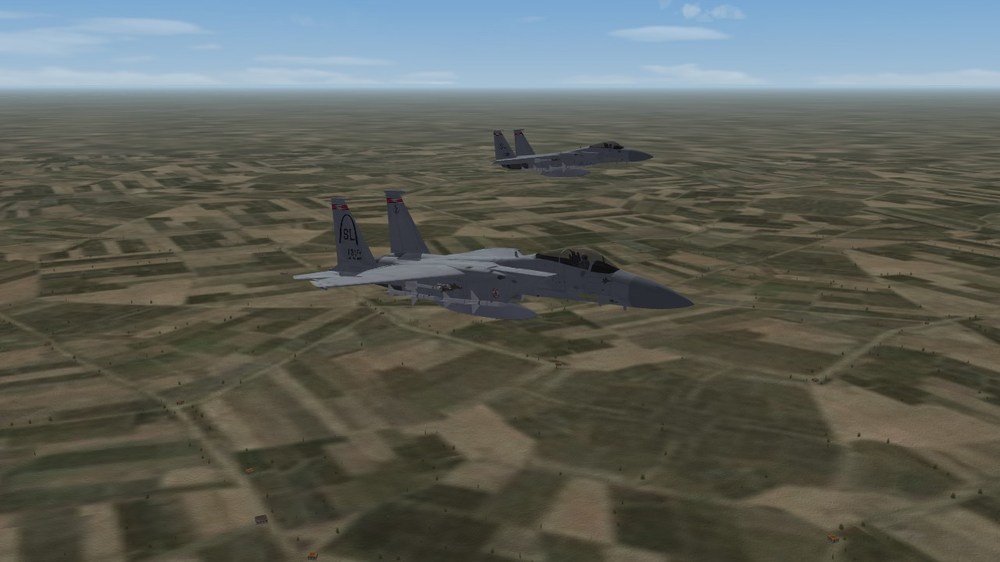
aaaand the latest ANG Eagle Guardians
-
funny thing about TISEO, was developed for a2a work but most utilized for a2g work by the Phantom units that had them. would have been for visual target ID in any case not so much for targeting (you had to get the camera on target for it to be effective, not the camera got pilot eyes on target)
-
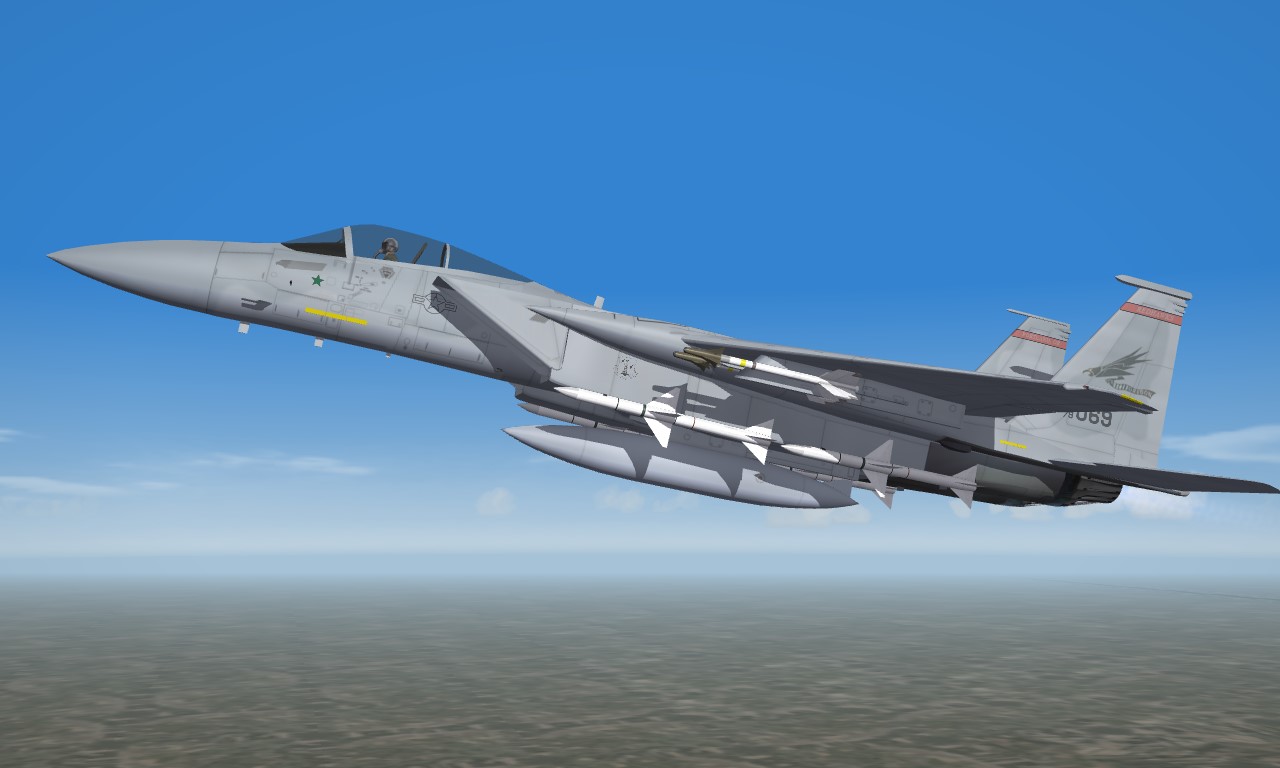
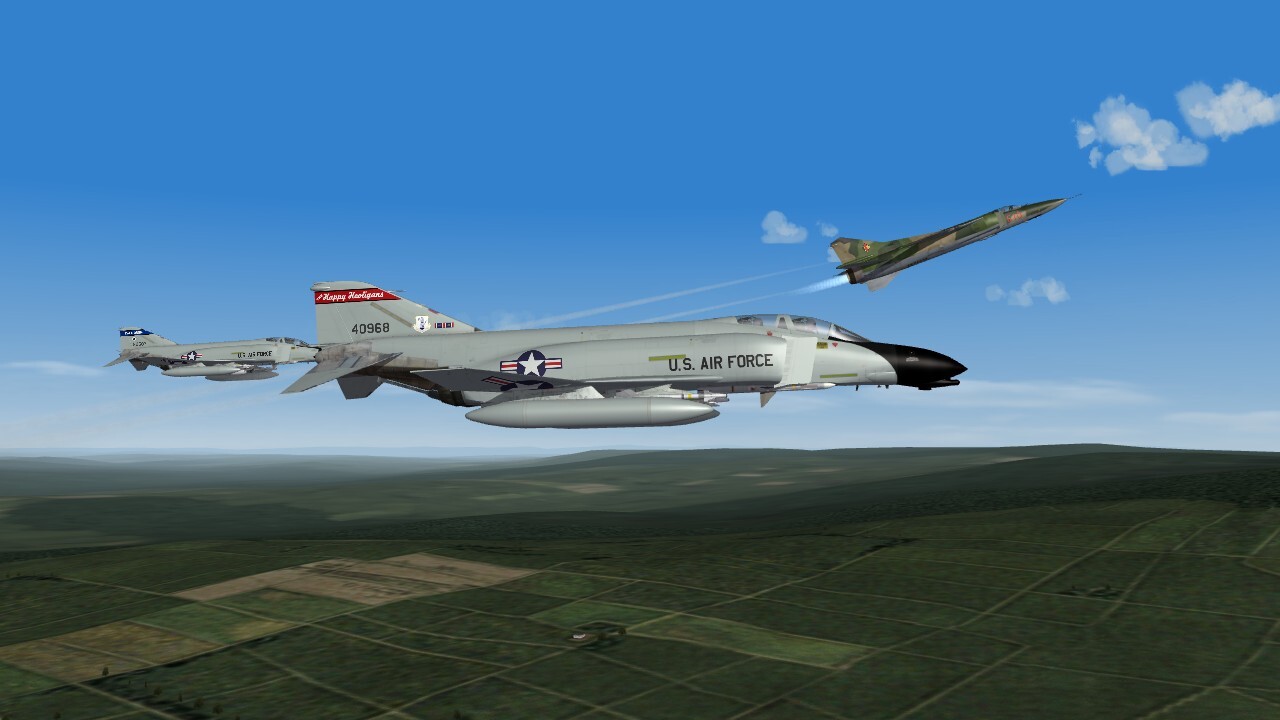
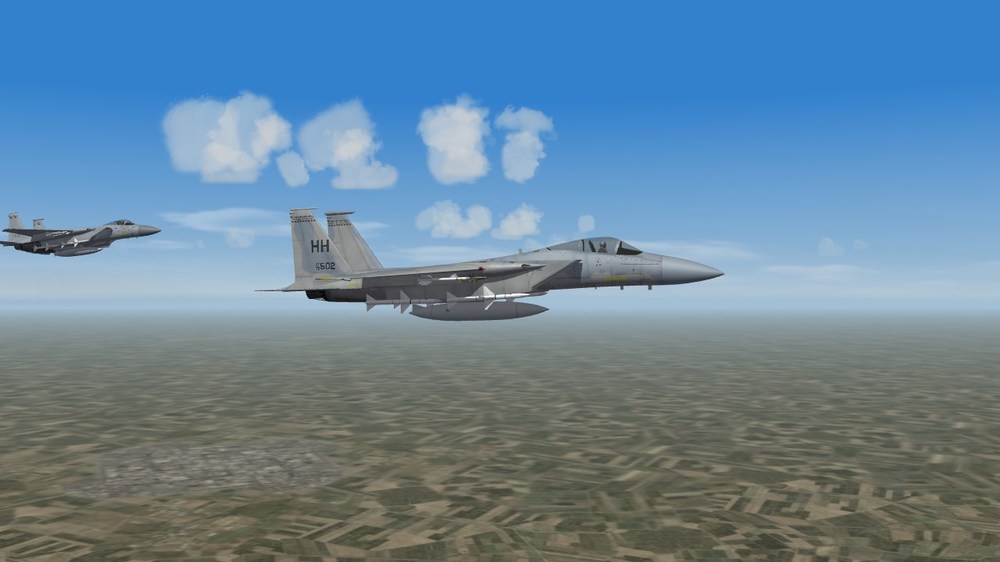
well arent you just the little sarcastic Easter Bunny mandatory screenie, or as said on FB, MiG killer

-
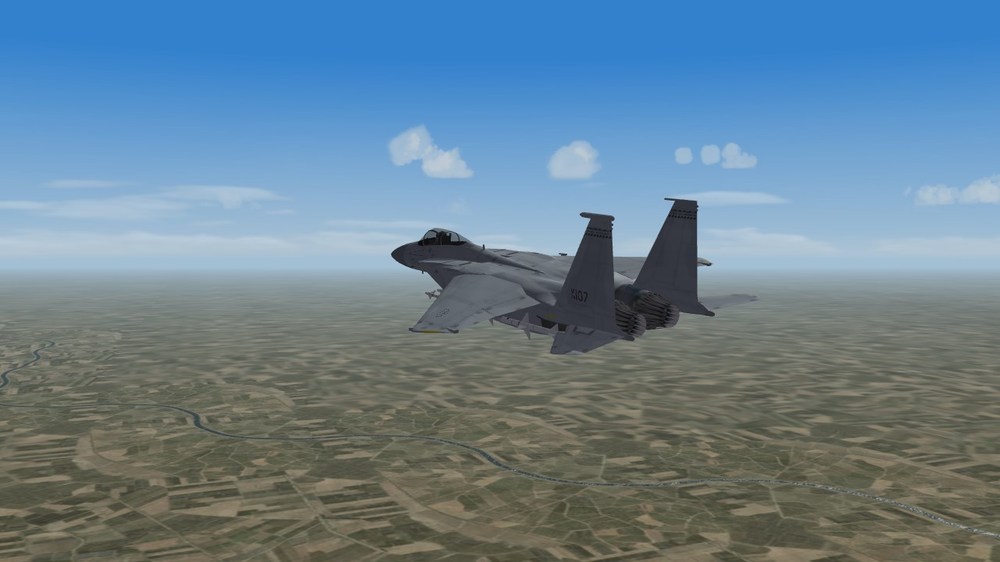
Wierd Happenings on FC's F-15C
daddyairplanes replied to daddyairplanes's topic in Mods & Skinning Discussion
well complex shape vs regular shape does seem reasonable. still very odd, but as noted before problem solved by shifting tga location. might be showing up inside the model (have seen that plenty too over the years, esp. on transports) but anyone zooming that far in to see the inner walls of the model gets a bucket of rivets and yes, its the C-141B thank you for the input logan! -
Sunday night folks, whats your choice of music hard blues or smooth jazz?
-
Wierd Happenings on FC's F-15C
daddyairplanes replied to daddyairplanes's topic in Mods & Skinning Discussion
-
Wierd Happenings on FC's F-15C
daddyairplanes replied to daddyairplanes's topic in Mods & Skinning Discussion
logan, figured as much for the why two sets popped up. seen it all the time in some models in the past, i have dealt with similar issues by using a solid tga to cover what i didnt want seen, what baffles me this time is how that "patch" does not cover the other tga, and how it actually tidies it up. again compare the very first pic (with a patch tga applied) with the third pic (entry for patch removed from ini) yes the issue is resolved my a location change. but for future reference, why didnt a old solution work this time around? example on old solution, without looked like a crazy ex taking a knife to the couches. by comparison this looks like some sheet metal work and new paint over it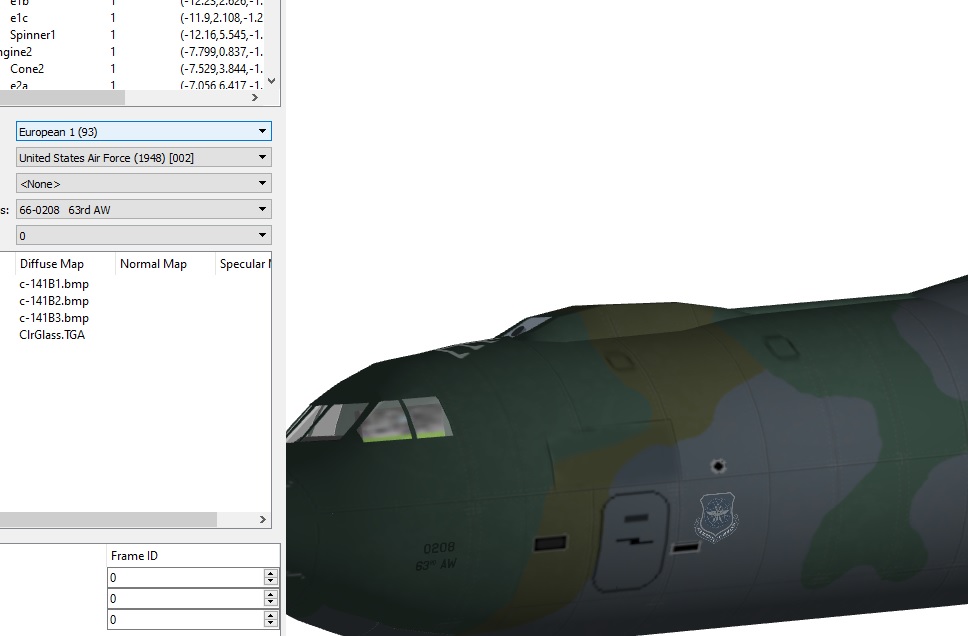
-
Wierd Happenings on FC's F-15C
daddyairplanes replied to daddyairplanes's topic in Mods & Skinning Discussion
decal bleeding im familiar with. a normal fix for me is to throw a patch on, listed further down in the decal.ini. the C-141B in ODS has this issue, each camo skin has a patch laid on to cover up bleed from teh other side (it was only the right side bleeding to left iirc) it stands out, but not too badly if done right and certainly less so than a smearing, bleeding tga however, this is the first time i have seen the patch not work, when made more solid than the other tga and called out after the other tga. also the patch does make the offending tga neater in the affected areas ( third pic in this thread vs first ), which adds to my curiousity -
Wierd Happenings on FC's F-15C
daddyairplanes replied to daddyairplanes's topic in Mods & Skinning Discussion
UPDATE: further ini editing has gotten the offending doubles out of sight at least, moving them further back and up. [Decal016] MeshName=Fuselage DecalLevel=2 DecalFacing=RIGHT FilenameFormat=F15C\110\d\131TFW Position=0.375,-0.05 <------------------------------- moved back and up from original Scale=0.5 DecalMaxLOD=3 [Decal017] MeshName=Fuselage DecalLevel=2 DecalFacing=LEFT FilenameFormat=F15C\110\d\110tfs Position=0.375,-0.05 Scale=0.5 DecalMaxLOD=3 while this solves (ish) the issue with the current work, the questoin remains why did it do that?
-
Wierd Happenings on FC's F-15C
daddyairplanes replied to daddyairplanes's topic in Mods & Skinning Discussion
fro reference, this is with the patch entry removed
-
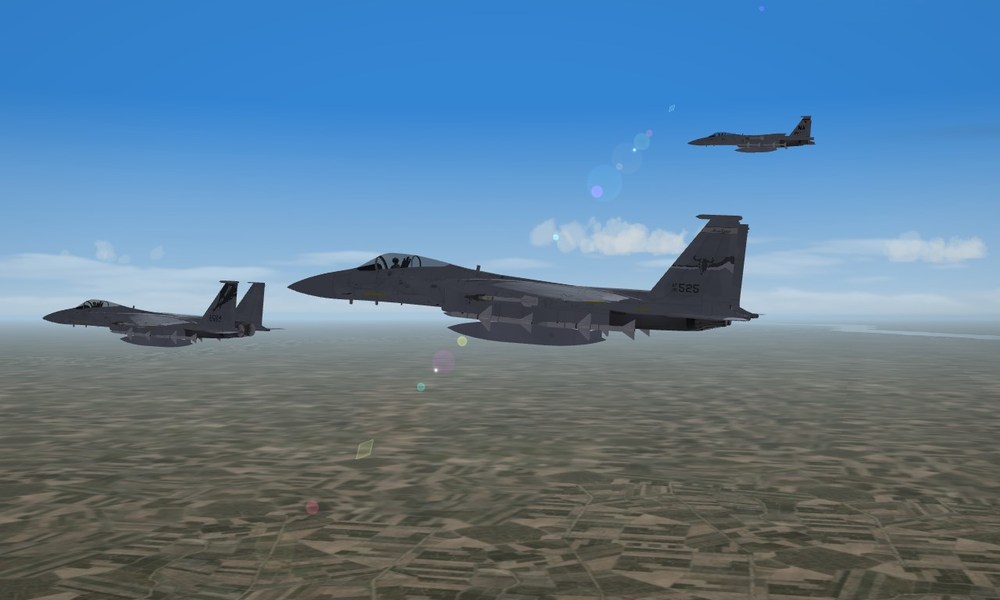
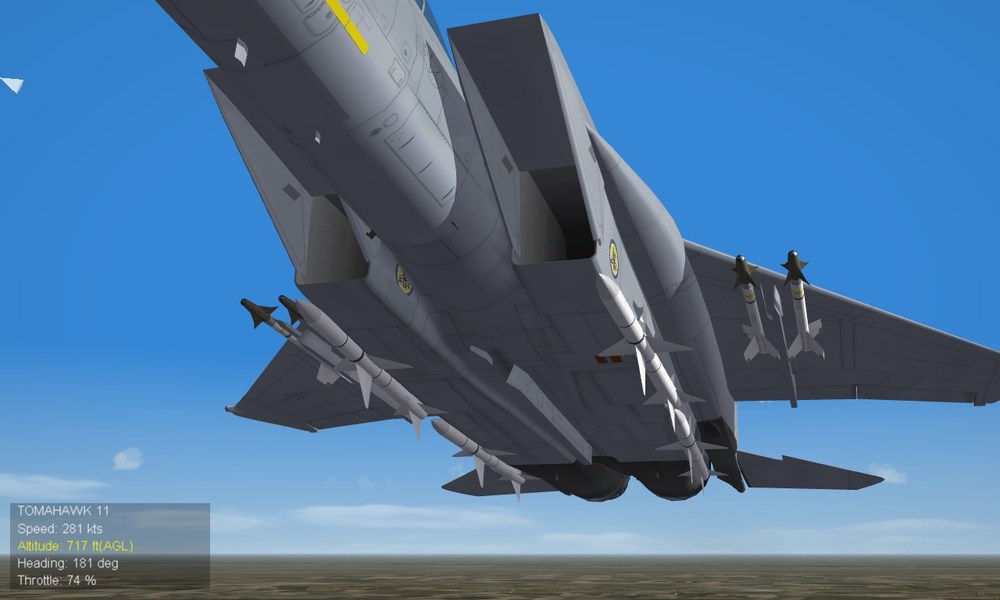
so i'm working with the FastCargo F-15C from teh superpack. putting wing, squadron and ANG markings on as appropriate to RL. then i notice the intake decals are carrying through to the otherside this is the better version of the problem, i made a patch.tga to put over like i have a few times before. the decals do not smear like when discovered but rather chop off neat and somewhat recessed the patch is solid (100% opacity) and covers the offending tga in LOD viewer grey spot in red highlight near intak openings is the patch decal finally, the patch decal is the last one in the decal.ini, yet doesnt totally cover the offending parts. [Decal016] MeshName=Fuselage DecalLevel=2 DecalFacing=RIGHT FilenameFormat=F15C\110\d\131TFW Position=0.85,-0.175 Scale=0.40 DecalMaxLOD=3 [Decal017] MeshName=Fuselage DecalLevel=2 DecalFacing=LEFT FilenameFormat=F15C\110\d\110tfs Position=0.85,-0.175 Scale=0.45 DecalMaxLOD=3 ...... [Decal024] MeshName=Fuselage DecalLevel=2 DecalFacing=BOTTOM FilenameFormat=F15C\110\d\patch Position=0.0,0.90 Rotation=0.0 Scale=1.75 //DecalMaxLOD=4 already tried playing with decalLevel and DecalMaxLOD levels (thats why its commented out here, best result so far). its odd, but not too bad so far. same lods, same results but i did try this on FC's original F-15C_85 and the F-15C_91 from viper63a's pack. just to see. same result due to arrangements and including Wing Kings, no i cant just put the marking on skin. not to mention those that know me know i dont usually anyhow any ideas on whats up?

-
i reject your skin and substitute my own as said in the post at the top of this page, doing it abit different (closer but not exact to 3W layout). plus my HANG tail marks are scratch ish made, "HAWAII being typed out and the other marks traced over a blown up decal image (couldnt find one sharp enough to use on its own)
-
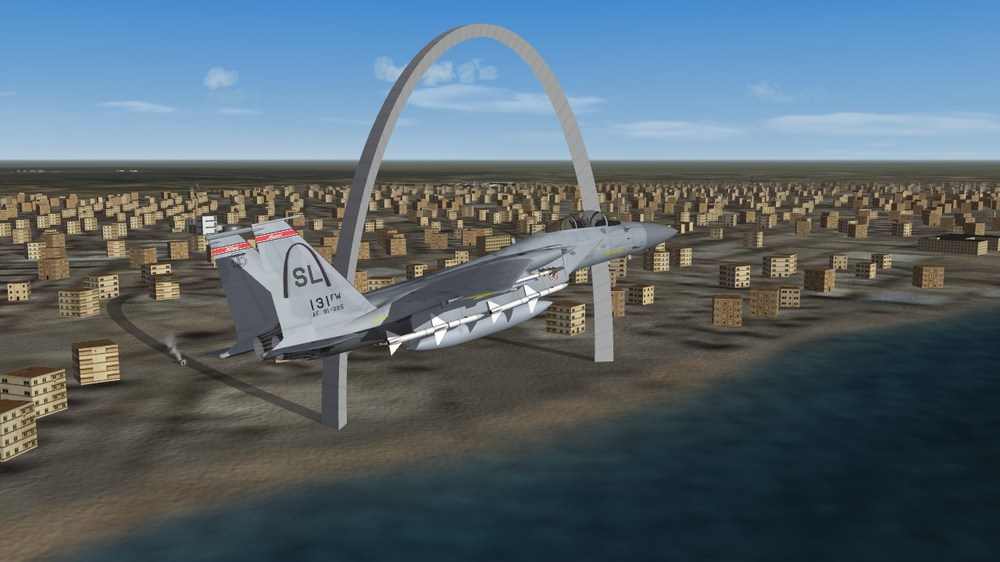
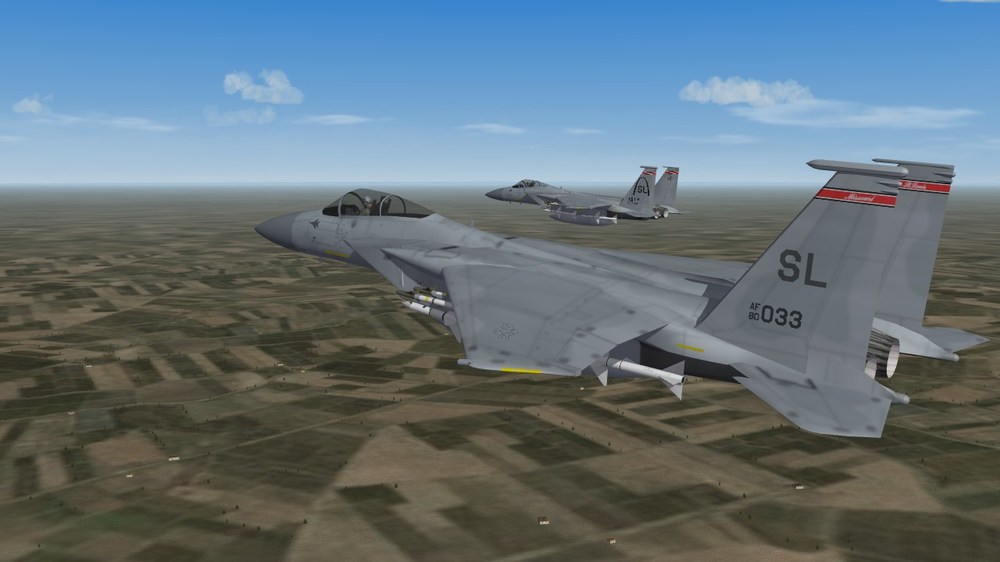
ok other Kevin, Midwest might be looking a little old. ST Louis needs a repainted Arch, some stadiums and alot more liquor stores (at least as i recall driving thru in April) this little $#!% was supposed to be in the Arch photo. friggin wingmen
-
so, i was today years old when i found out the Hawaii ANG flew A and C models together from 91 until changing for teh Raptor in 09.... explains why C serials were so damn hard to find for them
-
how does one say "hey Boeing, bite my shiny metal ass" in Russian?
-
flash back to the infantry Sergeant doing lane trainng at Fort Dix, 2011 "we arent going to show you THE way, we're just going to show you A way. this is your show, we are just sharing our experience to help you all get more gooder."